 />
/>
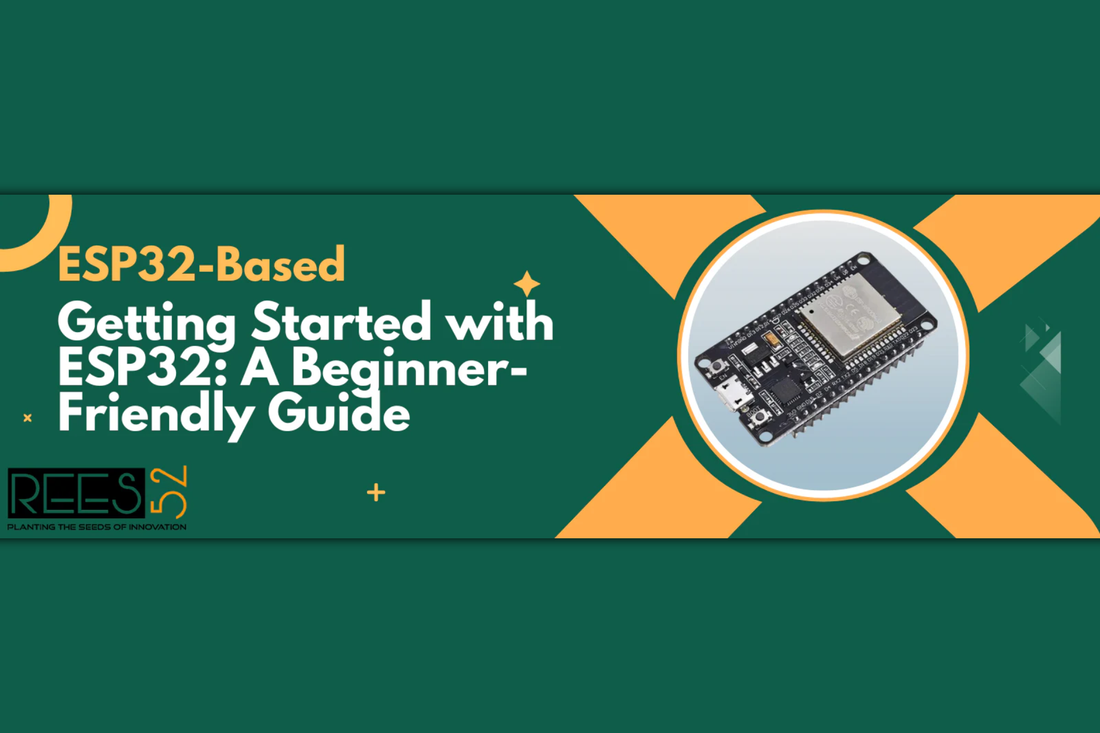
Getting Started with ESP32: A Beginner-Friendly Guide
By Shail PathakIntroduction:
The ESP32 is a highly versatile and feature-rich microcontroller chip developed by Espressif Systems, designed specifically for smart devices and IoT (Internet of Things) applications. Known for its built-in Wi-Fi and Bluetooth capabilities, the ESP32 combines performance and connectivity in a compact, affordable package.
It's the successor to the popular ESP8266, offering faster processing, dual-core support, more I/O options, and advanced peripherals, making it a favorite among hobbyists, makers, and engineers for building connected and intelligent systems.
What is ESP32?
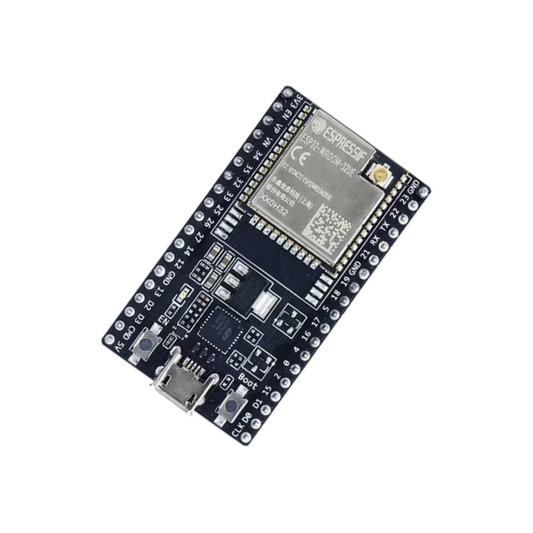
ESP32 is a powerful and affordable microcontroller board with built-in Wi-Fi and Bluetooth. It is ideal for IoT, home automation, and smart electronics projects. This guide will help you understand ESP32, install it in the Arduino IDE, and upload your first program.

Components Required:
- ESP32 Development Board (e.g., DevKit V1)
- USB Cable (Micro USB or Type-C, depending on your board)
- Laptop or PC
- Internet Connection
Features of ESP32:
- Dual-core 32-bit LX6 processor
- Built-in Wi-Fi and Bluetooth (Classic and BLE)
- 520 KB SRAM and 4MB Flash (typically)
- 32 GPIO Pins (some input-only), ADC, DAC, PWM, SPI, I2C, UART support
- Deep Sleep mode for low power consumption
ESP32 Pinout Overview:
- A brief overview of some commonly used ESP32 pins:
- GPIO0 – GPIO39: General I/O Pins
- GPIO21, GPIO22: I2C (SDA, SCL)
- GPIO1, GPIO3: UART (TX, RX)
- GPIO5, GPIO18, GPIO19, GPIO23: SPI
- GPIO34 – GPIO39: Analog Input Only
- EN: Reset Pin
- Vin: External 5V input
- GND: Ground

How to Install ESP32 Board in Arduino IDE:
Step 1: Install Arduino IDE
Download the latest version of Arduino IDE from: https://www.arduino.cc/en/software
Step 2: Add ESP32 Board Manager URL
- Open Arduino IDE
- Go to File > Preferences
- In the 'Additional Board Manager URLs' field, paste the following:
https://raw.githubusercontent.com/espressif/arduino-esp32/gh-pages/package_esp32_index.json - Click OK
Step 3: Install ESP32 Board Package
- Go to Tools > Board > Boards Manager
- Search for 'esp32'
- Click 'Install' on “esp32 by Espressif Systems”
- Wait for installation to complete
Install USB Driver for ESP32:
ESP32 boards use USB-to-Serial chips. Based on your board, install the correct driver:
CP210x USB to UART (for DevKit V1 and others):
Download from:
https://www.silabs.com/developers/usb-to-uart-bridge-vcp-drivers
CH340 USB to UART (used in some ESP32 boards):
Download from:
https://www.wch.cn/downloads/CH341SER_EXE.html
Note: If your ESP32 is not detected in the COM ports, install one of the above drivers.
Uploading Your First Program to ESP32:
Step 1: Connect ESP32 to PC
- Use a USB cable and plug in the ESP32
- Open Arduino IDE
- Go to Tools > Board > ESP32 Dev Module
- Select the correct COM Port under Tools > Port
Step 2: Blink Code
void setup() {
  pinMode(2, OUTPUT);
}

void loop() {
  digitalWrite(2, HIGH);
  delay(1000);
  digitalWrite(2, LOW);
  delay(1000);
}
⚠️Click the Upload button. If uploading fails, press and hold the BOOT button while uploading.
Beginner Projects to Try:
- 🌐 Wi-Fi-based Temperature Logger
- 🔦 Bluetooth-Controlled Light
- 📱 Control LEDs using the Blynk App
- 🌡️ DHT11 Temperature + OLED Display
- 🏠 Smart Door Lock with Fingerprint Sensor
Conclusion:
The ESP32 board is a powerful tool for learning embedded systems and wireless technology. With built-in Wi-Fi, Bluetooth, and rich GPIO options, it is one of the best choices for creating innovative electronics and IoT solutions.