 />
/>
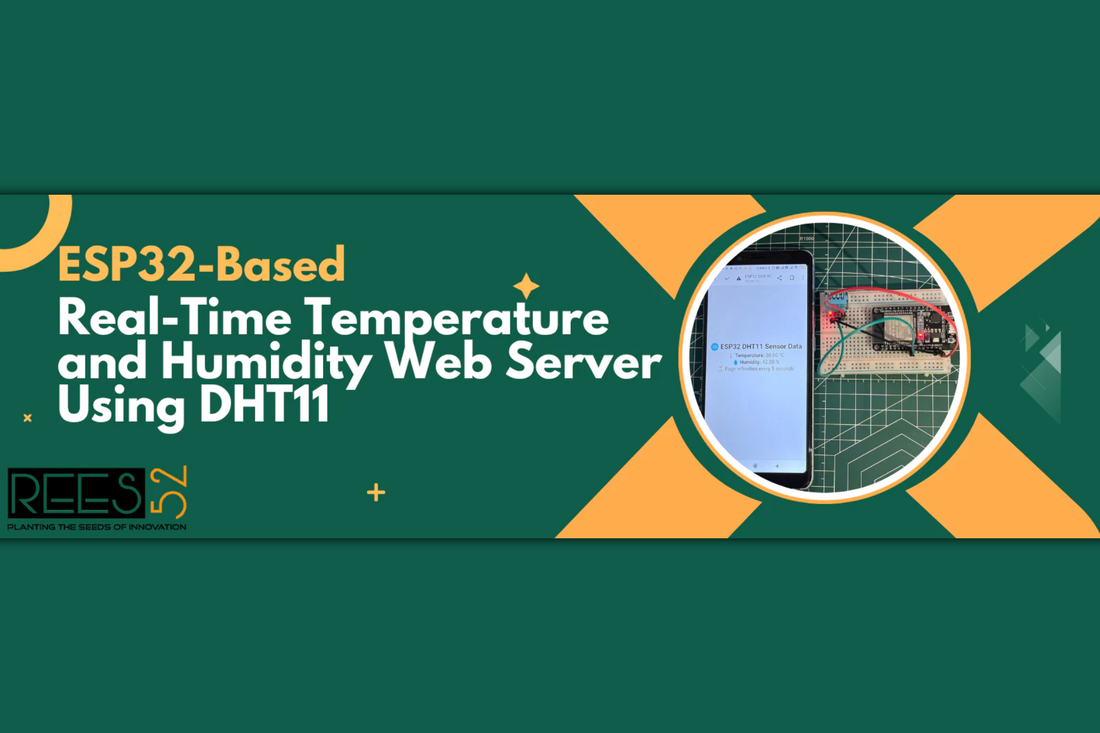
ESP32-Based Real-Time Temperature and Humidity Web Server Using DHT11
By Shail PathakIntroduction:
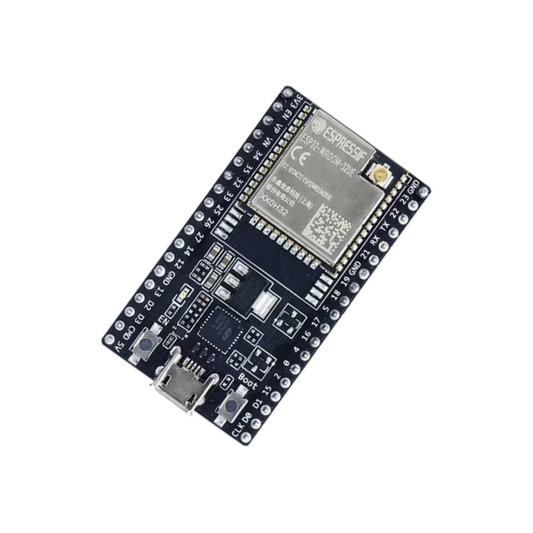
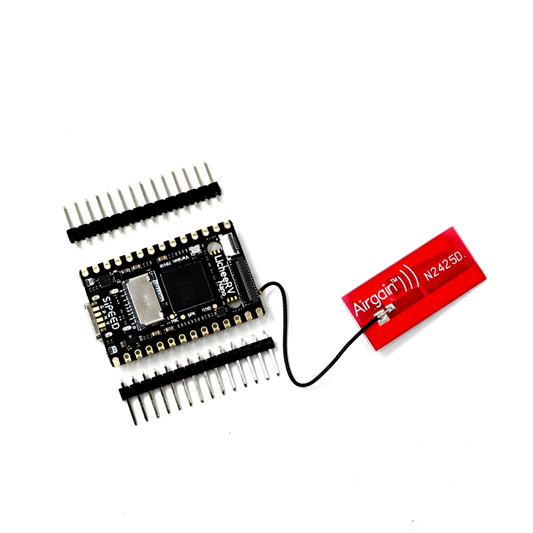
The ESP32 is a powerful microcontroller with built-in Wi-Fi and Bluetooth capabilities, making it perfect for IoT applications. In this beginner-friendly project, we’ll use the ESP32 and a DHT11 Sensor to build a real-time temperature and humidity monitoring system that displays data on a live web server.
What You’ll Learn:
- How to set up the ESP32 board in Arduino IDE
-
Interfacing a DHT11 temperature & humidity sensor
- Hosting a local web server using ESP32
-
Displaying live sensor data on a web page
- Styling HTML content with emojis and larger fonts
Project Overview:
The aim is to create a wireless system that monitors environmental temperature and humidity using a DHT11 Sensor and ESP32. The sensor readings will be updated every few seconds and displayed on a styled webpage using emojis for better readability.
Required Components:
Circuit Diagram:
ESP32 Pin |
DHT11 Pin |
|---|---|
| 3.3V | VCC |
| GND | GND |
| OUT | GPIO 25 |

Hardware Setup – Step-by-Step Instructions:
- Place the DHT11 sensor on the breadboard.
- Connect the VCC of DHT11 to 3.3V of ESP32.
- Connect the GND of DHT11 to GND on ESP32.
- Connect the OUT pin of DHT11 to GPIO 25 on ESP32.
- Ensure all connections are secure before powering the ESP32.
Arduino Code:
#include <Wire.h> #include <Adafruit_GFX.h> #include "DHT.h" const char* ssid = "EXCITEL-2.4G"; const char* password = "Heloavinash9@#"; #define DHTPIN 25 #define DHTTYPE DHT11 DHT dht(DHTPIN, DHTTYPE); WiFiServer server(80); void setup() { Serial.begin(115200); dht.begin(); WiFi.begin(ssid, password); while (WiFi.status() != WL_CONNECTED) { delay(500); Serial.print("."); } Serial.println("\nWiFi Connected. IP: " + WiFi.localIP().toString()); server.begin(); } void loop() { WiFiClient client = server.available(); if (client) { float temp = dht.readTemperature(); float hum = dht.readHumidity(); String html = "<!DOCTYPE html><html><head>"; html += "<meta charset='UTF-8'/>"; html += "<meta http-equiv='refresh' content='5'/>"; html += "<title>ESP32 DHT11 Web Server</title>"; html += "<style>"; html += "body { font-family: Arial; background:#f4f4f4; padding-top:5vh; text-align:center; }"; html += "h2 { font-size: 4em; color:#333; }"; html += "p { font-size: 2.5em; color:#555; }"; html += "</style></head><body>"; html += "<h2>🌐 ESP32 DHT11 Sensor Data</h2>"; if (isnan(temp) || isnan(hum)) { html += "<p>❌ Sensor read failed.</p>"; } else { html += "<p>🌡️ Temp: " + String(temp) + " °C</p>"; html += "<p>💧 Humidity: " + String(hum) + " %</p>"; } html += "<p>🔁 Auto-refresh every 5s</p></body></html>"; client.println("HTTP/1.1 200 OK"); client.println("Content-type:text/html\n"); client.print(html); client.stop(); } }
How to Run the Code on ESP32:
- Open Arduino IDE
- Install the ESP32 board support and DHT sensor libraries
- Select your board: ESP32 Dev Module
- Connect your ESP32 via USB and select the correct COM port
- Paste the above code and upload it
- Open Serial Monitor (115200 baud) and copy the IP address
- Open a browser and paste the IP to view the live data
Troubleshooting Tips:
- Ensure DHT11 is powered with 3.3V (not 5V)
- If the sensor reads 'nan', reconnect the wires or restart the ESP32
- Make sure Wi-Fi credentials are correct
- Check the Serial Monitor for helpful debug messages
Further Improvements:
- Add cloud support using Blynk or ThingSpeak
- Display historical data graphs using JavaScript
- Use DHT22 for better accuracy
- Integrate an OLED display to show data offline
Conclusion:
You now have a live temperature and humidity monitoring system hosted directly from an ESP32. With web integration and real-time updates, this is a powerful intro project to IoT development!