 />
/>
ESP32 Based Memory Game: A Fun Approach to Embedded Systems
By Shail PathakIntroduction:
In today’s hands-on tech environment, building interactive games is a powerful way to explore the world of embedded systems. This project demonstrates a memory-based game built using the ESP32 microcontroller, combining user interaction, visual feedback, and real-time decision logic.
This memory game is inspired by the classic “Simon Says” concept, where the player needs to remember and repeat a sequence of LED blinks. With every correct round, the sequence grows longer, challenging the player’s memory and attention.
What is the ESP32 Memory Game?
This project is a simple game where:
- A random LED sequence is generated by the ESP32.
- The user has to memorise and press buttons in the same order.
- With each successful round, the game level increases.
- A mistake ends the game, and the player must restart from level one.
Required Hardware:
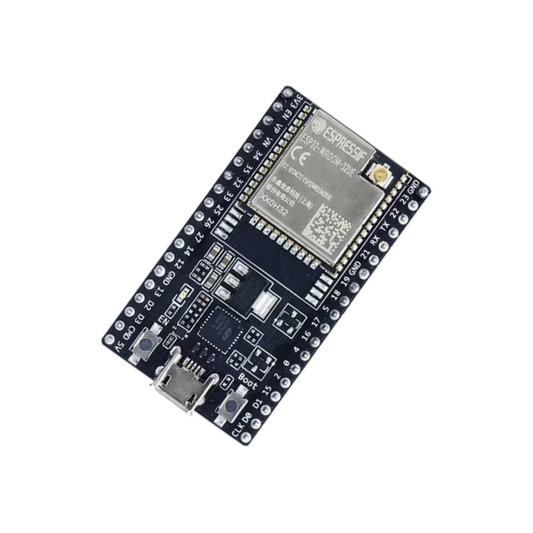
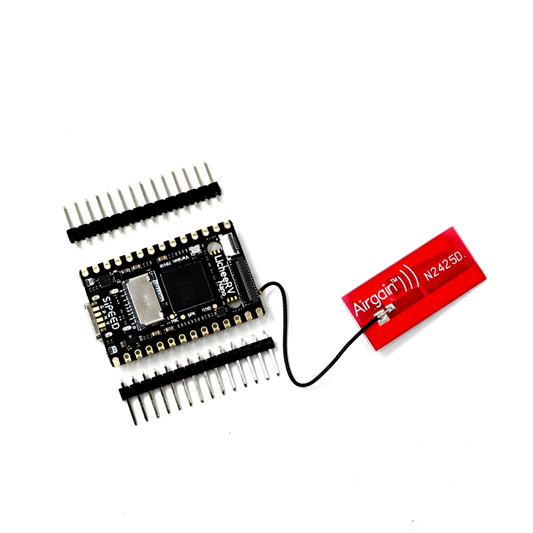
- ESP32 Development Board
- 3 LEDs (any color – Red, Green, Blue)
- 3 Push Buttons
- Buzzer
- OLED Display (128x64, I2C)
- 10kΩ Resistors
- Breadboard and Jumper Wires
-
USB Cable for Programming ESP32
Circuit Connections:

| Component | ESP32 GPIO Pin |
|---|---|
| LED 1 | GPIO 13 |
| LED 2 | GPIO 27 |
| LED 3 | GPIO 14 |
| Button 1 | GPIO 26 |
| Button 2 | GPIO 32 |
| Button 3 | GPIO 33 |
| Buzzer | GPIO 15 |
| OLED SDA | GPIO 21 |
| OLED SCL | GPIO 22 |
| OLED VCC | 3.3V |
| OLED GND | GND |
| All Button GND | GND |
| All LED Cathode | GND (via resistor) |
| Buzzer GND | GND |
Note: All buttons are connected using INPUT_PULLUP mode. They read LOW when pressed.
Working Principle:
- The OLED displays a welcome screen when powered on.
- The game starts after any button is pressed.
- A random LED sequence is shown to the player.
- The player must repeat the pattern using the buttons.
- If the sequence is correct, the game level increases.
- If incorrect, the game ends with a "Game Over" message and buzzer alert.
Arduino Code:
#include <Wire.h>
#include <Adafruit_GFX.h>
#include <Adafruit_SSD1306.h>

// OLED display settings
#define SCREEN_WIDTH 128
#define SCREEN_HEIGHT 64
#define OLED_RESET -1
Adafruit_SSD1306 display(SCREEN_WIDTH, SCREEN_HEIGHT, &Wire, OLED_RESET);

#define LED_COUNT 3
int ledPins[LED_COUNT] = {13, 27, 14};
int btnPins[LED_COUNT] = {26, 32, 33};

#define BUZZER 15
#define MAX_LEVEL 10
int pattern[MAX_LEVEL];
int level = 1;
bool gameStarted = false;

void setup() {
  Serial.begin(115200);
  // LED and Button
  for (int i = 0; i < LED_COUNT; i++) {
    pinMode(ledPins[i], OUTPUT);
    pinMode(btnPins[i], INPUT_PULLUP);
  }
  pinMode(BUZZER, OUTPUT);

  if (!display.begin(SSD1306_SWITCHCAPVCC, 0x3C)) {
    Serial.println("OLED failed to initialize");
    while (true);
  }

  randomSeed(analogRead(0));
  displayStartScreen();
}

void loop() {
  if (!gameStarted) {
    if (anyButtonPressed()) {
      gameStarted = true;
      level = 1;
      nextRound();
    }
    return;
  }

  showPattern();

  if (!checkPlayerInput()) {
    gameOver();
    gameStarted = false;
    displayStartScreen();
    return;
  } else {
    delay(500);
    level++;
    if (level > MAX_LEVEL) level = MAX_LEVEL;
    nextRound();
  }
}

void nextRound() {
  pattern[level - 1] = random(0, LED_COUNT);
  displayMessage("Level " + String(level));
  delay(1000);
}

void showPattern() {
  for (int i = 0; i < level; i++) {
    int led = pattern[i];
    digitalWrite(ledPins[led], HIGH);
    tone(BUZZER, 1000 + led * 200, 200);
    delay(500);
    digitalWrite(ledPins[led], LOW);
    delay(300);
  }
}

bool checkPlayerInput() {
  for (int i = 0; i < level; i++) {
    int input = waitForButtonPress();
    if (input != pattern[i]) {
      showWrongPress();
      return false;
    }
  }
  return true;
}

int waitForButtonPress() {
  while (true) {
    for (int i = 0; i < LED_COUNT; i++) {
      if (digitalRead(btnPins[i]) == LOW) {
        tone(BUZZER, 800 + i * 150, 100);
        digitalWrite(ledPins[i], HIGH);
        delay(300);
        digitalWrite(ledPins[i], LOW);
        while (digitalRead(btnPins[i]) == LOW);
        return i;
      }
    }
  }
}

void gameOver() {
  displayMessage("Game Over!");
  for (int i = 0; i < 3; i++) {
    tone(BUZZER, 400, 300);
    delay(400);
  }
  delay(1500);
}

void displayMessage(String msg) {
  display.clearDisplay();
  display.setTextSize(2);
  display.setTextColor(SSD1306_WHITE);
  display.setCursor(0, 20);
  display.println(msg);
  display.display();
}

void displayStartScreen() {
  display.clearDisplay();
  display.setTextSize(1);
  display.setCursor(0, 0);
  display.println("MEMORY GAME");
  display.setCursor(0, 20);
  display.println("Press any button");
  display.setCursor(0, 35);
  display.println("to start!");
  display.display();
  delay(2000);
  displayMessage("Game Starting...");
  delay(1000);
}

void showWrongPress() {
  for (int i = 0; i < 2; i++) {
    for (int j = 0; j < LED_COUNT; j++) {
      digitalWrite(ledPins[j], HIGH);
    }
    tone(BUZZER, 300, 300);
    delay(300);
    for (int j = 0; j < LED_COUNT; j++) {
      digitalWrite(ledPins[j], LOW);
    }
    delay(300);
  }
}

bool anyButtonPressed() {
  for (int i = 0; i < LED_COUNT; i++) {
    if (digitalRead(btnPins[i]) == LOW) {
      while (digitalRead(btnPins[i]) == LOW);
      return true;
    }
  }
  return false;
}
Output:
Once the hardware is connected and code uploaded:
- On power-up, OLED displays "MEMORY GAME" and prompts to press any button.
- After button press, a random LED sequence is displayed along with buzzer tones.
- User replicates the sequence by pressing the matching buttons.
- OLED displays current Level after each success.
- On mistake, all LEDs blink and "Game Over!" is shown with buzzer alerts.
Applications and Extensions:
This project is suitable for:
- Learning embedded logic
- Exploring real-time input handling
- Understanding arrays, loops, and state machines
Possible extensions:
- Add more LEDs and buttons
- Store high scores in EEPROM
- Connect via Bluetooth for app-based control
Conclusion:
This memory game project provides a hands-on way to learn embedded systems using the ESP32 platform. It covers GPIO control, OLED interfacing, button debouncing, buzzer control, and basic game logic.
The simplicity and scalability of this project make it an excellent choice for beginners and intermediate learners alike.
Output: