 />
/>
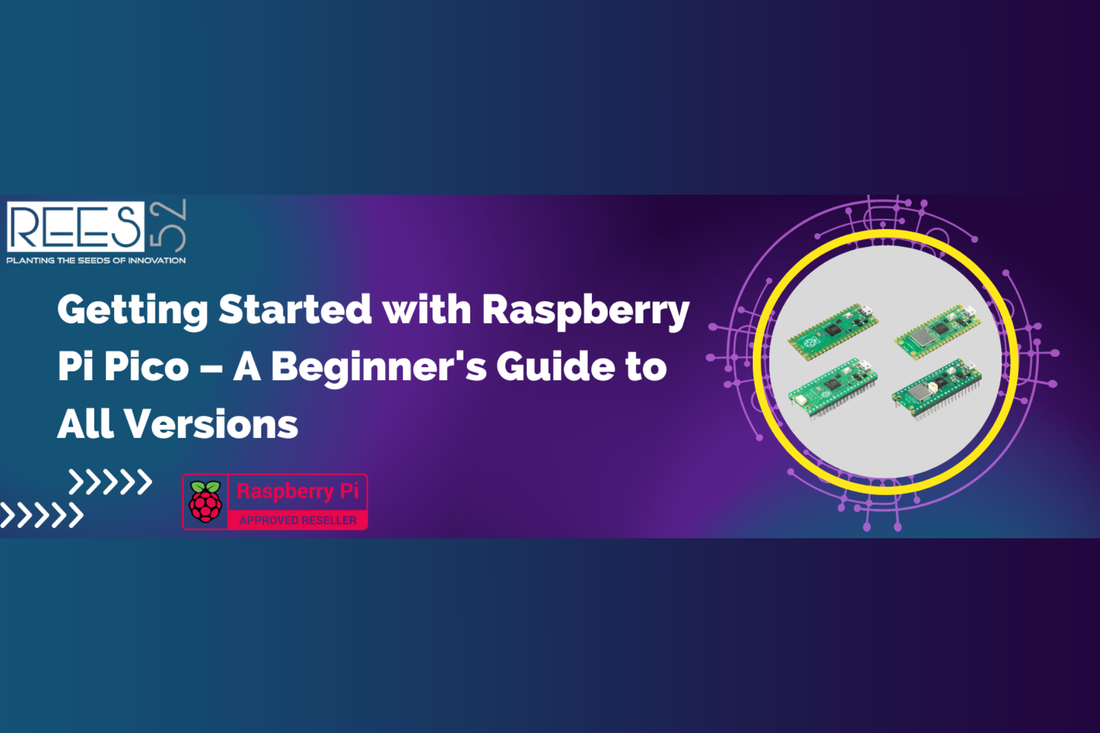
Getting Started with Raspberry Pi Pico – A Beginner's Guide to All Versions
By Shail PathakIntroduction:
If you're stepping into the world of electronics and microcontrollers, the Raspberry Pi Pico is one of the most powerful and affordable boards to start with. Developed by the Raspberry Pi Foundation, it uses the RP2040 microcontroller chip and is perfect for learning embedded systems, making DIY electronics projects, or building real-world applications like sensors, automation, or even games.
What is Raspberry Pi Pico?
The Raspberry Pi Pico is a low-cost, high-performance microcontroller board based on the custom-built RP2040 chip, designed by the Raspberry Pi team. Unlike other Raspberry Pi boards (like Pi 3, 4, or 5), Pico is not a mini-computer but a microcontroller board similar to Arduino. It is programmed using either MicroPython, C/C++, or CircuitPython.

RP2040 Chip Highlights:
- Dual-core ARM Cortex M0+ @ 133MHz
- 264KB SRAM, 2MB Flash memory
- 26 GPIO Pins (3 ADCs, multiple SPI/I2C/UART)
- USB 1.1 Host/Device Support
- Low-power and flexible IO control
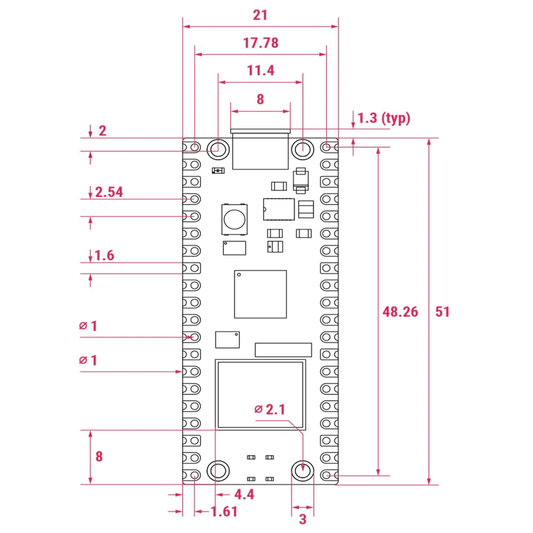
Raspberry Pi Pico Pinout Diagram
Understanding the pin configuration of the Raspberry Pi Pico is essential before connecting sensors, buttons, and other peripherals. The Pico has 40 pins (20 on each side), and each serves a specific function such as power, ground, GPIO, ADC, I2C, SPI, UART, and more.

🔗 Click here to download the high-resolution PDF version of this pinout diagram.
Key Pin Functions:
- 3V3 (OUT) – 3.3V power output
- GND – Ground
- GP0 – GP22 – General Purpose I/O Pins
- ADC0 – ADC2 – Analog Input Channels
- I2C, SPI, UART – Communication interfaces
- RUN – Reset input
- VSYS – Input voltage (1.8V–5.5V)
- VBUS – USB power (5V)
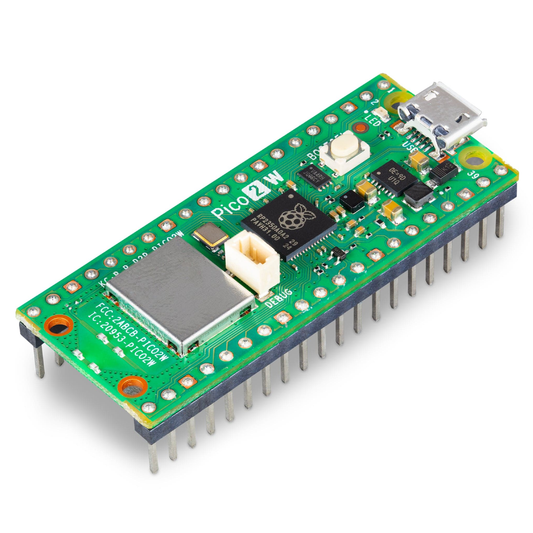
Raspberry Pi Pico Versions
There are multiple versions of the Raspberry Pi Pico available now, each tailored to different types of users and applications:
| Version | Wi-Fi | Headers | USB Port | Ideal For |
|---|---|---|---|---|
| Pico | No | No | Micro USB | Budget users, DIY soldering |
| Pico H | No | Yes | Micro USB | Breadboard-friendly setup |
| Pico W | Yes | No | Micro USB | IoT & Wi-Fi based projects |
| Pico WH | Yes | Yes | Micro USB | Best for beginners + Wi-Fi support |
Pico vs Pico W vs H vs WH:
| Feature | Pico | Pico H | Pico W | Pico WH |
|---|---|---|---|---|
| RP2040 Chip | Yes | Yes | Yes | Yes |
| Wi-Fi (CYW43439) | No | No | Yes | Yes |
| Pre-soldered Headers | No | Yes | No | Yes |
| USB Type | Micro USB | Micro USB | Micro USB | Micro USB |
| Best Use Case | DIY solder | Breadboard | IoT Projects | Plug-and-play IoT |
Which Version Should You Choose?
- Absolute Beginners: Pico WH (Wi-Fi + headers)
- Budget Hobbyist: Pico (if comfortable with soldering)
- IoT Learners: Pico W or WH
- Classroom Projects: Pico H or WH (no soldering needed)
Setting Up Raspberry Pi Pico:
Things You Need:
- Raspberry Pi Pico (any version)
- USB cable (Micro USB)
- Computer with Thonny IDE installed
Steps:
- Hold down the BOOTSEL button and plug Pico into your PC via USB.
- Pico appears as a USB drive.
- Drag and drop the MicroPython
.uf2firmware file from official Pico site onto the drive. - Install and open Thonny IDE.
- Choose interpreter: "MicroPython (Raspberry Pi Pico)"
- Write and run your first code (e.g., blink an LED)
Sample Code: Blink an LED:
from machine import Pin
import time

led = Pin(25, Pin.OUT)

while True:
    led.toggle()
    time.sleep(0.5)
What Can You Build With Pico?
- Memory Games
- IoT Weather Station
- Smart Sensors (Motion, Light, Temp)
- Smartphone Oscilloscope
- Home Automation Tools
- Gesture Controlled Car
Useful Resources:
Conclusion:
The Raspberry Pi Pico is a fantastic board for anyone starting with embedded systems, hobby electronics, or IoT. With its multiple variants, there's a perfect Pico for every need. Start experimenting and unleash your creativity.
Coming Next: Beginner-friendly Raspberry Pi Pico Projects – Stay tuned!