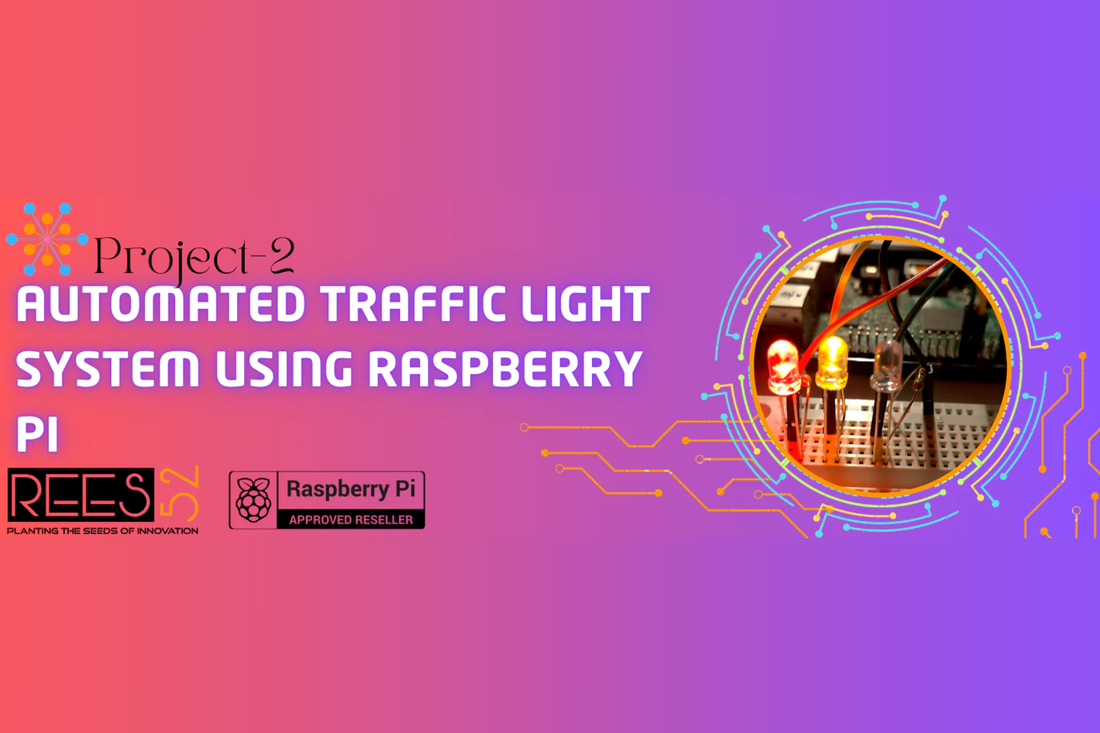
Project-2 : Automated Traffic Light System Using Raspberry Pi
Nitin ThakkarIntroduction:
We will create an Automated Traffic Light System using Raspberry Pi in this project. The project simulates a real-world traffic light signal by turning on red, yellow, and green LEDs in a programmed sequence. This is an ideal beginner project for learning how to control GPIO pins using Python on the Raspberry Pi. The concept can be extended to smart city applications, pedestrian-controlled signals, or sensor-based traffic systems.
Project Objectives:
- Simulate a traffic light system using three LEDs (Red, Yellow, Green).
- Control LED sequence using Python and Raspberry Pi GPIO pins.
- Understand timing logic and GPIO output control.
Required Components:
- Raspberry Pi 5 (with Raspbian OS)
- Red LED
- Yellow LED
- Green LED
- 3 × 220 Ohm Resistors
- Jumper Wires
- Breadboard
- Power Supply for Raspberry Pi
Circuit Connections:
Connect the LEDs to the GPIO pins of the Raspberry Pi using the following setup:
LED |
GPIO Pin |
Physical Pin |
Resistor |
GND Connection |
|---|---|---|---|---|
| Red | GPIO 16 | Pin 36 | 220 Ohm | Connected to GND rail |
| Yellow | GPIO 18 | Pin 12 | 220 Ohm | Connected to GND rail |
| Green | GPIO 17 | Pin 11 | 220 Ohm | Connected to GND rail |

Step-by-Step Setup Instructions:
- Place the Red, Yellow, and Green LEDs on the breadboard in separate rows.
- Connect each anode (longer leg) to a GPIO pin through a 220-ohm resistor.
- Connect the cathodes (shorter legs) of all LEDs to the ground rail on the breadboard.
- Use a jumper wire to connect the breadboard's ground rail to any GND pin on the Raspberry Pi.
- Ensure your Raspberry Pi is powered and running Raspbian OS with GPIO libraries installed.
Python Code for Traffic Light Simulation:
Open a terminal on the Raspberry Pi and create a new Python file:
Paste the following Python code:
import time
# Set the GPIO mode
GPIO.setmode(GPIO.BCM)
# Define GPIO pins for each LED
RED_PIN = 16
YELLOW_PIN = 18
GREEN_PIN = 17
# Setup all the pins as output
GPIO.setup(RED_PIN, GPIO.OUT)
GPIO.setup(YELLOW_PIN, GPIO.OUT)
GPIO.setup(GREEN_PIN, GPIO.OUT)
# Function to simulate traffic light
def traffic_light():
while True:
# Red light
GPIO.output(RED_PIN, GPIO.HIGH)
GPIO.output(YELLOW_PIN, GPIO.LOW)
GPIO.output(GREEN_PIN, GPIO.LOW)
print("RED LIGHT")
time.sleep(5)
# Green light
GPIO.output(RED_PIN, GPIO.LOW)
GPIO.output(YELLOW_PIN, GPIO.LOW)
GPIO.output(GREEN_PIN, GPIO.HIGH)
print("GREEN LIGHT")
time.sleep(5)
# Yellow light
GPIO.output(RED_PIN, GPIO.LOW)
GPIO.output(YELLOW_PIN, GPIO.HIGH)
GPIO.output(GREEN_PIN, GPIO.LOW)
print("YELLOW LIGHT")
time.sleep(2)
try:
traffic_light()
except KeyboardInterrupt:
print("Traffic light simulation stopped.")
finally:
GPIO.cleanup()
To save the file, press Ctrl + X, then Y, and hit Enter.
Run the program using:
Working Explanation:
- The Python code sets up three GPIO pins as outputs.
- The LEDs are turned on and off in a sequence: red → yellow → green.
- Each light remains on for a specific time using
time.sleep(). - The the
try-exceptblock ensures clean termination and releases GPIO resources.
Further Improvements:
- Use push buttons for pedestrian input to change light flow.
- Use IR or ultrasonic sensors to detect traffic and change signals accordingly.
- Interface with a camera module and use computer vision for smart traffic control.
- Control lights remotely using a web interface or mobile app.
Conclusion:
This project demonstrates the basic use of GPIO pins and Python scripting to control hardware through the Raspberry Pi. With just a few components and simple logic, you’ve created a working model of a traffic signal system. This forms the foundation for more advanced embedded systems and smart city traffic management applications.