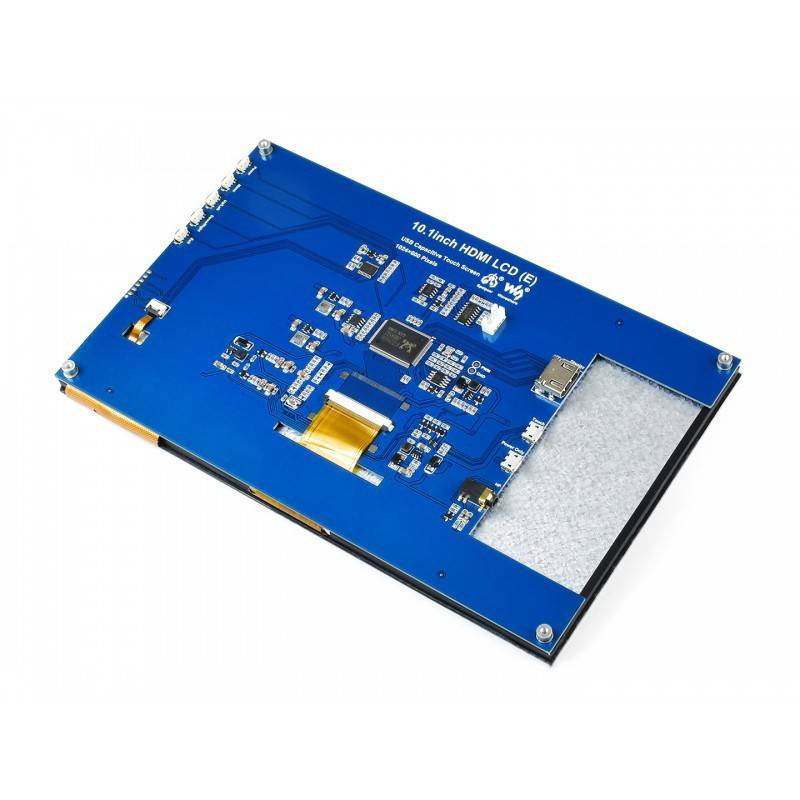
Package Included :
- 10.1inch HDMI LCD (E) x1
- HDMI cable x1
- HDMI to Micro HDMI Adapter x1
- USB-A to Micro-B cable x1
Description :
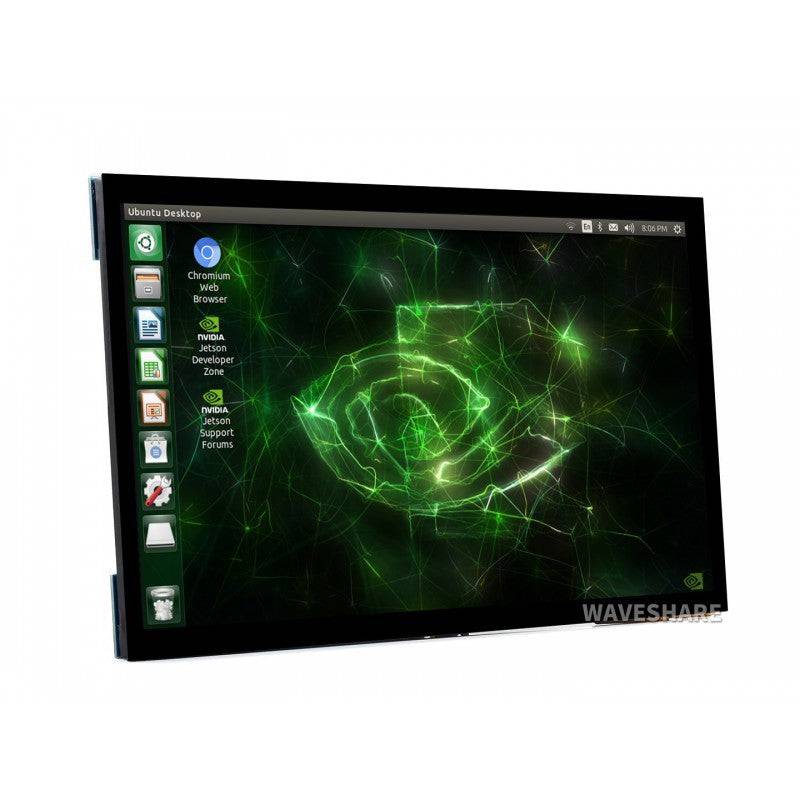
10.1inch Capacitive Touch Screen LCD (E), 1024 × 600, HDMI, IPS, 10-Points Touch, Fully Laminated Screen, Supports Raspberry Pi, Jetson Nano, And PC.
Features:
- Hardware resolution: 1024 × 600.
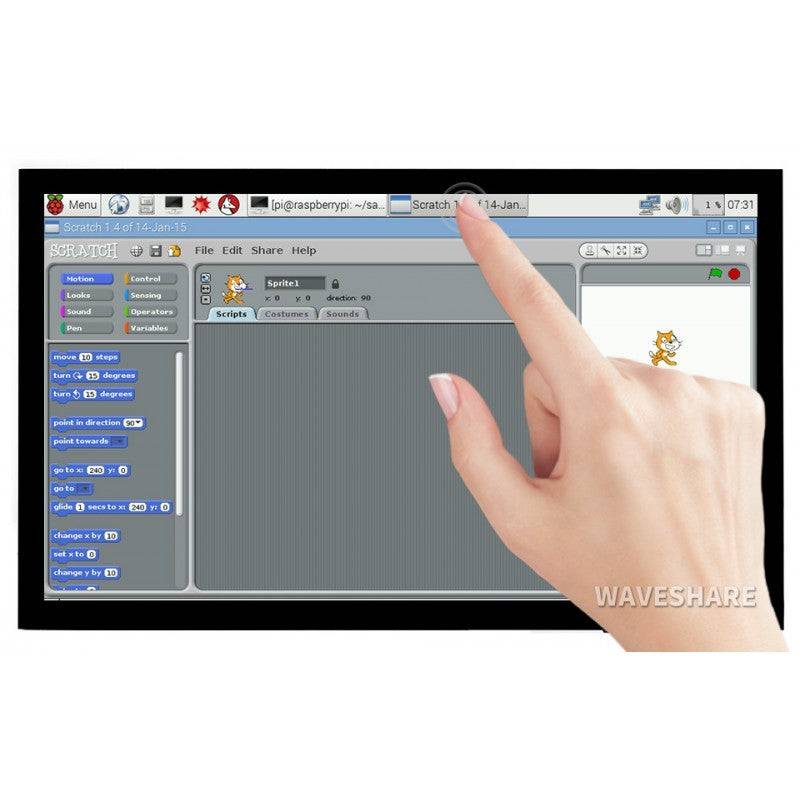
- Toughened glass panel features 6H hardness and 10-Points capacitive touch.
- Fully Laminated for better touching.
- When used with Raspberry Pi, it supports Raspberry Pi OS / Ubuntu / Kali and Retropie.
- When used as a computer monitor, it supports Windows 11/10/8.1/8/7.
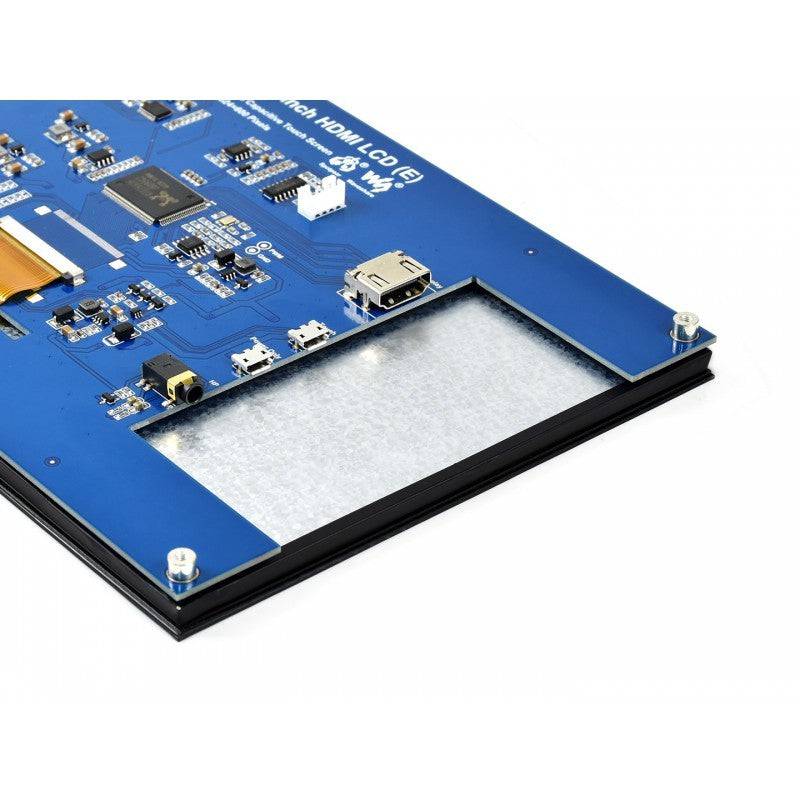
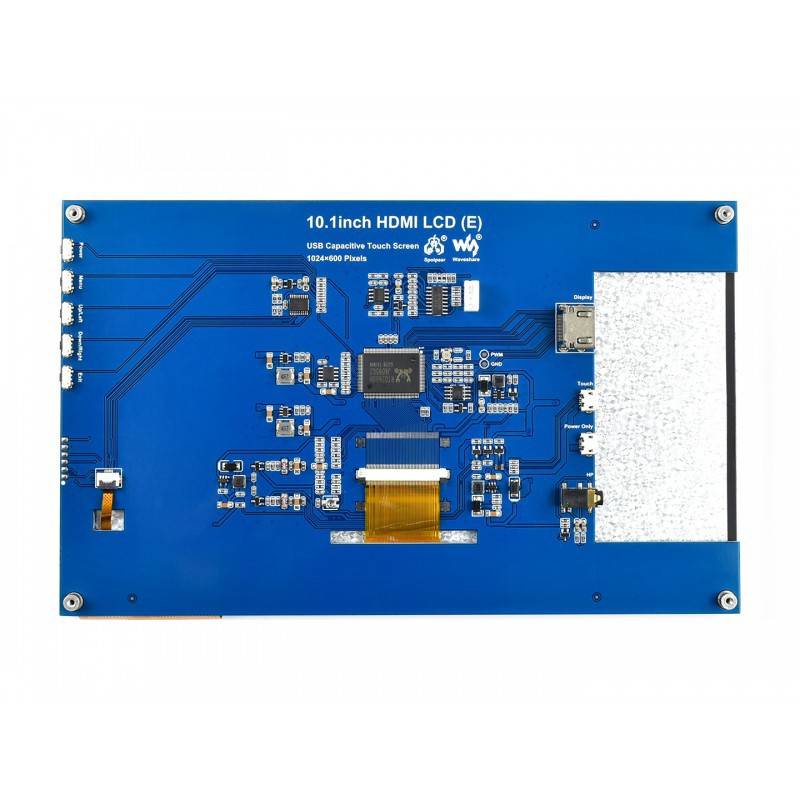
- Features 3.5mm Headphone jack and 4PIN audio interface for HDMI audio.
- Supports common game consoles like XBOX360 and Switch.
- Backlight is controllable for power saving.
- User Guides
Windows PC
This product supports Windows 11/10/8.1/8/7 System.:
Note 2:Some of PC supply full power to the LCD, in this case, you can connect an external power adapter to the power interface of the LCD.
- Connect the TOUCH interface of LCD to the USB interface of PC. Waiting for a moment, The touch will be recognized by Windows automatically
- Connect the HDMI interface of LCD to the HDMI port of PC. After about a few seconds, you can see the LCD display normally
Note 2:Some of PC supply full power to the LCD, in this case, you can connect an external power adapter to the power interface of the LCD.
Raspberry Pi
When using with Raspberry Pi, support Raspberry Pi OS / Ubuntu / Kali and Retropie systems.
Download the Raspbian image from Raspberry Pi website. Write the image to a TF card and append the following lines to the config.txt file which is located in the root of your TF card:
hdmi_group=2
hdmi_mode=87
hdmi_cvt 1024 600 60 6 0 0 0
Download the Raspbian image from Raspberry Pi website. Write the image to a TF card and append the following lines to the config.txt file which is located in the root of your TF card:
- Unzip the archive to get the .img file.
- Insert the TF card to PC and format the TF card by SDFormatter software.
- Open the Win32DiskImager software and select the image file unzipped and click write to writing it.
- After writing, modify config.txt file and append the following lines to the config.txt. The file is located in BOOT directory of the TF card.
hdmi_group=2
hdmi_mode=87
hdmi_cvt 1024 600 60 6 0 0 0
- Connect the Touch interface of the LCD to the USB port of Raspberry Pi.
- Connect the HDMI interface of the LCD to the HDMI port of the RaspberryPi.
- Power on the Raspberry Pi. (You can adjust the brightness of the LCD by the OSM menu, whose control buttons are on the side fo the LCD)
Others
Turn off power saving
Sometimes you may want to keep the LCD display all the time, in this case, you need to turn off the power saving of Raspberry Pi.
Modify lightdm.conf
sudo nano /etc/lightdm/lightdm.conf
Find the [SeatDefaults] Option and the line that "xserver-command", change it from
#xserver-command=X
to
xserver-command=X -s 0 -dpms
-s # set screen saver not enabled
dpms # Turn off power saving management
Reboot the system
sudo reboot
Turn on/ off display
You can turn on/off the display by the following commands.
vcgencmd display_power 0
vcgencmd display_power 1
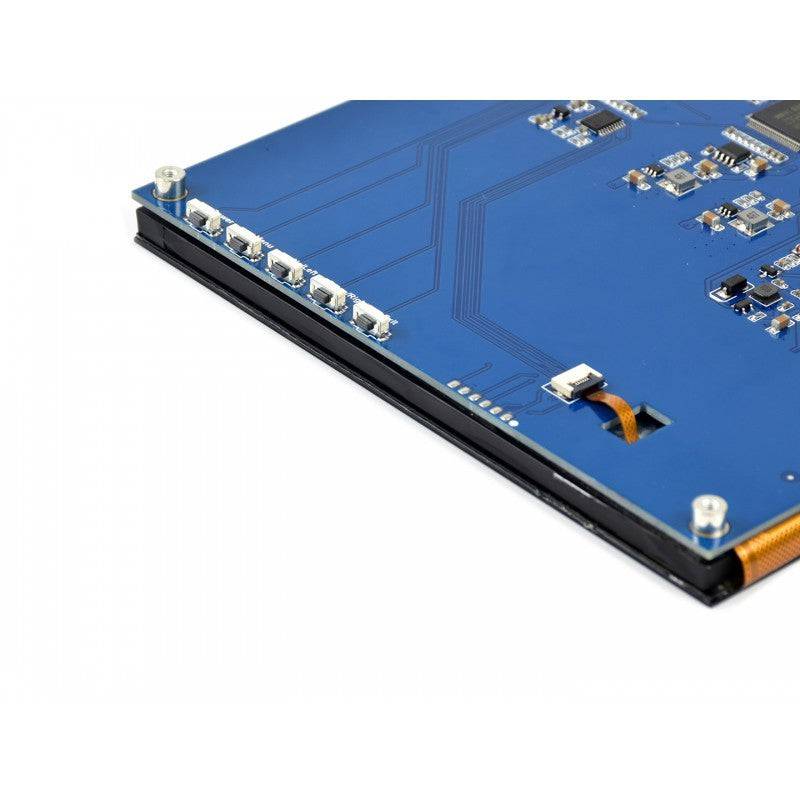
Button function description
Power: Backlight power button. Switch the backlight power on and off. If you don't need to use the display for a long time, you can use this button to turn off the backlight and reduce power consumption
Menu: Menu button. Press this key to open the OSD menu. When using the menu, it can also be used as a confirmation key.
Up/Left: Direction buttons
Down/Right: Direction buttons
Exit: Exit key
Package Included :
- 10.1inch HDMI LCD (E) x1
- HDMI cable x1
- HDMI to Micro HDMI Adapter x1
- USB-A to Micro-B cable x1


