


vendor-unknown
Turn On/Off the Bulb using Using W1209 Temperature Module - KT683
Turn On/Off the Bulb using Using W1209 Temperature Module - KT683
SKU:KT683
Low stock: 2 left
Couldn't load pickup availability
- For Bulk Order Click Here
- Need Customer Support?
- Free Delivery Above 999/-
Note: In case you receive a damaged or faulty product, please return it in the original box with all foam and packaging. Returns will not be accepted if further damage occurs due to improper packing.
If you order a product that is currently in Preorder, and the price of that item increases in the future, you will be required to pay the difference in price.
For refund/return/replacement, call us at +91 95995 94520 or email us at support@rees52.com
Delivery Time
Delivery Time
- Delivery time with the Express Shipping option is 2-3 working days, and with the Standard Shipping option is 5-6 working days. It varies based on location, reliant on courier services.
- Delivery time if the order item is on Preorder Status is 15-20 working days.
COD (Cash on Delivery)
COD (Cash on Delivery)
- For COD you have to pay extra charges of Rs 350/- before the shipment. (We will share the company QR Code, UPI ID or Account details for the same)

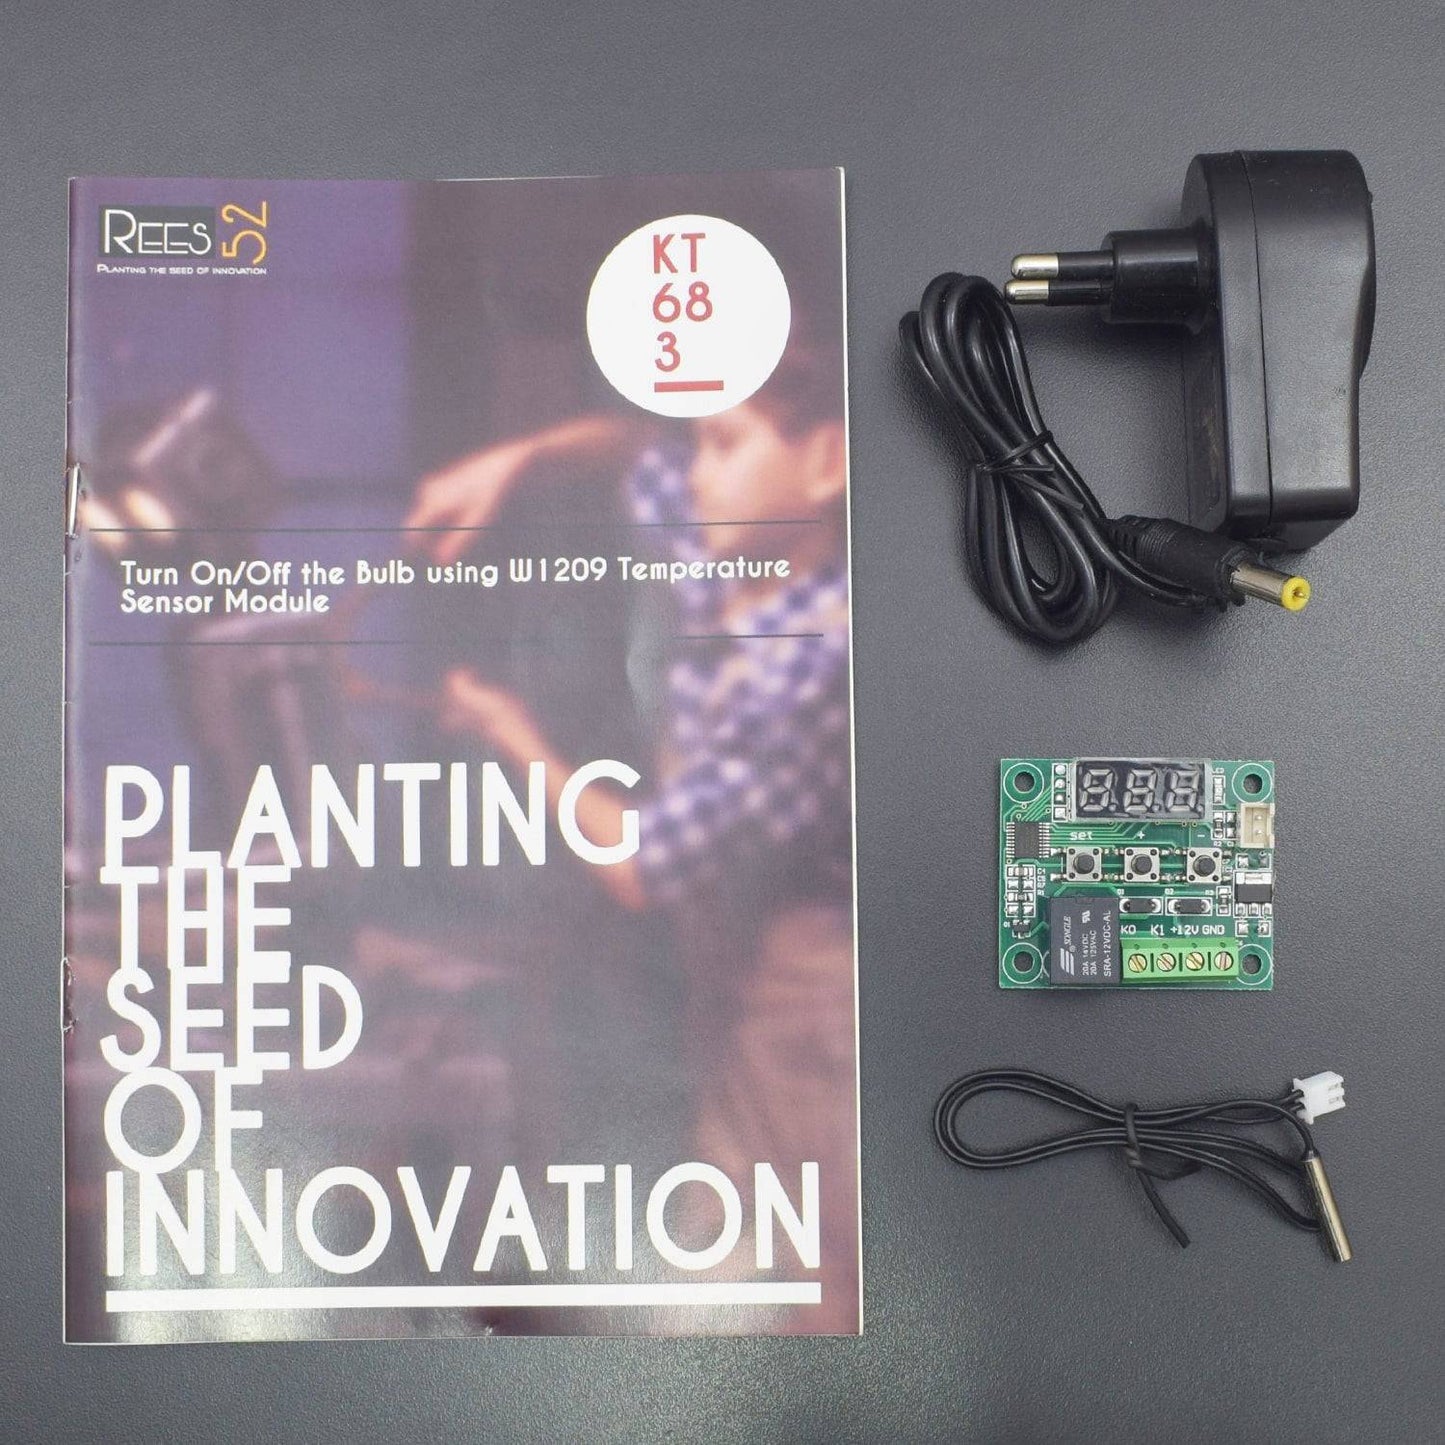

KIT INCLUDED:
- W1209 Temperature Control Switch Temperature controller - 1
- Bulb Holder – 1 (Not included in Kit)
- 12V 1Amp SMPS Adapter – 1
- 220v AC Bulb – 1 (Not included in Kit)
INTRODUCTION
In this Project, We are testing a W1209 Temperature module in which current temperature will be displayed on the module in degree Celsius by default. When switched to a different mode, inactivity for approximately 5 seconds would lead to restoring the value of the module to the default temperature display. The temperature is displayed in degree centigrade and with the help of 7-segment display and the relay, the state is displayed with the help of the LED present on the W1209 module.
HARDWARE REQUIRED
- W1209 Temperature Control Switch Temperature controller - 1
- Bulb Holder – 1 (Not included in Kit)
- 12V 1Amp SMPS Adapter – 1
- 220v AC Bulb – 1 (Not included in Kit)
SPECIFICATIONS
W1209 Temperature Sensor Module
This particular module is the highly functional thermostat controller. It can easily control the power to most types of electrical device which are based on the temperature sensed. It also includes an embedded microcontroller for which no programming knowledge is required. Also the on board relay can switch up to a maximum of 240V AC at 5A or 14V DC at 10A.
- Temperature Control Range: -50 ~ 110 C
- Resolution at -9.9 to 99.9: 0.1 C
- Resolution at all other temperatures: 1 C
- Measurement Accuracy: 0.1 C
- Control Accuracy: 0.1 C
- Refresh Rate: 0.5 Seconds
- Input Power (DC): 12V
- Measuring Inputs: NTC (10K 0.5%)
- Waterproof Sensor: 0.5M
- Output: 1 Channel Relay Output
- Capacity: 10A
- Dimensions: 48mm x 40mm x 14mm
PIN DESCRIPTION
W1209 Temperature Sensor Module
The device XH-W1209 includes five main components:
- The display is red, it shows three digits, the amount of 1 cm and length of 2.3cm. Clearly shows the temperature value withe the one decimal place.
- Below the display are three buttons which control the thermostat XH-W1209. First button is “SET” with next two buttons are + and – are used for menu navigation increasing or decreasing values Below the buttons is black one way relay to turn on or off an electrical circuit. The relays can switch from AC circuits suitable for US 110V or EU 230V.
- Do we involve green terminal two terminals for the relay K0 and K1 and two terminal for power from 12V transformer or battery + 12V and GND.
- The sensor for temperature controller XH-W1209 is placed in a simple white socket. It is about 30 cm long with active iron end. Type of temperature sensor is classic NTC 10K 0.5%.
.jpg)
CIRCUIT CONNECTION
- Connect one wire of Bulb with the one wire of plug wire.
- The remaining wire of the plug (second) connect with the K0 (w1209 module)
- Another Remaining wire of Bulb connects with the K1 (w1209 module) as shown in the diagram.
- Connect 12v pin of w1209 module with the Positive terminal of 12V DC adapter power supply
- Connect GND pin of w1209 module with the Negative terminal of 12V DC adapter power supply

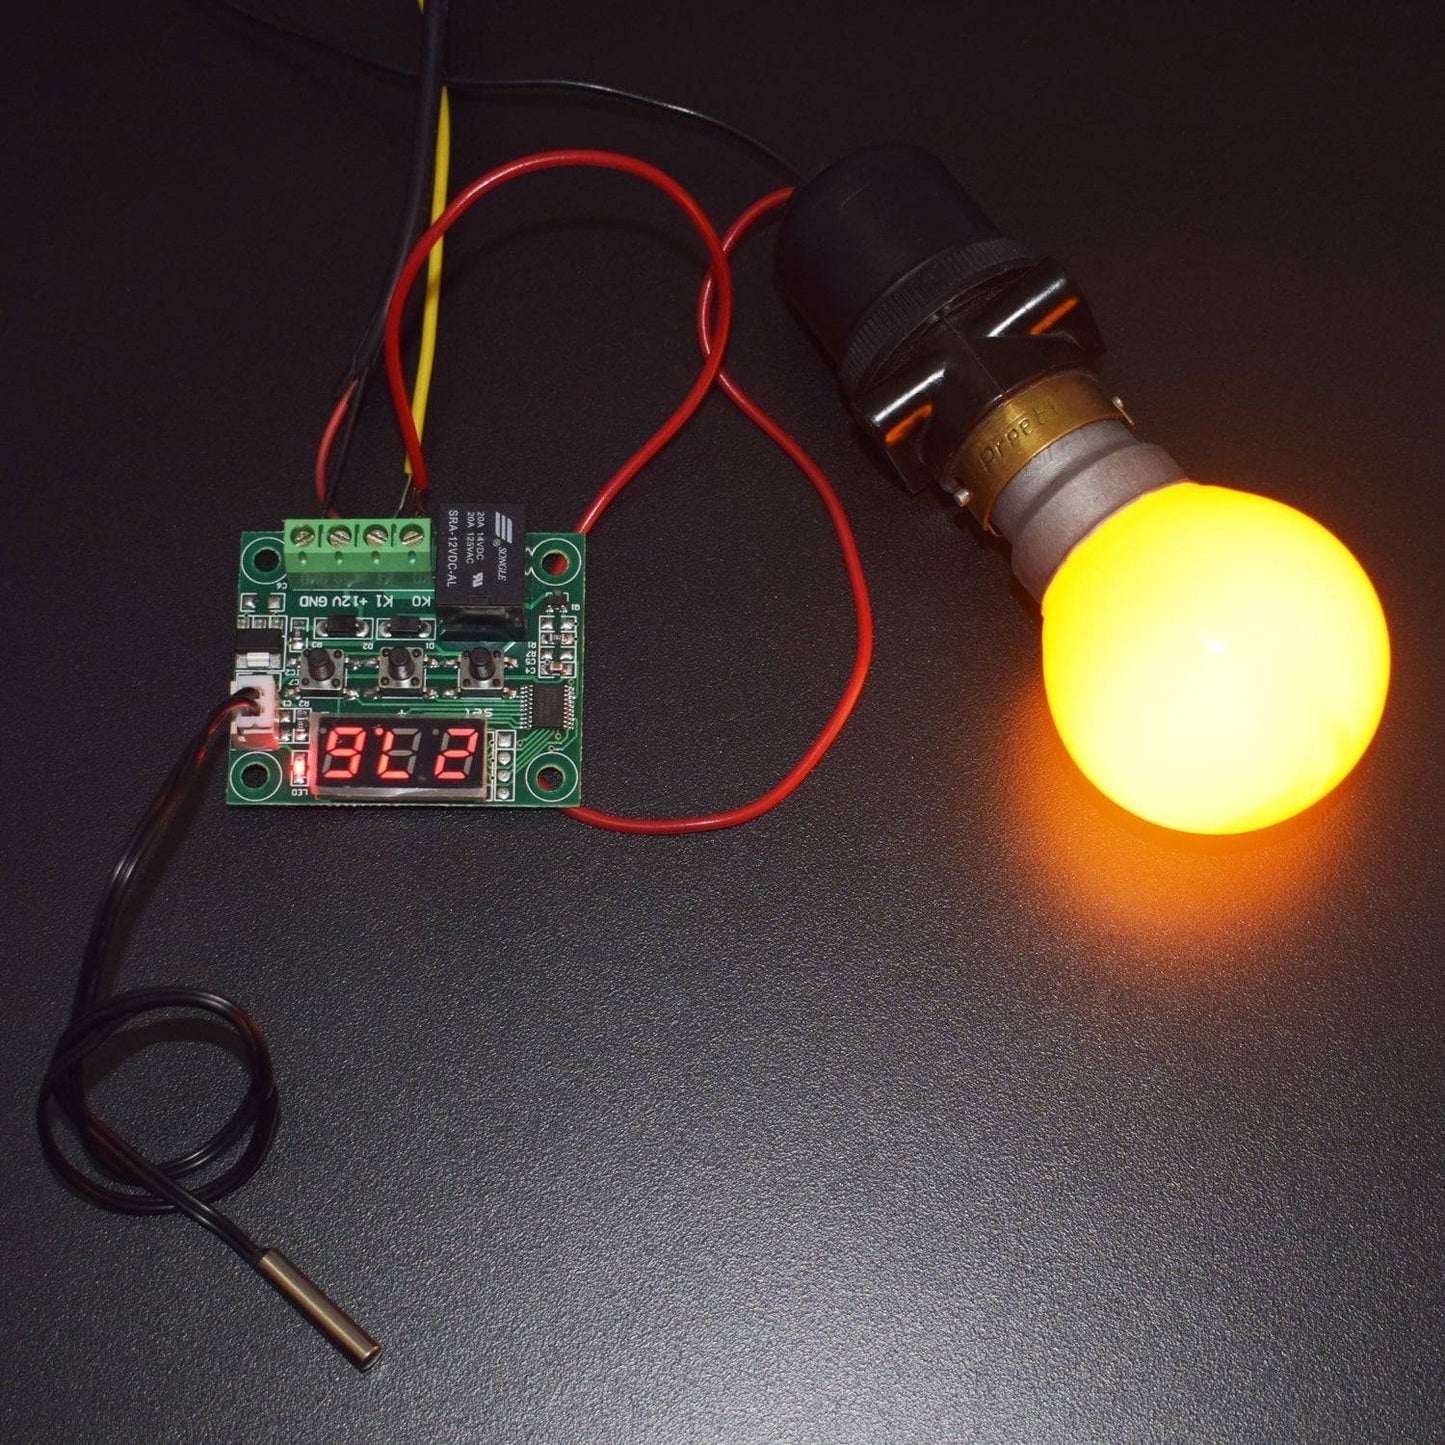
WORKING
Welcome to this W1209 Temperature Sensor based Module which mainly consists of a 12V (Power Supply) Pin, GND Pin, K1 and K0 Pin. In this particular module, the current temperature is displayed in degrees Centigrade through its 3 digit seven segment display and the current relay state by an on-board LED. The functionality depends upon the thermostat of the W1209 Temperature Sensor which will display the current temperature in oC by default. And if it is in any other mode making no input for approximately 5 seconds, then it can cause the thermostat to return to this default display.
When the temperature of the Platinum wire rises above 25 degrees C, the Bulb glows and when the temperature of the Platinum wire is below 25 degrees C, then the bulb stops glowing. In the temperature controller, XH-W1209 menu will move with buttons + and – to select the value or raising or lowering the temperature. The red LED display indicates when the relay is activated. Always shines as long as the relay is activated.
If the relay is switched off LED off. Here are few steps being described to use W1209 Temperature sensor module:
- First, we will attach the connector with the Sensor Interface of W1209 Sensor Module.
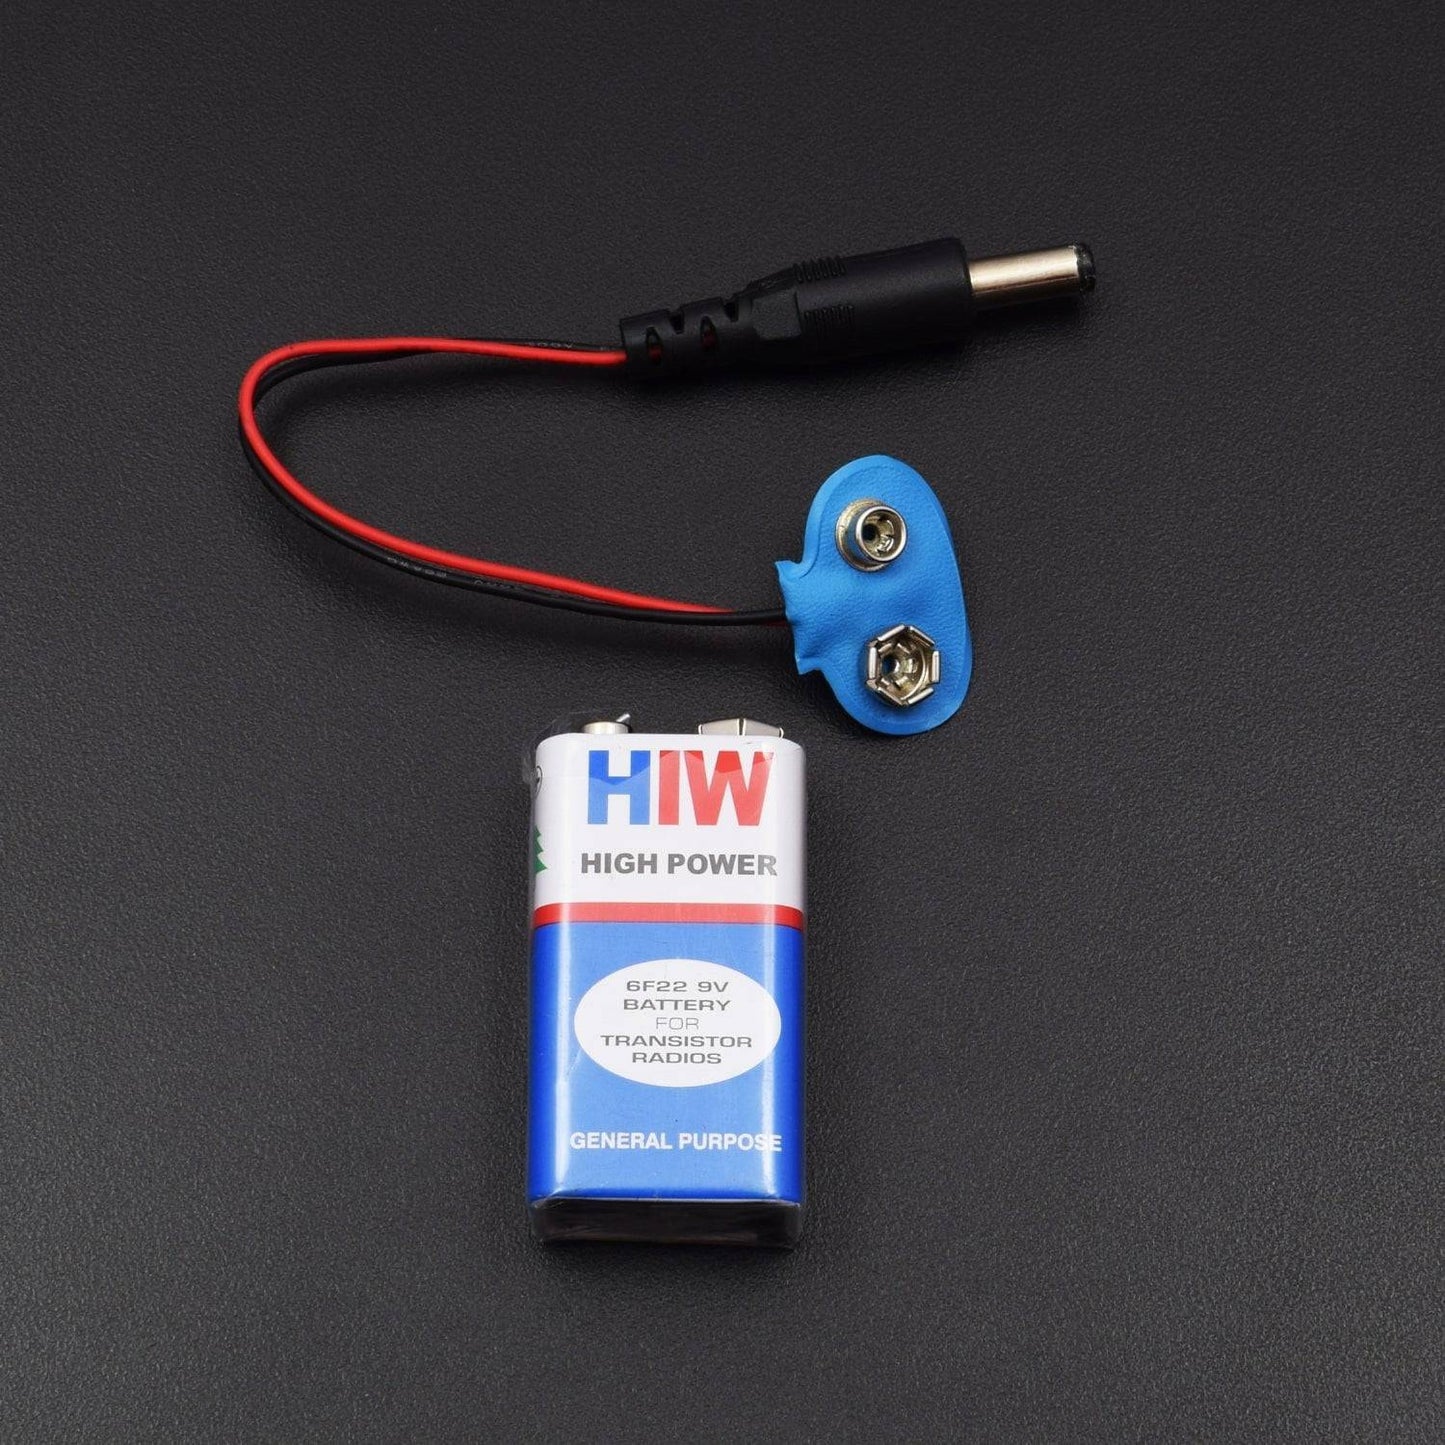
NOTE: You must cut off DC Jack of adapter for further connections.
- Now, implement all the steps of circuit connection.
- Long press the Set Button and get parameter P0.

NOTE: Repeat the above steps for both cooling as well as Heating Procedures.
Cooling Procedure:
- Press set button and increase parameter from P0 to P6 by pressing increase/reduce button.

- Press Set Button and select C (cool) Option via increase/reduce buttons.

- As we press set button, ON state is being displayed on screen.

- We will set the temperature to 30 Degrees and as we press set button, the parameter P6 is being displayed on screen.

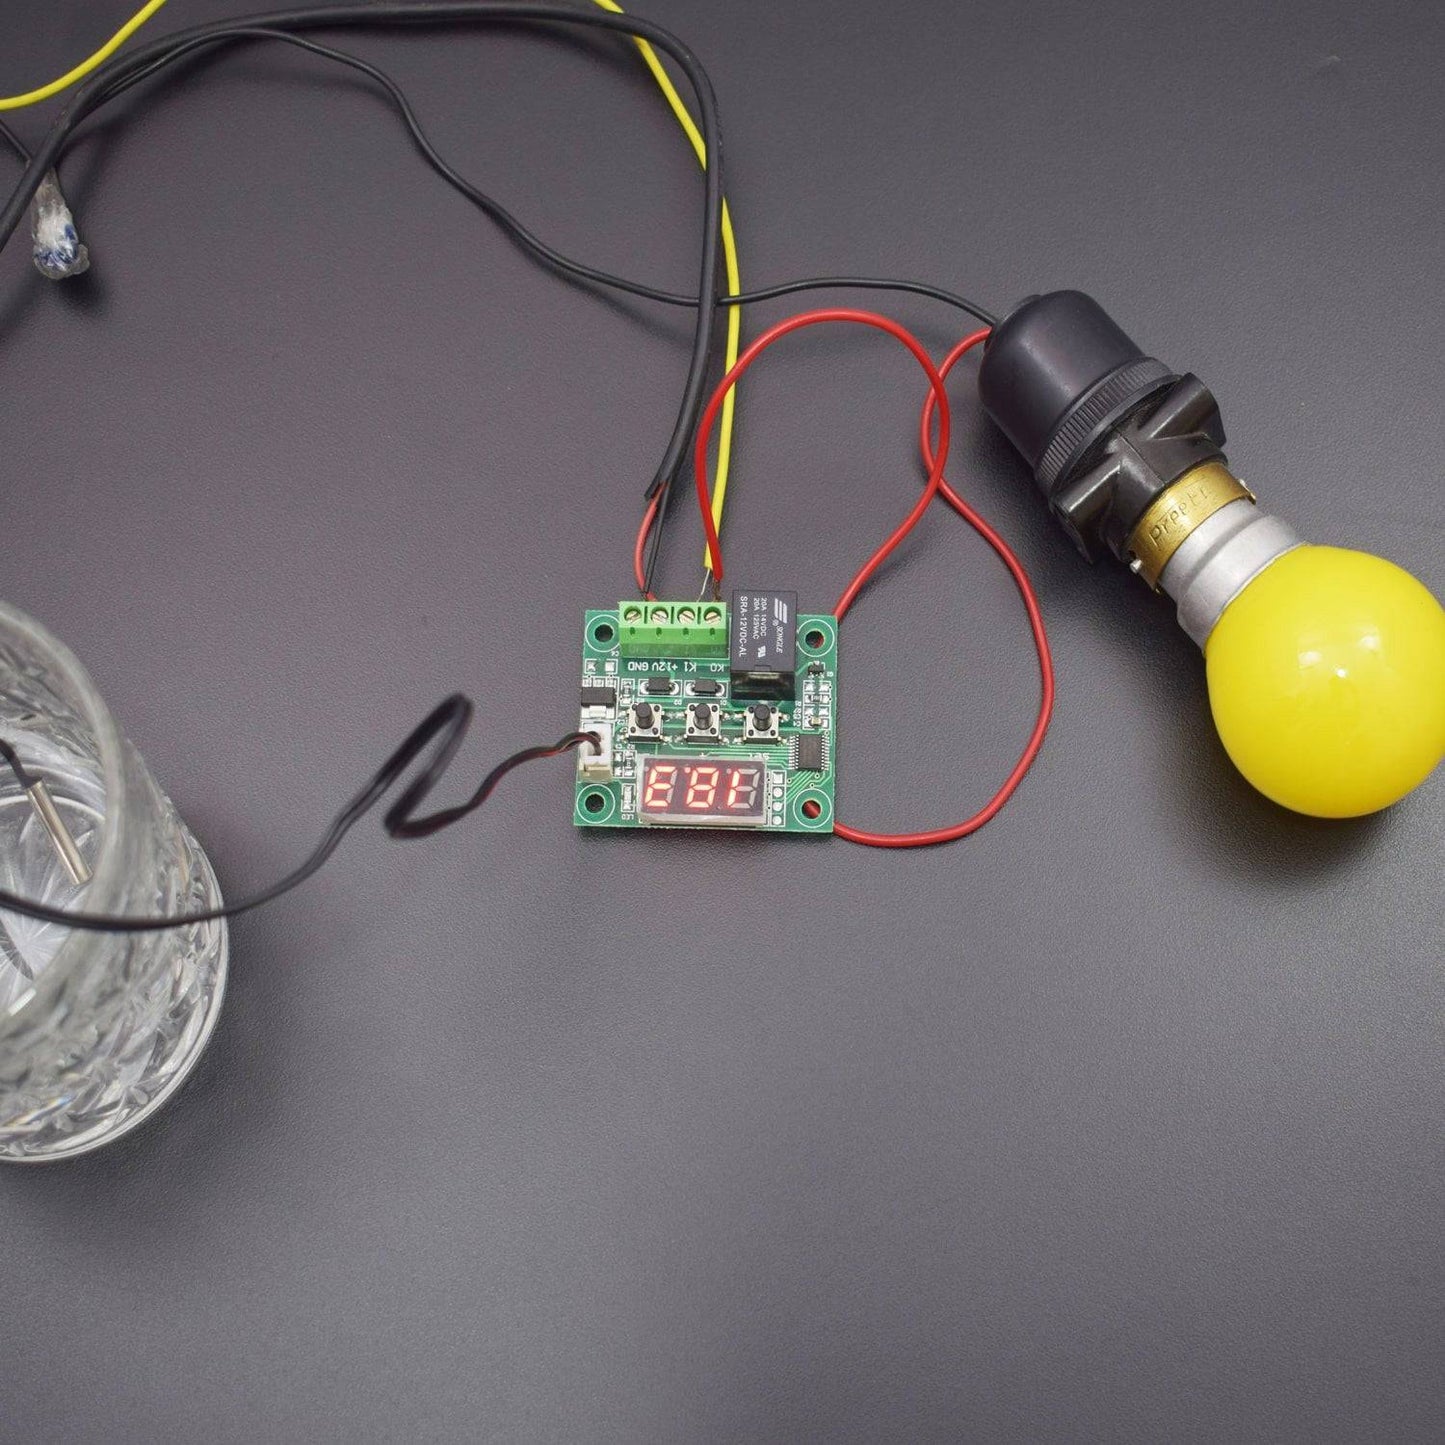
- As the probe is immersed in the water, the bulb glows when the temperature is within 30 Degrees.

- As probe is heated up and the temperature rises above the recommended range of 30°C, then the relay is turned OFF with no output on display and Bulb turns OFF.

Heating Procedure:
- Long press the Set Button and get parameter P0.
- Press set button and increase parameter from P0 to P6 by pressing increase/reduce button.
- Press Set Button and then select the H (Heat) Option via increase/reduce buttons

- As we press set button, ON state is being displayed on screen.

- We will set the temperature to 25 Degrees and as we press set button, the parameter P6 is being displayed on screen.


- As the probe is immersed in the water, the bulb glows when the temperature is within 25° C.

- As probe is heated up and the temperature rises above the recommended range of 25°C, then the relay is turned OFF with no output on display and Bulb turns OFF.
TROUBLESHOOTING
PO Heating or Cooling?
Here we set the temperature controller operation mode C- cooling, H-heating. If you set Cooling (C) temperature controller will be activated relay when temperature falls to the set point. If you set Heating (H) temperature controller will be activated relay when temperature raise to set point.

P1 – Hysteresis or Return difference set
This device model can value set by 0.1C and the lowest value is 0.1C. This is a very useful feature for precise operation of the temperature controller. For example, if you set the value of 1C and the desired temperature on the thermostat 20C relay will be deactivated at 21C (20C+1C). The relay is activated again when the temperature drops to 20C.

P2 – Highest temperature limit
You can set a maximum temperature limit, less than 110 degrees.

P3 – Lowest temperature limit
You can set minimum temperature limit more as 50 degrees.

P4- Temperature correct or calibration
Very good feature that lets you set your thermostat by certified accurate thermometer. If you do not have a certified thermometer leave the value at 0C. Calibration allows you to adjust the temperature in 0.1 increments.

P5-Delay starting time
In this step, you set the start delay in minutes 1-10 min. If you set 1min relay is activated until one minute after reaching the set temperature.

P6-High temperature Alarm
The menu P6 initially turns OFF to ON and press the SET, then set the temperature at which the alarm is activated. When is alarm activated display not showing temperature only – – -.

The device has a low consumption of 25-35 mA at rest 50-75 mA when the relay is activated. Be careful if the power supply voltage lower than 10V relay is not activated although the LED shining.