KIT INCLUDES:
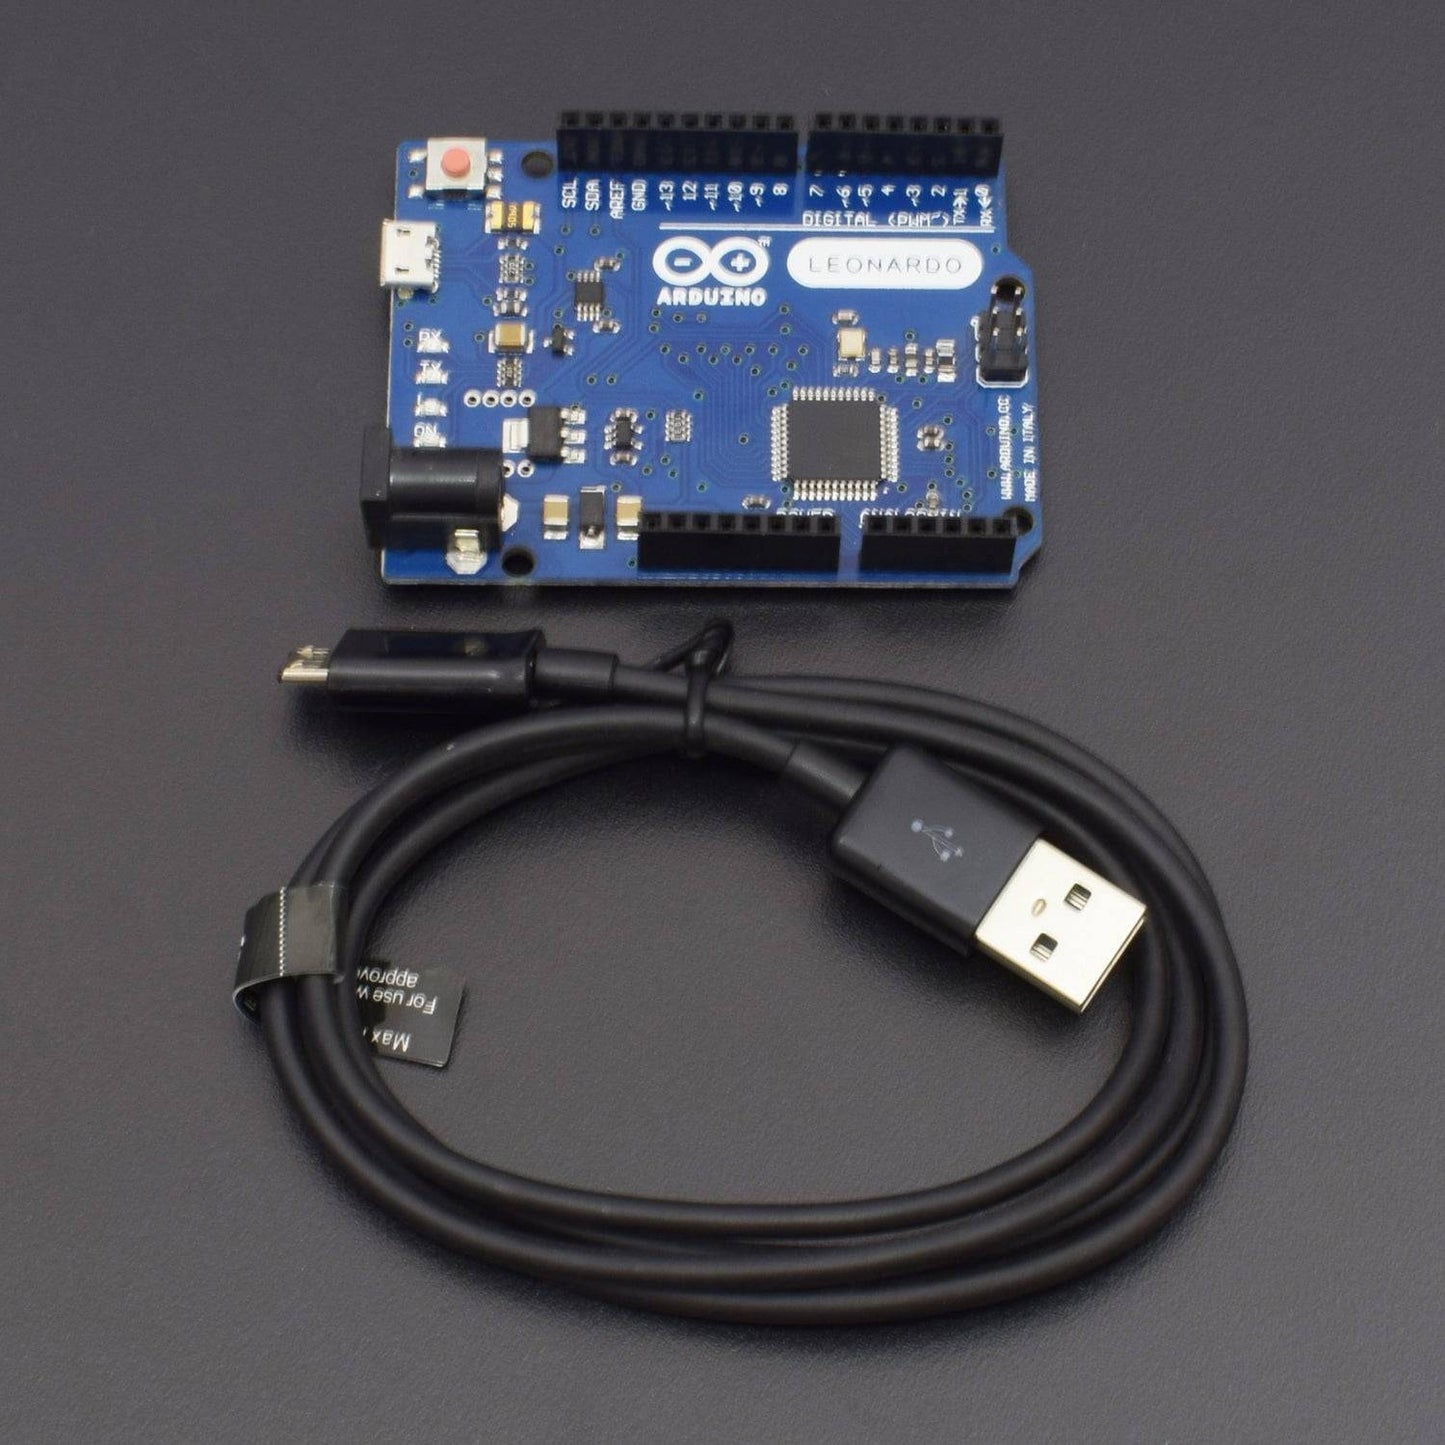
- Arduino Leonardo with USB cable-1
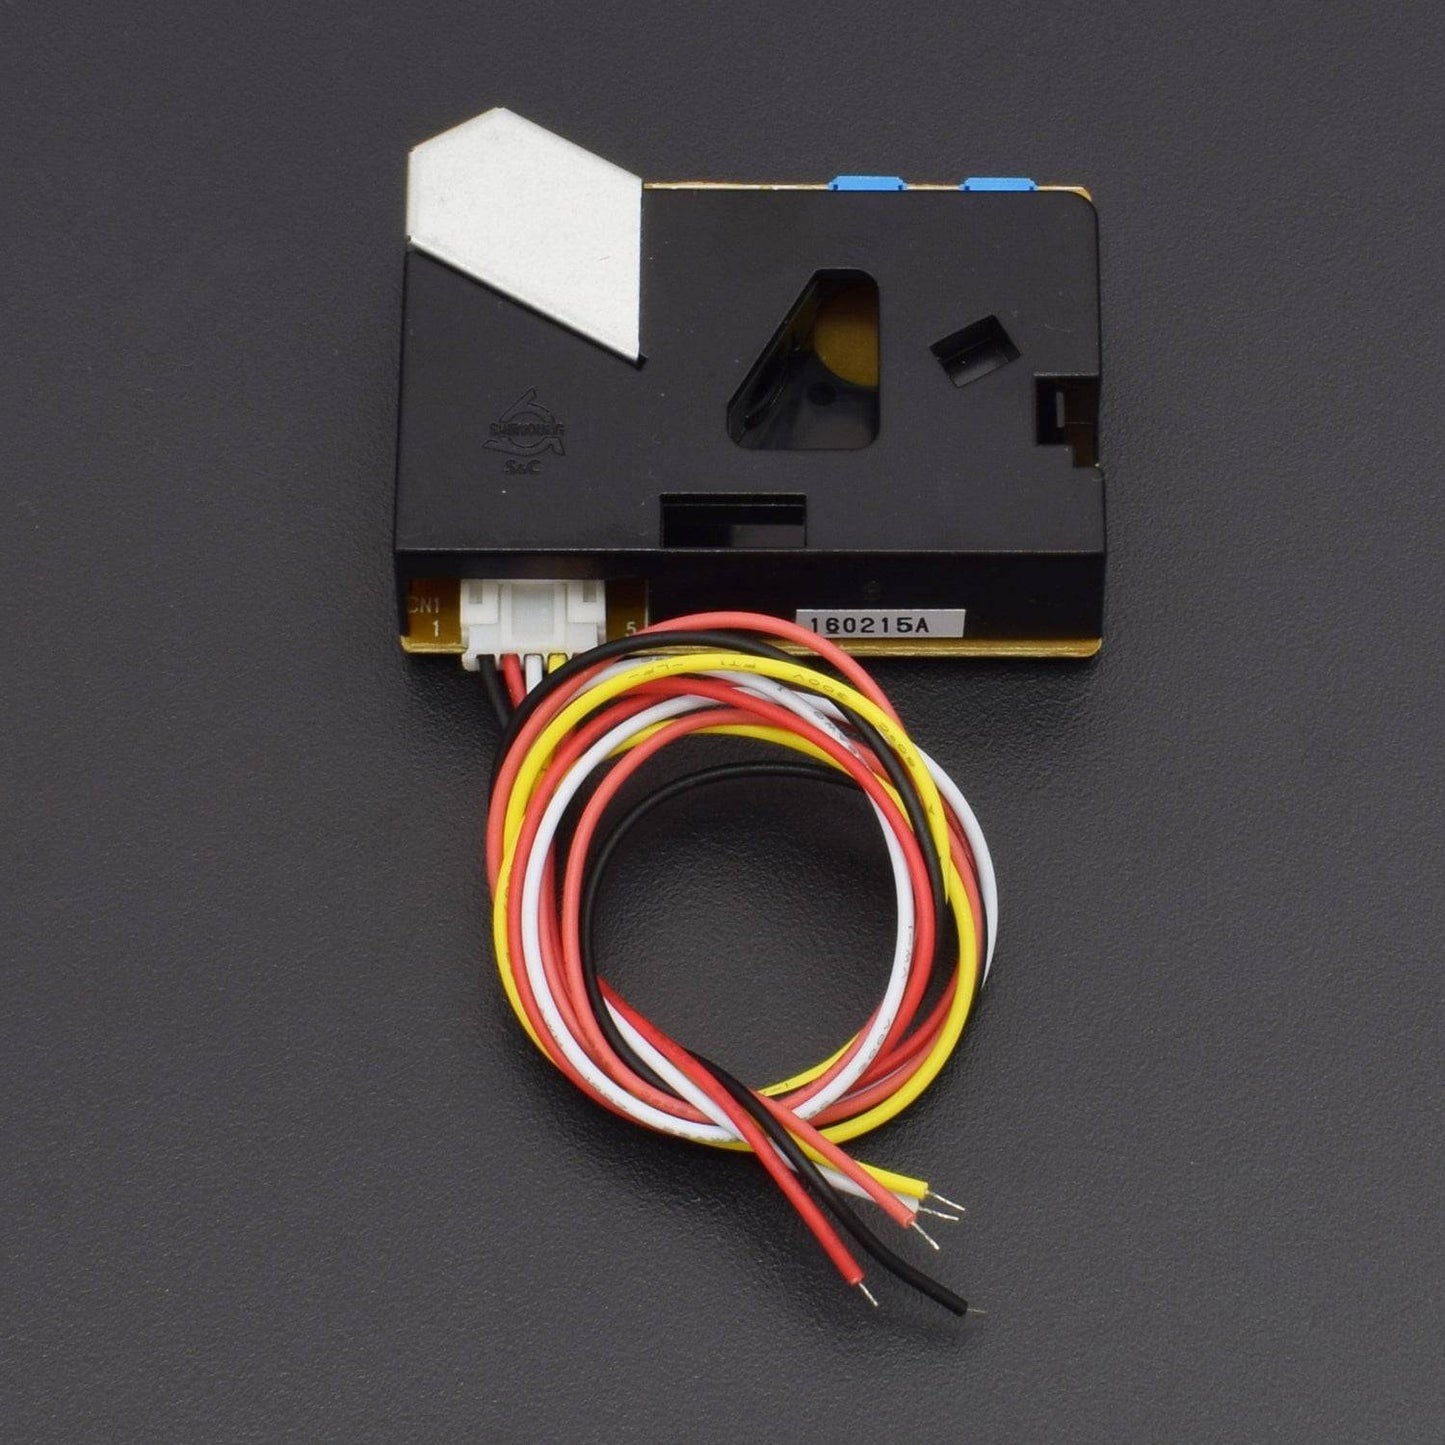
- DSM 501A DUST SMOKE PARTICLE SENSOR - 1
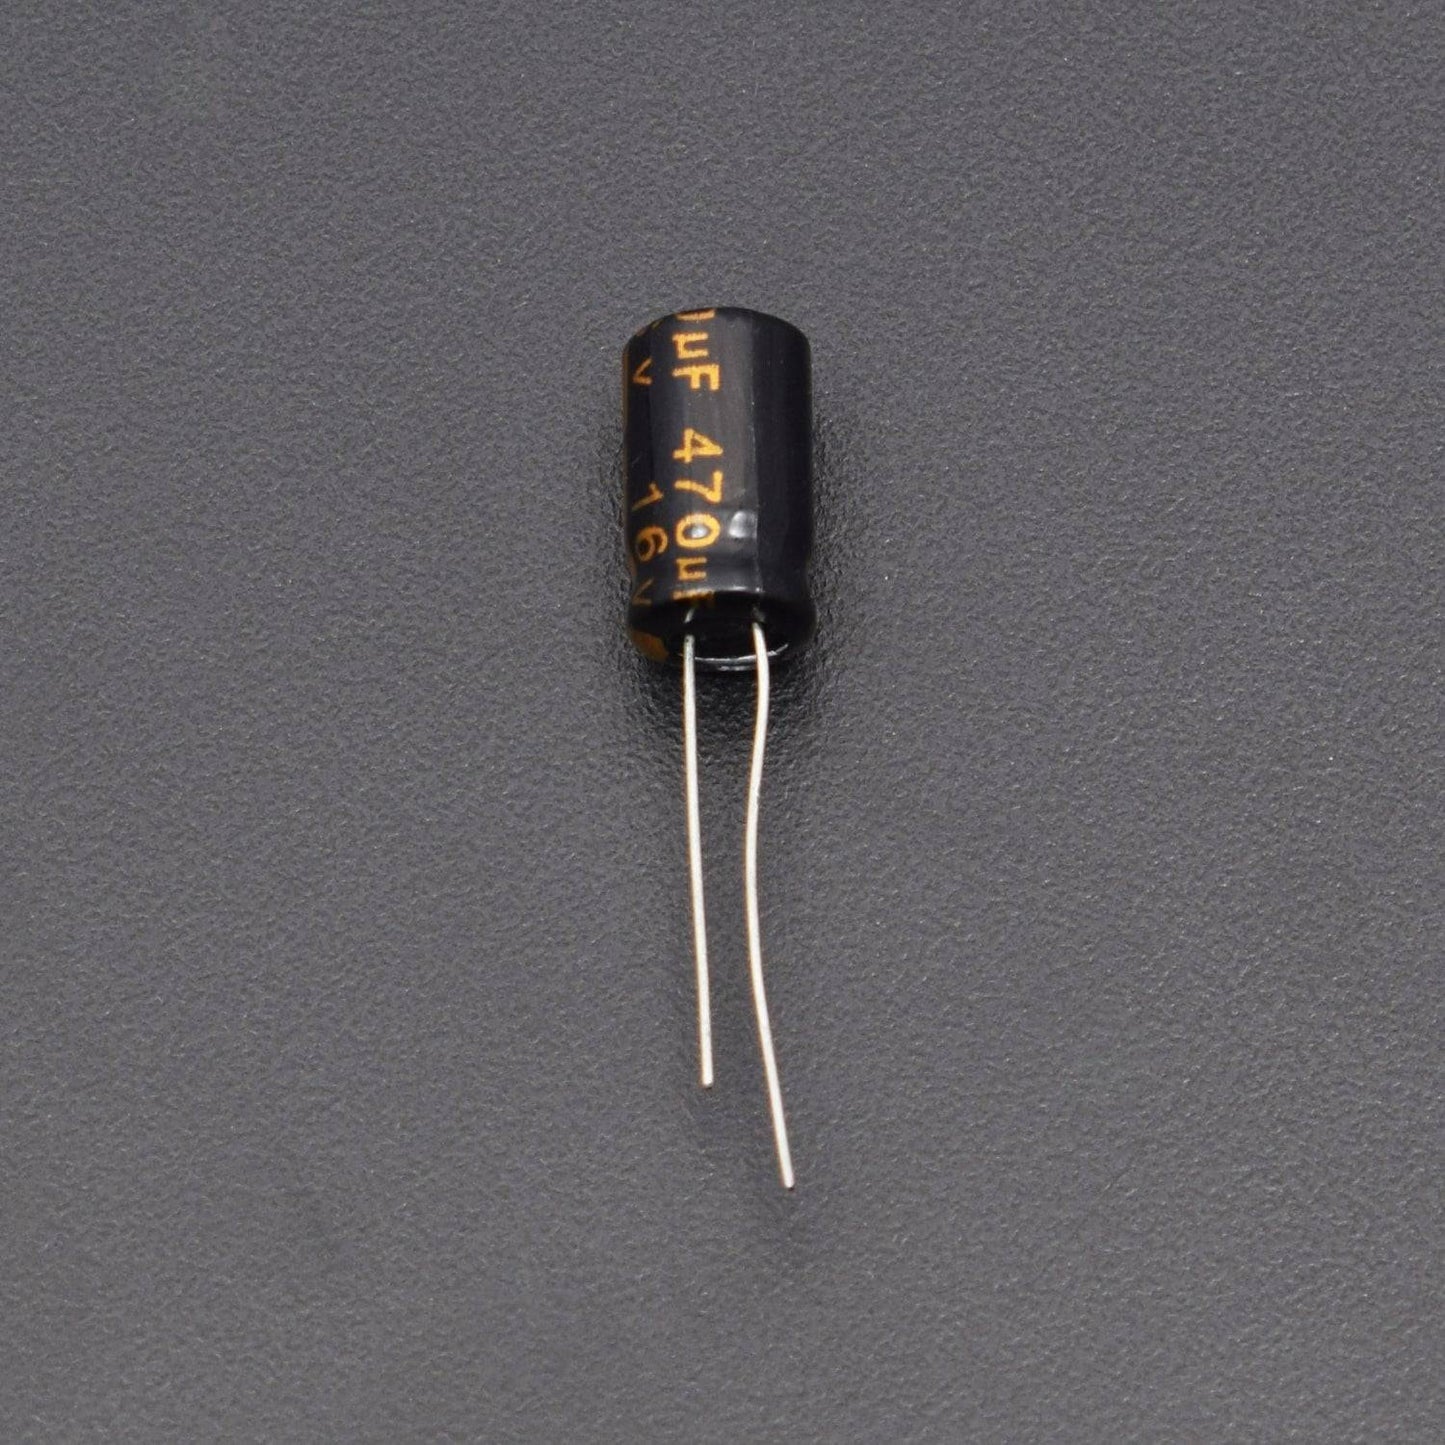
- 220 uF Capacitor - 2
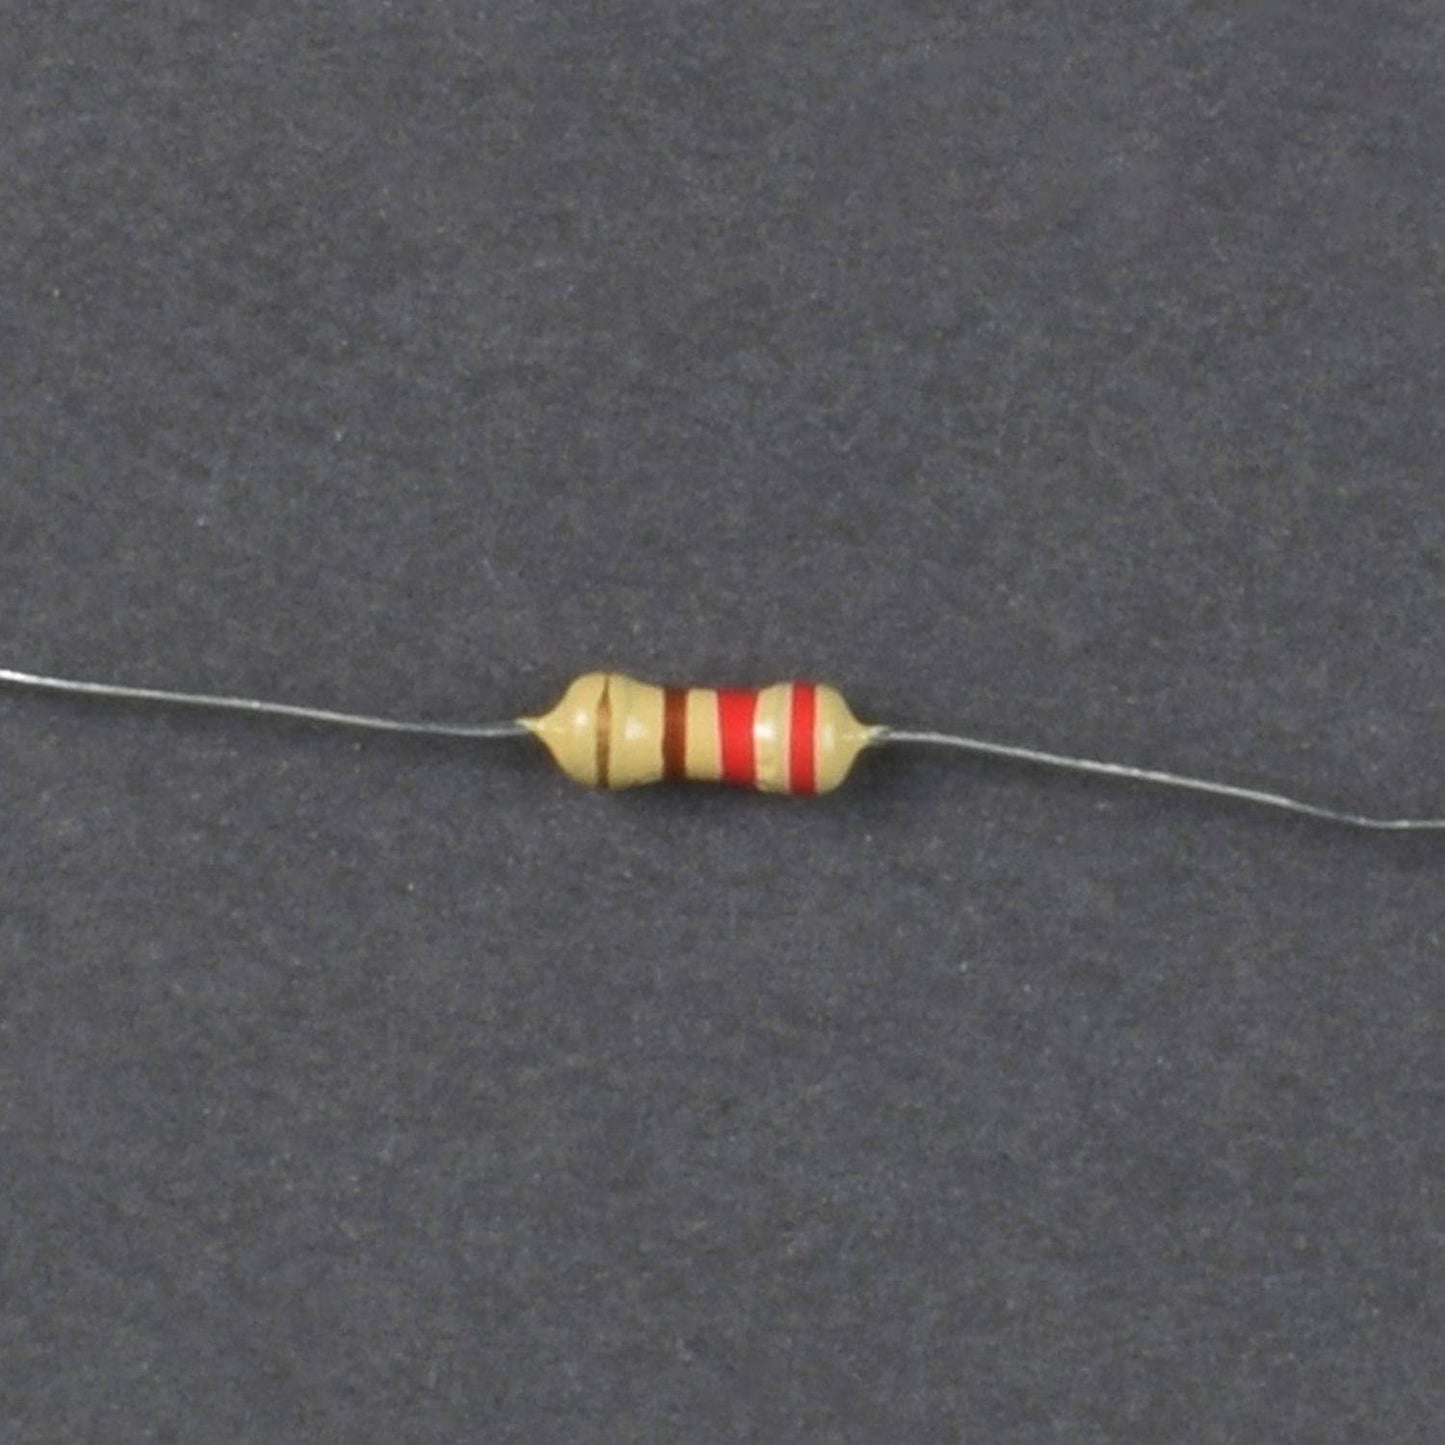
- 150 Ω Resistor - 2
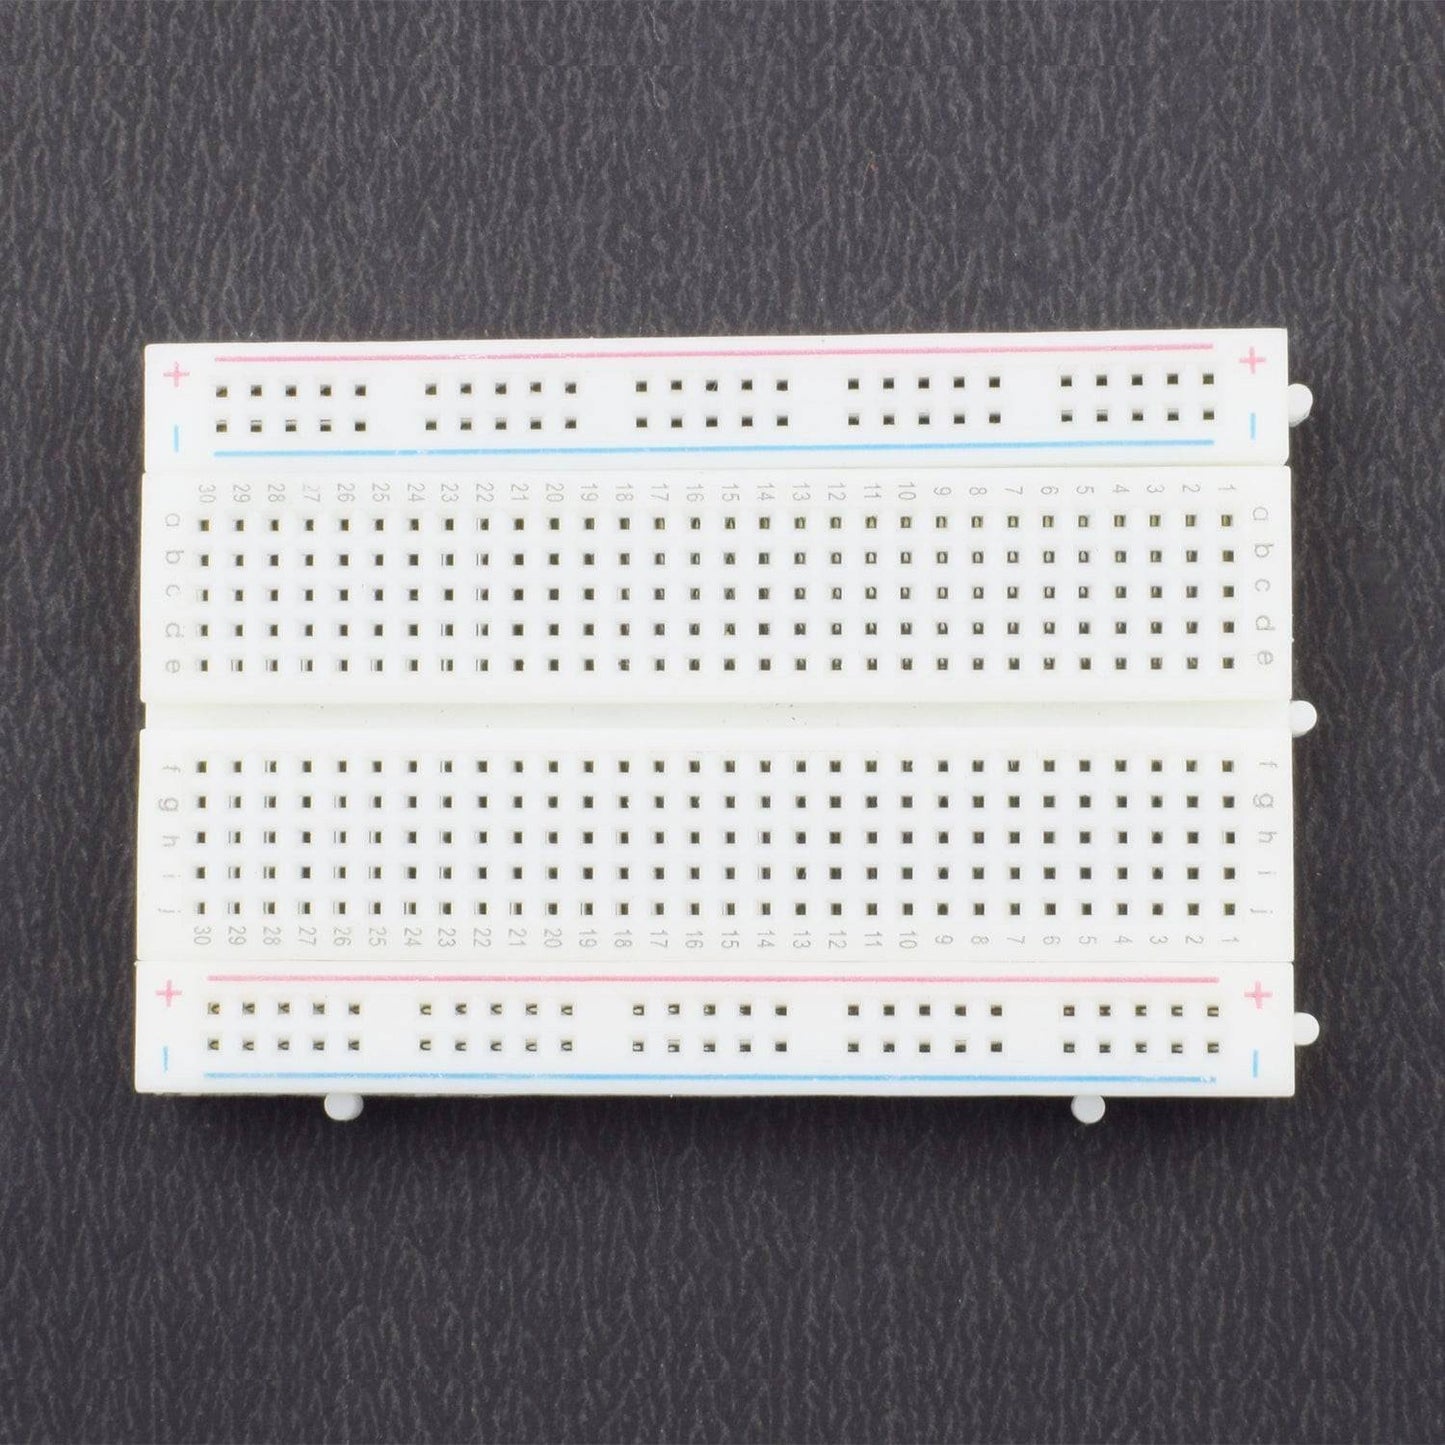
- Breadboard 400 points - 1
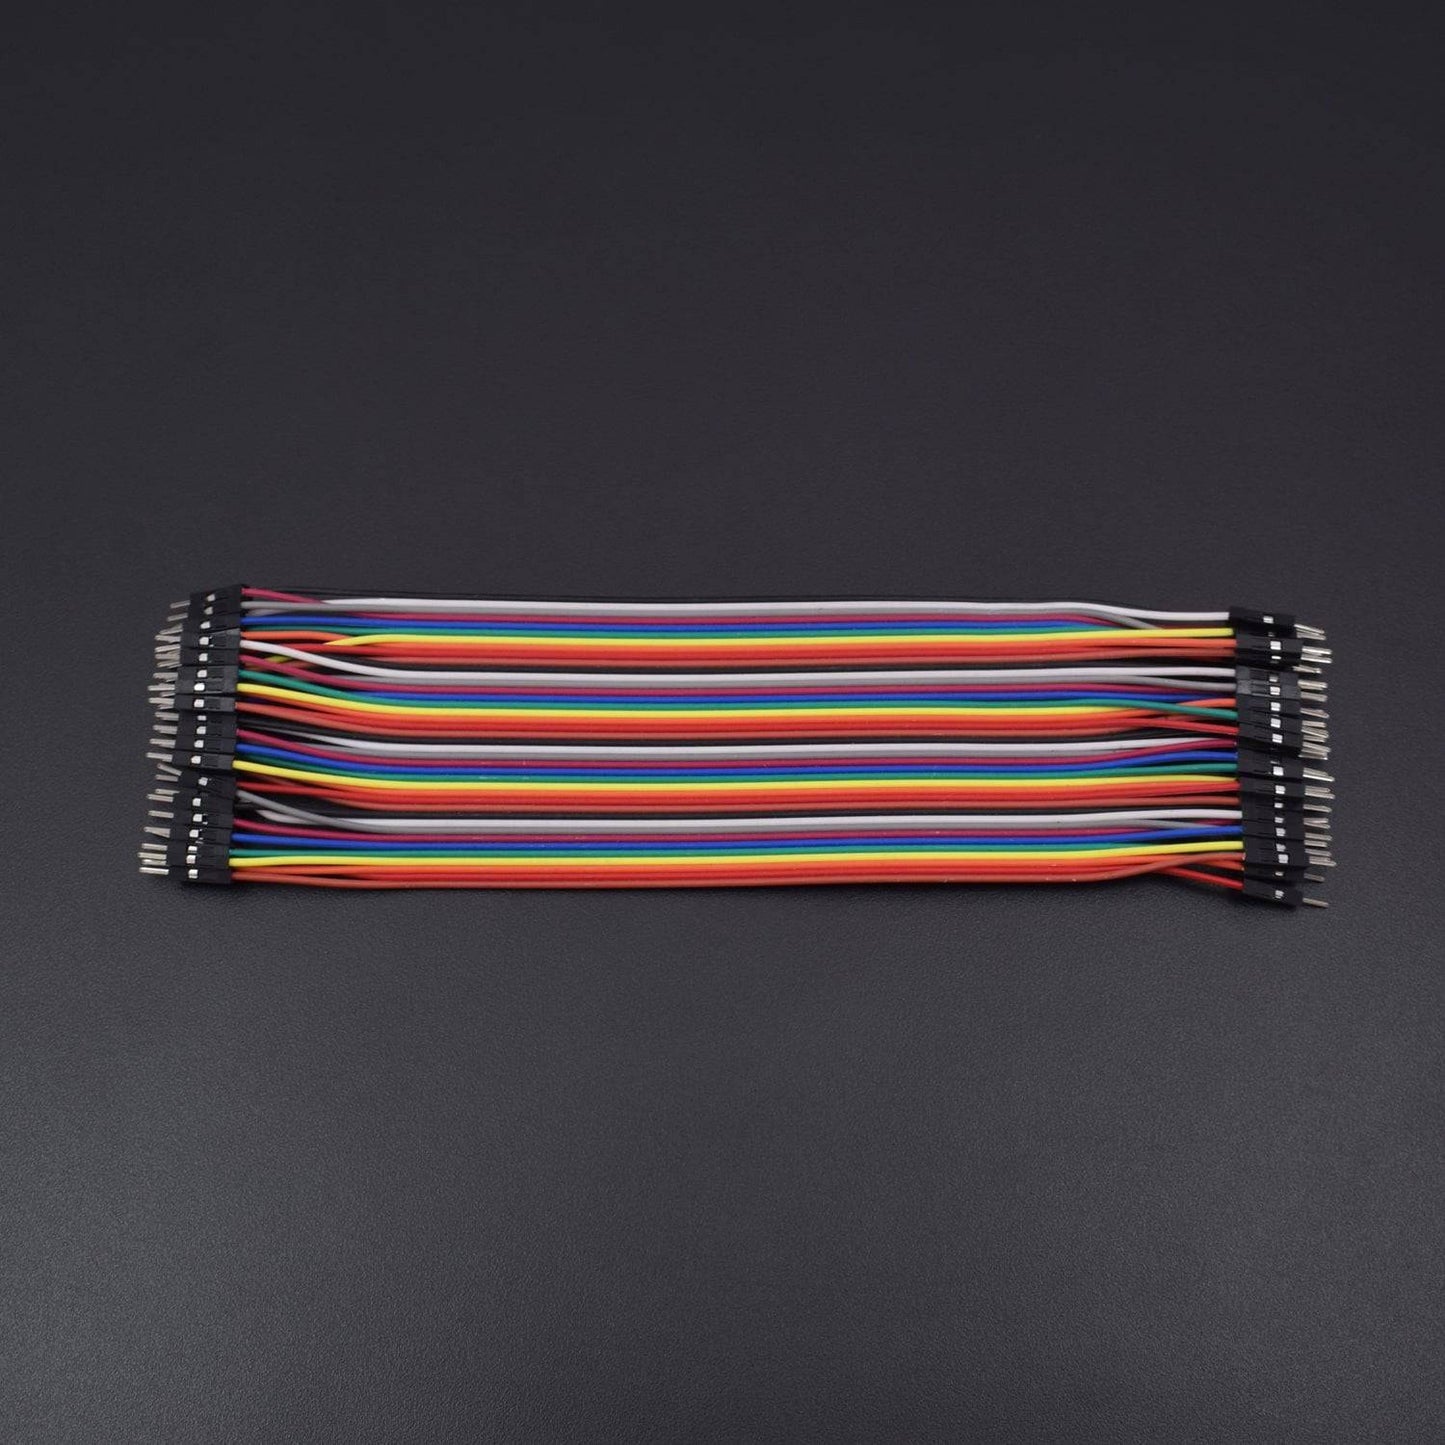
- Male to male jumper wires- 1
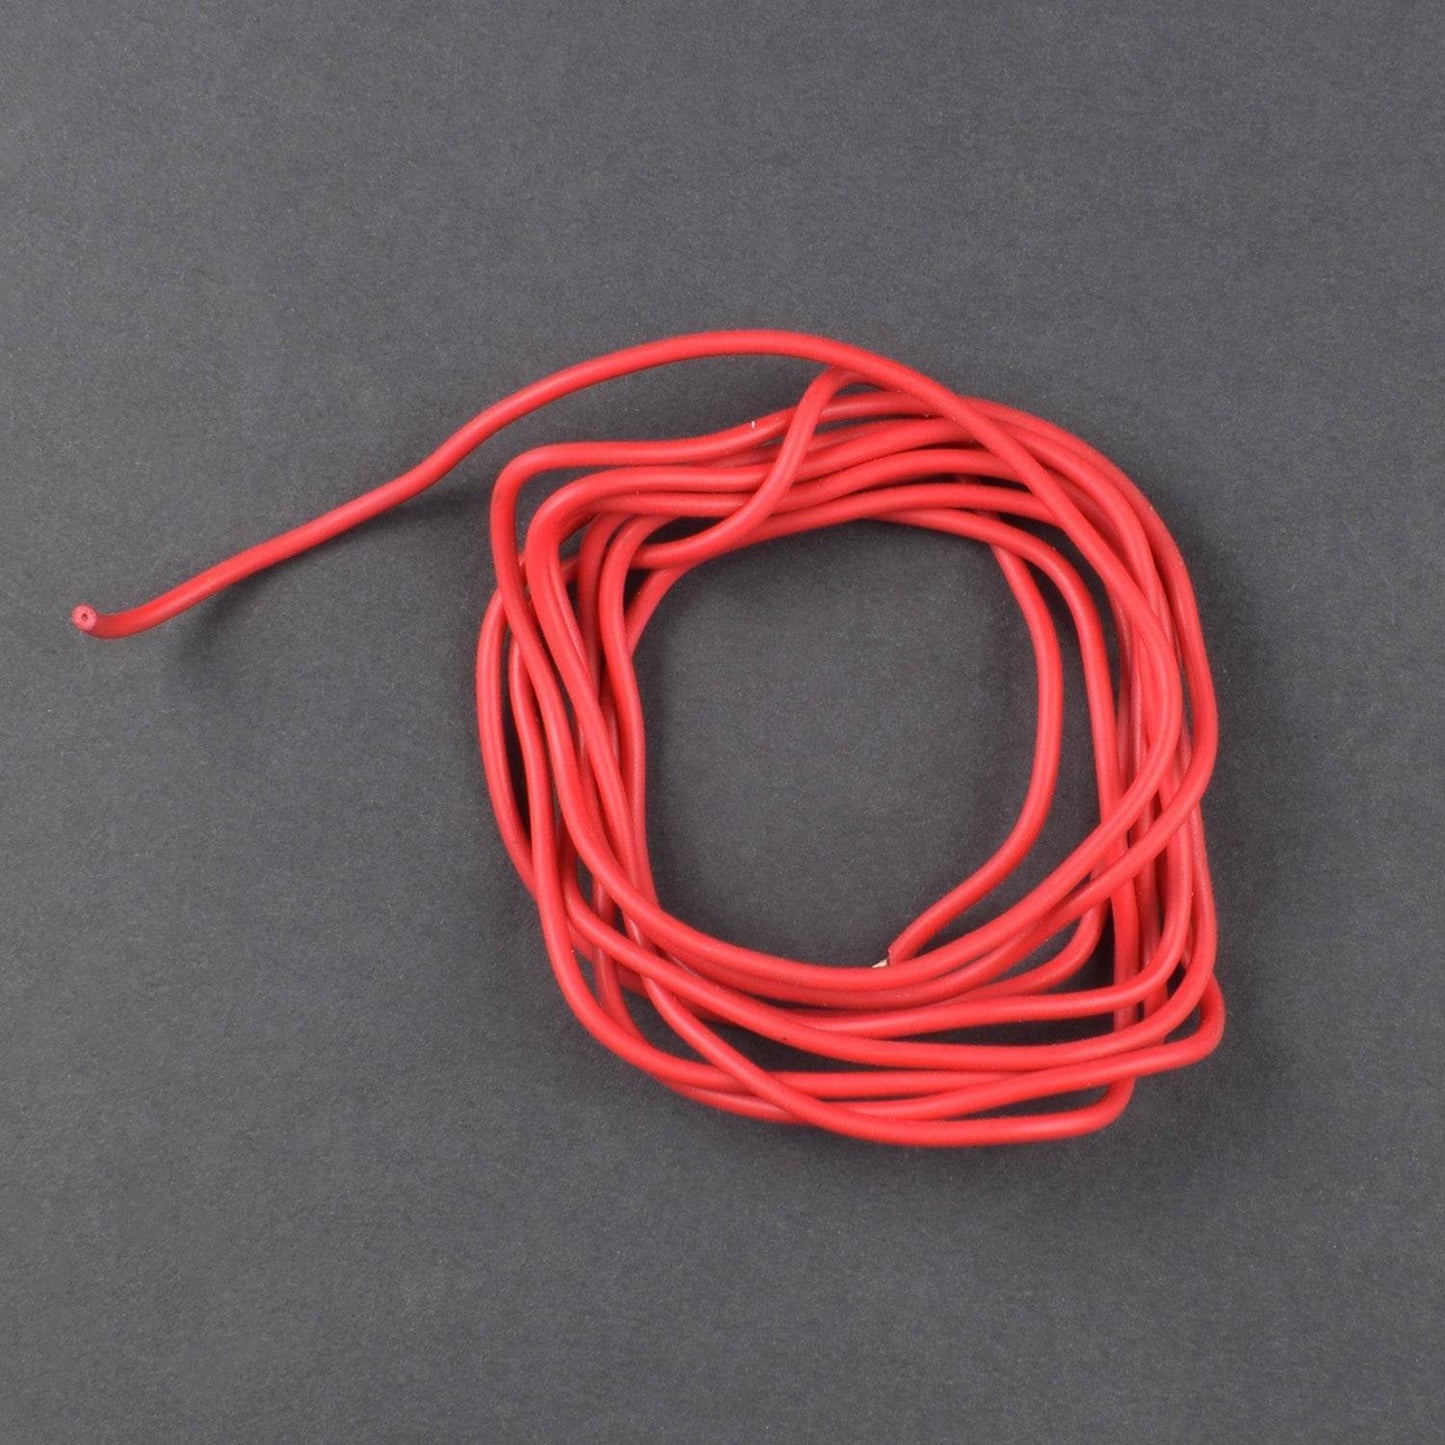
- Single stand wire 2mt- 1
HARDWARE REQUIRED
- Arduino Leonardo with USB cable-1
- DSM 501A DUST SMOKE PARTICLE SENSOR - 1
- 220 uF Capacitor - 2
- 150 Ω Resistor - 2
- Breadboard 400 points - 1
- Male to male jumper wires- 1
- Single stand wire 2mt- 1
SPECIFICATION
DSM 501A dust sensor
- Rated Power: 0.5W
- Operating Voltage: 5V
- Operating Current: 100mA
- Operating Temperature: -20+or-85 degree
- Light Intensity: 1000W/M2, 25 degree,AM1.5
CIRCUIT CONNECTION
- Able to upload sketches via the Arduino IDE to your Arduino
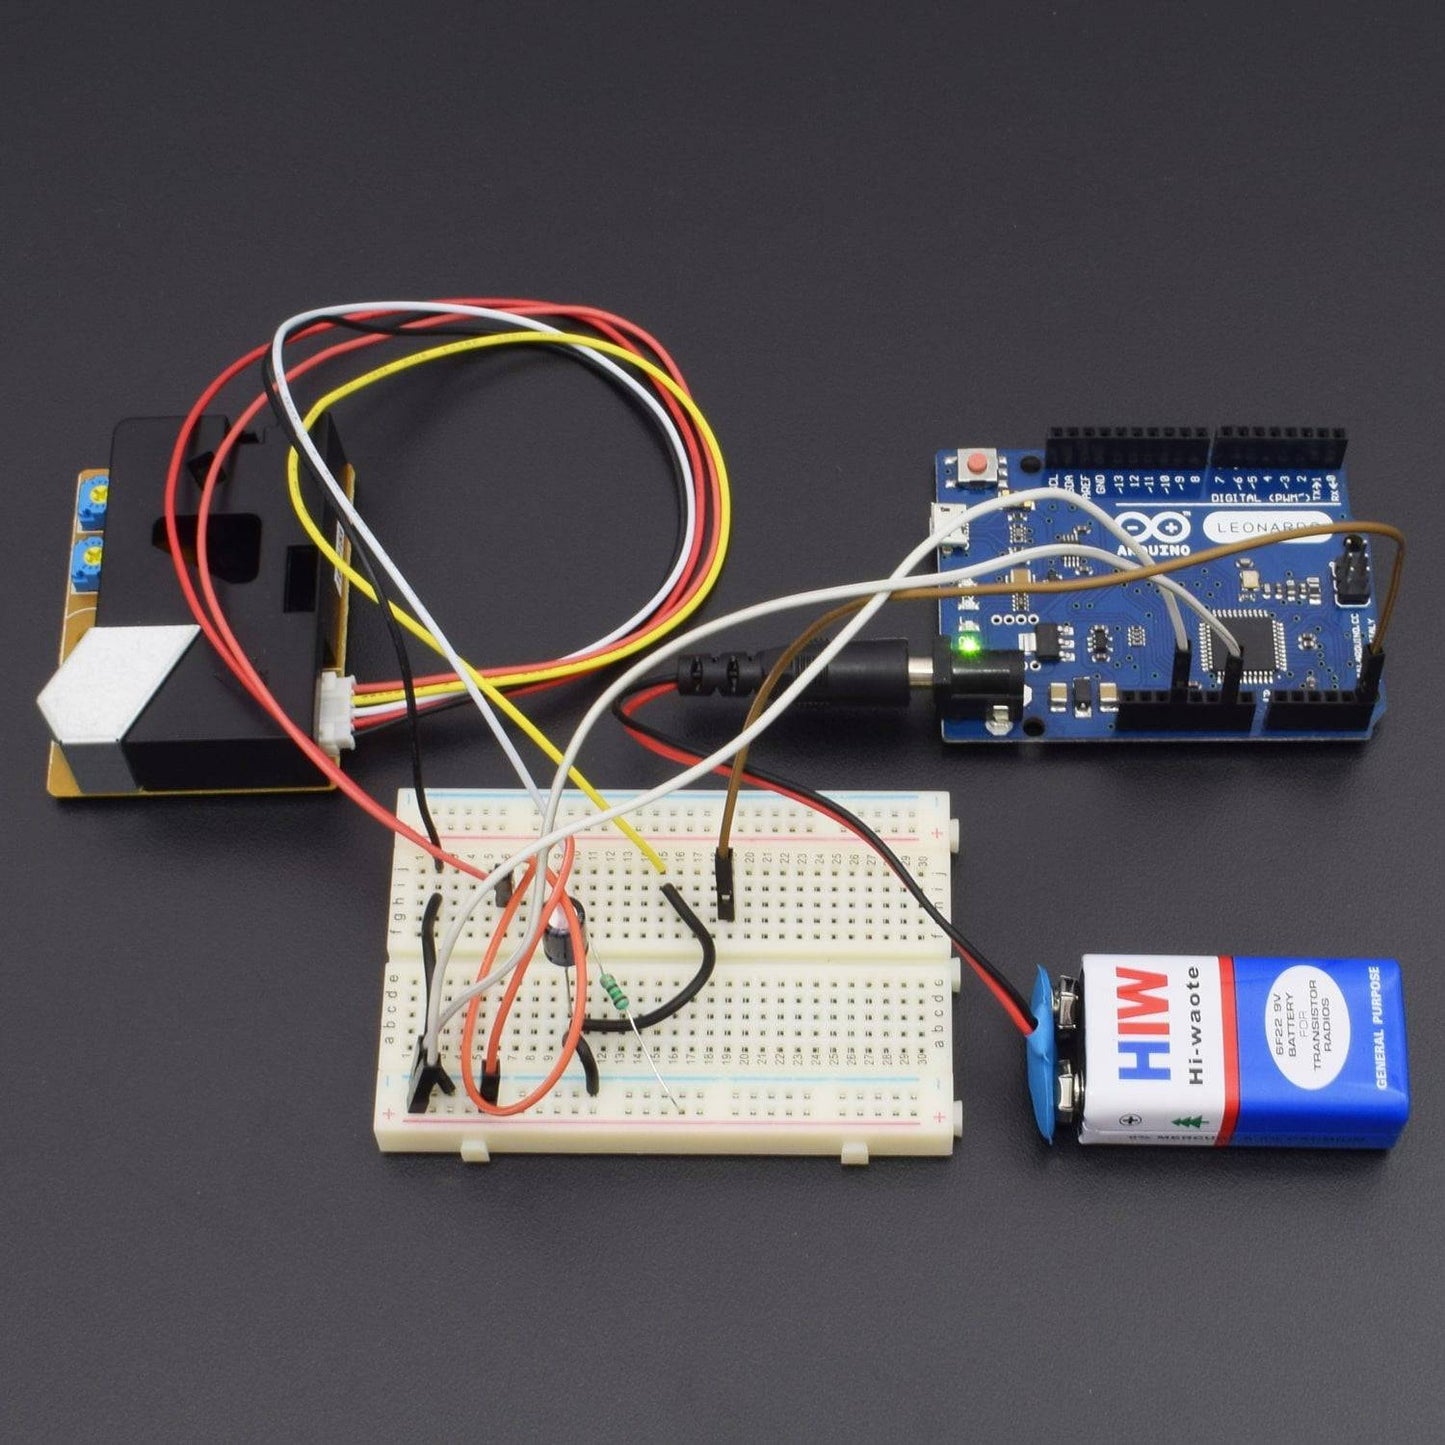
- Hook up the sensor using the 6 pins in the following way (see Figure below)
- You may use the following schema from Sharp and our own drawing to help you in the task:
Sharp Dust Sensor |
Attached To |
1 (V-LED) |
3.3V Pin (150 Ohm in between and 220uf capacitor) |
2 (LED-GND) |
GND Pin |
3 (LED) |
Digital Pin 12 |
4 (S-GND) |
GND Pin |
5 (Vo) |
Analog Pin A5 |
6 (Vcc) |
3.3V Pin (Direct) |

According to the datasheet, we need to switch on the internal LED and wait for 280 µs (microsecond) before measuring the output signal and the duration of the whole excitation pulse should be 320 µs.
We, therefore, pause for another 40 µs before switching off the LED again.


CODE
WORKING


