

vendor-unknown
Stepper Motor with ULN2003A stepper Motor driver For Rotation In All Direction Interfacing With Arduino uno - KT995
Stepper Motor with ULN2003A stepper Motor driver For Rotation In All Direction Interfacing With Arduino uno - KT995
SKU:KT995
998 in stock
Couldn't load pickup availability
- For Bulk Order Click Here
- Need Customer Support?
- Free Delivery Above 999/-
Note: In case you receive a damaged or faulty product, please return it in the original box with all foam and packaging. Returns will not be accepted if further damage occurs due to improper packing.
For refund/return/replacement, call us at +91 95995 94520 or email us at support@rees52.com
Delivery Time
Delivery Time
- Delivery time with the Express Shipping option is 2-3 working days, and with the Standard Shipping option is 5-6 working days. It varies based on location, reliant on courier services.
- Delivery time if the order item is on Preorder Status is 15-20 working days.
COD (Cash on Delivery)
COD (Cash on Delivery)
- For COD you have to pay extra charges of Rs 350/- before the shipment. (We will share the company QR Code, UPI ID or Account details for the same)

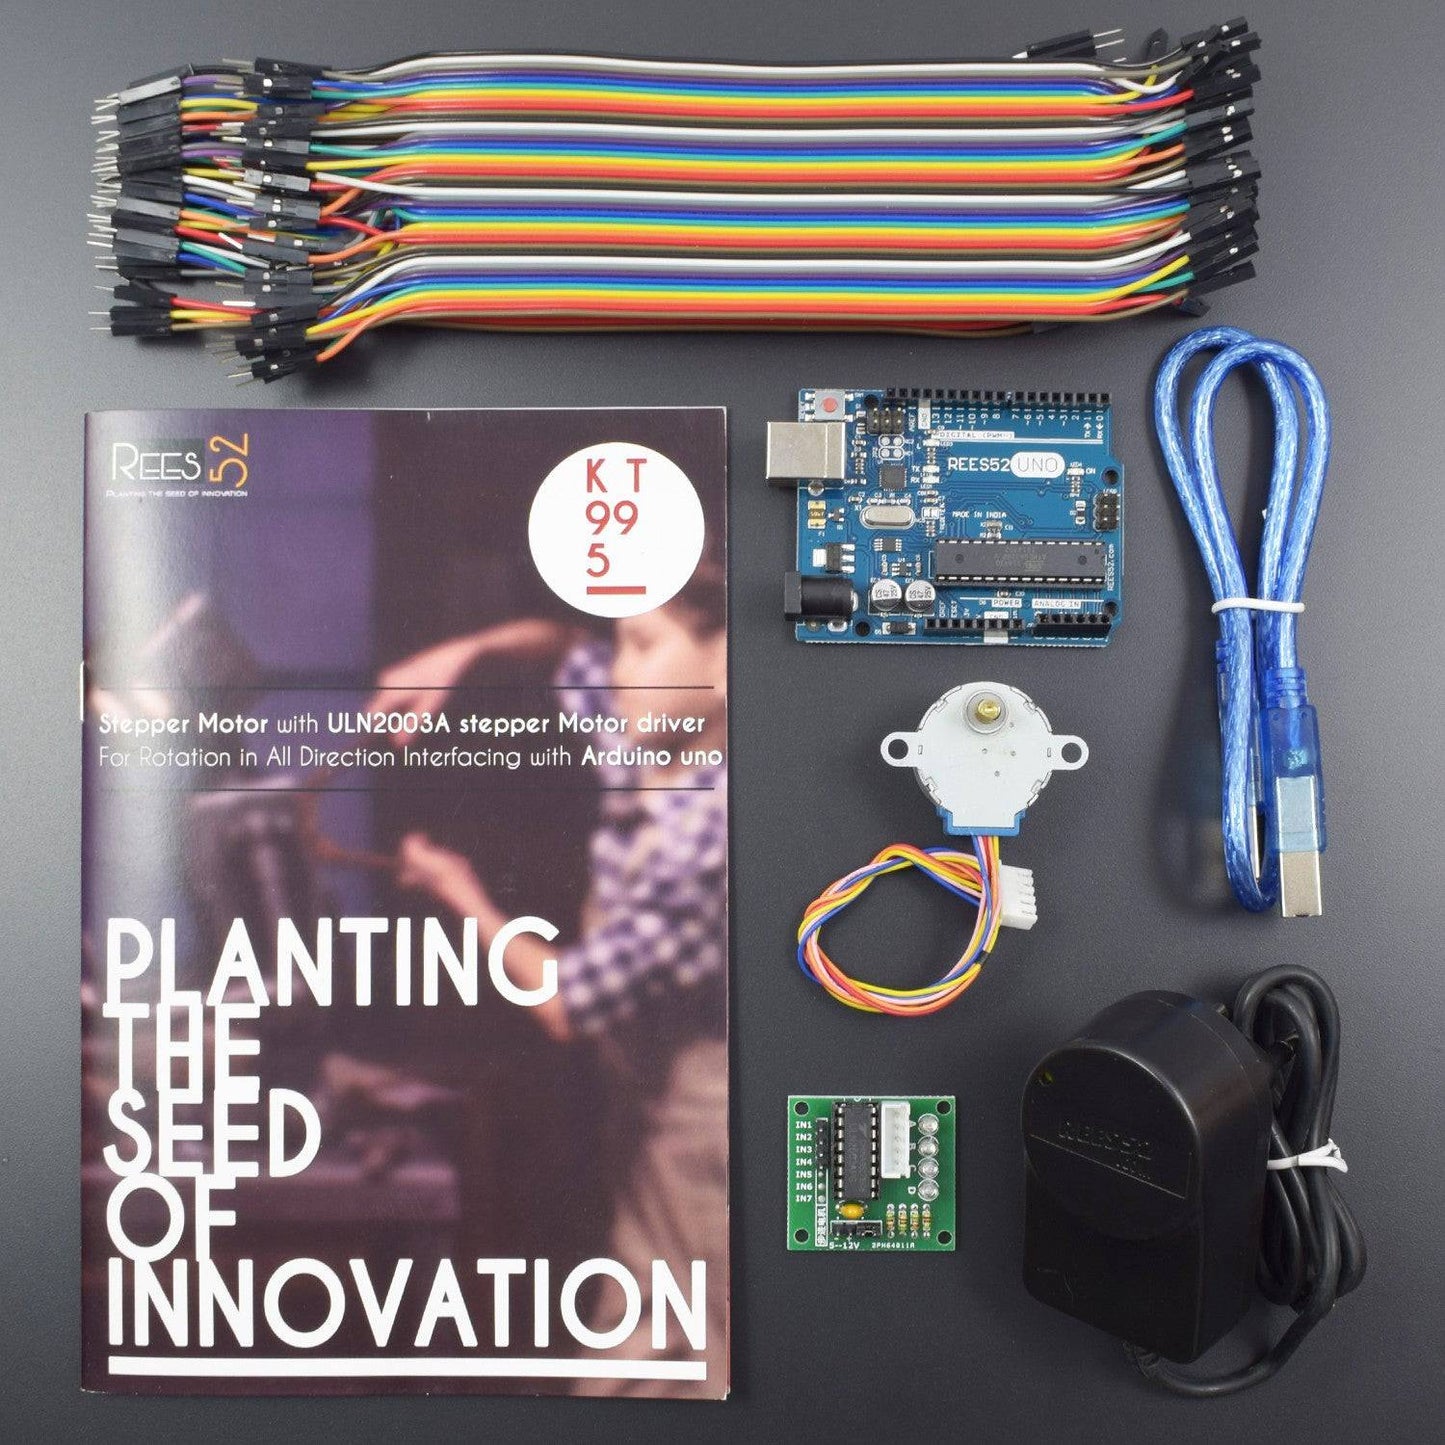
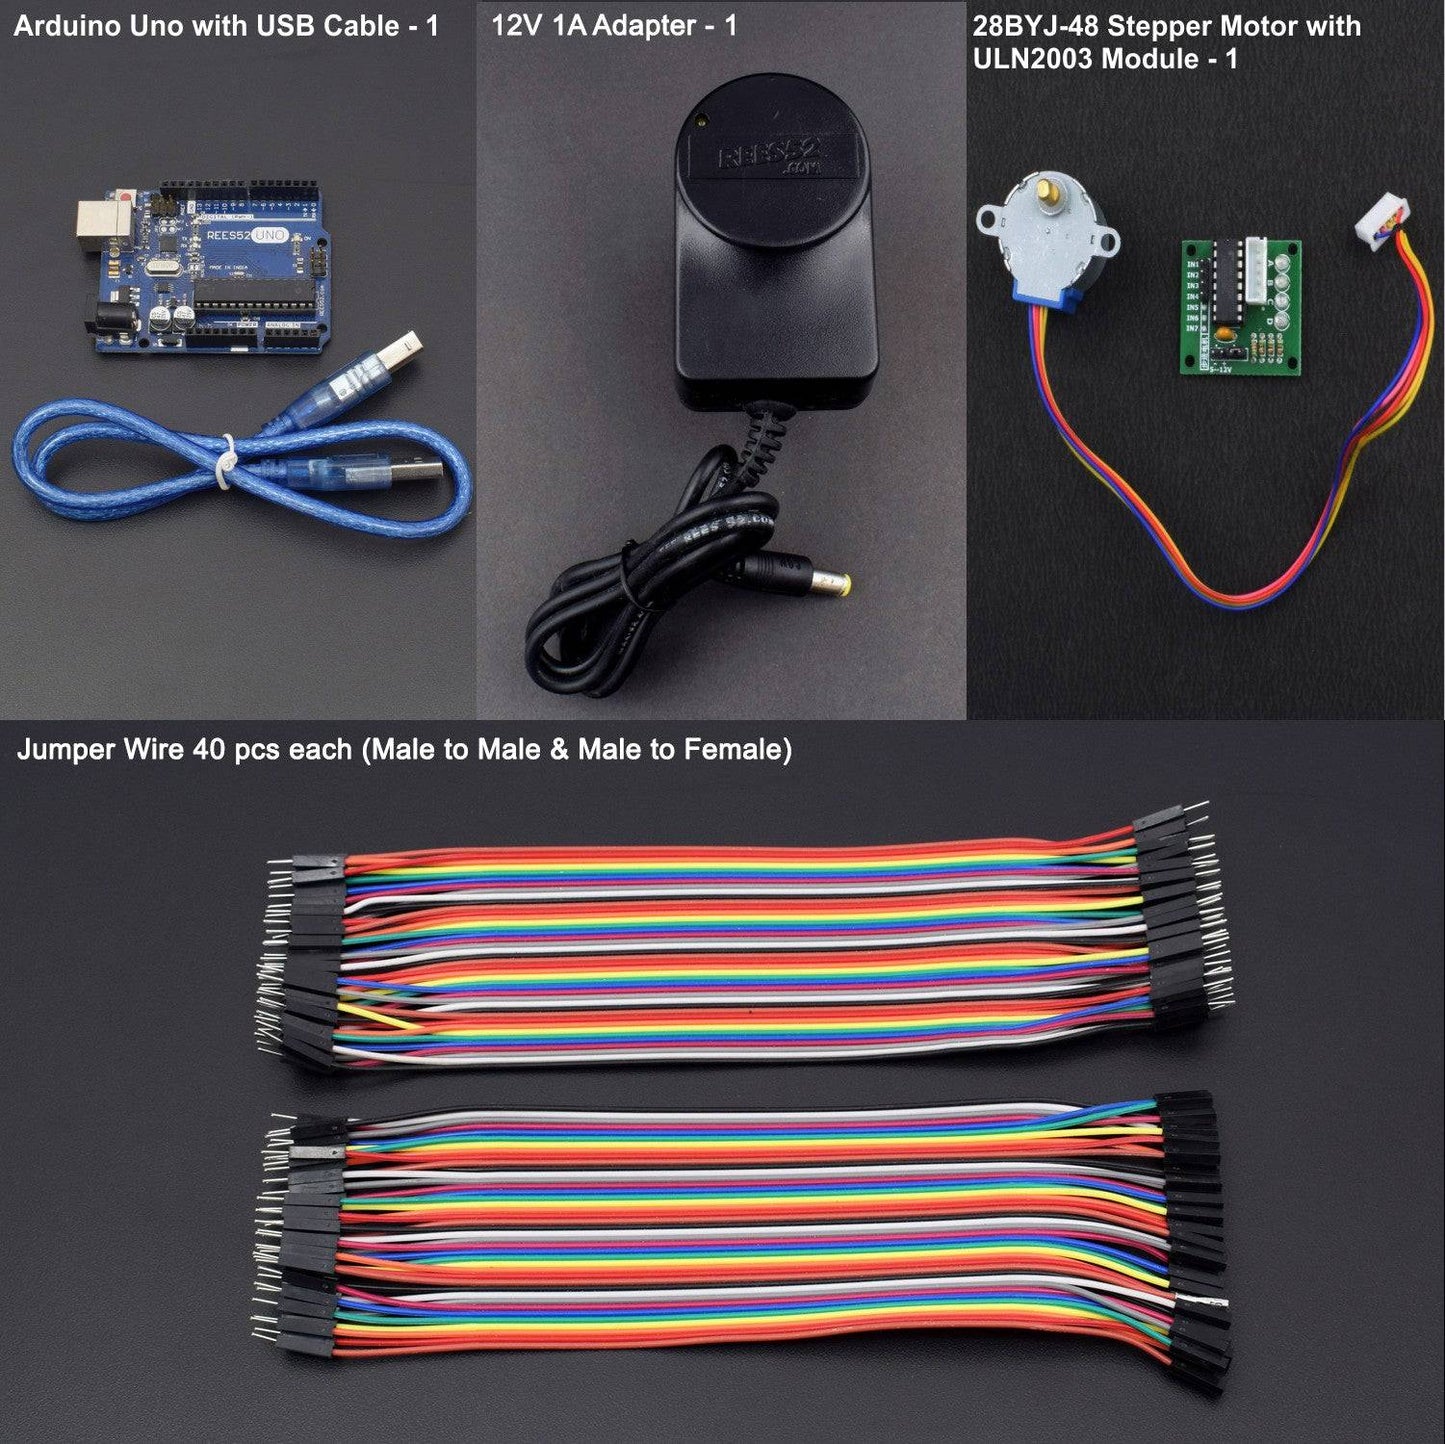

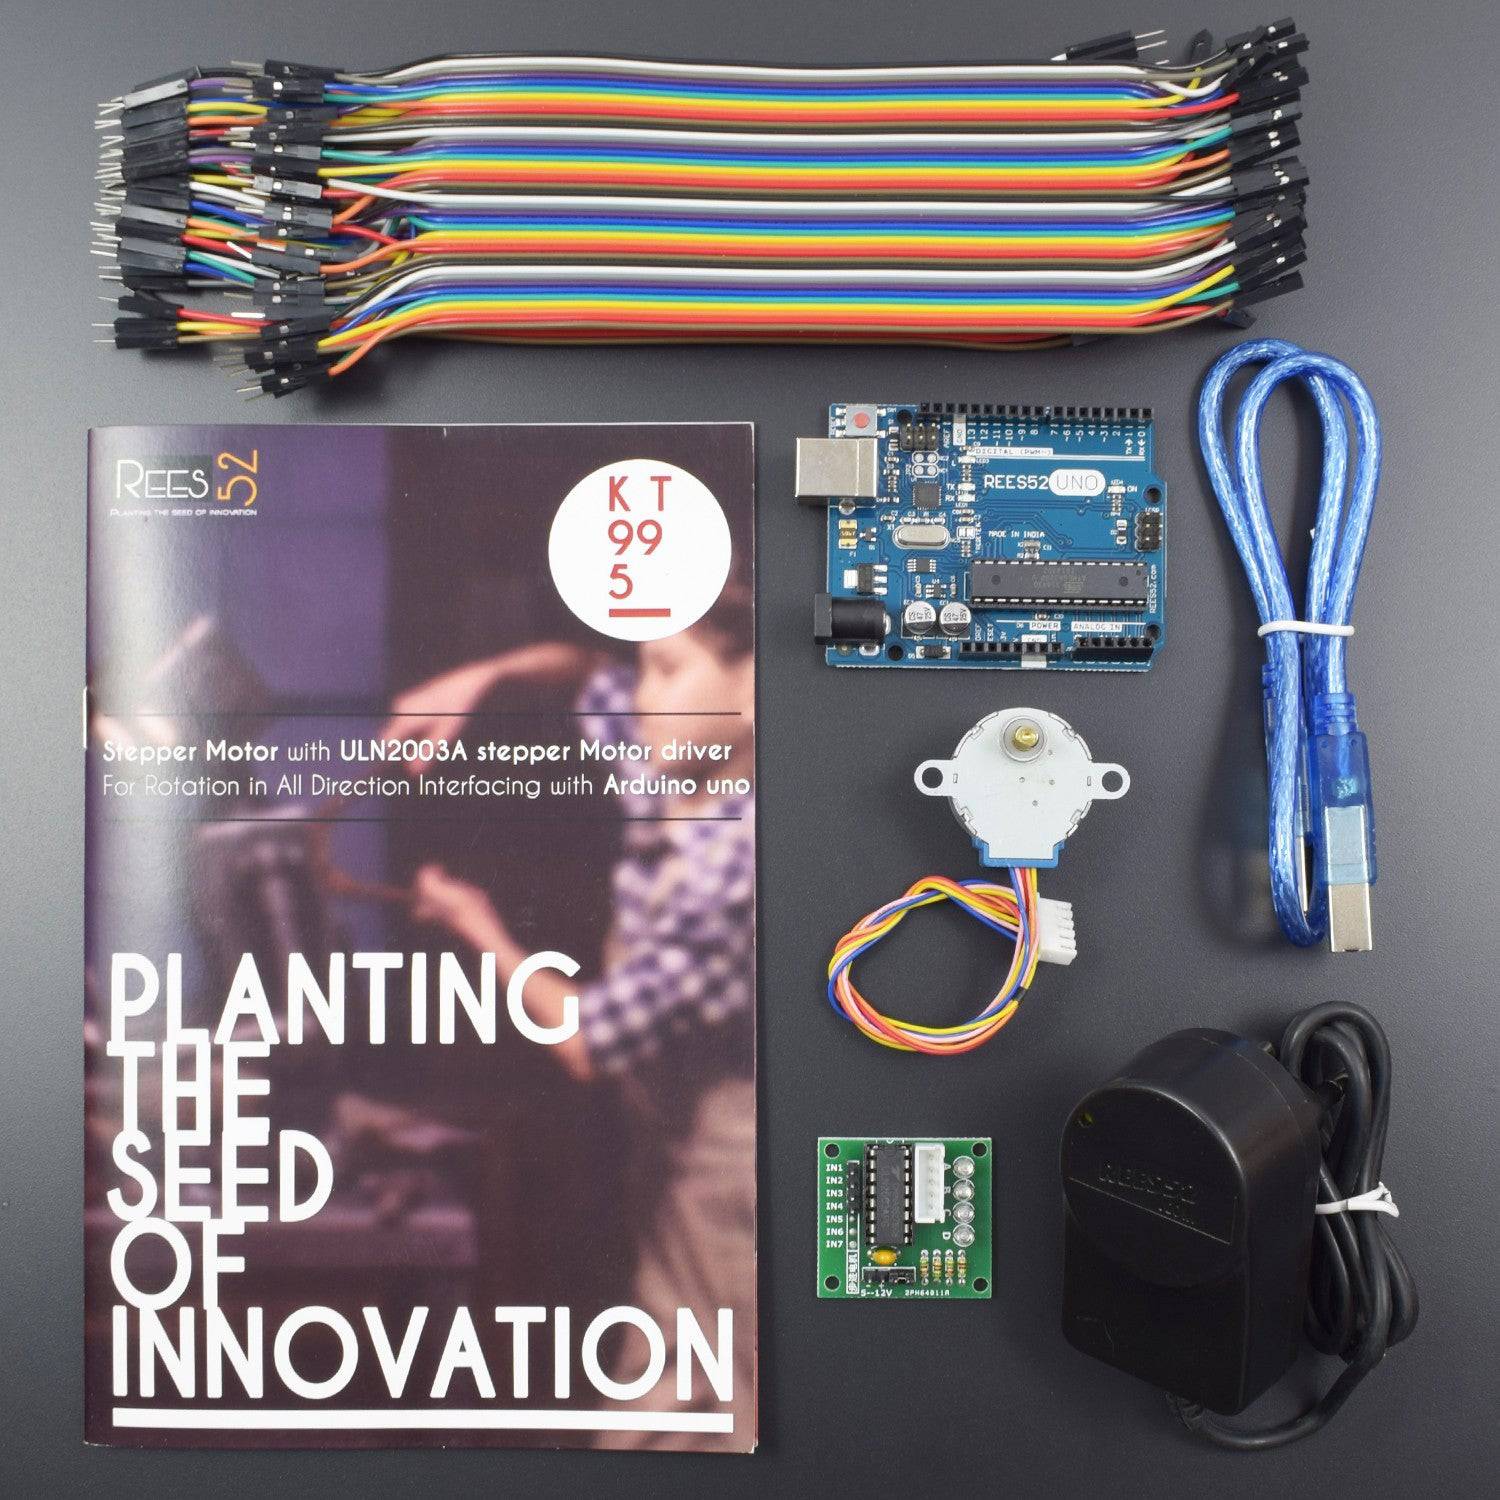
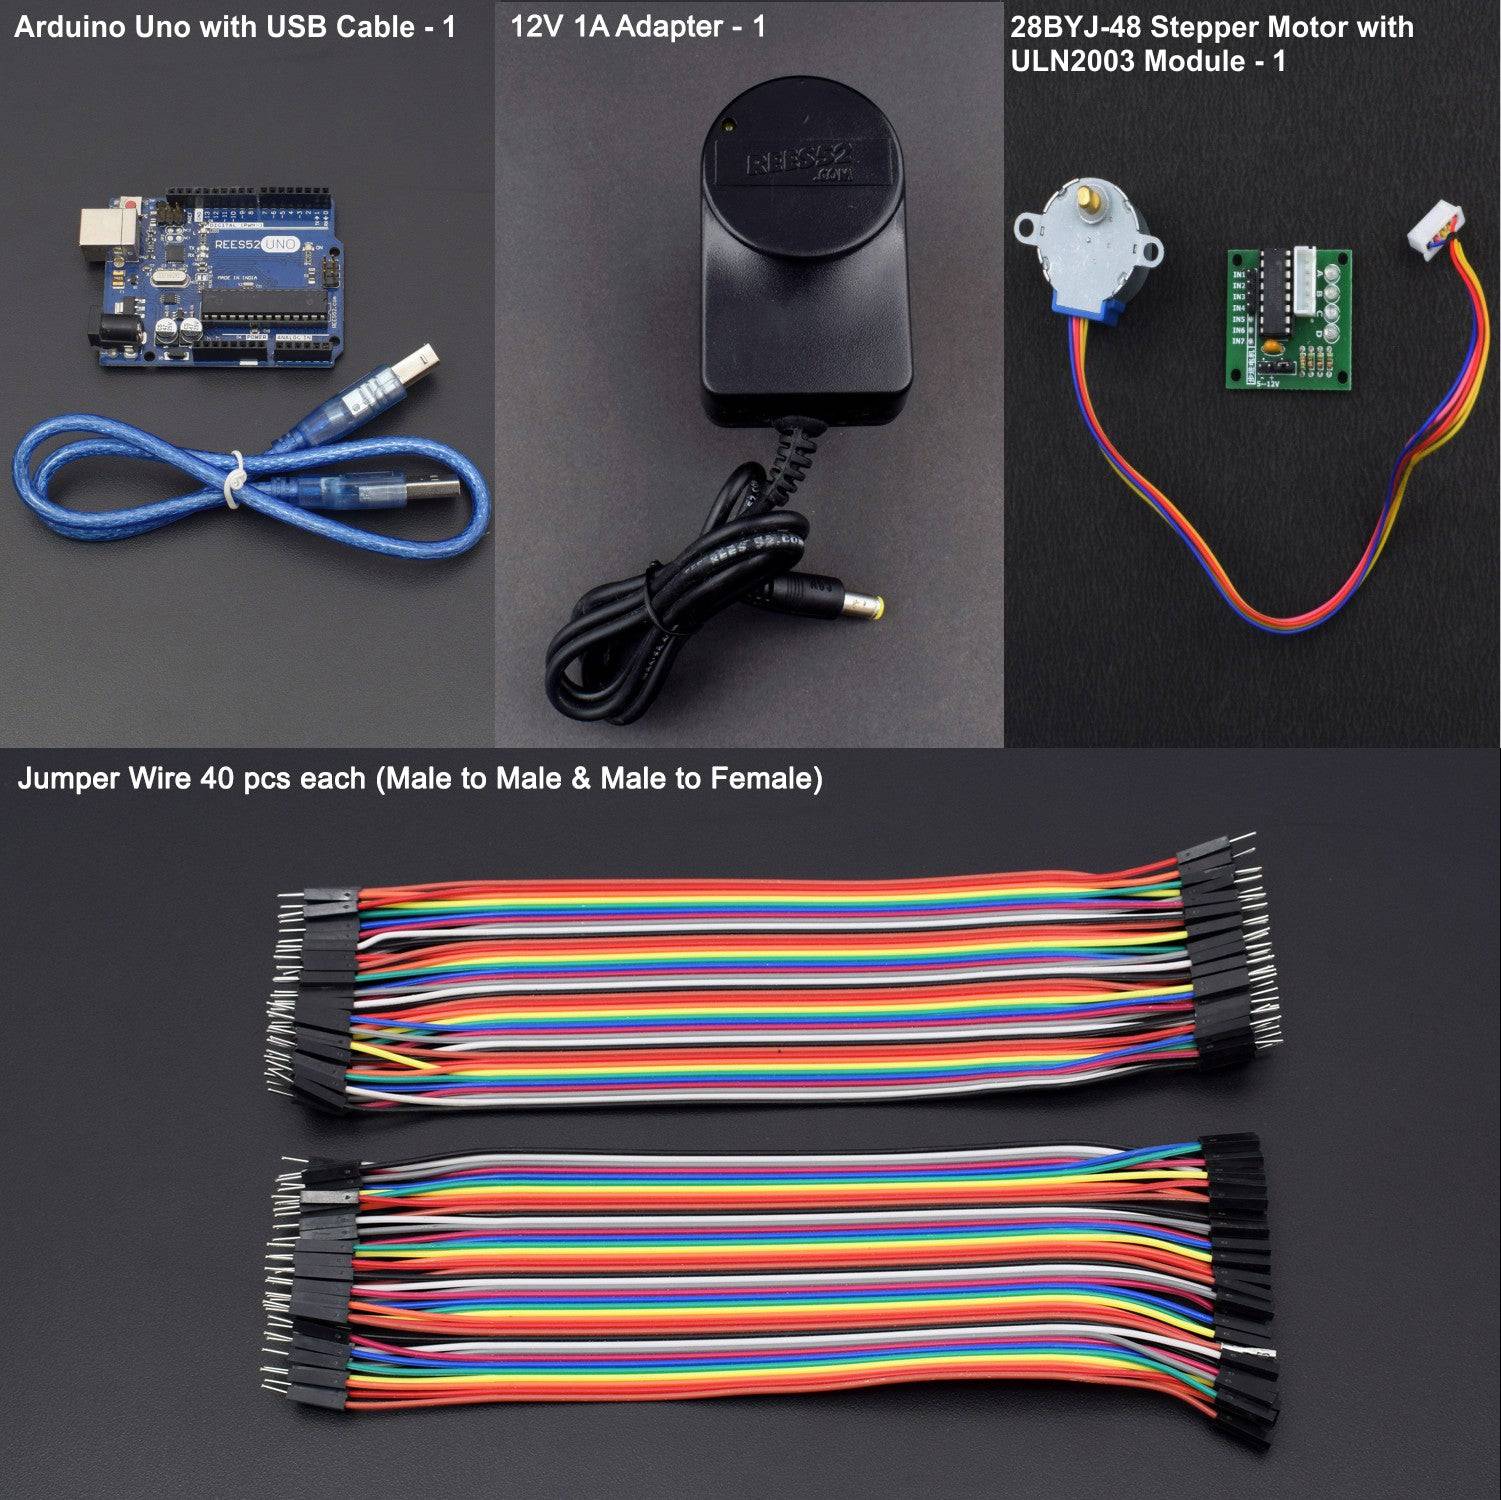
KIT INCLUDES:
- Arduino UNO with USB cable – 1
- Jumper Wires male to male – 40 pieces
- Jumper Wires male to female – 40 pieces
- 28BYJ-48 Stepper Motor
- ULN2003 Module– 1
- 12v 1 amp Adapter Power Supply - 1
HARDWARE REQUIRED
- Arduino UNO with USB cable – 1
- Jumper Wires male to male – 40 pieces
- Jumper Wires male to female – 40 pieces
- 28BYJ-48 Stepper Motor
- ULN2003 Module– 1
- 12v 1 amp Adapter Power Supply - 1
SOFTWARE REQUIRED
Download the latest Version of Arduino IDE
Arduino IDE 1.8.5 (programmable platform for Arduino)
Click To Download: https://www.arduino.cc/en/Main/Software


TYPICAL APPLICATION
- Digitally controlled as part of an open loop system for use in holding or positioning applications
- In the field of lasers and optics, they are frequently used in precision positioning equipment such as linear actuators, linear stages, rotation stages, goniometers,and mirror mounts. Other uses are in packaging machinery and positioning of valve pilot stages for fluid control systems.
- Commercially, stepper motors are used in floppy disk drives, flatbed scanners, computer printers, plotters, slot machines, image scanners, compact disc drives,intelligent lighting, camera lenses, CNC machines and, more recently, in 3D printers
SPECIFICATIONS
ULN2003A STEPPER MOTOR DRIVER & 28BYJ-48 STEPPER MOTOR
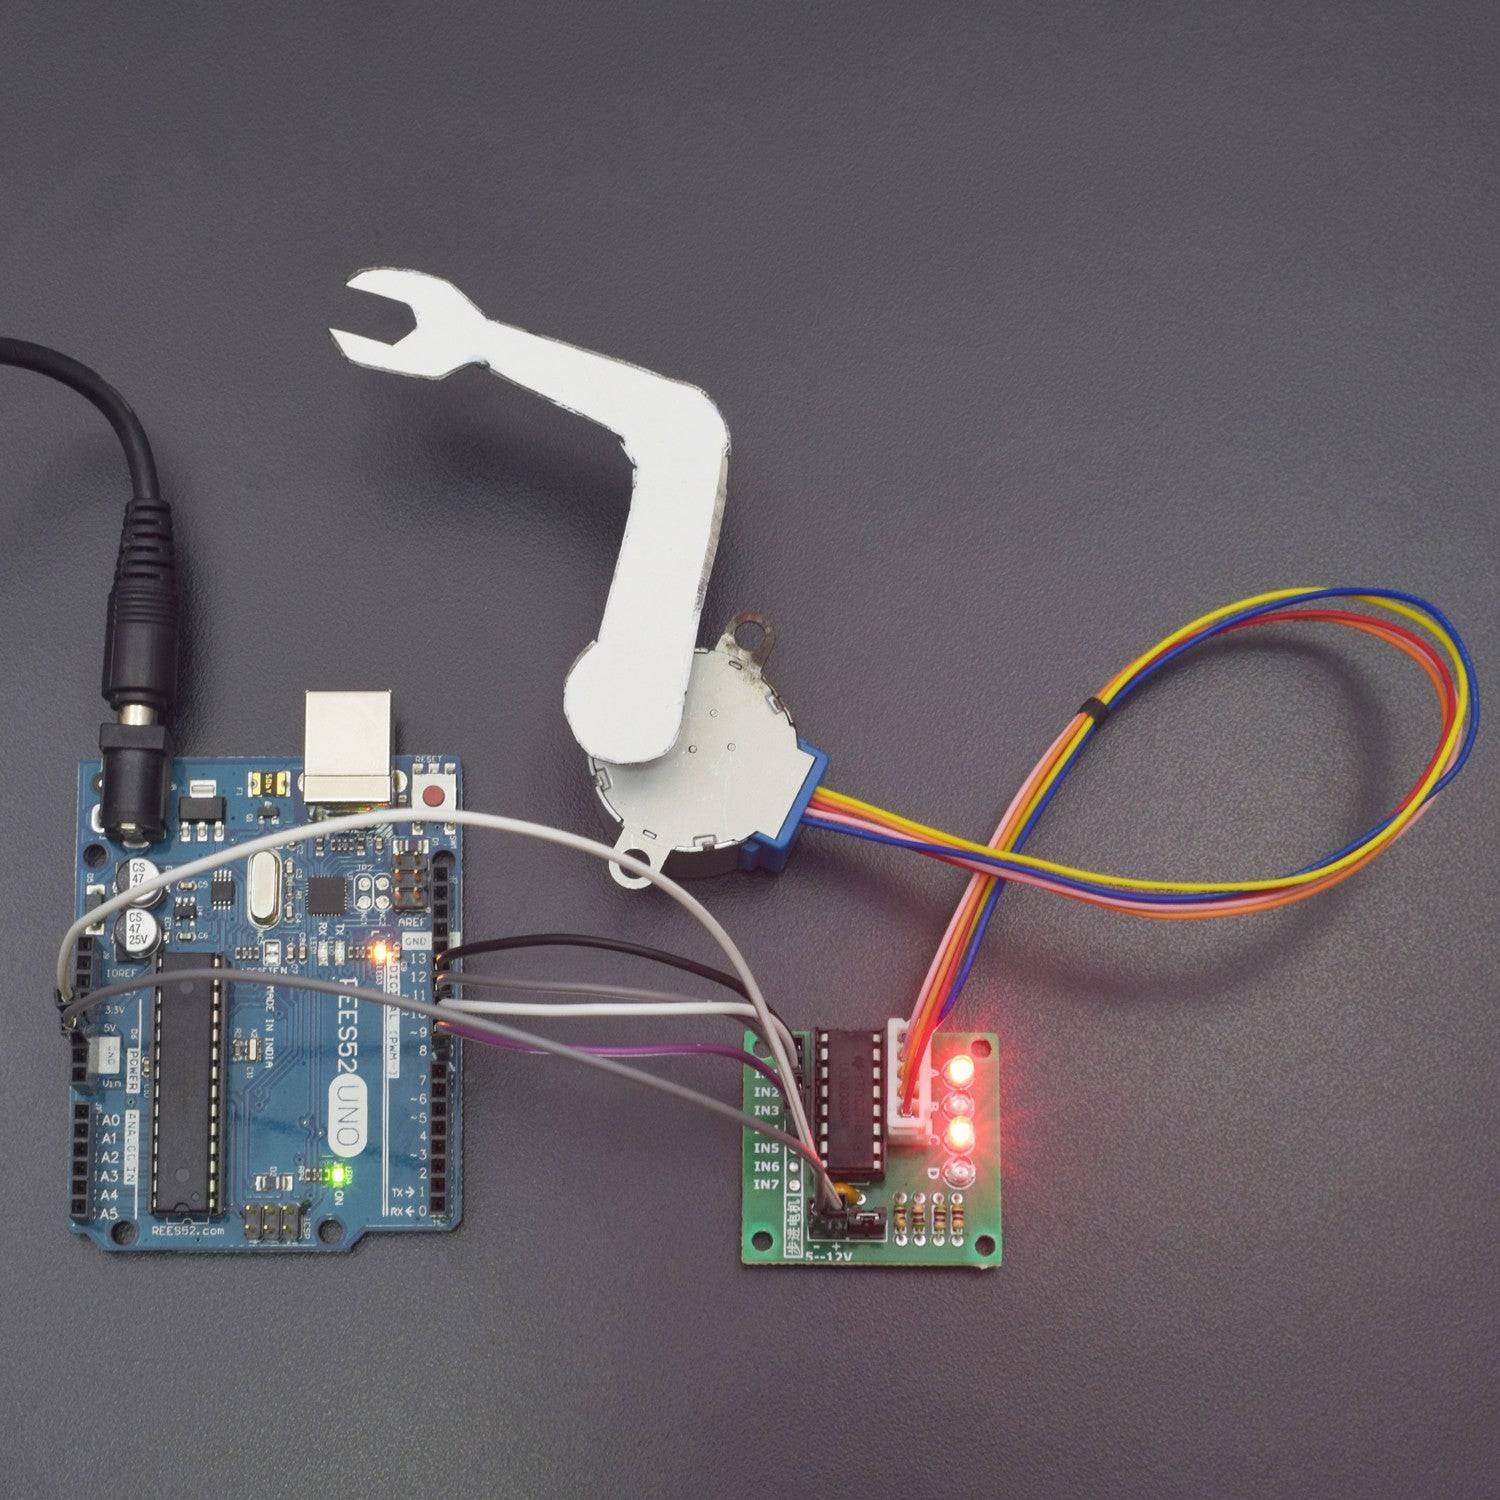
The ULN2003 stepper motor driver PCB provides a direct drive interface between your microcontroller and stepper motor. The PCB provides 4 inputs for connection to your microcontroller, power supply connection for the stepper motor voltage, and ON/OFF jumper, a direct connect stepper motor header and 4 LEDs to indicate stepping state.

28BYJ-48 Stepper Motor
- Model: 28BYJ-48
- Voltage: 5VDC
- Phase: 4
- Step Angle: 5.625° (1/64)
- Reduction ratio: 1/64
- This Motor has a Gear Ratio of 64 and Stride Angle 5.625° so this motor has 4096 steps.
Operating voltage – up to 15 v
This Motor has a Gear ratio of 64, and Stride Angle 5.625° so this motor has a 4096 Steps.

Steps = Number of steps in One Revolution * Gear ratio.
Steps= (360°/5.625°)*64"Gear ratio" = 64 * 64 =4096. This value will substitute it on the arduino Sketch

CIRCUIT DESCRIPTION


ULN2003 Module |
Arduino Uno |
IN1 |
Arduino Digital Pin 11 |
IN2 |
Arduino Digital Pin 10 |
IN3 |
Arduino Digital Pin 9 |
IN4 |
Arduino Digital Pin 8 |
VCC |
Arduino 5v or Optional source |
GND |
Gnd |
CODE
Click to see the code or copy this link to see the code:
https://drive.google.com/open?id=1DOGA3BDCsgXOTZiZOIXmVLbhewsaL6cP
OUTPUT
 Welcome to the Arduino Based Project which consists of Stepper Motor and ULN2003 to control the motor. The 28BYJ-48 Stepper Motor is a small, cheap, 5 volt geared stepping motors. These stepping motors are apparently widely used to control things like automated blinds, A/C units and are mass produced. Due to the gear reduction ratio of *approximately* 64:1 it offers decent torque for its size at speeds of about 15 rotations per minute (RPM).
The ULN2003 stepper motor driver board allows you to easily control the 28BYJ-48 stepper motor from a microcontroller, like the Arduino Uno. One side of the board side has a 5 wire socket where the cable from the stepper motor hooks up and 4 LEDs to indicate which coil is currently powered.
On the side, you have a motor on/off jumper (keep it on to enable power to the stepper). The two pins below the 4 resistors, is where you provide power to the stepper.
A separate 5-12 V 1 Amp power supply or battery pack should be used, as the motor may drain more current than the microcontroller can handle and could potentially damage it. In the middle of the board, we have the ULN2003 chip.
Connect the ULN2003 driver IN1, IN2, IN3, and IN4 to digital pin 8, 9, 10 and 11 respectively on the Arduino Uno. Connect the positive lead from a decent 5-12V battery pack to the “+” pin of the ULN2003 driver and the ground to the “-” pin. Make sure that the “on/off” jumper next to the “-” pin is on. If you power the Arduino from a different battery pack, connect the grounds together.
