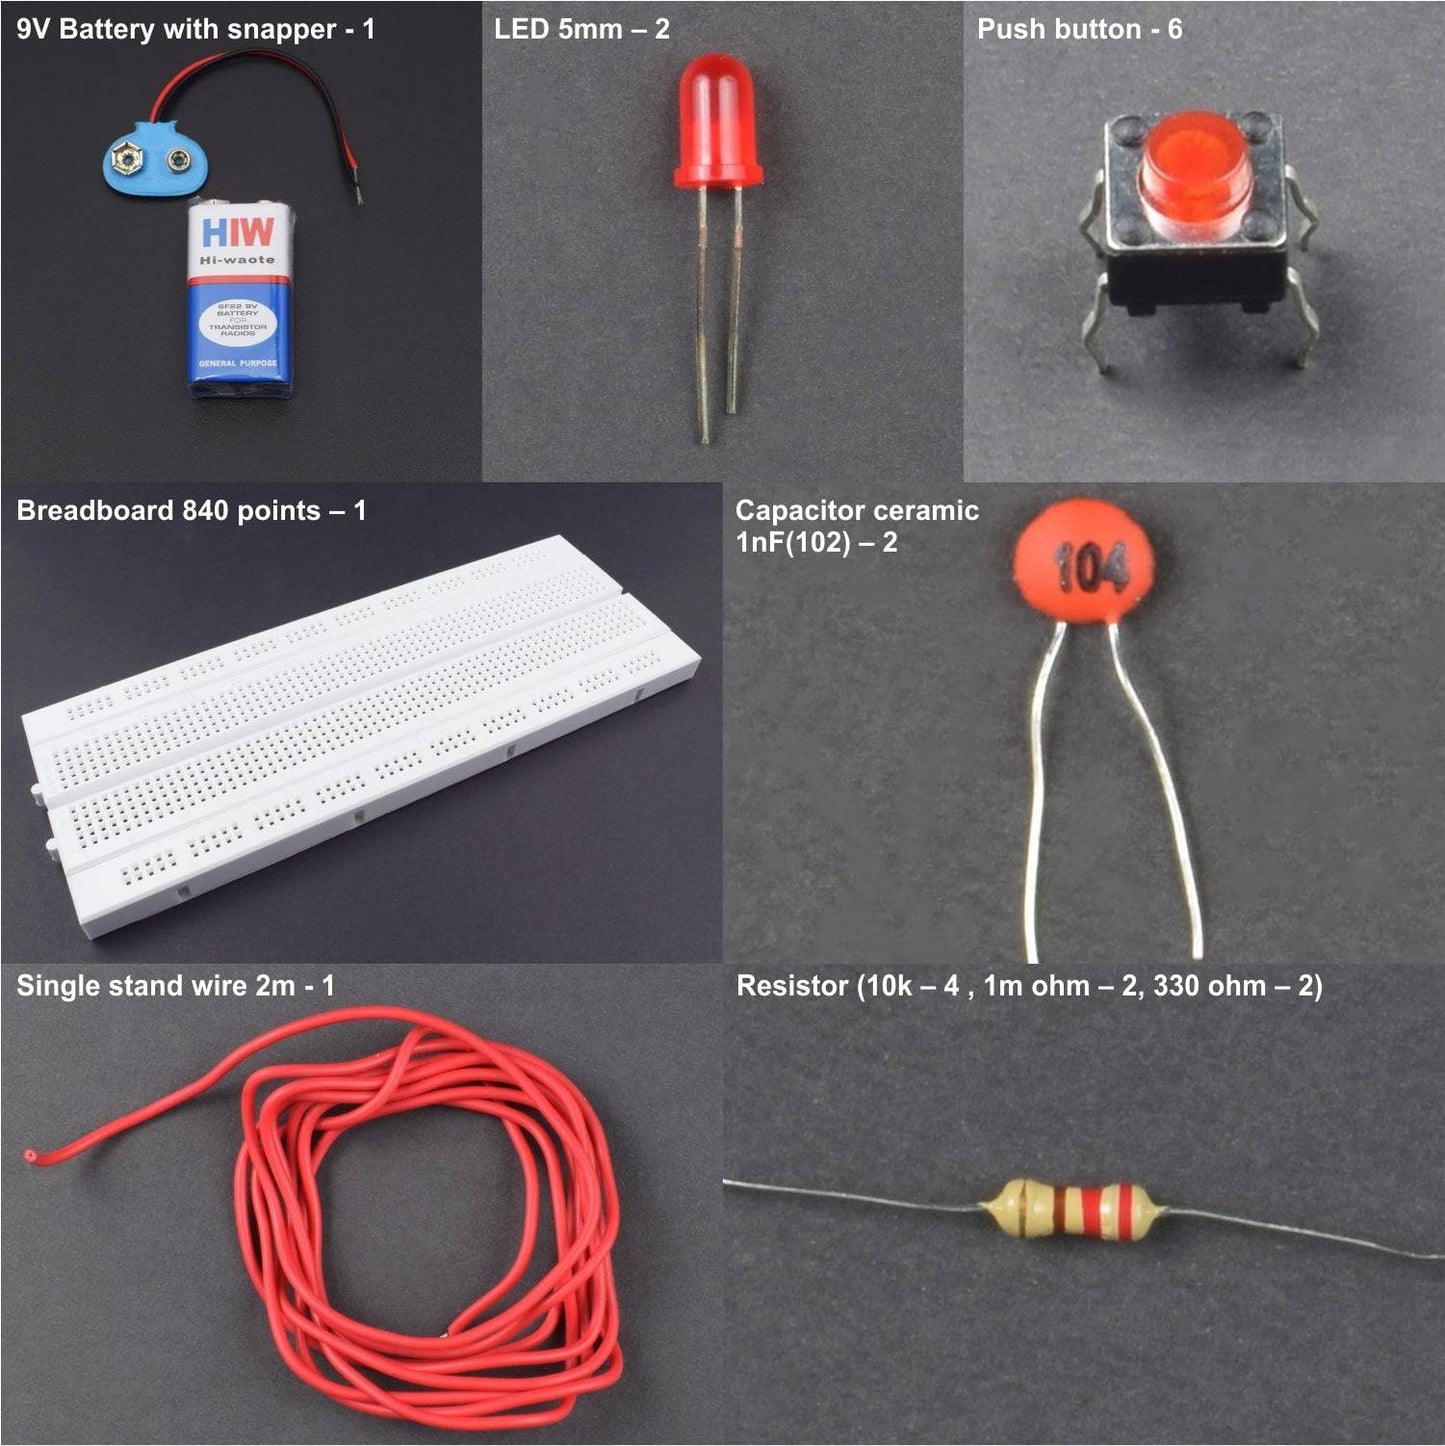

KIT INCLUDES:
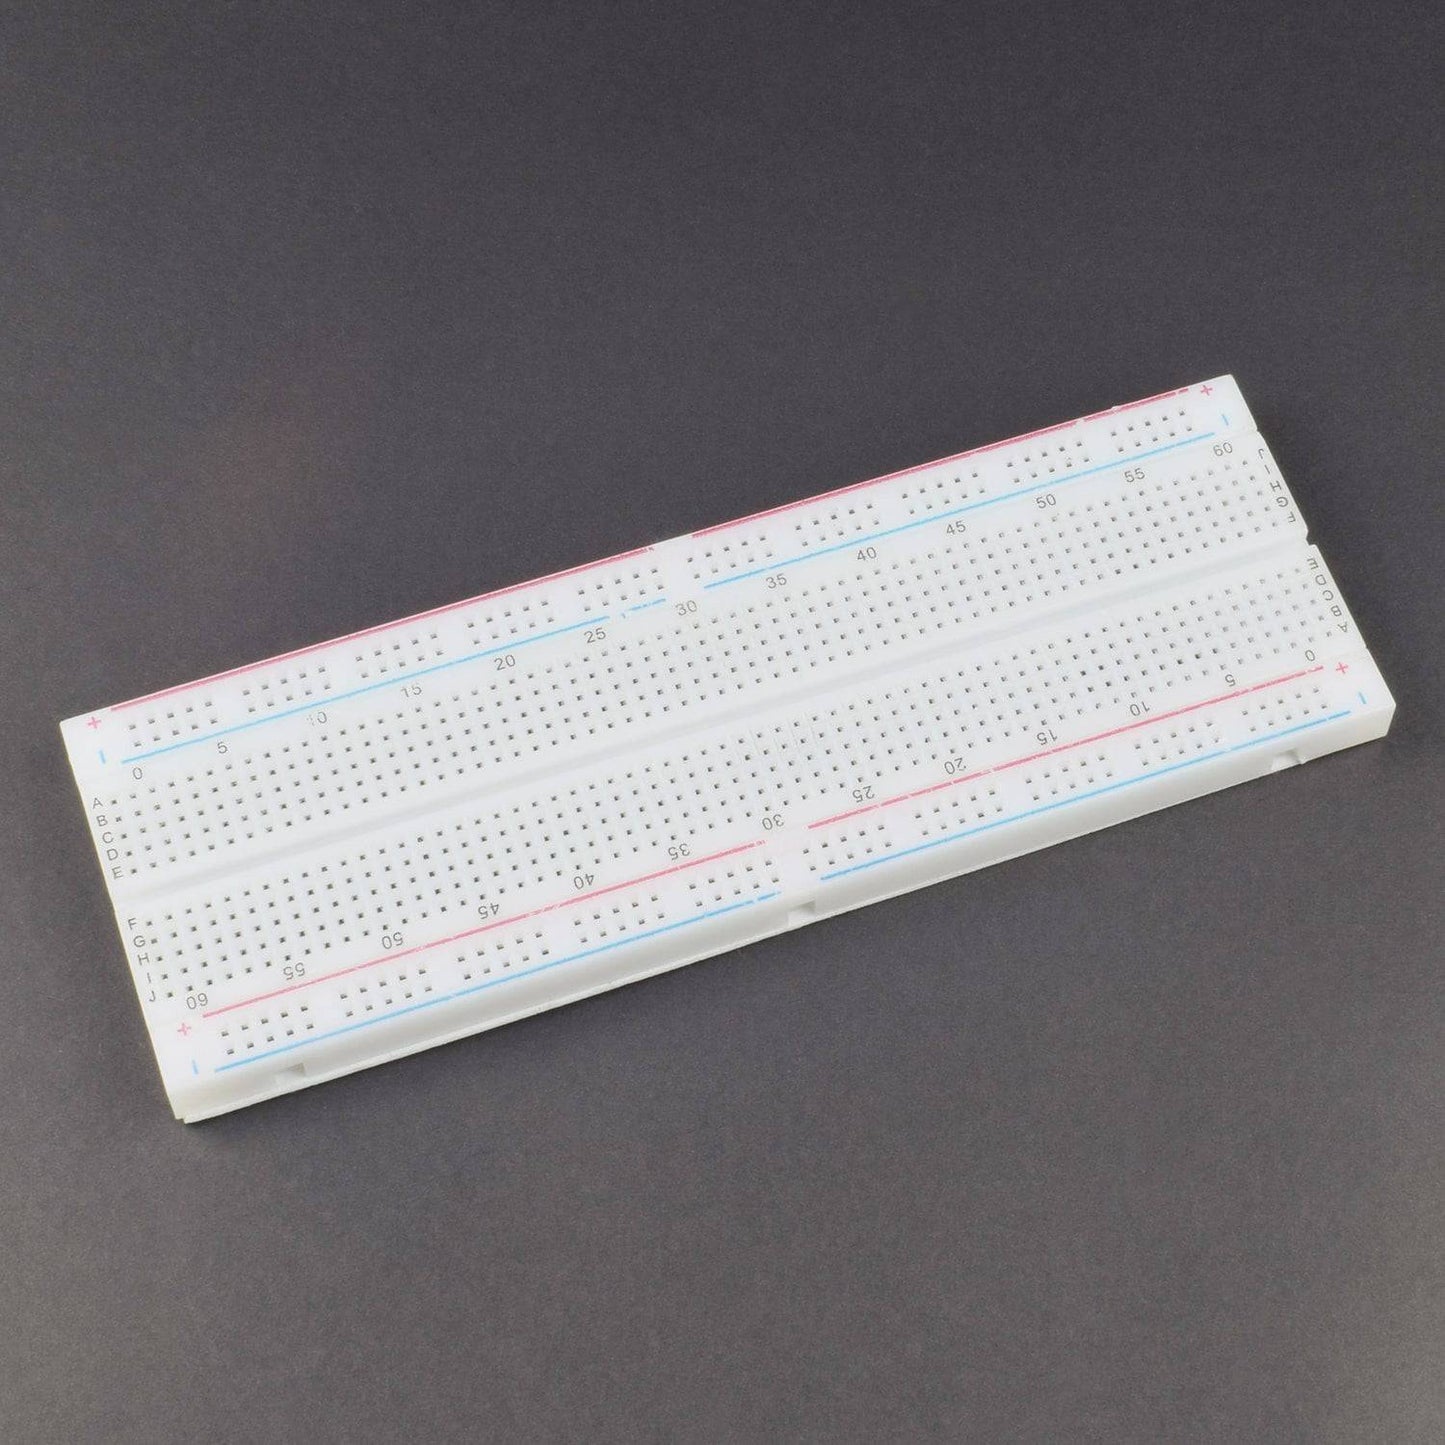
- Breadboard 840 points – 1
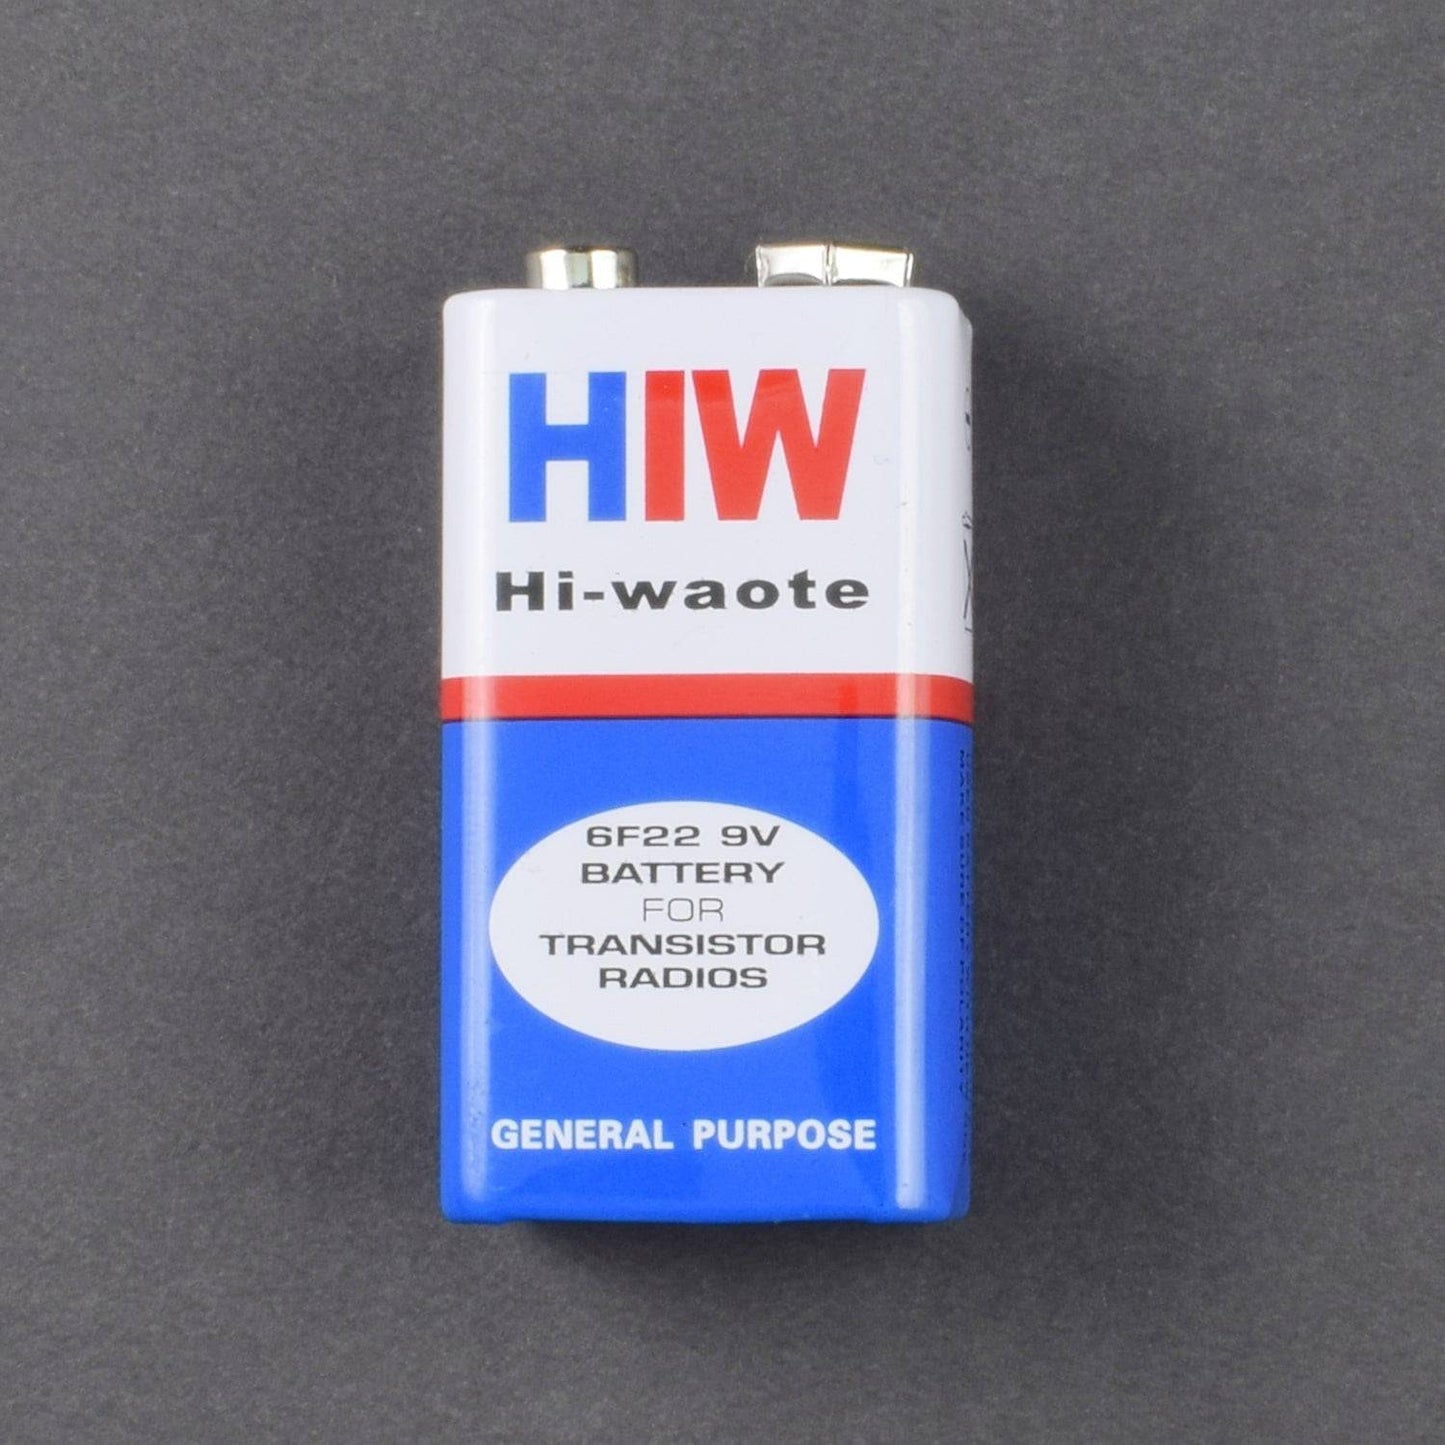
- 9v battery -1
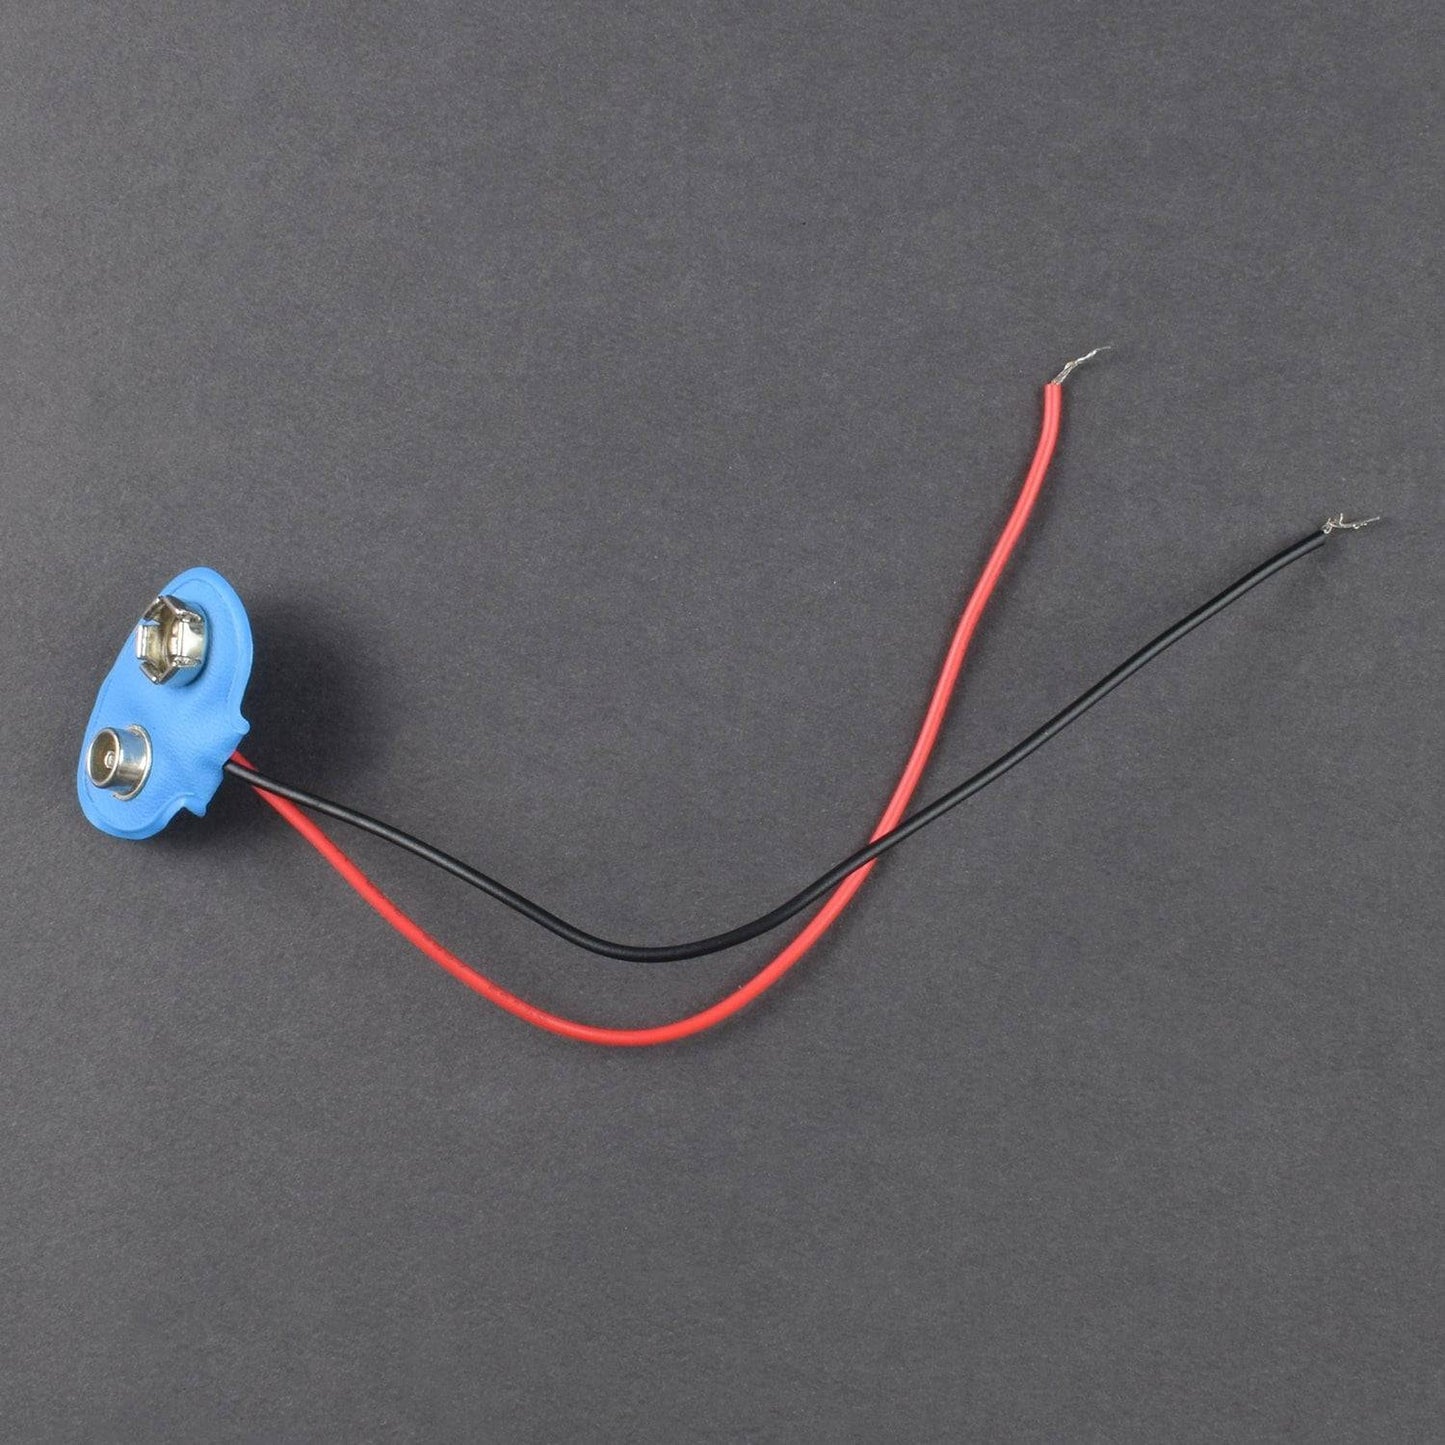
- Battery snapper – 1
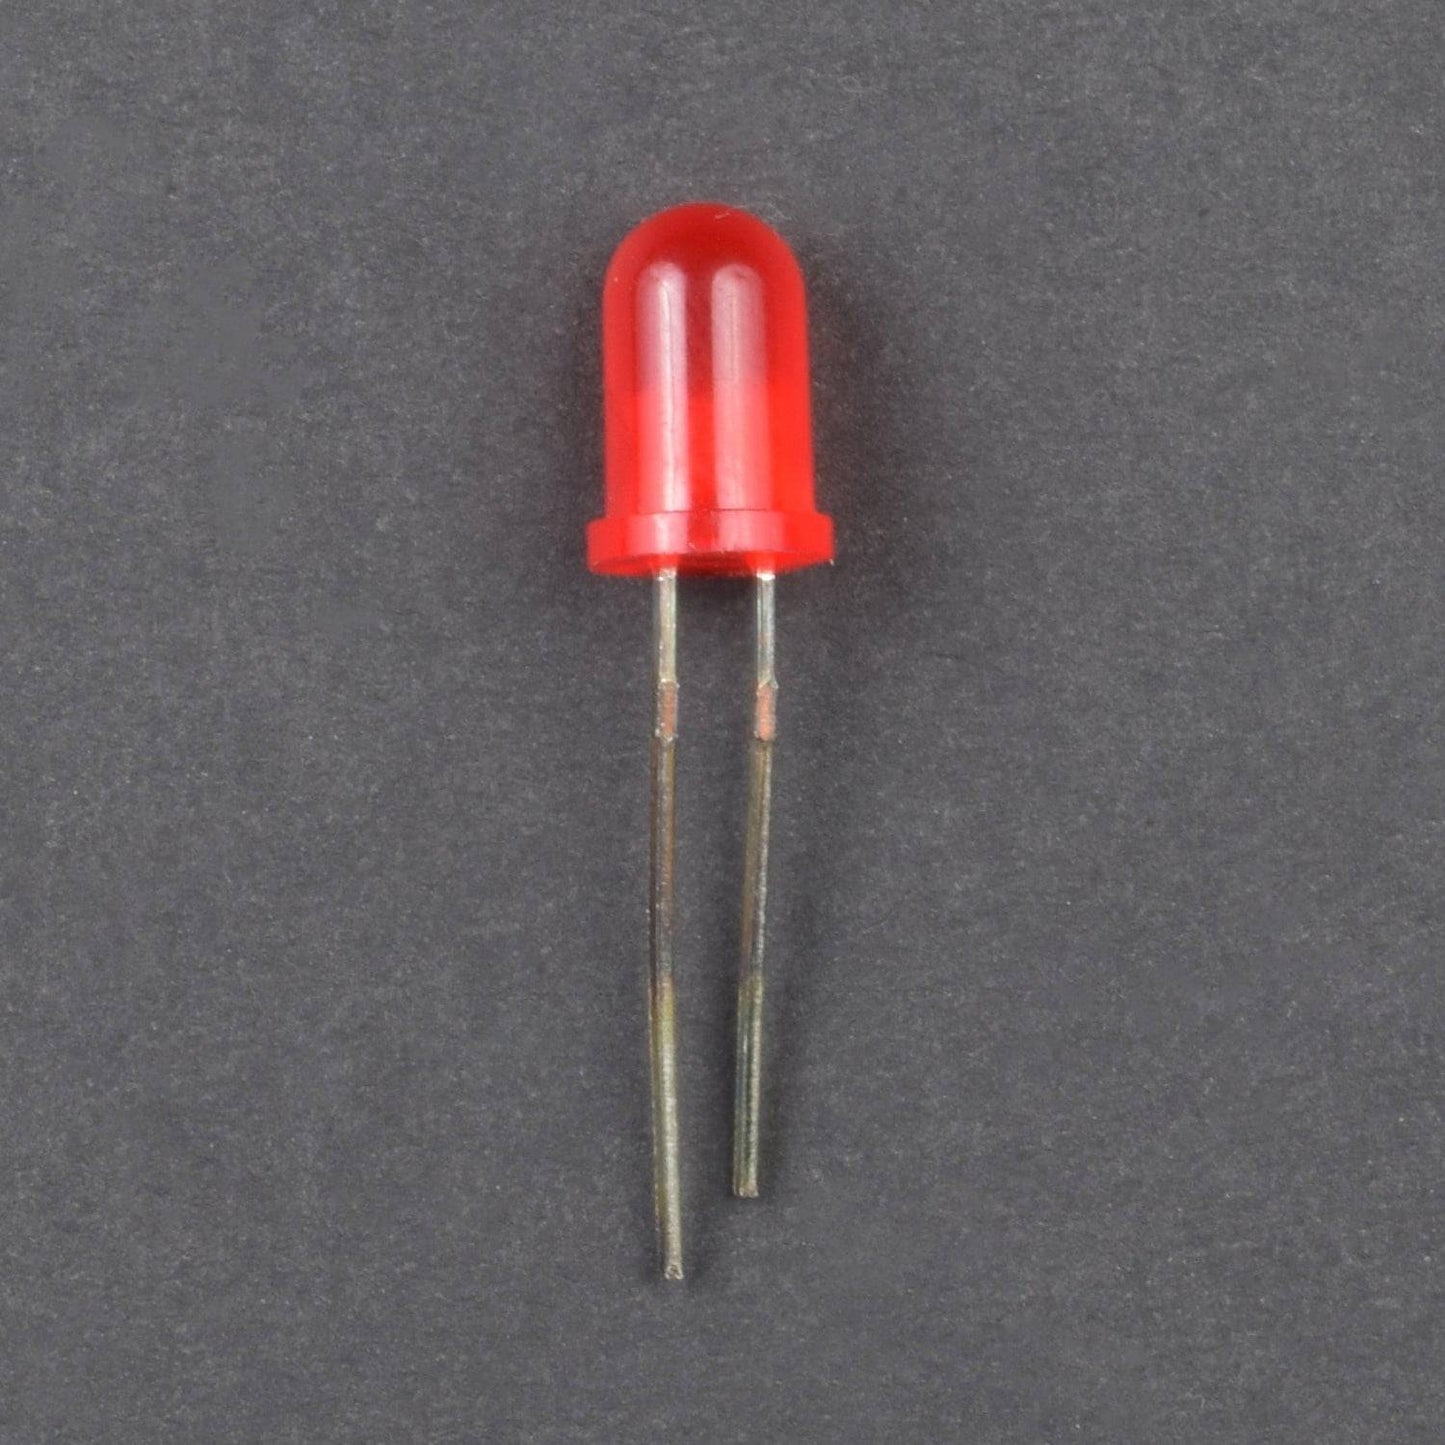
- LED 5mm – 2
- Single stand wire 2m - 1
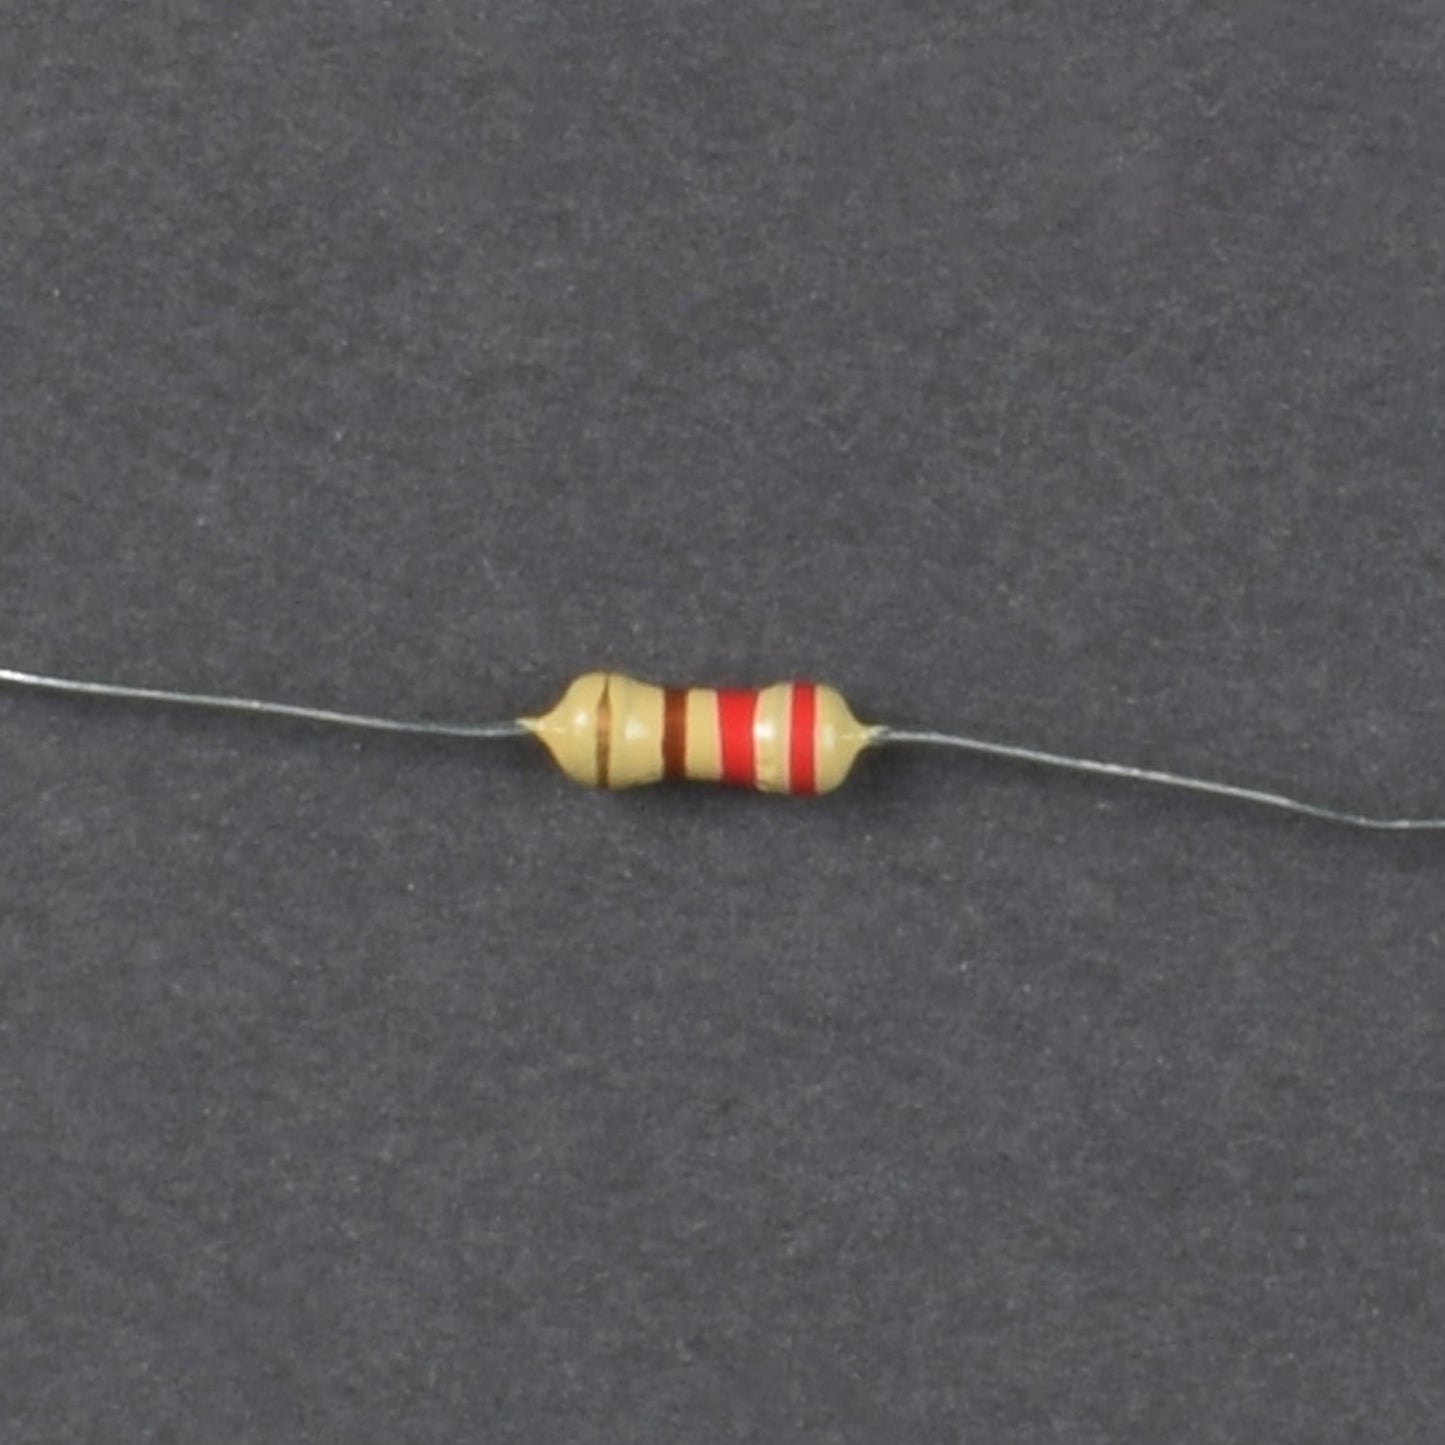
- Resistor (10k – 4 , 1m ohm – 2, 330 ohm – 2)
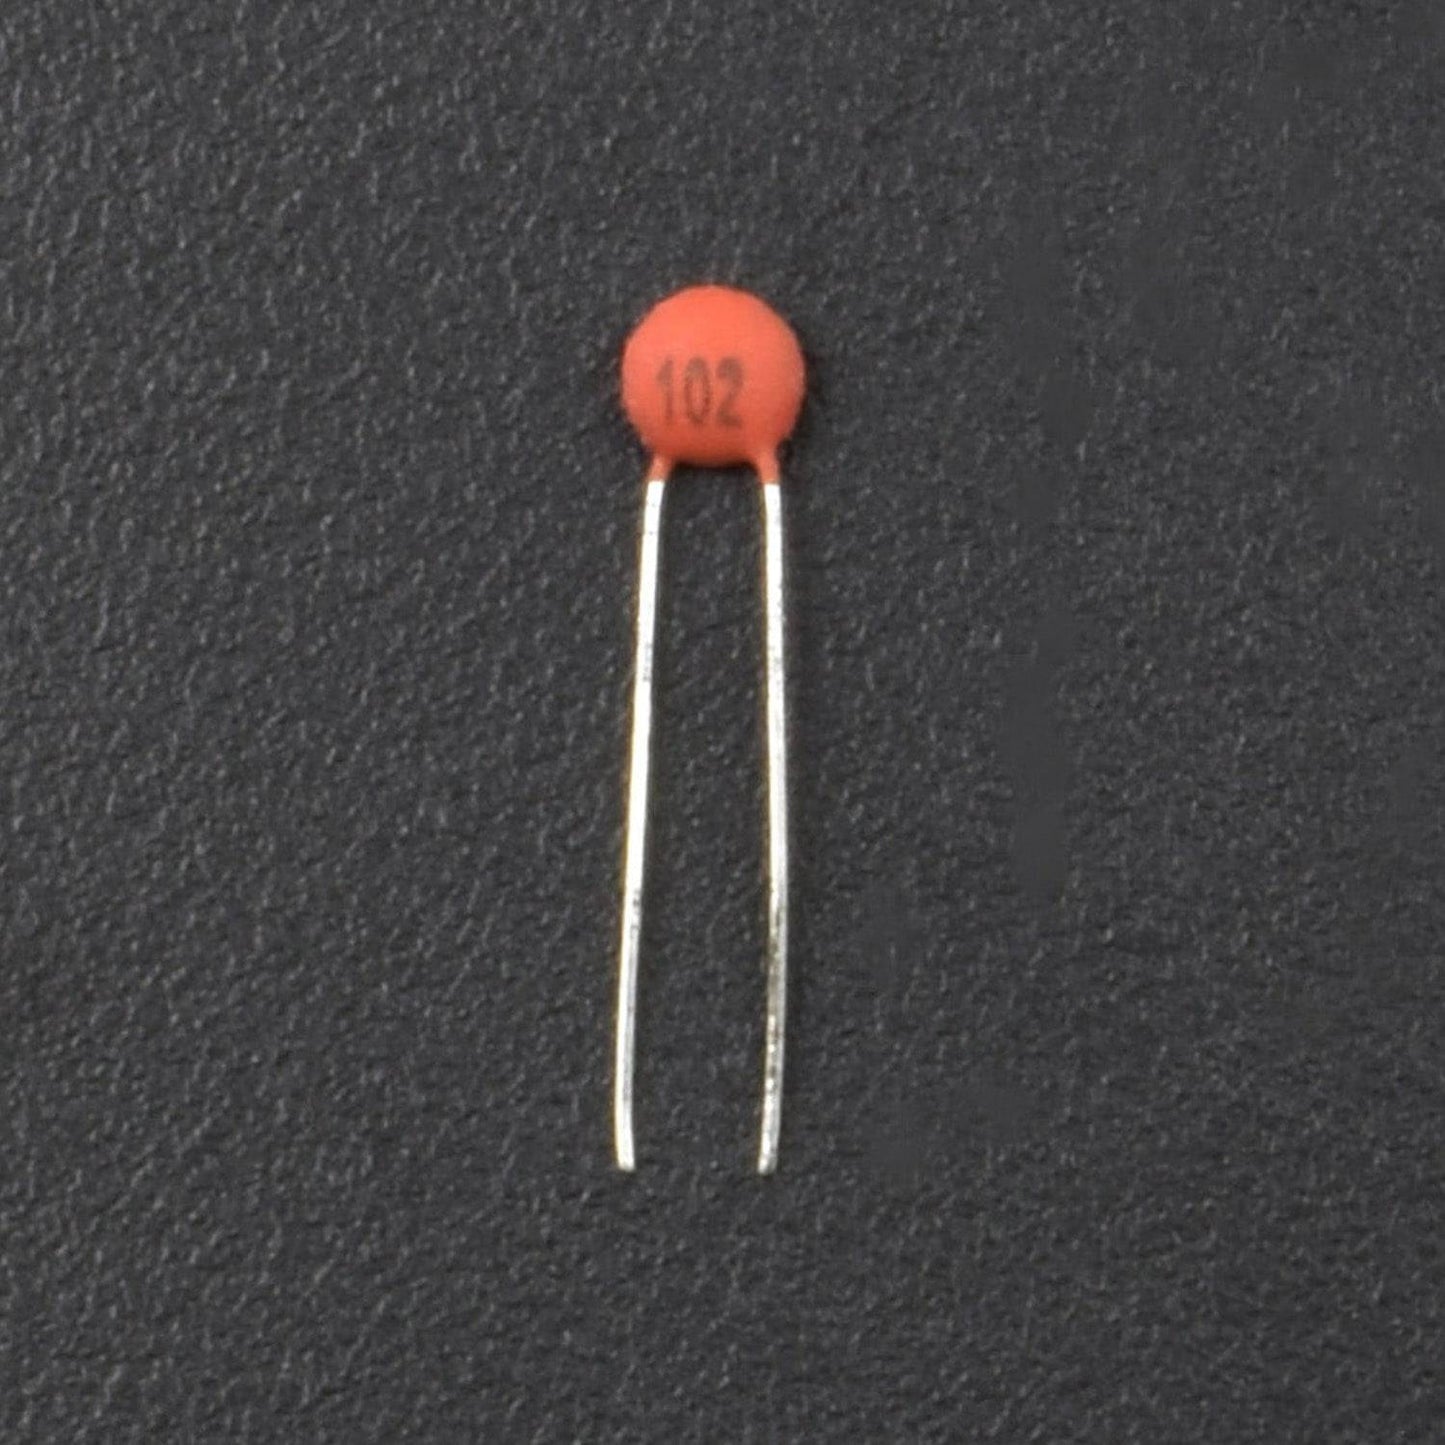
- Capacitor ceramic 1nF(102) – 2
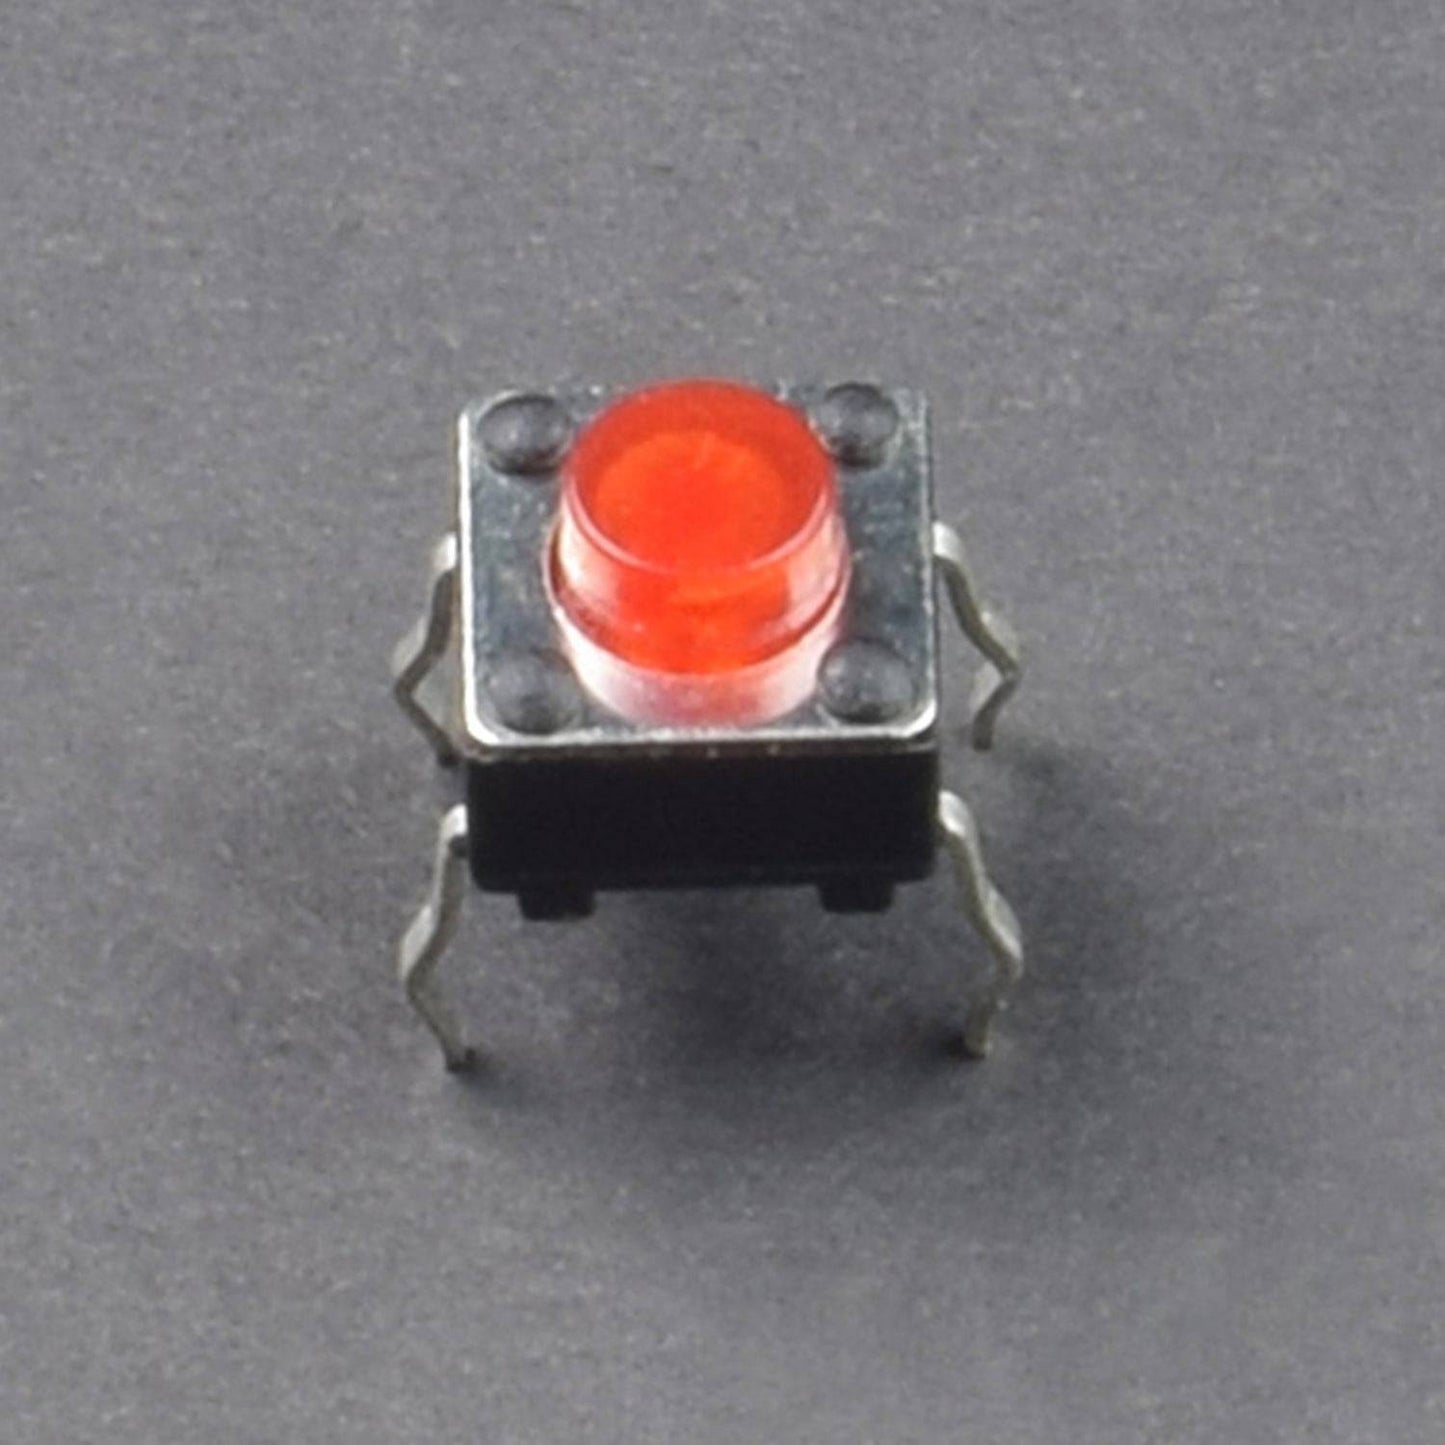
- Push button - 6
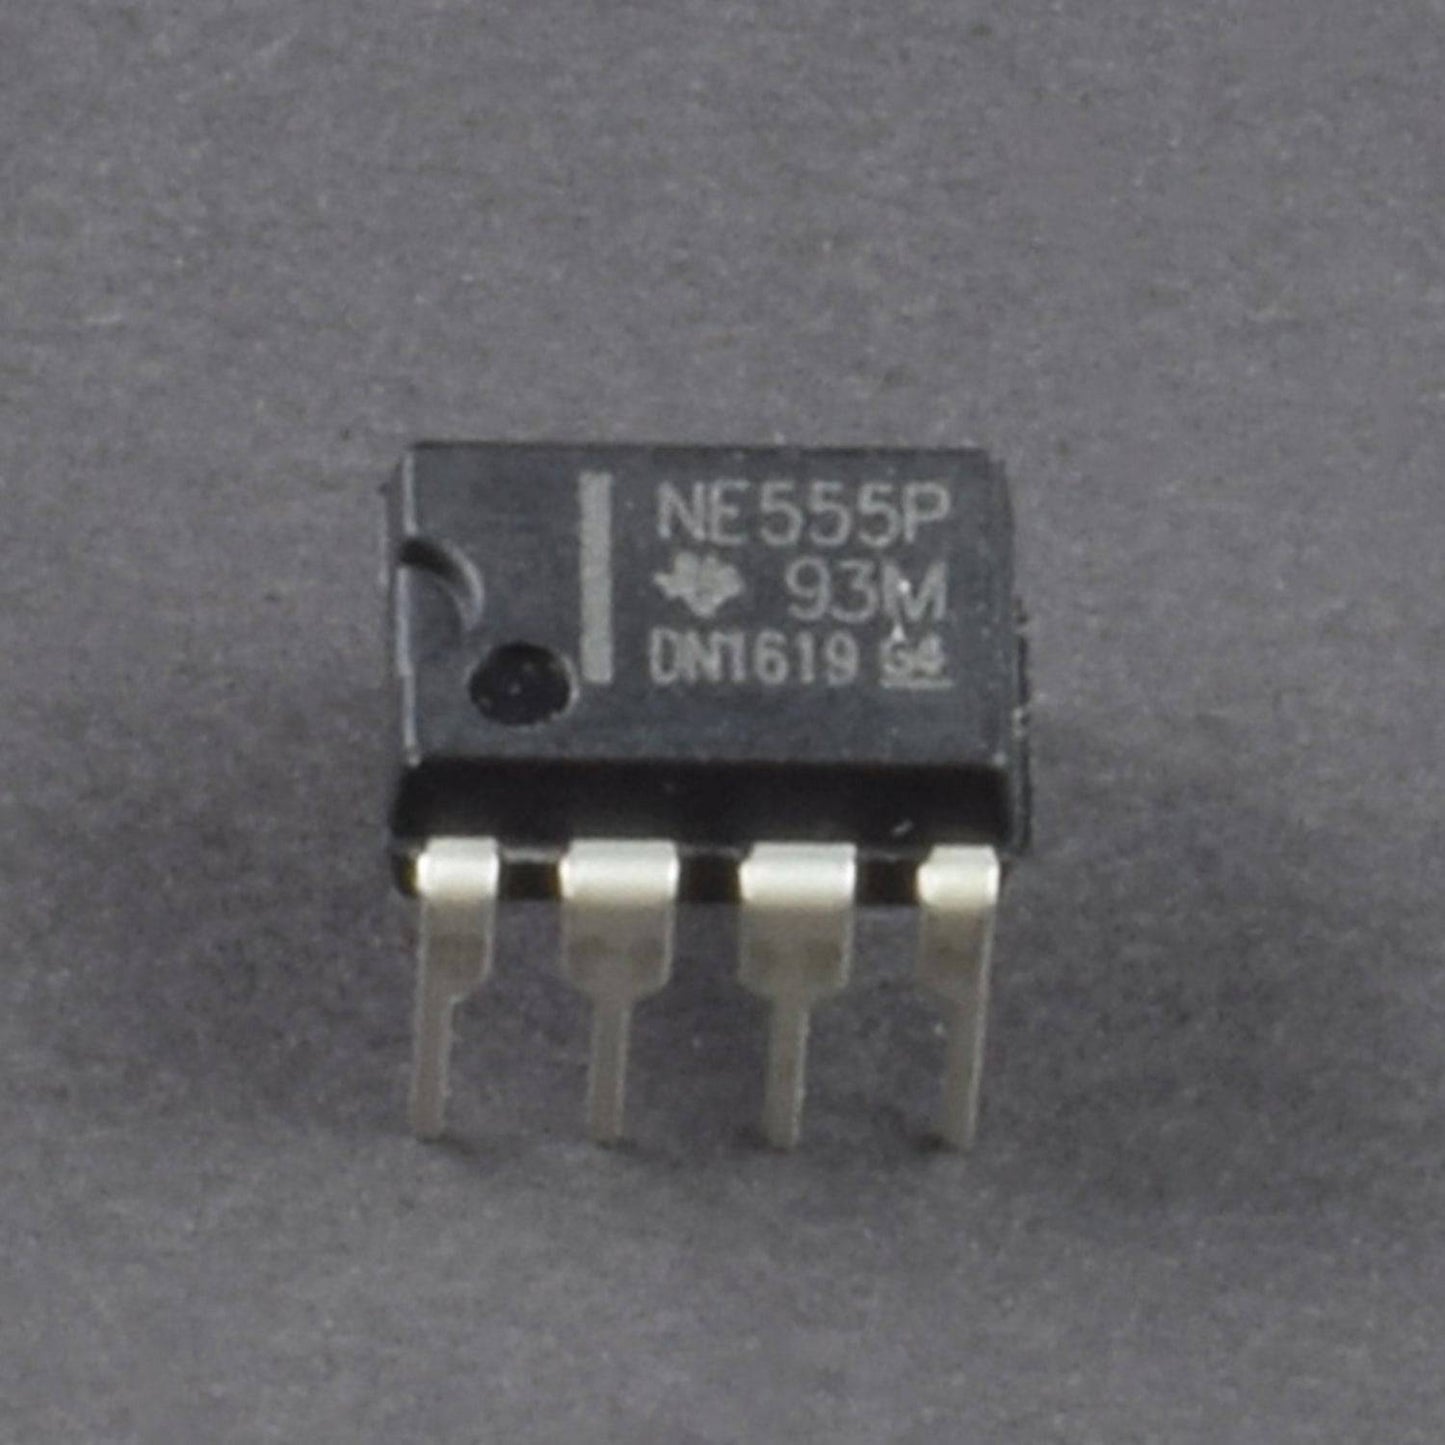
- NE555 Timer IC -1
HARDWARE REQUIRED
- Breadboard 840 points – 1
- 9v battery -1
- Battery snapper – 1
- LED 5mm – 2
- Single stand wire 2m - 1
- Resistor (10k – 4 , 1m ohm – 2, 330 ohm – 2)
- Capacitor ceramic 1nF(102) – 2
- Push button - 6
- NE555 Timer IC -1
SPECIFICATIONS
Power supply - 9v from 9v battery
PIN DESCRIPTION
LED


555 TIMER IC

Pin |
Name |
Purpose |
1 |
GND |
Ground reference voltage, low level (0 V) |
2 |
TRIG |
The OUT pin goes high and a timing interval starts when this input falls below 1/2 of CTRL voltage (which is typically 1/3 Vcc, CTRL being 2/3 Vcc by default if CTRL is left open). In other words, OUT is high as long as the trigger low. Output of the timer totally depends upon the amplitude of the external trigger voltage applied to this pin. |
3 |
OUT |
This output is driven to approximately 1.7 V below +Vcc, or to GND. |
4 |
RESET |
A timing interval may be reset by driving this input to GND, but the timing does not begin again until RESET rises above approximately 0.7 volts. Overrides TRIG which overrides threshold. |
5 |
CTRL |
Provides “control” access to the internal voltage divider (by default, 2/3 Vcc). |
6 |
THR |
The timing (OUT high) interval ends when the voltage at threshold is greater than that at CTRL (2/3 Vcc if CTRL is open). |
7 |
DIS |
Open collector output which may discharge a capacitor between intervals. In phase with output. |
8 |
Vcc |
Positive supply voltage, which is usually between 3 and 15 V depending on the variation. |

CIRCUIT DESCRIPTION


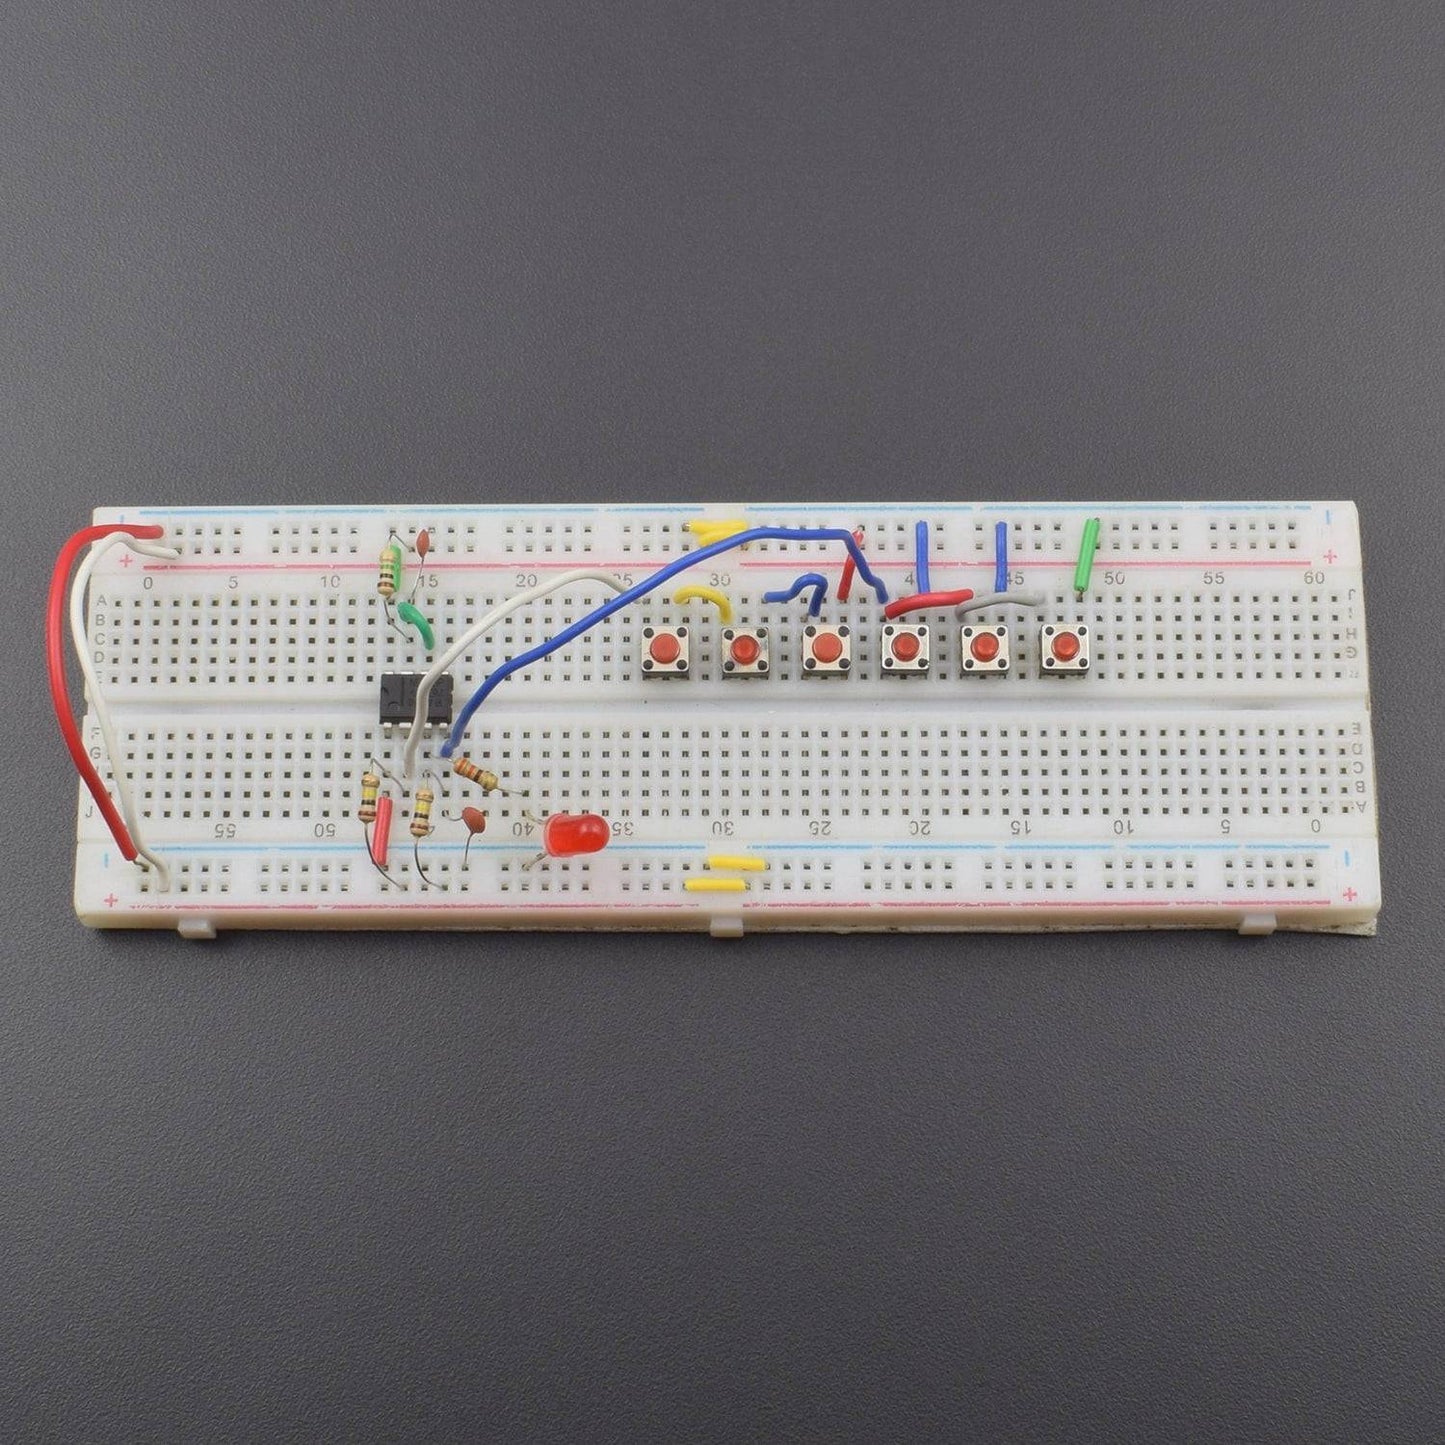
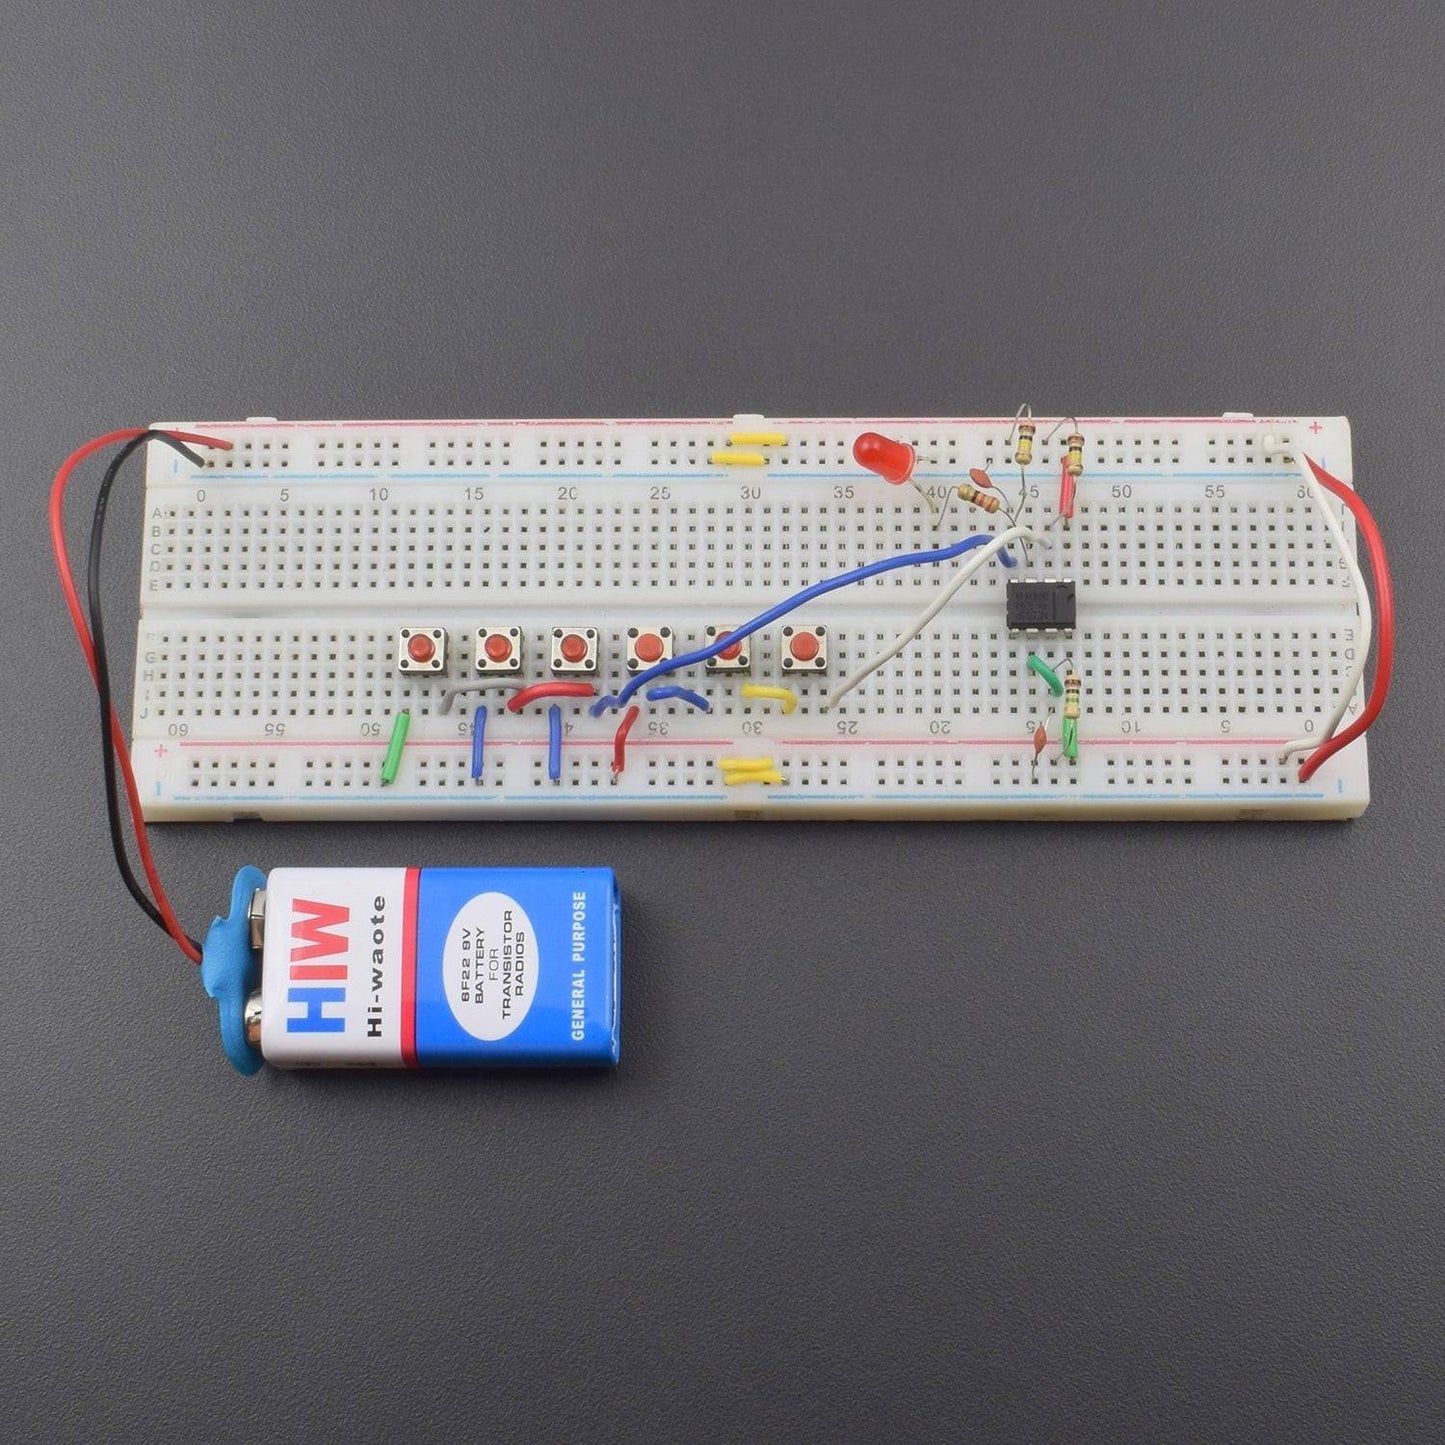
- 555 Timer IC is connected to the breadboard.
- Pin No. 1 is GND and Pin No. 8 is connected to the positive supply.
- Pin No. 2 to connected 100K resistor and resistor 2nd leg connected to the positive supply.
- Pin No. 2 to connected 1st Push Button leg 1st & 2nd leg connected to the 2nd Push Button 1st leg and 2nd Push Button 2nd leg is connected to the 3rd Push Button 1st leg and 3rd Push Button 2nd leg is GND.
- Pin No. 3 to connected 330 ohm resistor and resistor 2nd leg to connected Led positive leg & led negative leg is GND.
- Pin No. 4 to connected 100K resistor and resistor 2nd leg connected to the positive supply, Pin No. 4 to connected ceramic capacitor 1nF(102) and capacitor 2nd leg is GND.
- Pin No. 4 to connected 4th Push Button 1st leg and 2nd leg is GND, 4th Push Button 1st leg connected to the 5th Push Button 1st leg and 5th Push Button 2nd leg is GND, 5th Push Button 1st leg connected to the 6th Push Button 1st leg and 6th Push Button 2nd leg is GND.
- Pin No. 6 and Pin No. 7 connected to the each other and Pin No. 7 to connected 1M resistor 1st leg & resistor 2nd leg connected to the positive supply.
- Pin No. 7 to connected to the ceramic capacitor 1nF(102) and capacitor 2nd led is GND.
- Breadboard connection positive to positive and negative to negative.
WORKING
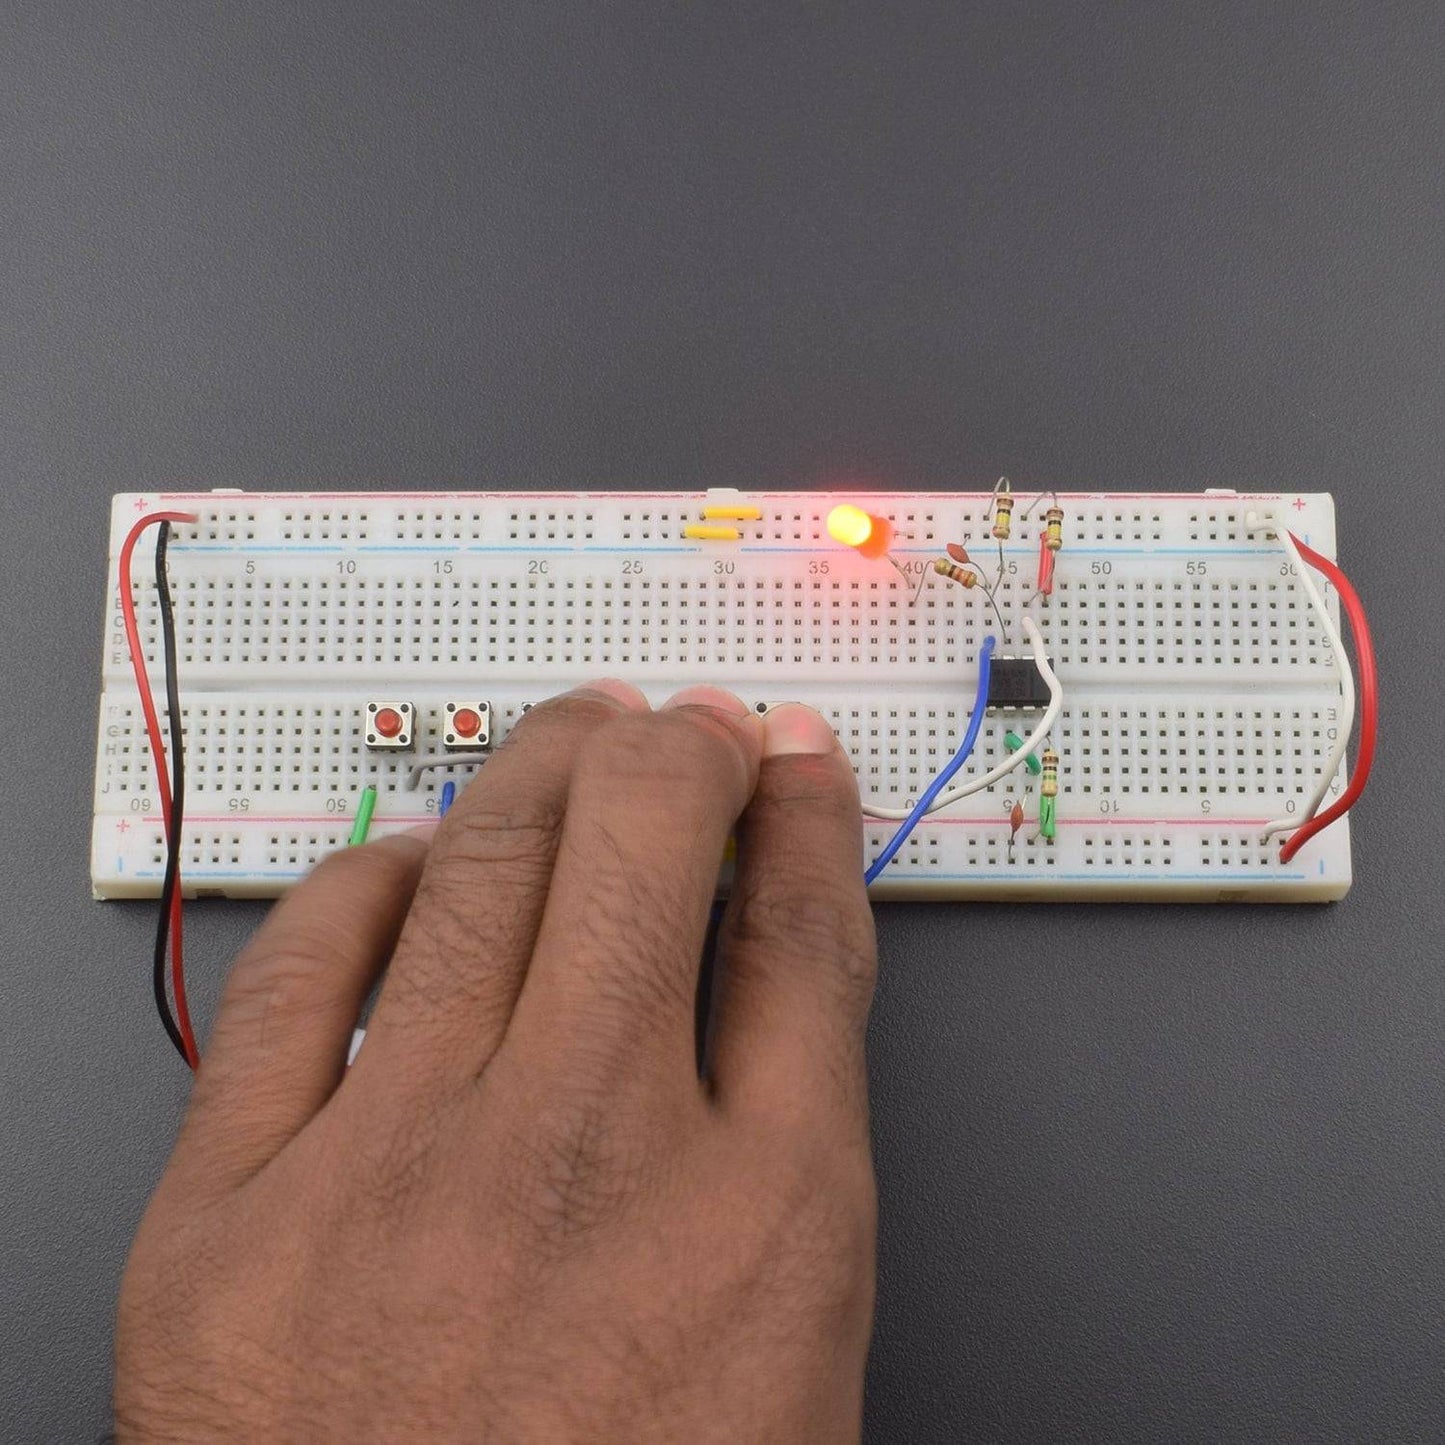
we are using six switches ( you can add more) in which 3 are CORRECT SWITCH and 3 are WRONG SWITCHES only right combination of CORRECT SWITCHES unlocks the circuit.
In the circuit 555 timer IC is used in bi stable mode , which can be reset or triggered by applying a low input on the corresponding pin. The CORRECT SWITCHES are connected to trigger pin( PIN2) when all the switches are pressed trigger pin receives a low input and the LED glows which means the circuit is unlocked.


