


vendor-unknown
Make a wireless weather station using DHT22 sensor NRF24LO1 module and DS3231 RTC interfacing with Arduino Nano and DUE - KT865
Make a wireless weather station using DHT22 sensor NRF24LO1 module and DS3231 RTC interfacing with Arduino Nano and DUE - KT865
SKU:KT865
1000 in stock
Couldn't load pickup availability
- For Bulk Order Click Here
- Need Customer Support?
- Free Delivery Above 999/-
Note: In case you receive a damaged or faulty product, please return it in the original box with all foam and packaging. Returns will not be accepted if further damage occurs due to improper packing.
If you order a product that is currently in Preorder, and the price of that item increases in the future, you will be required to pay the difference in price.
For refund/return/replacement, call us at +91 95995 94520 or email us at support@rees52.com
Delivery Time
Delivery Time
- Delivery time with the Express Shipping option is 2-3 working days, and with the Standard Shipping option is 5-6 working days. It varies based on location, reliant on courier services.
- Delivery time if the order item is on Preorder Status is 15-20 working days.
COD (Cash on Delivery)
COD (Cash on Delivery)
- For COD you have to pay extra charges of Rs 350/- before the shipment. (We will share the company QR Code, UPI ID or Account details for the same)


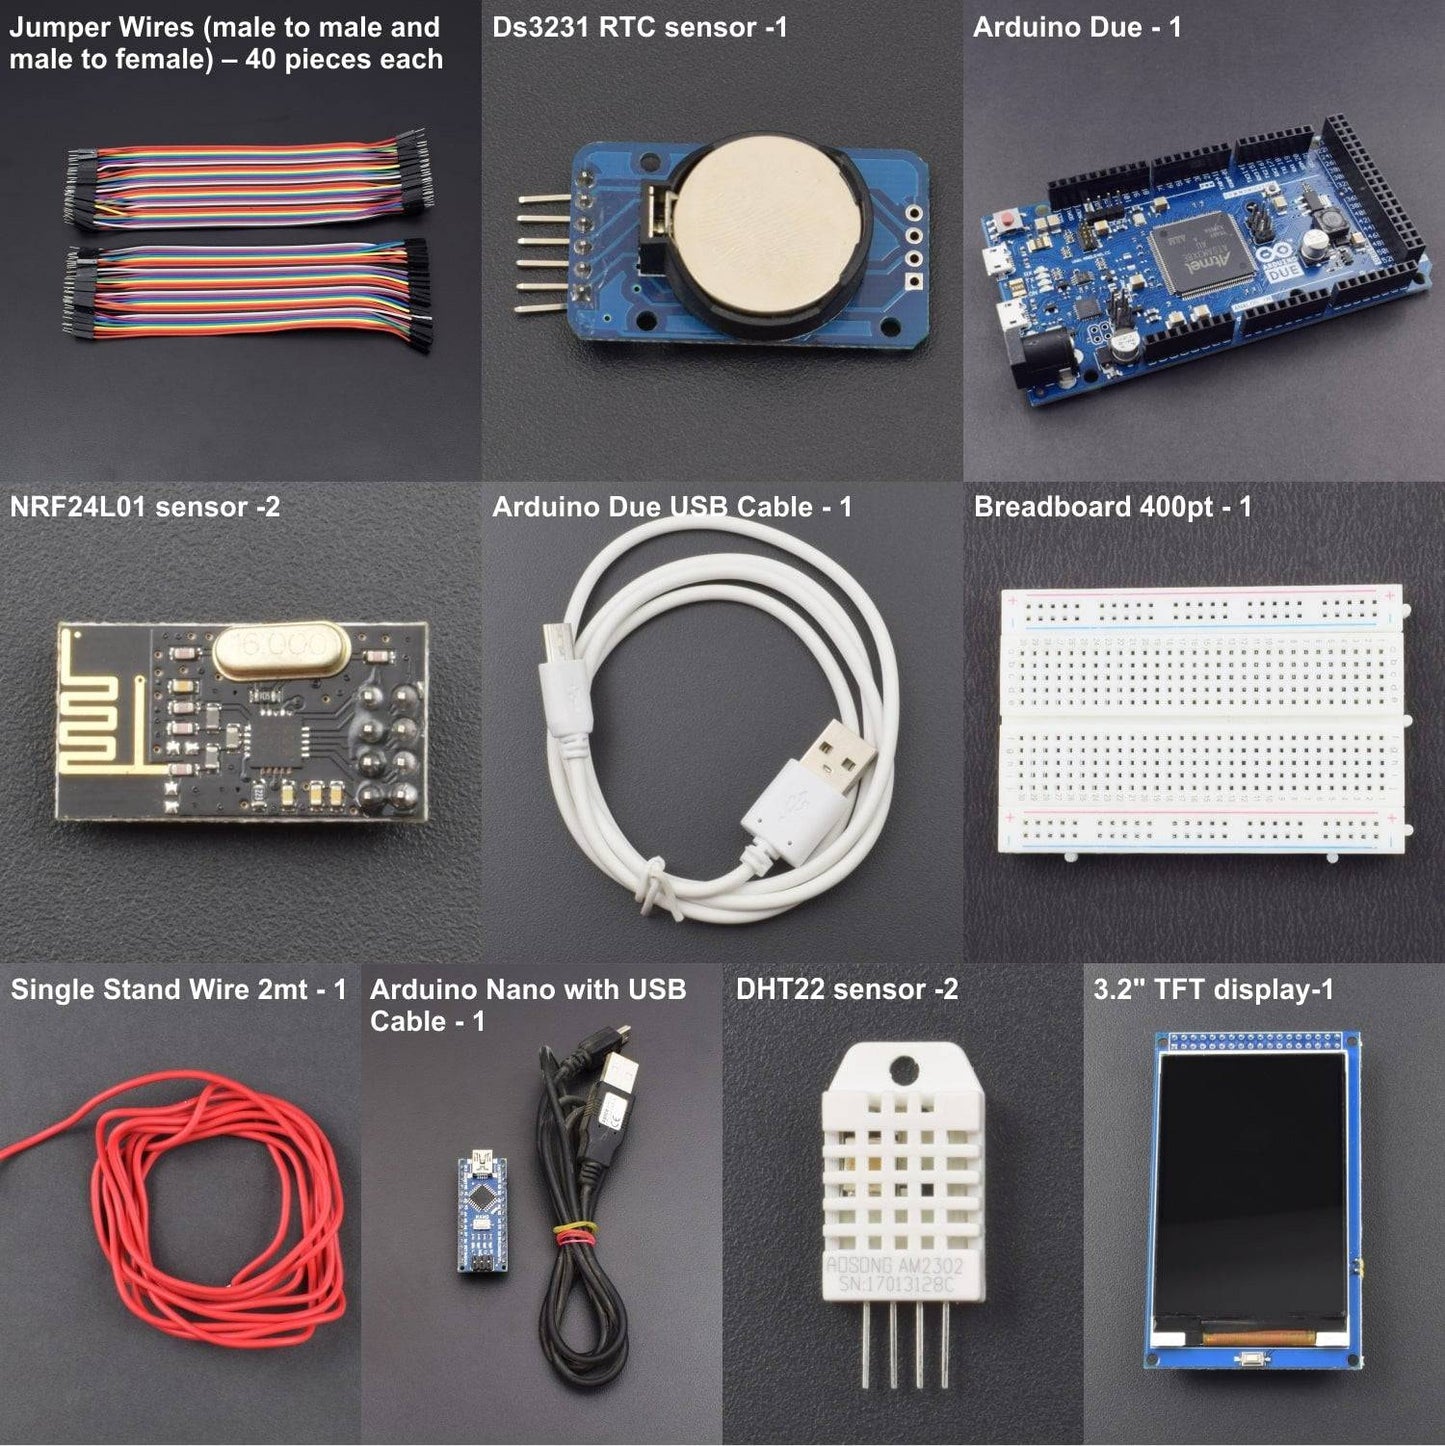
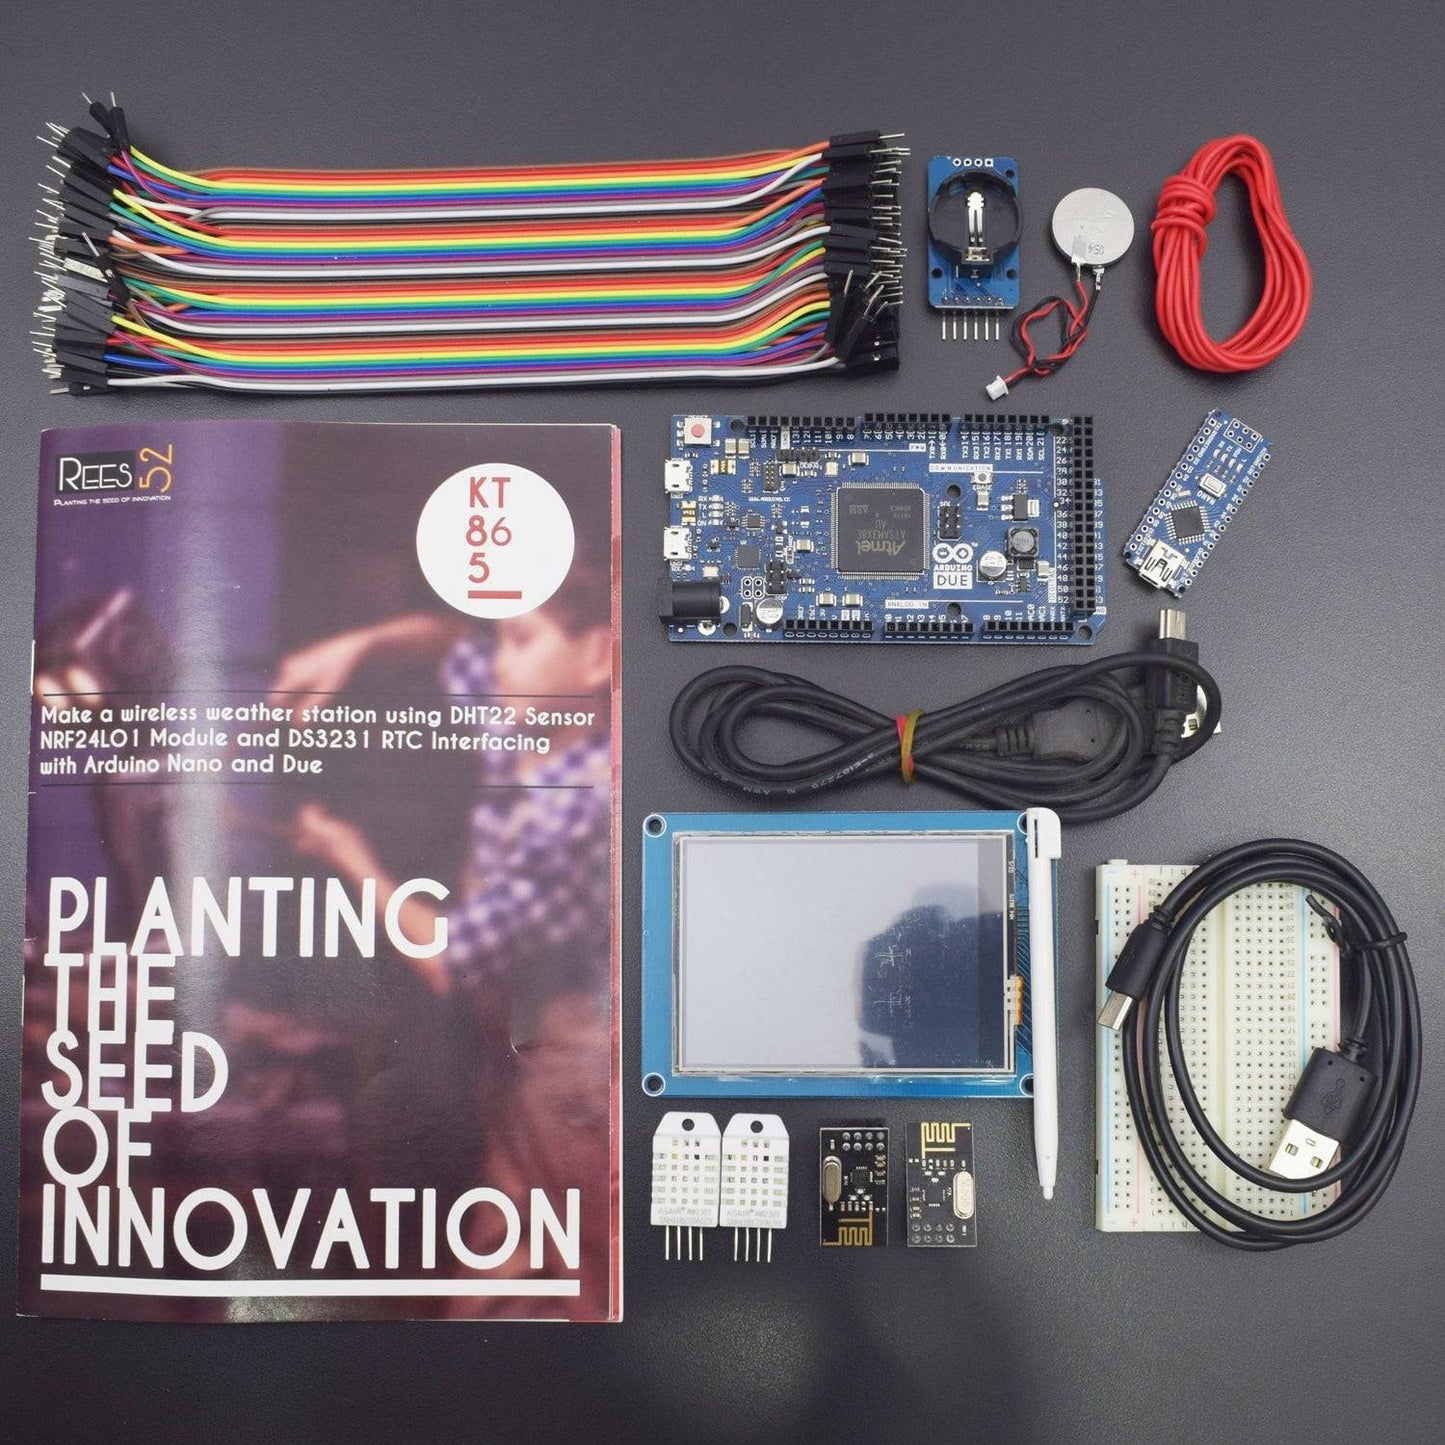
KIT INCLUDES:
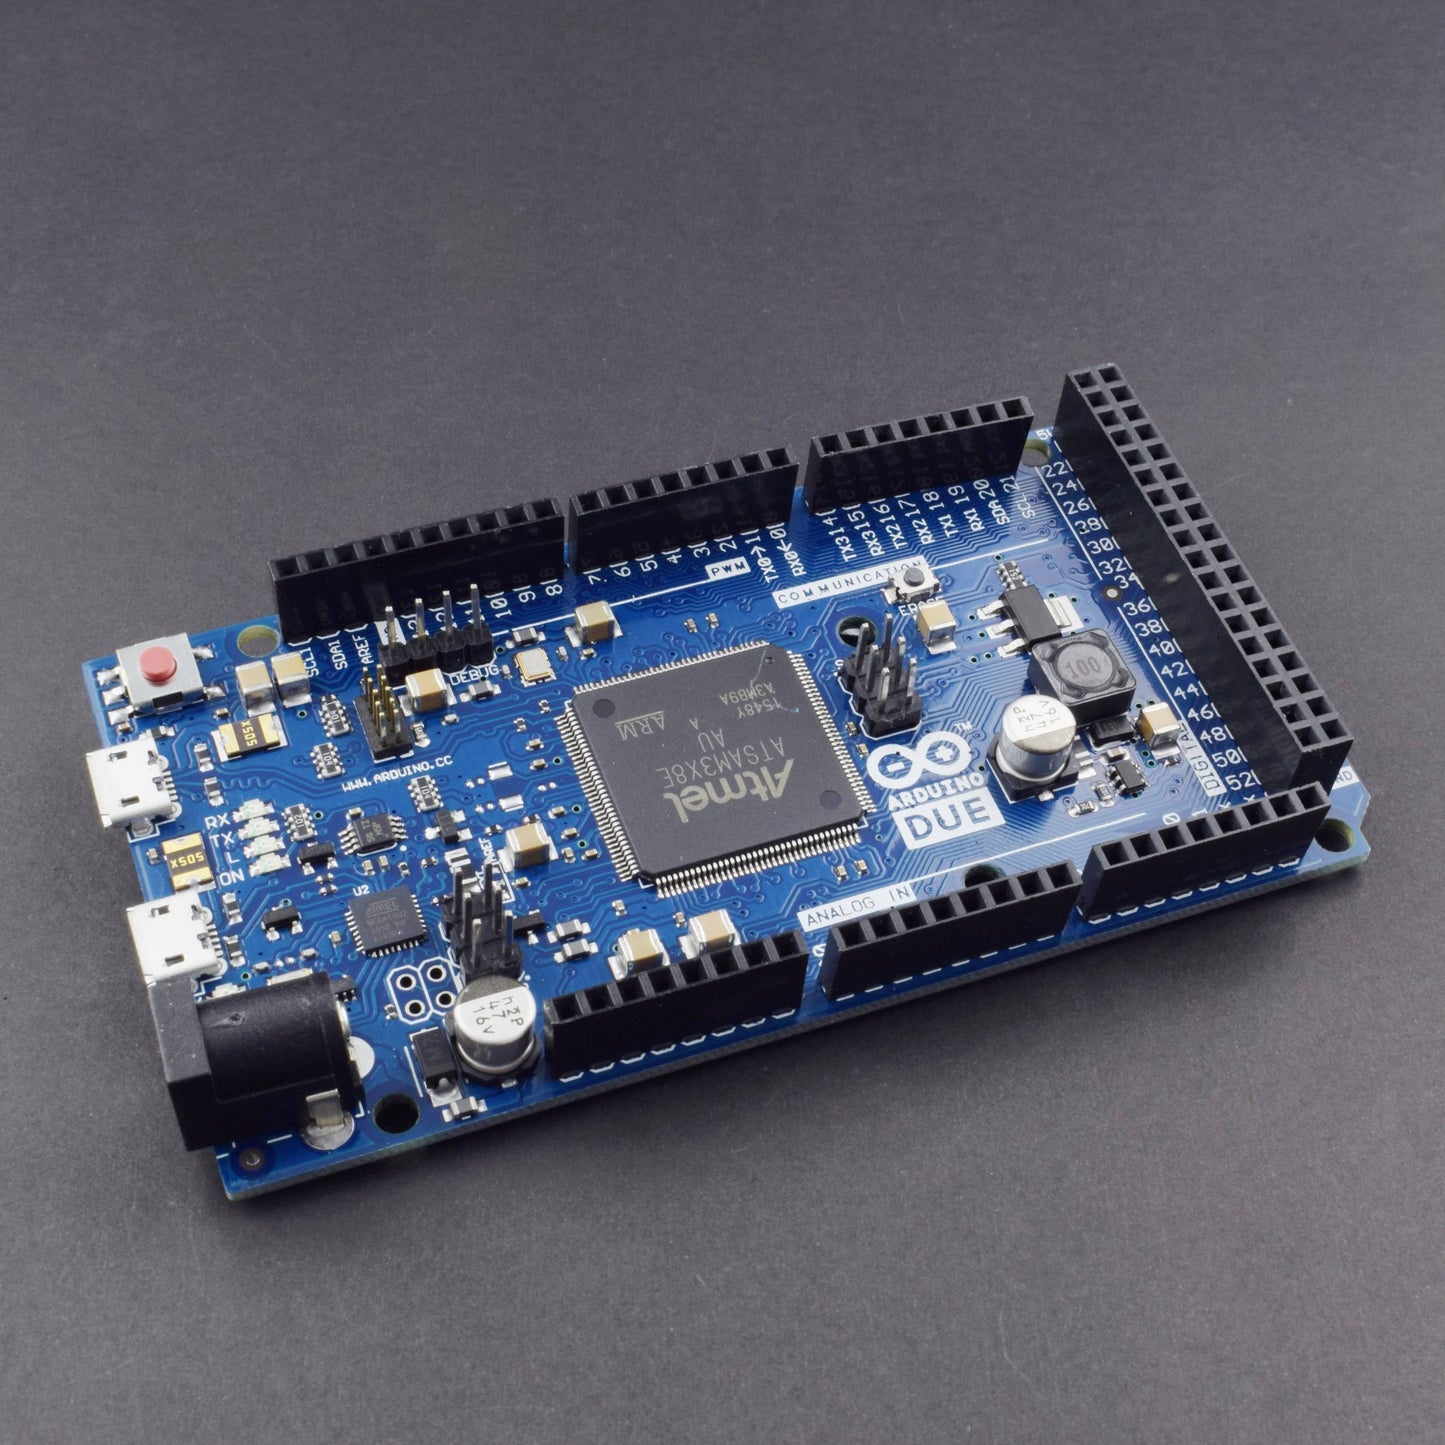
- Arduino Due with Due cable-1
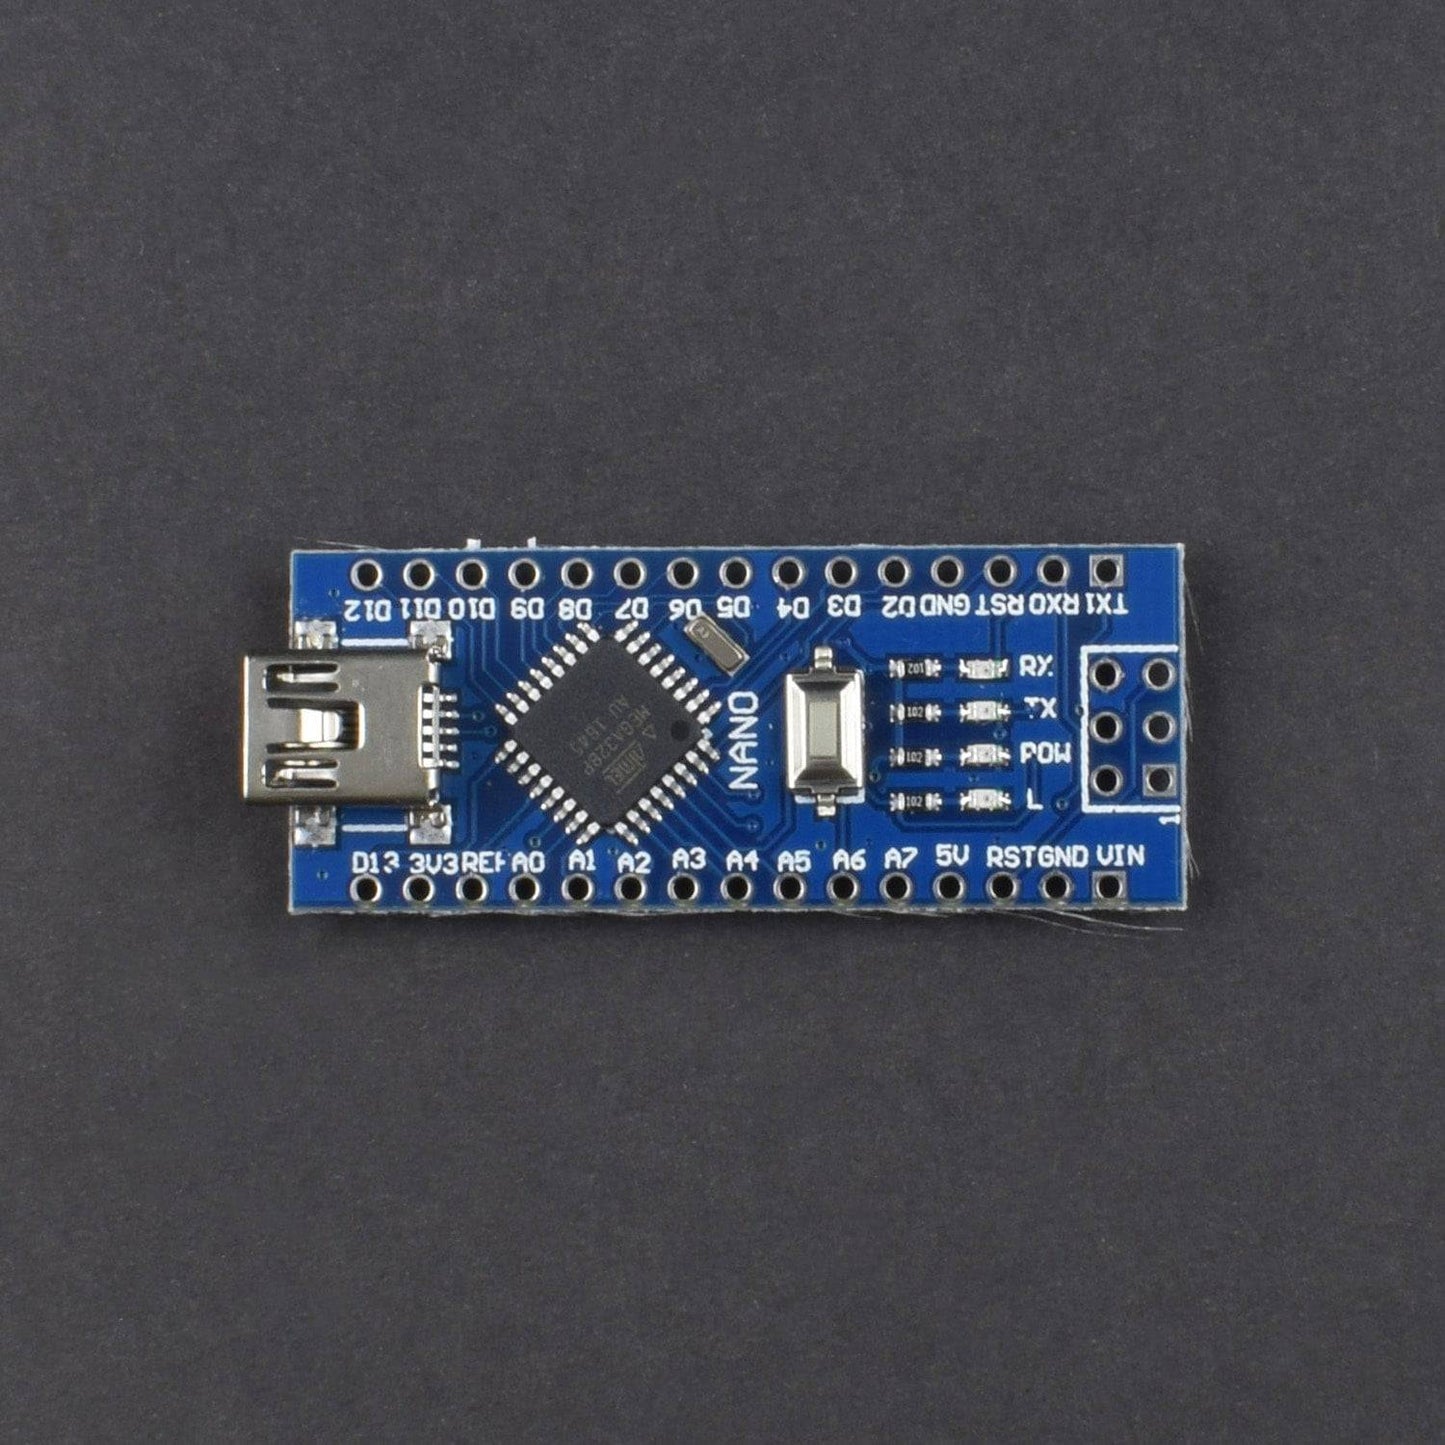
- Arduino Nano with nano cable-1
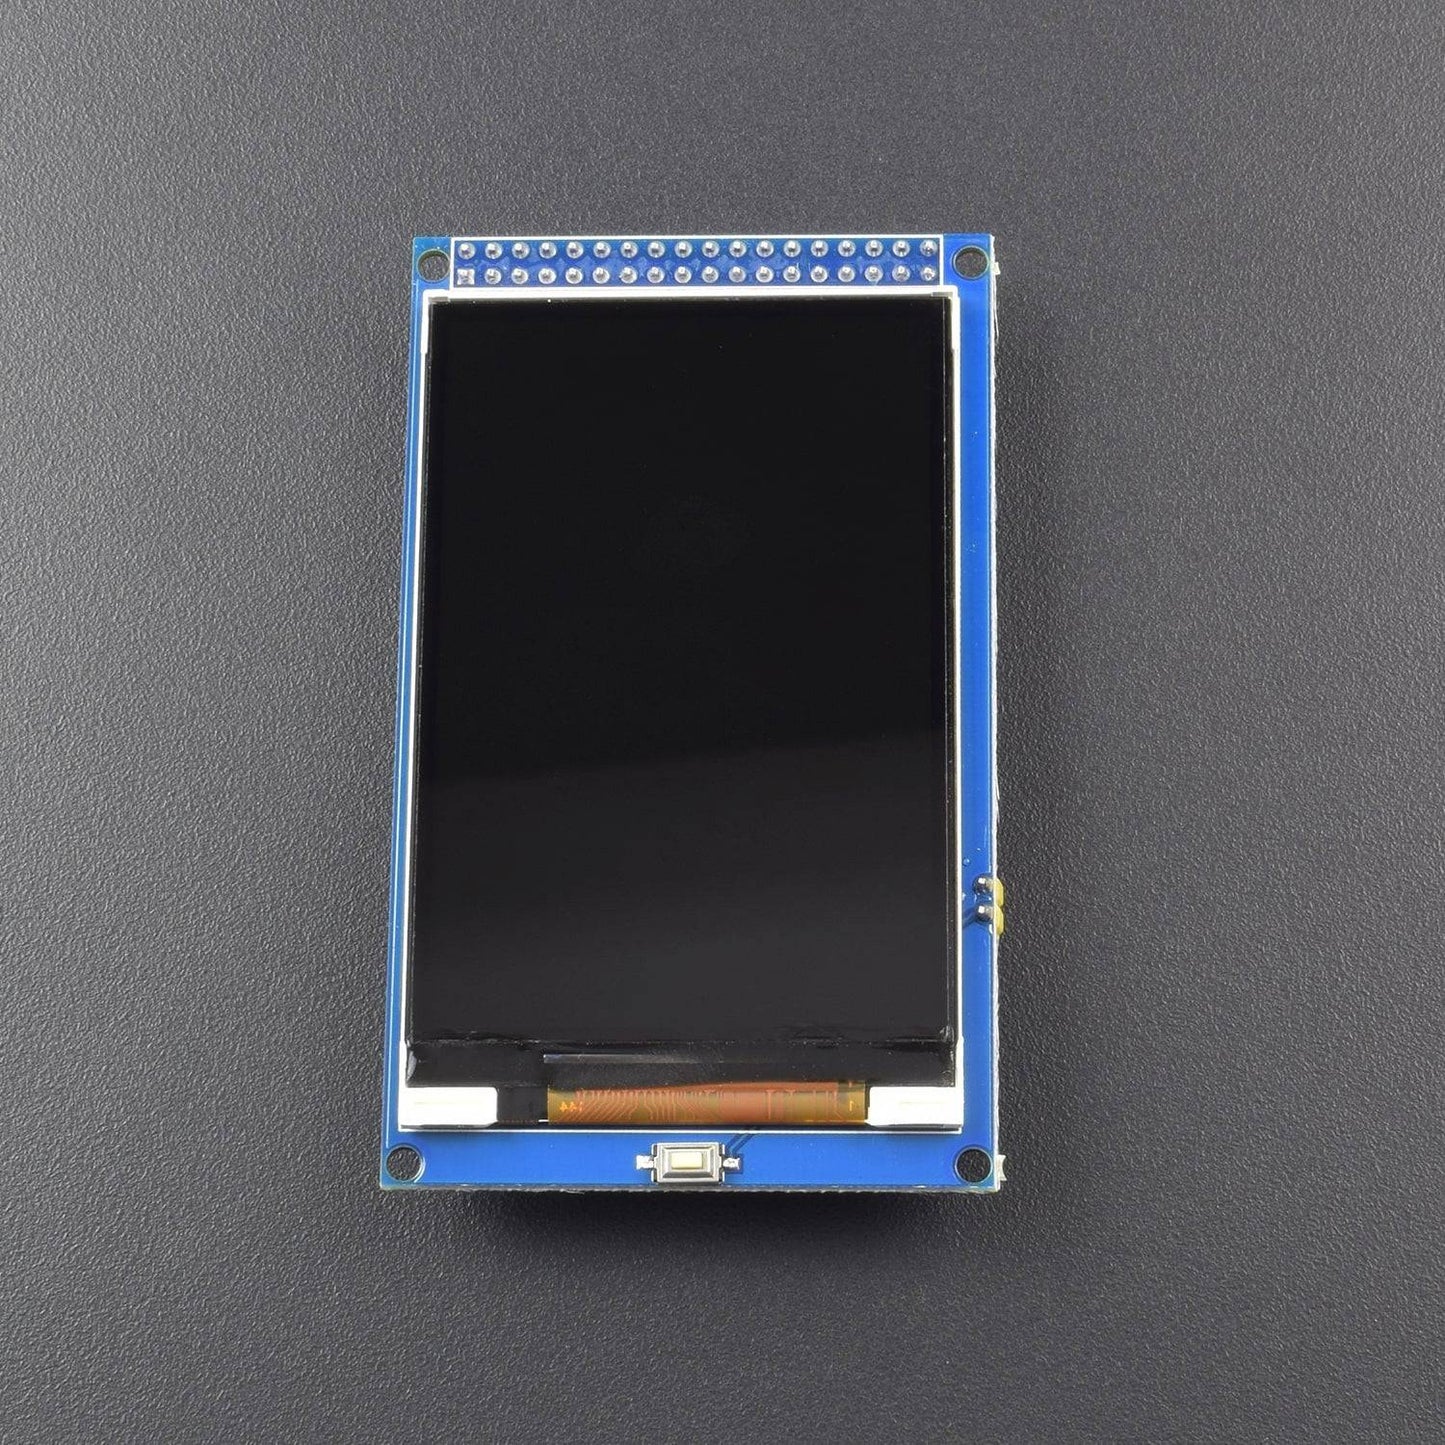
- 3.2" TFT display-1
- DHT22 sensor -2
- NRF24L01 sensor -2
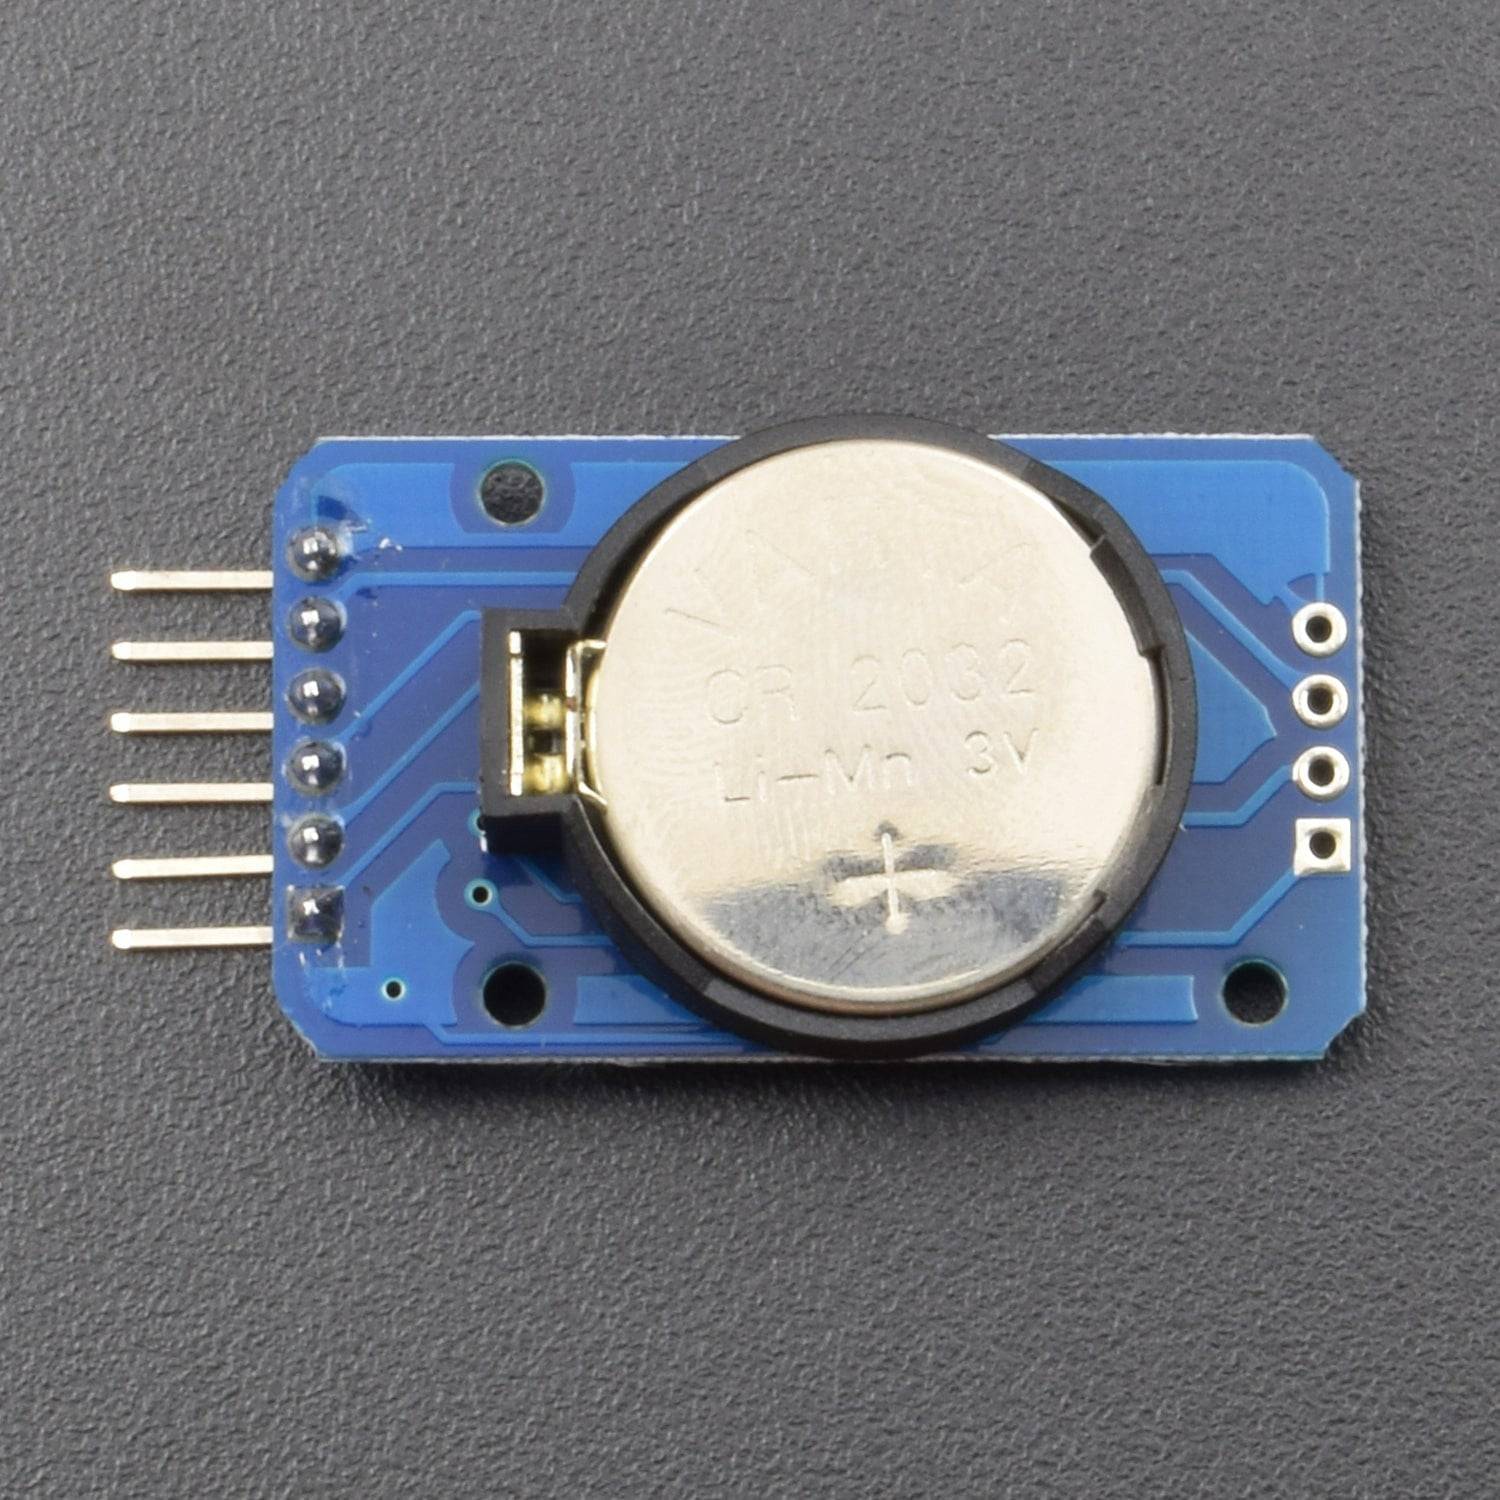
- DS3231 RTC sensor -1
- Small Breadboard(400 pins)-2
- Jumper Wires male to male – 40 piec
- Jumper Wires male to female – 40 piece
- Powerbank-2 (not included in kit)
- Jumper Wire Cable Housing Shell Connector - 2
HARDWARE REQUIRED
- Arduino Due with Due cable-1
- Arduino Nano with nano cable-1
- 3.2" TFT display-1
- DHT22 sensor -2
- NRF24L01 sensor -2
- DS3231 RTC sensor -1
- Small Breadboard(400 pins)-2
- Jumper Wires male to male – 40 piece
- Jumper Wires male to female – 40 piece
- Powerbank-2 (not included in kit)
- Jumper Wire Cable Housing Shell Connector - 2
SPECIFICATION
DS3231 RTC MODULE
/DS3231%20SPECIFICATION.PNG)
SOFTWARE REQUIRED
Arduino IDE ((Programmable platform for Arduino boards)
You can download it from this link: https://www.arduino.cc/en/Main/Software)

PIN REQUIRED
DS3231 RTC MODULE
/DS3231%20PIN.PNG)
/11.png)
NRF24L01 MODULE

ARDUINO NANO
.jpg)
ARDUINO DUE

3.2 TFT DISPLAY

INSTALL LIBRARY
DISPLAY
https://github.com/Bodmer/TFT_HX8357_Due

NRF24L01

DHT22
https://github.com/adafruit/DHT-sensor-library

DS3231
https://github.com/SodaqMoja/Sodaq_DS3231

CIRCUIT CONNECTION
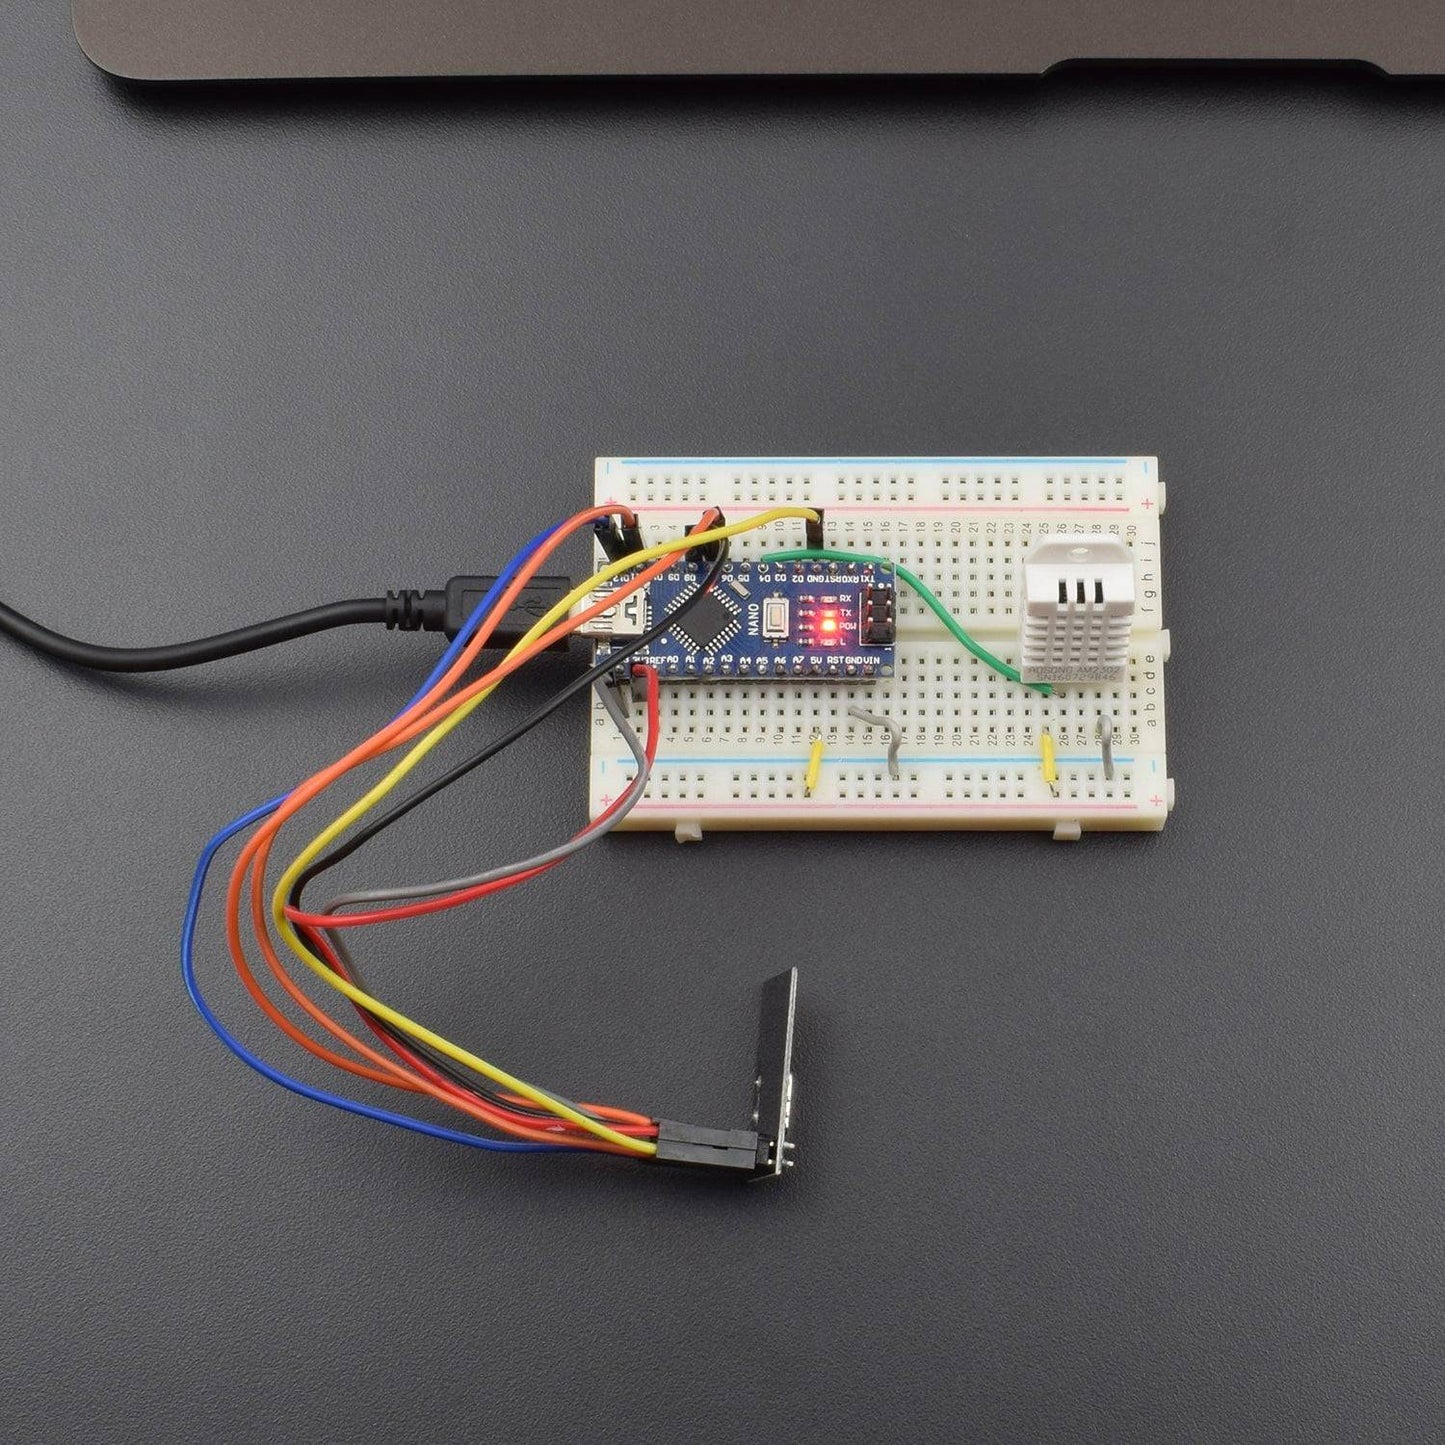
- TRANSMITTER CONNECTION
1. Output pin of dht22 to the d4 pin of Arduino Nano.
2. Connect the ground and Vcc of the dht22 and Arduino Nano to the breadboard negative and positive rail.
3. Now connect nrf24lo1 to the circuit (see the image NRF24L01 to Arduino Nano)

- RECEIVER CONNECTION


1. In the receiver part we have to use header pins and connect to 7 points on the due board (see picture due connection
2. wires are also connecter to the MOSI,MISO and SCL pin of due board.
3. Now connect the wires to the header pins and fix the 3.2 tft display the the due board.
4. Connect the ground and 3.3V to the breadboard.
5. Next connect the ground and Vcc of dht22 and ds3231 to breadboard negative and positive rail.
6. Connect the i2c pin of due board to the i2c pins of ds3231 (scl 21 to sda and sda 20 to scl)
7. Connect the output of dht22 to 8 pin of due.
8. Now connect the nrf24lo1 to the circuit (see image NRF24L01 to Arduino due)
CODE
TRANSMITTER CONNECTION
RECEIVER CONNECTION
NOTE: In receiver code first uncomment (line 54 IN PIC) and upload the then again comment the line and upload it once more (see image comment)

THEN MAKE THIS LINE AS COMMENT

CHANGE THE DATA
![]()
OUTPUT
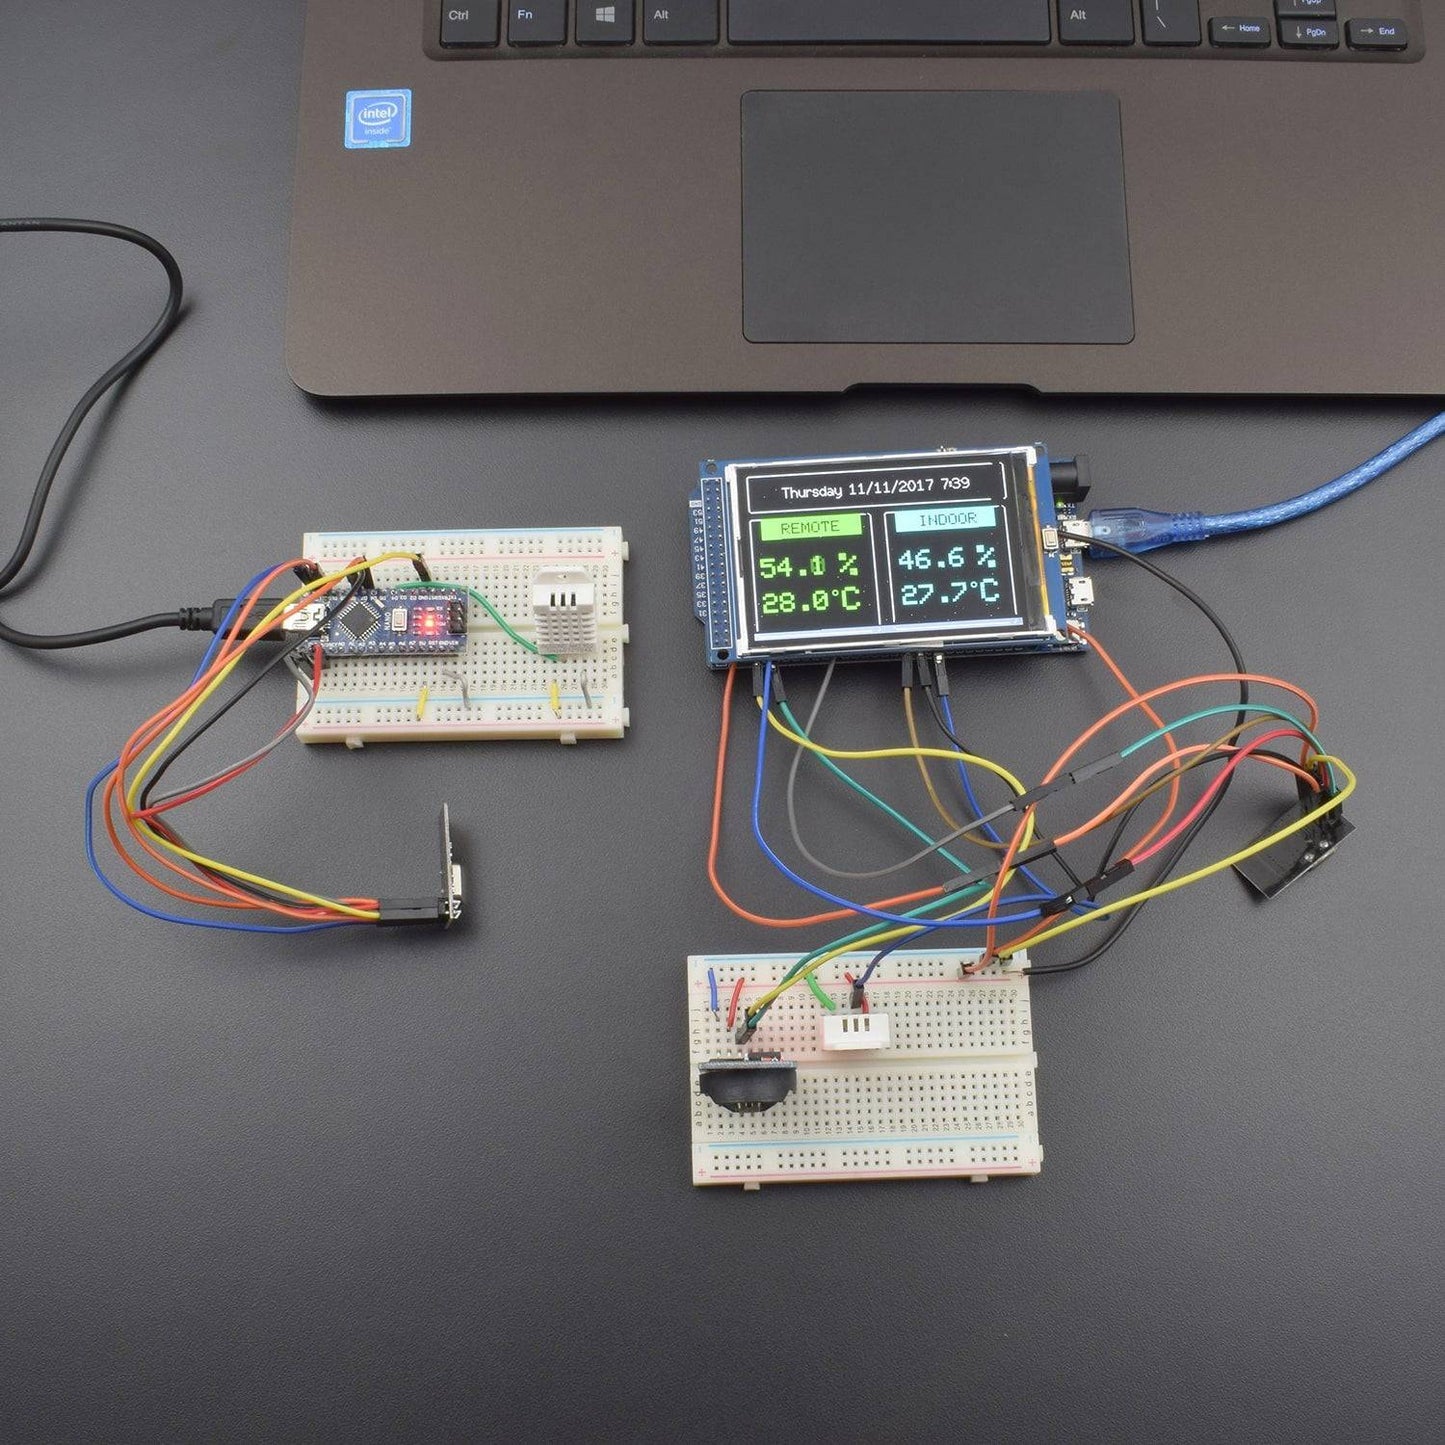
In this Arduino Project we build a Wireless Weather Station using the fast and powerful 32bit Arduino Due board.
We measure the temperature and the humidity with a couple of DHT22 sensors and we communicate with the remote sensor
using the 2.4GHz NRF24L01+ module.
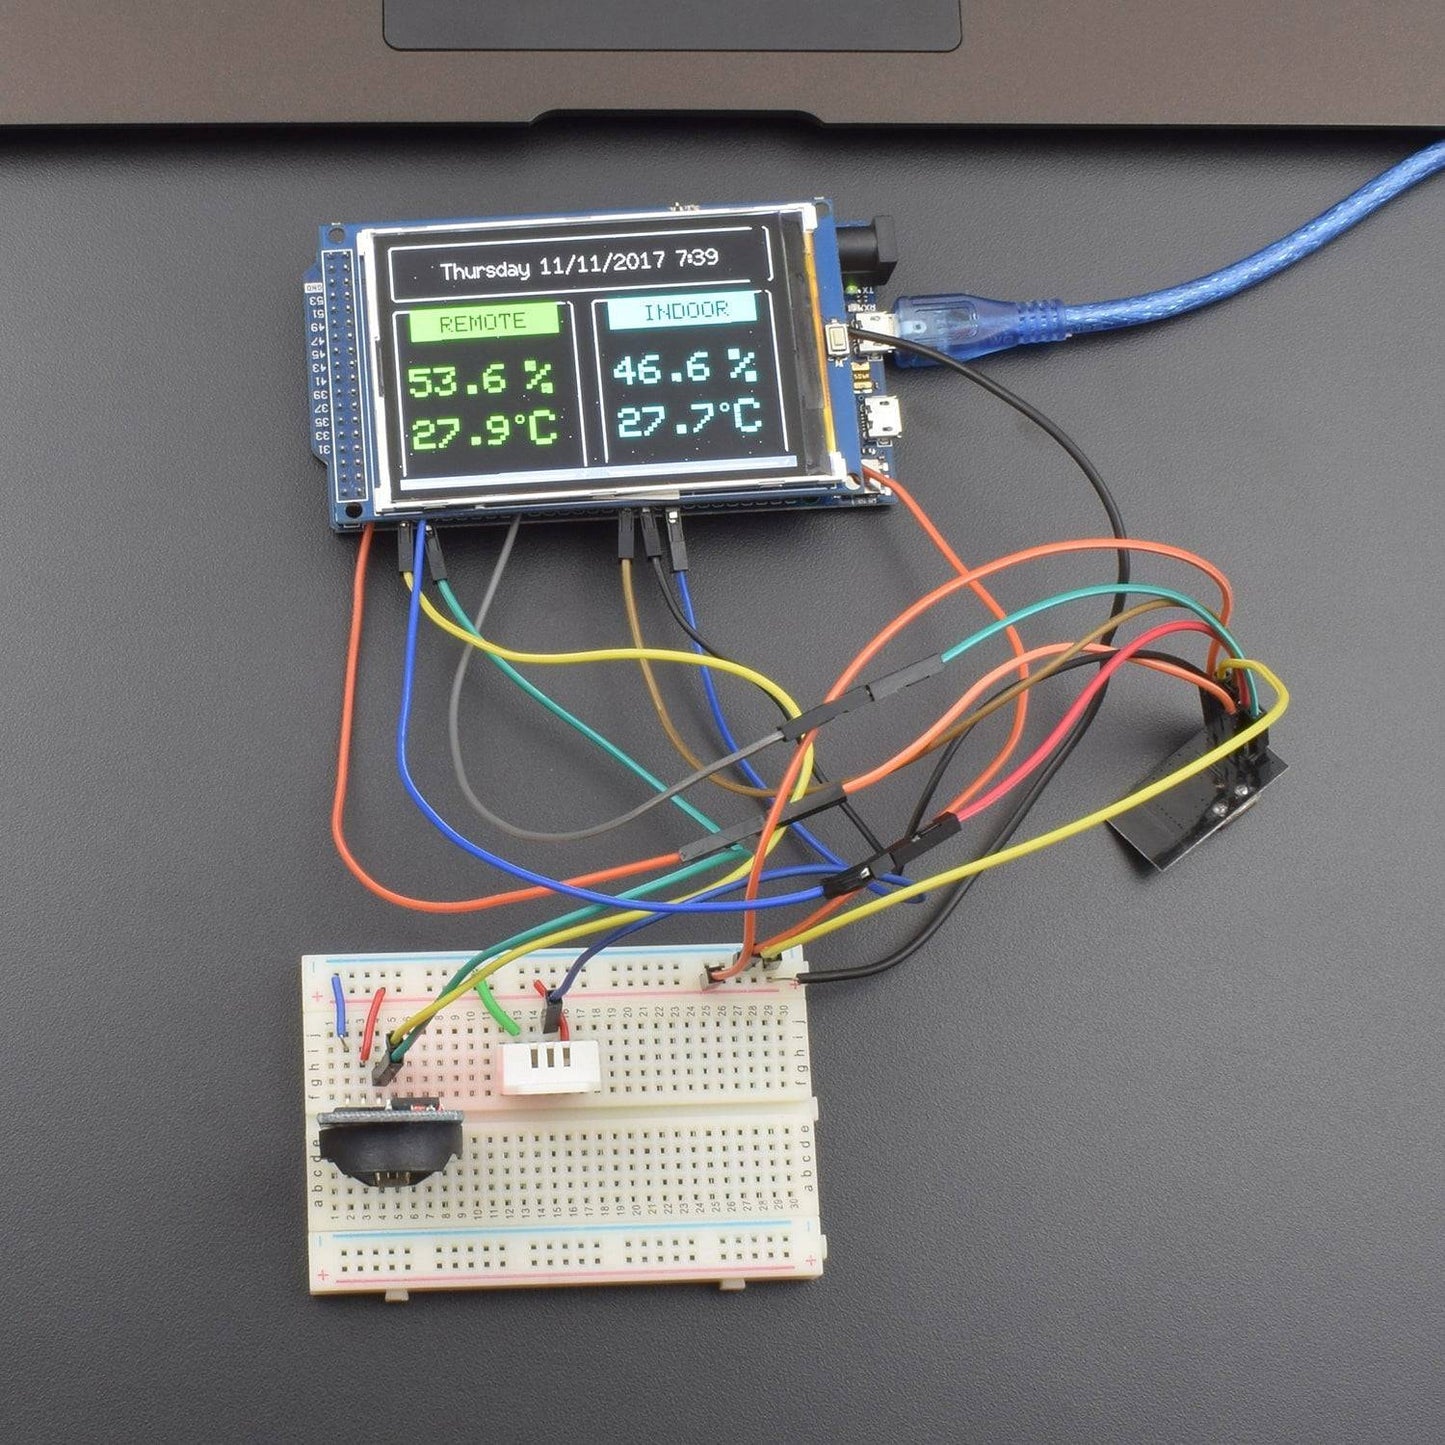
it displays the current date and time, the indoor temperature and humidity, and the outdoor temperature
and humidity. The readings of the outdoor sensor are updated every second in order to demonstrate that we have a reliable
communication link established with the transmitter which is outside at a distance of 5m. The readings of the indoor sensor
are updated once every minute. The heart of the project is the fast Arduino Due, and as you can see there is no flickering
of the screen when the values are updated