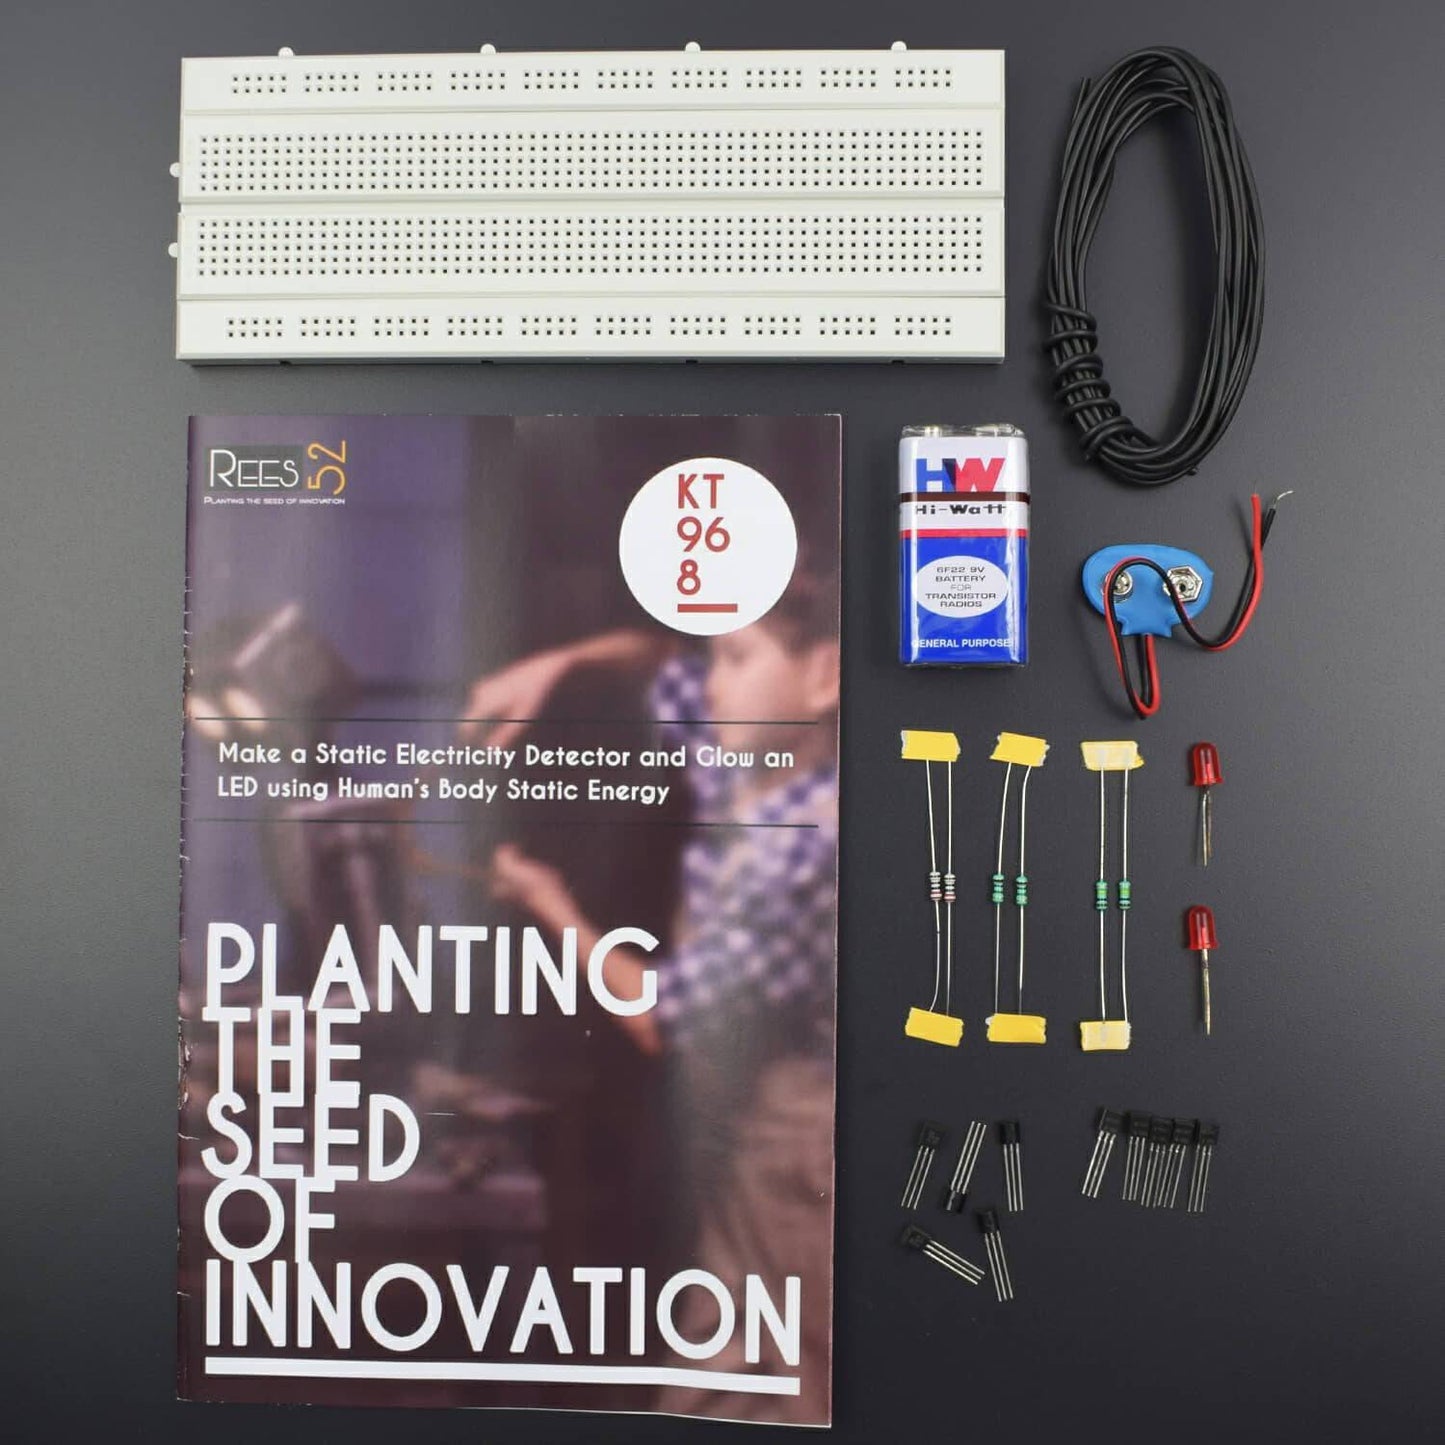

KIT INCLUDES:
- Breadboard 830 points -1
- Transistor BC547 – 5
- 9v Battery -1
- Battery snapper – 1
- Resistors (1 mega ohm/100k ohm/ 470 or 220 ohm) –2 piece each
- Led – 2
- Single stand wire 2m - 1
HARDWARE REQUIRED
- Breadboard 830 points -1
- Transistor BC547 – 5
- 9v Battery -1
- Battery snapper – 1
- Resistors (1 mega ohm/100k ohm/ 470 or 220 ohm) –2 piece each
- Led – 2
- Single stand wire 2m - 1
PIN DESCRIPTION
LED


TRANSISTOR


CIRCUIT DIAGRAM
Connect all the wires according to the diagram.


- Attach all-transistor to the breadboard
- Connect the Base pin of First Transistor to the Emitter pin of the second transistor.
- Similarly, connect the base of the 2nd transistor to the emitter of the 3rd transistor.
- Leave the base of the 3rd transistor for further connections.
- Attach led to the breadboard
- Connect collector pin of 1st transistor to the negative terminal of the led via a 220-ohm resistor
- Connect the positive terminal of the led to the positive rail on the breadboard.
- Connect collector pin of 2nd transistor to the positive rail via 100k resistor
- Connect collector pin of 3rd transistor to the positive rail via 1m resistor
- Connect a copper metal wire to the base of 3rd transistor
OUTPUT
Connect the 9v Battery, Now touch the wire, you will see the led will light up.
And if you take away your hand from the led, the led will turn off.


