


REES52
Make a Snake Maze Game Using 16*2 LCD and Joystick Module Interfacing with Arduino Nano - KT877
Make a Snake Maze Game Using 16*2 LCD and Joystick Module Interfacing with Arduino Nano - KT877
SKU:KT877
100 in stock
Couldn't load pickup availability
- For Bulk Order Click Here
- Need Customer Support?
- Free Delivery Above 999/-
Note: In case you receive a damaged or faulty product, please return it in the original box with all foam and packaging. Returns will not be accepted if further damage occurs due to improper packing.
If you order a product that is currently in Preorder, and the price of that item increases in the future, you will be required to pay the difference in price.
For refund/return/replacement, call us at +91 95995 94520 or email us at support@rees52.com
Delivery Time
Delivery Time
- Delivery time with the Express Shipping option is 2-3 working days, and with the Standard Shipping option is 5-6 working days. It varies based on location, reliant on courier services.
- Delivery time if the order item is on Preorder Status is 15-20 working days.
COD (Cash on Delivery)
COD (Cash on Delivery)
- For COD you have to pay extra charges of Rs 350/- before the shipment. (We will share the company QR Code, UPI ID or Account details for the same)


INTRODUCTION
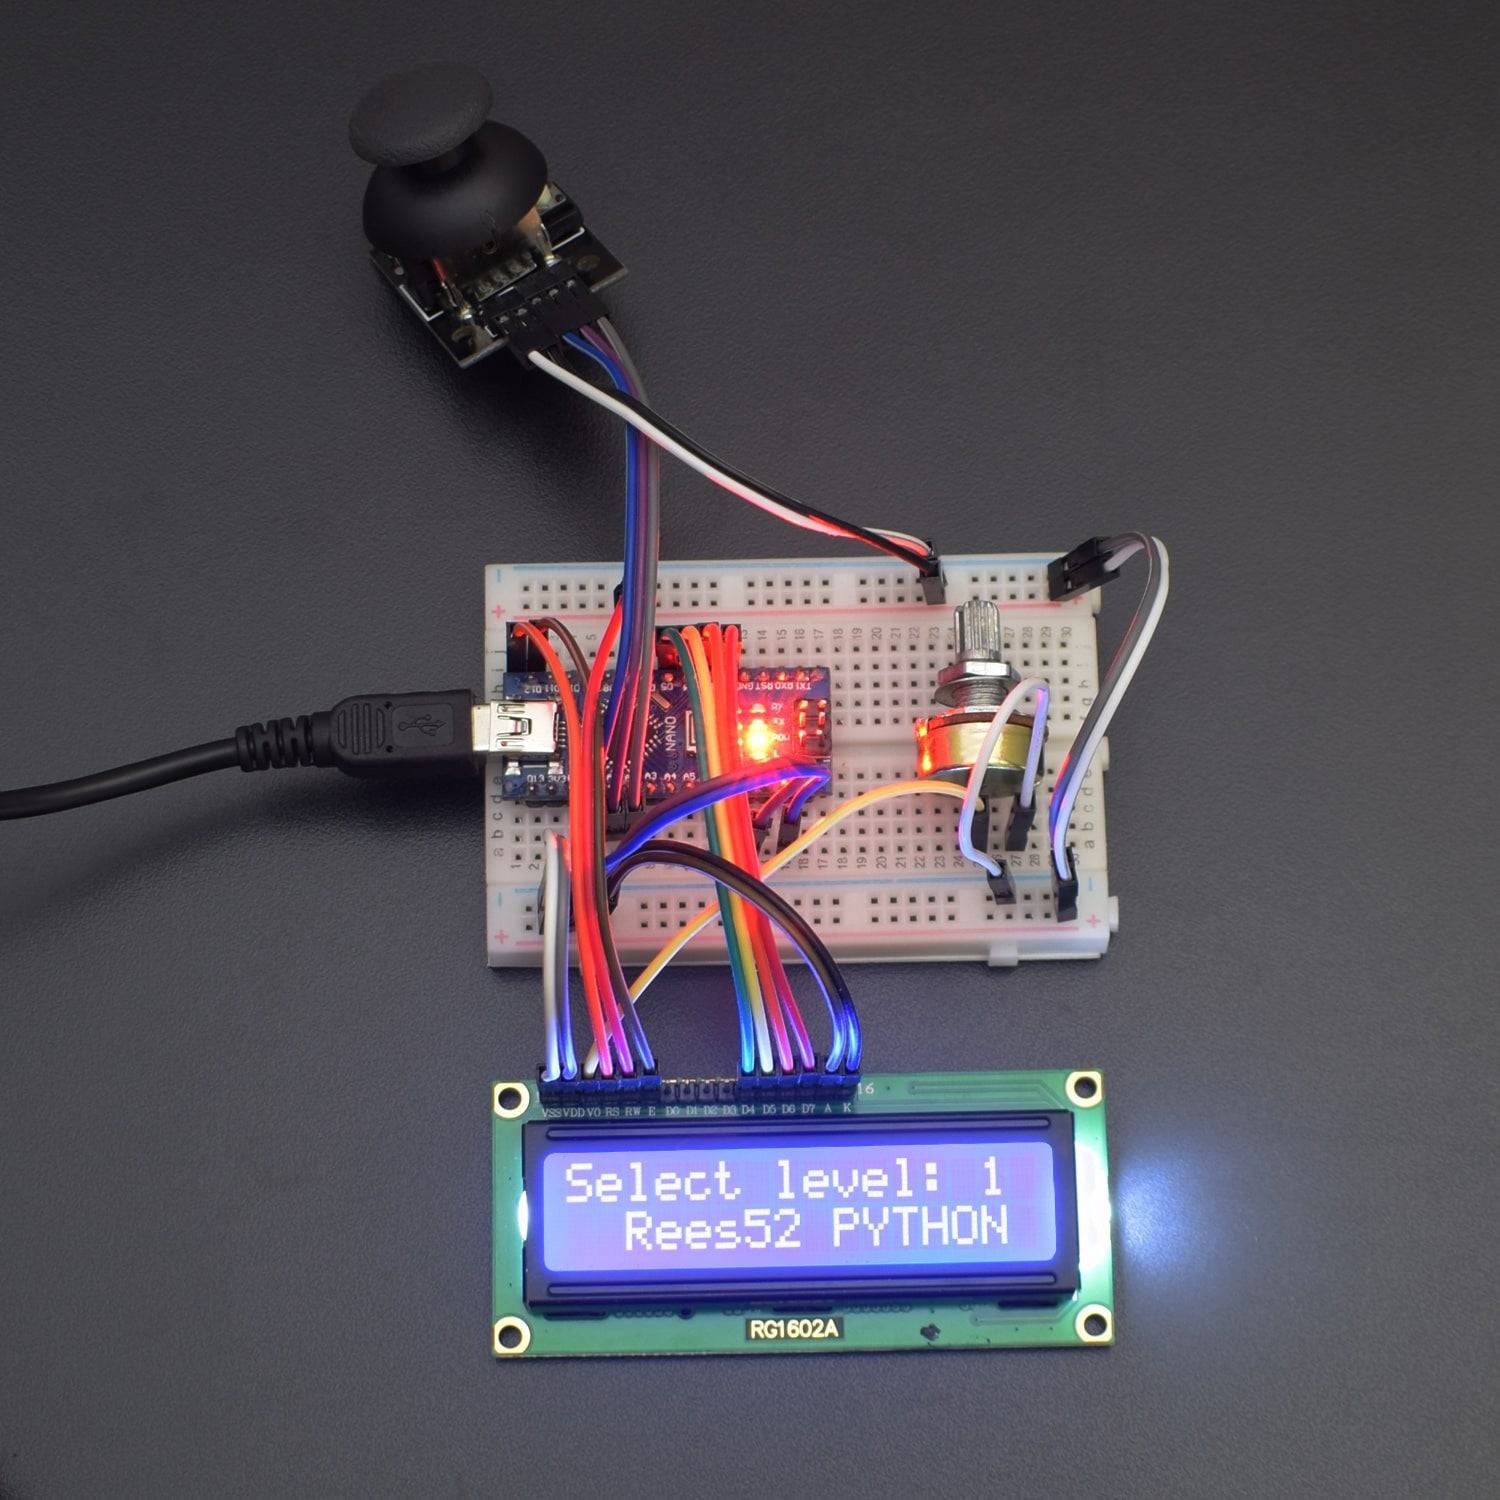
In today’s tutorial, we will make a Snake maze game using a 16*2 LCD and PS2 Joystick module with Arduino Nano. This is one of the most popular games of our childhood. This project is based on a 16*2 LCD, which gives a little room for a snake.
HARDWARE REQUIRED
- Arduino Nano-1pc
- USB Cable - 1pc
- LCD 16*2 Display - 1pc (yellow)
- Joystick Module - 1pc
- Jumper Wire (Male to Male) - 40pcs
- Jumper Wire (Male to Female) - 40pcs
- Potentiometer 10k - 1pc
- Breadboard 400 Points - 1pc
SOFTWARE REQUIRED
Arduino IDE 1.8.10 (programmable platform for Arduino)
Click here to download the software

SPECIFICATIONS
Joystick Module:
- 5V/3.3V Compatible
- Analog Output

Arduino Nano:
- DC Current Per I/O Pin: 40 mA
- Digital I/O Pins: 22
- Operating Voltage: 5VDC

16*2 LCD Display:
- 5V power supply ( Also available for +3V)
- Negative voltage optional for +3V power supply

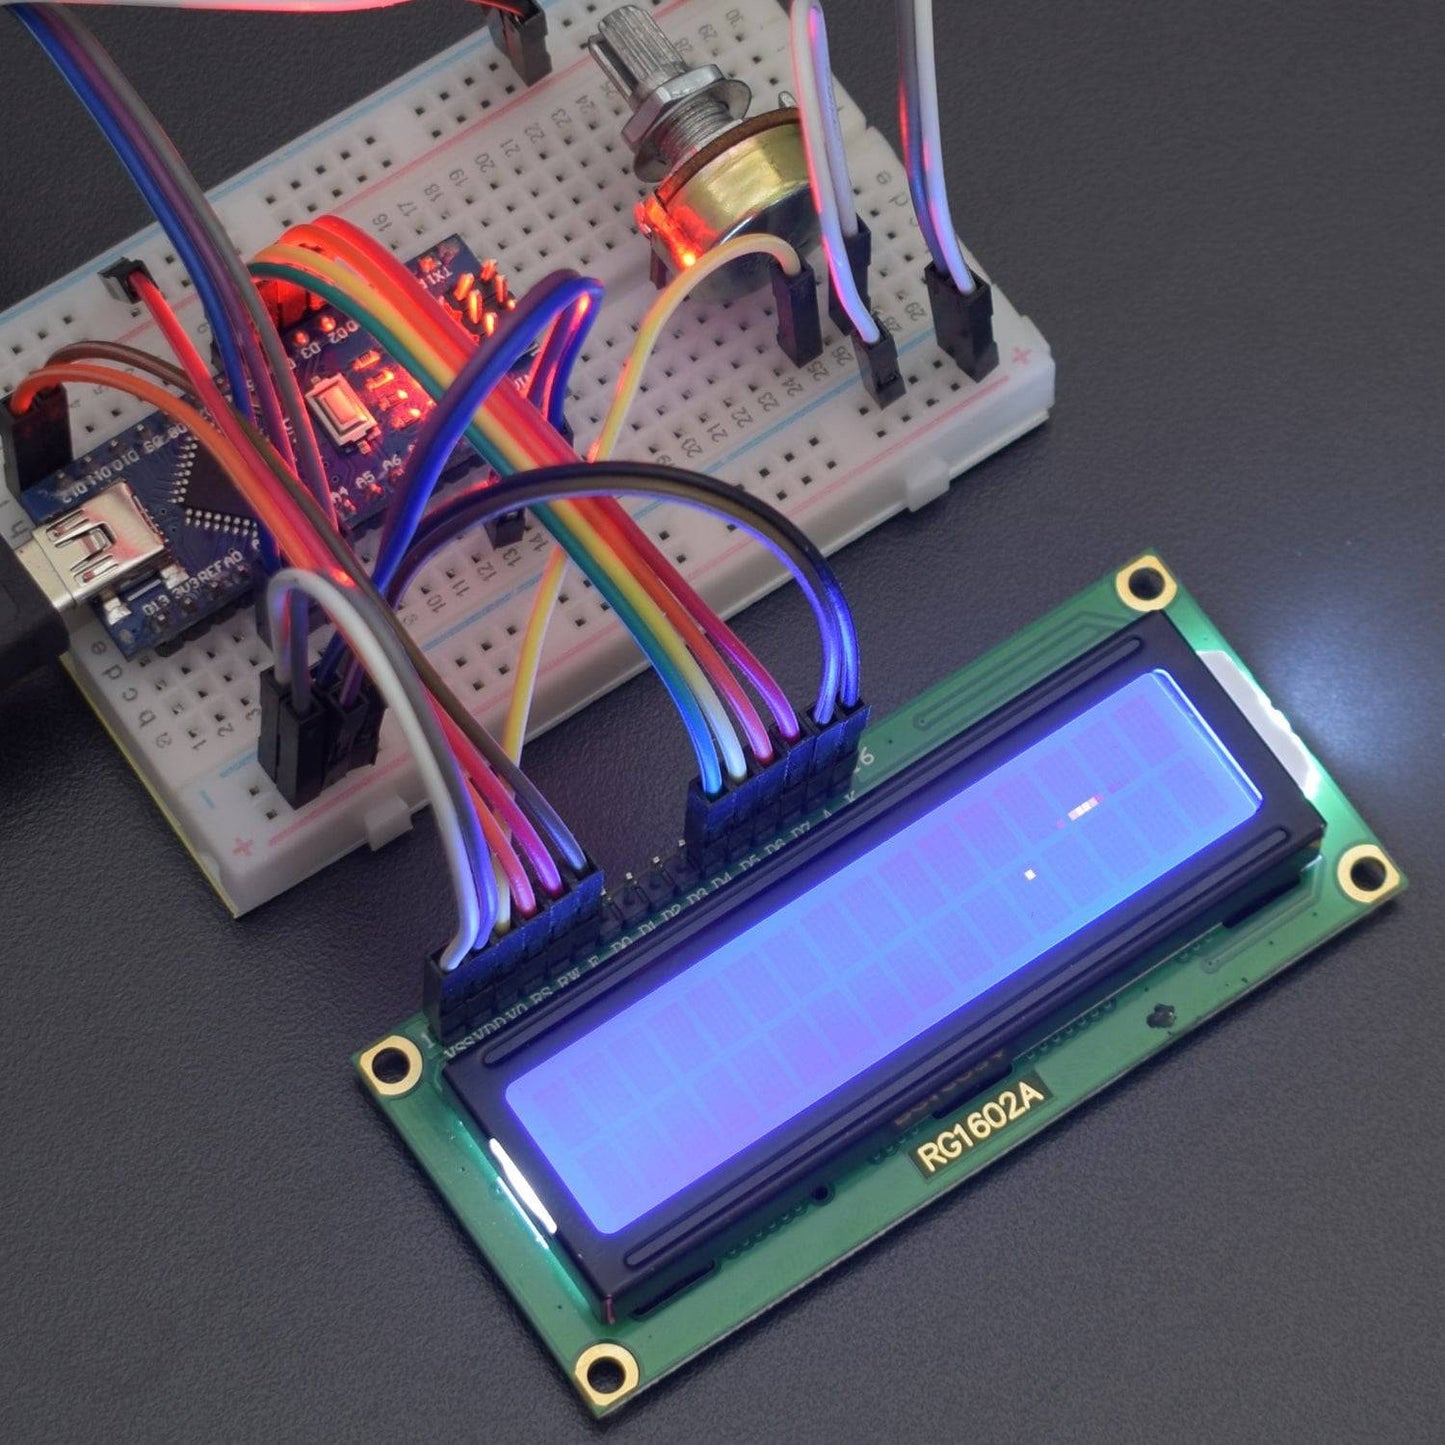
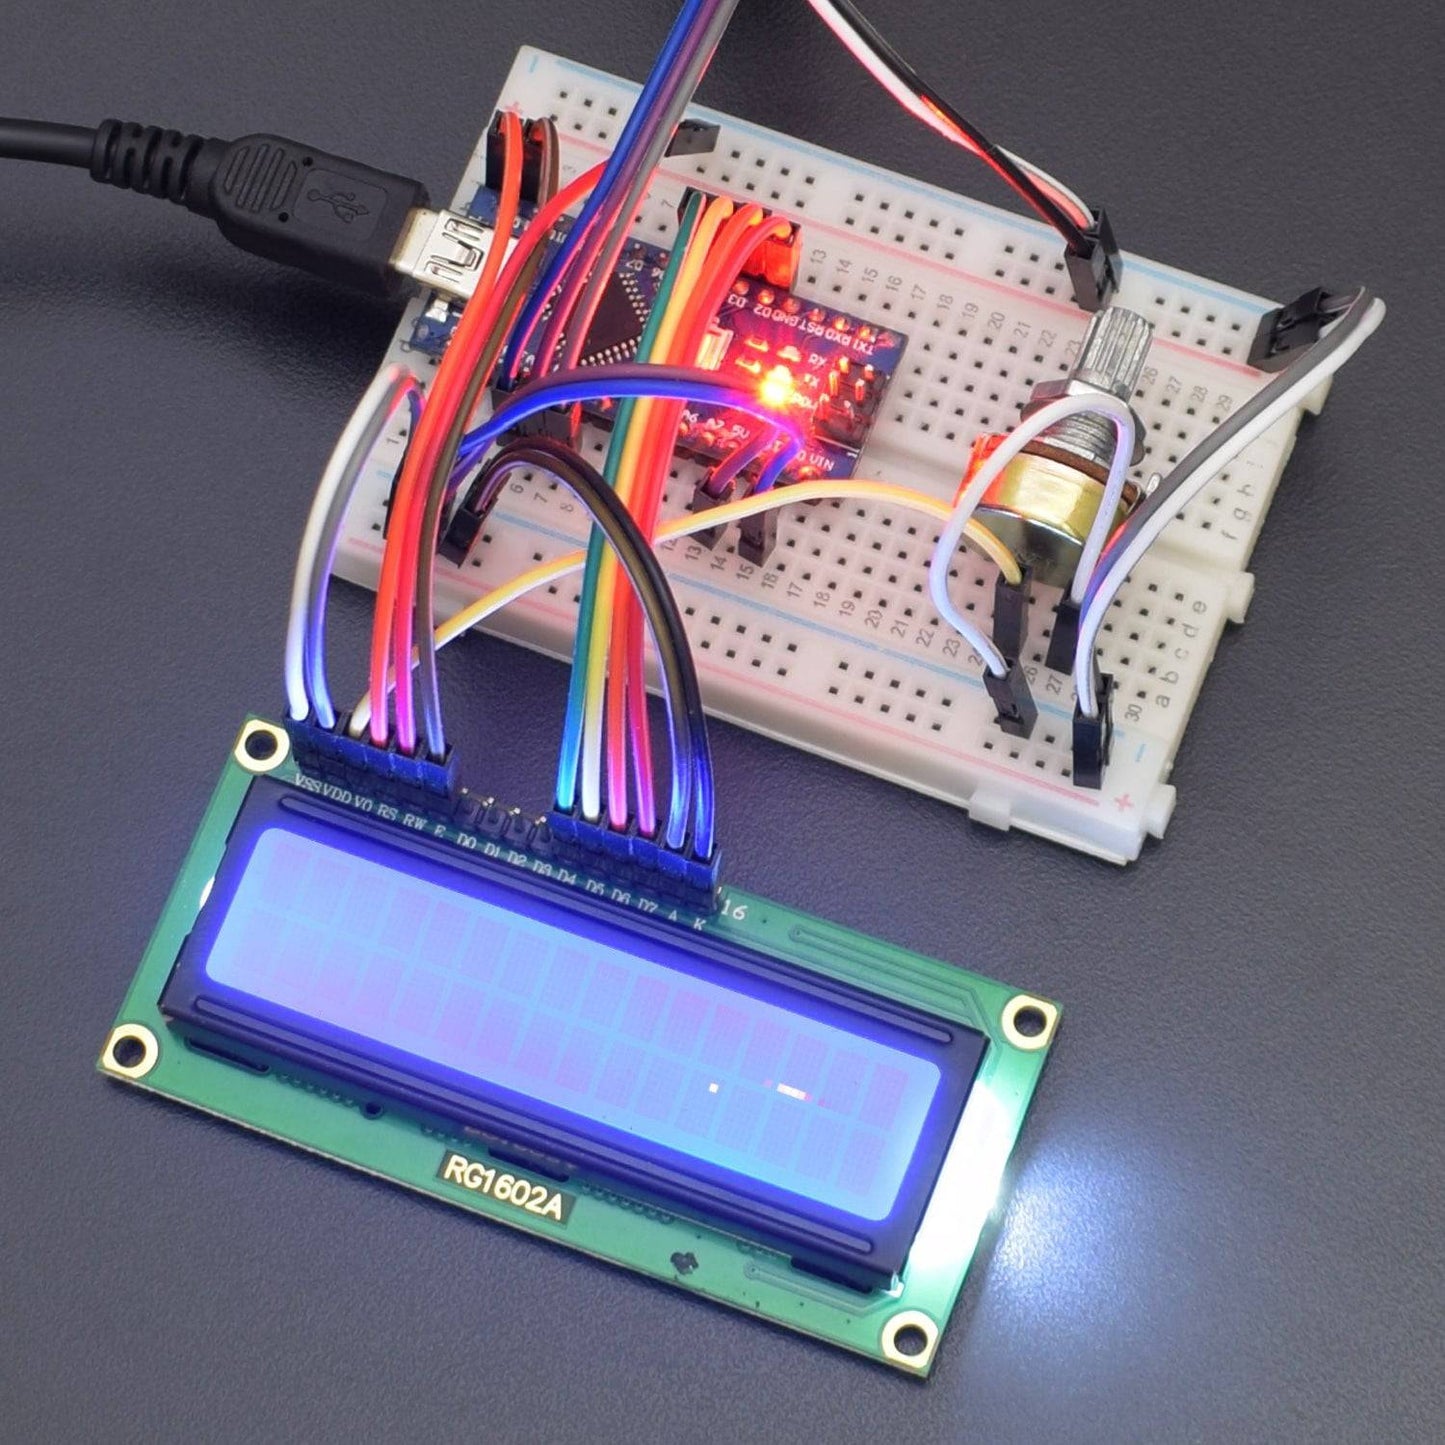
CIRCUIT CONNECTION

Arduino Nano to Joystick:
|
Arduino Nano |
Joystick |
|
A0 |
VRx |
|
A1 |
VRy |
|
A2 |
SW |
|
5v |
5v |
|
Gnd |
Gnd |
Arduino Nano to LCD:
|
Arduino Nano |
LCD |
|
Gnd |
Vss |
|
5v |
Vdd |
|
Middle pin of 10k potentiometer (Connect First pin of pot with Gnd and 3rd pin to VCC) |
V0 |
|
Digital Pin 12 |
RS |
|
GND |
R/W |
|
Digital Pin 11 |
E |
|
Digital Pin 5 |
DB4 |
|
Digital Pin 4 |
DB5 |
|
Digital Pin 3 |
DB6 |
|
Digital Pin 2 |
DB7 |
|
5v |
LED+ |
|
GND |
LED- |
To connect multiple GND and 5V wires soldering may be required or you can use a breadboard.
CODE
Run the code given below and play the game.
WORKING AND OUTPUT
Welcome to the Arduino-based project.
After uploading the code, you will see a Level 1 Python Content. Now start to play. It has 4 levels in the code you can change the level of the game, and if the tail and the mouth of the snake touch, then the game will be over, but if you complete the level, then you will be automatically redirected to the next level.