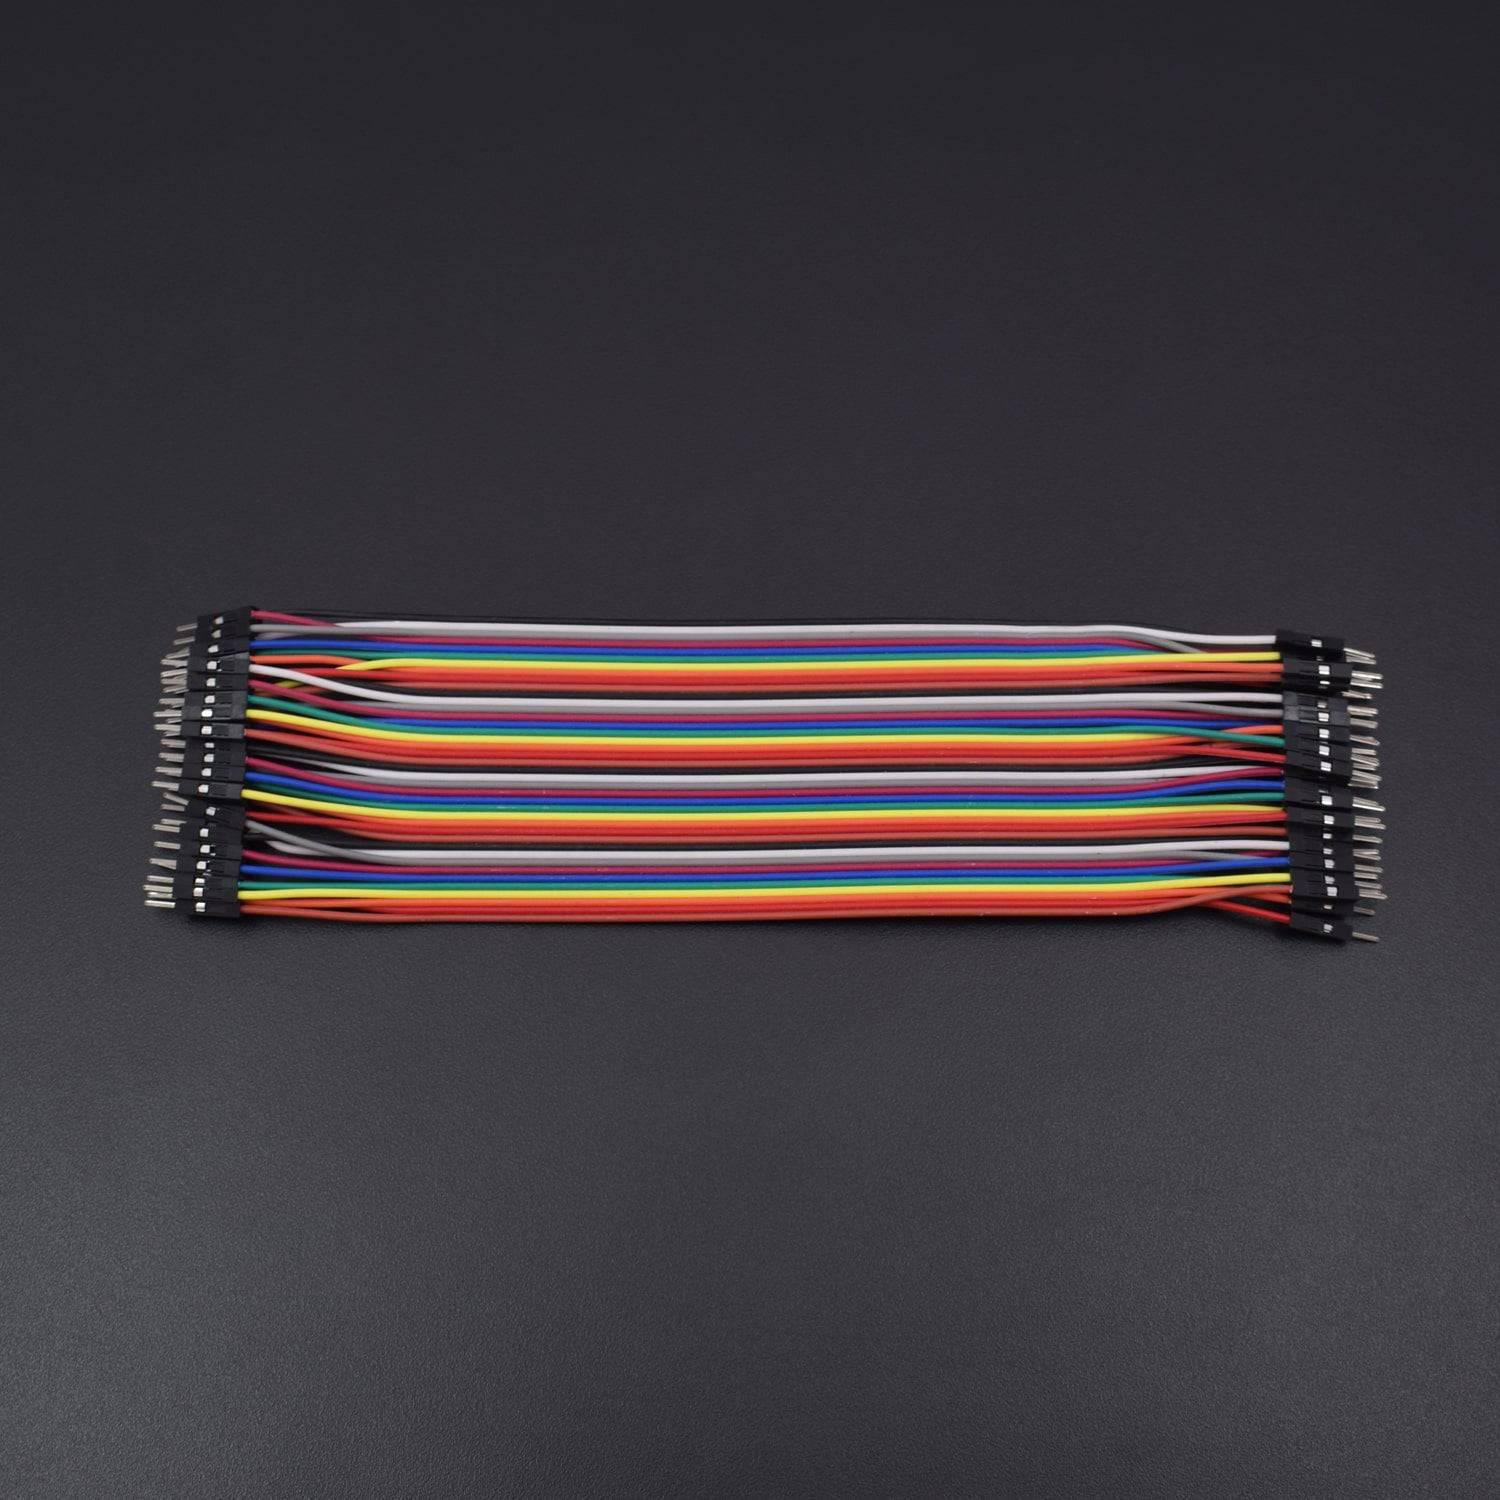
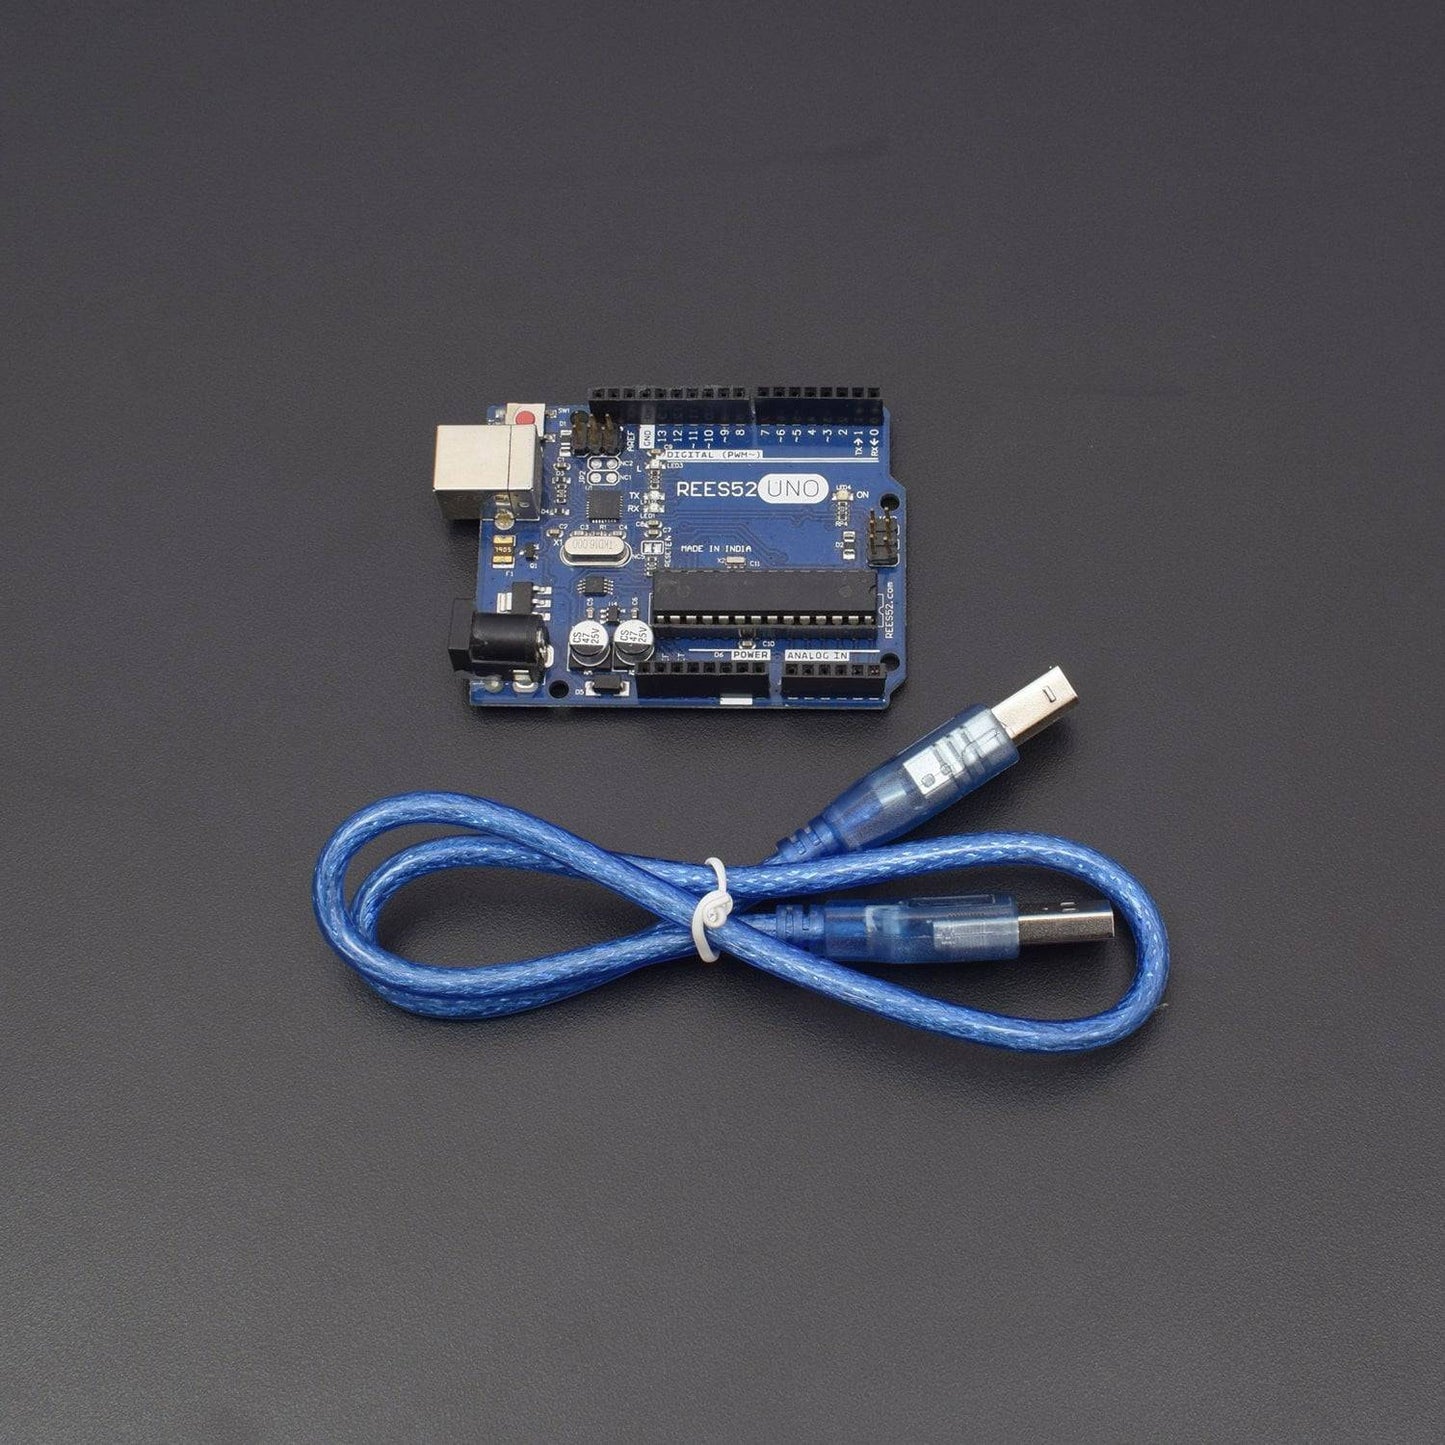
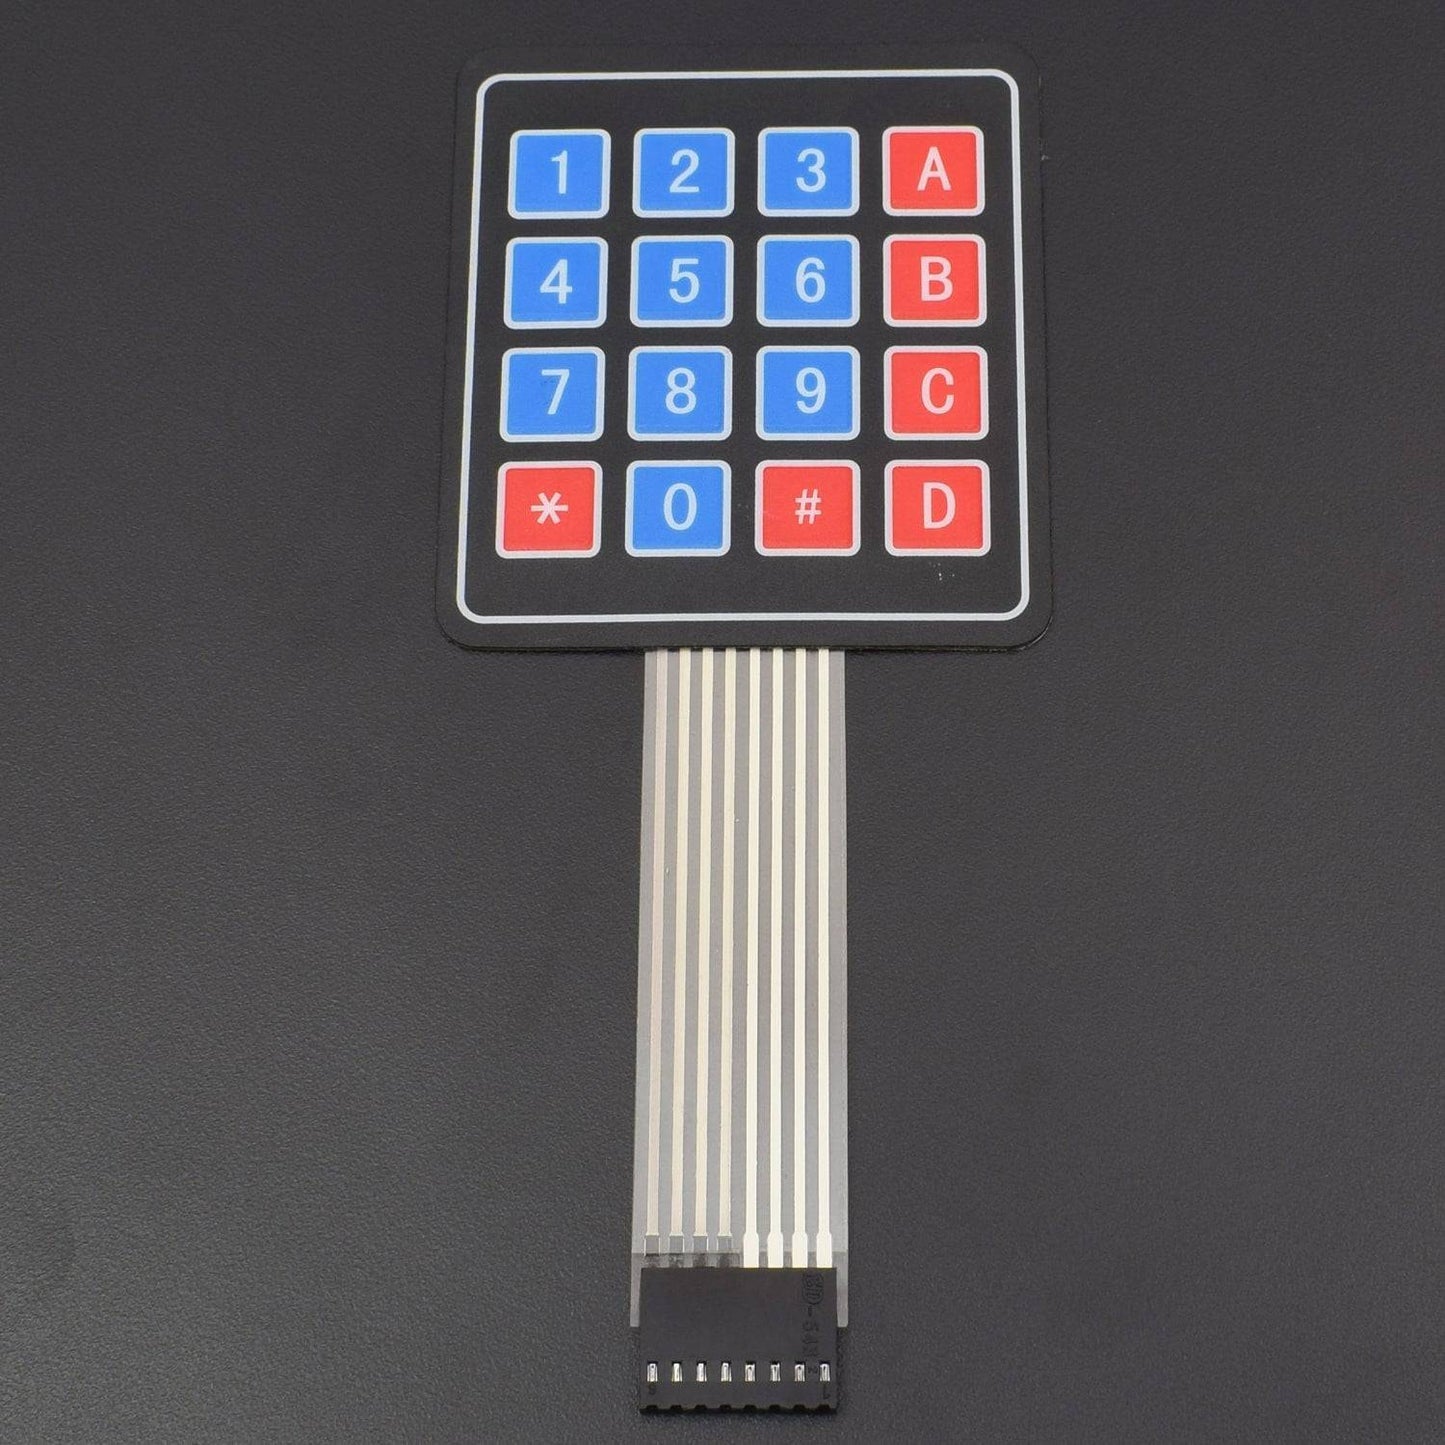
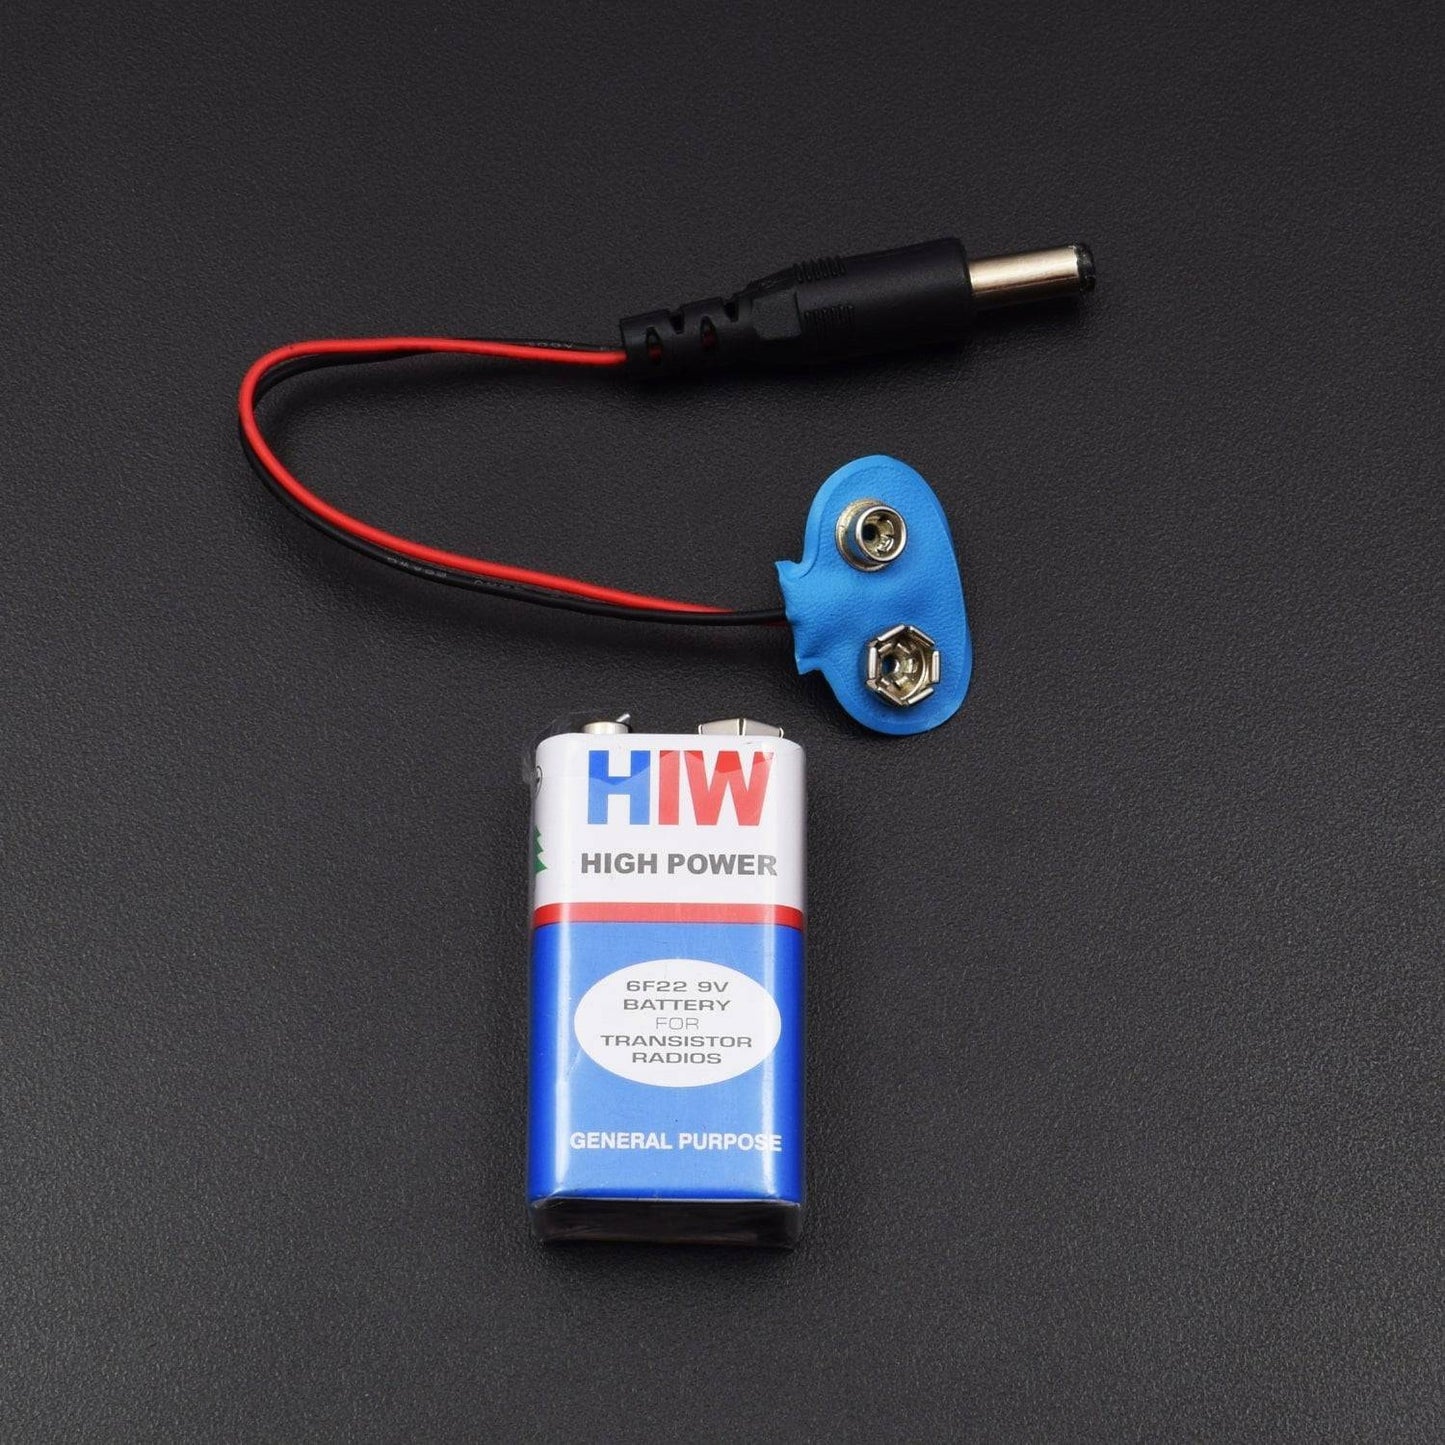
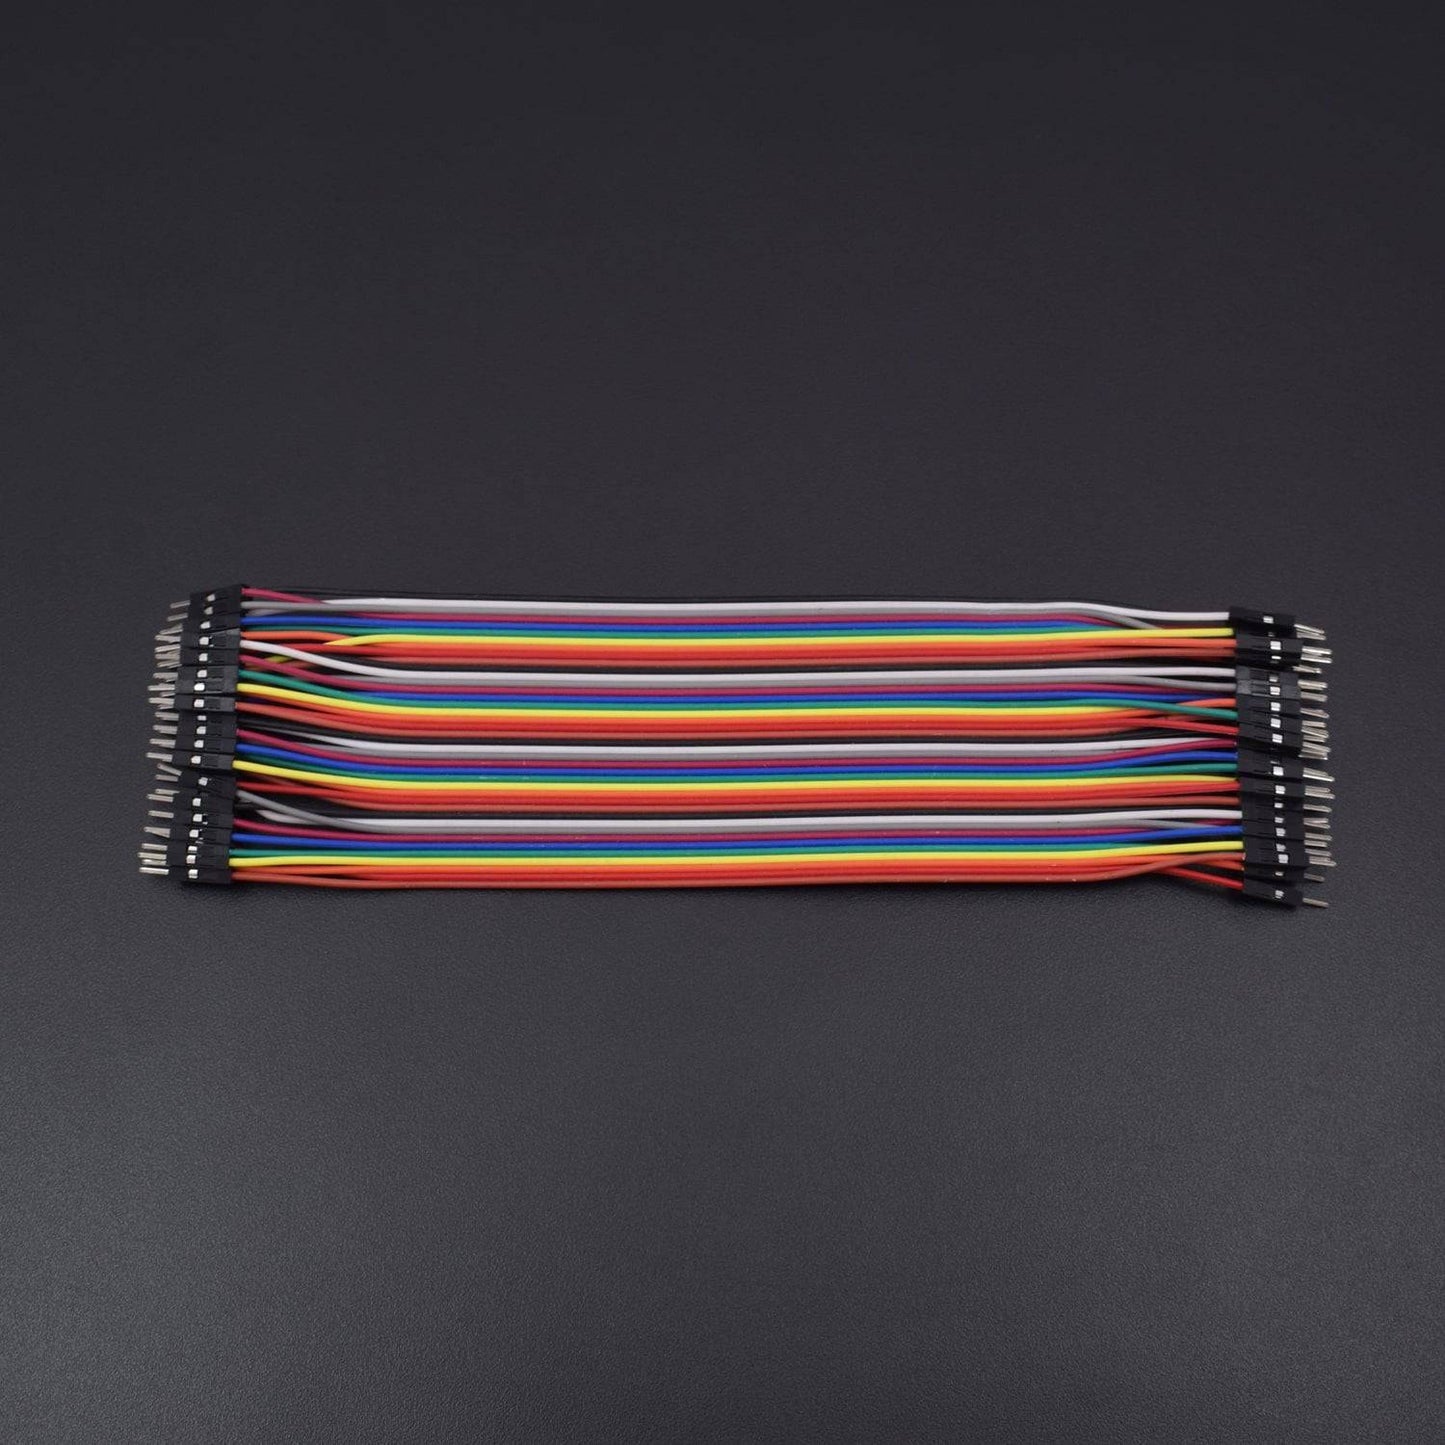
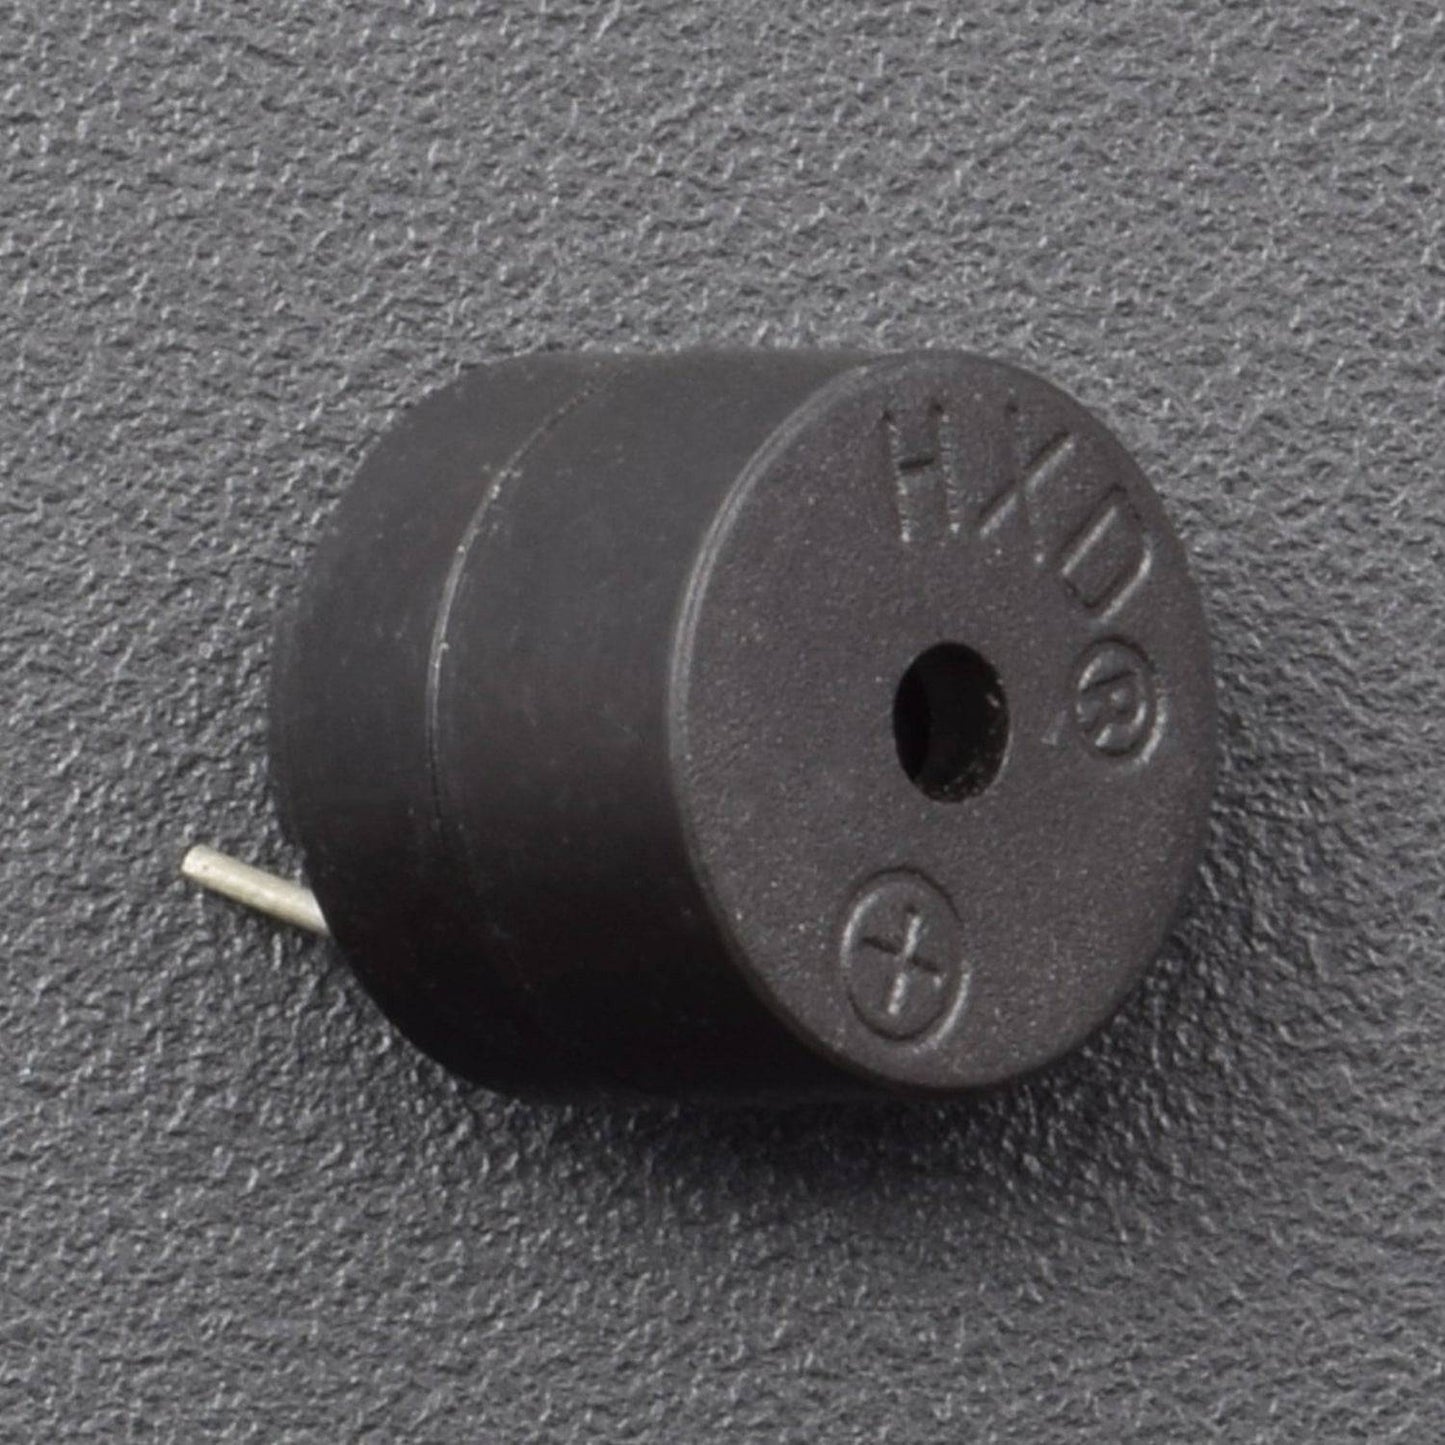

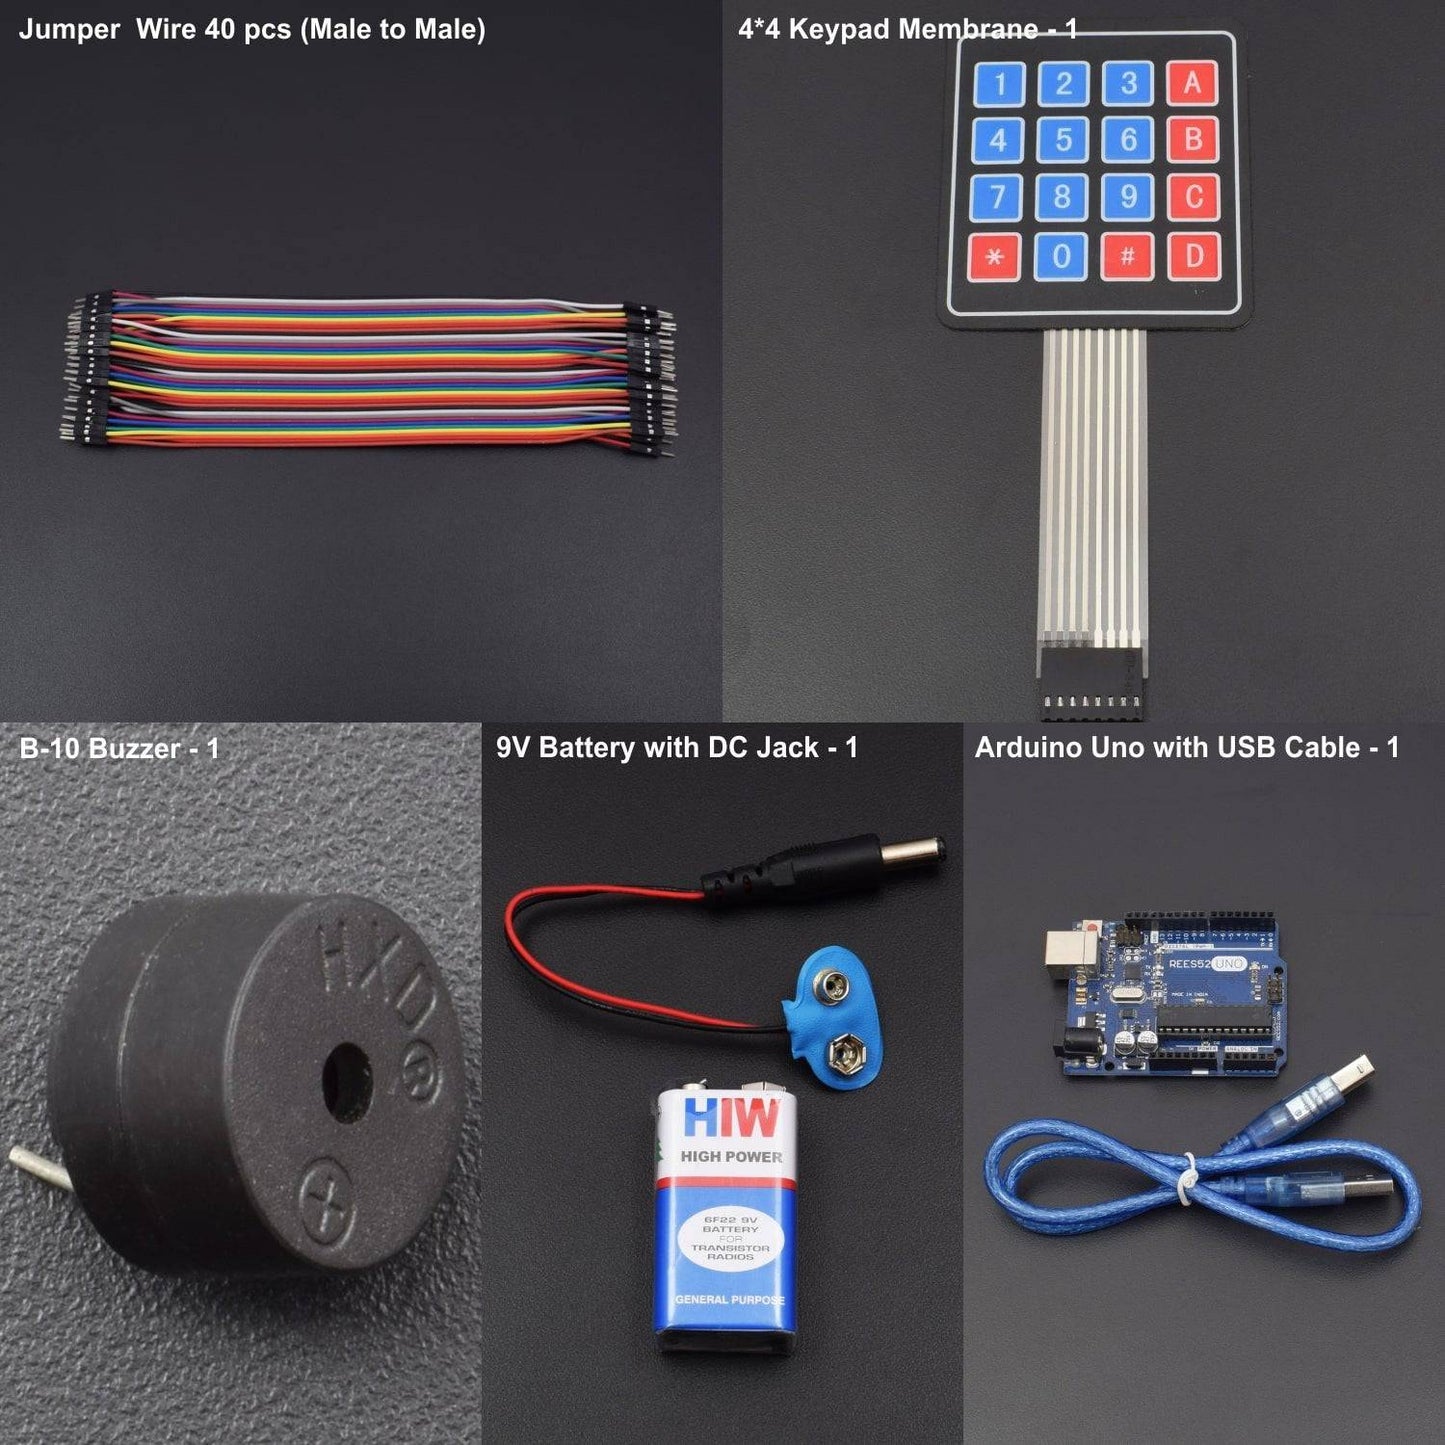
KIT INCLUDES:
- Arduino Uno with USB Cable – 1
- 4x4 keypad membrane - 1
- Jumper wires (Male to Male)- 40 pieces
- Buzzer B-10 -1
- 9v Battery with snapper - 1
HARDWARE REQUIRED
- Arduino Uno with USB Cable – 1
- 4x4 keypad membrane - 1
- Jumper wires (Male to Male)- 40 pieces
- Buzzer B-10 -1
- 9v Battery with snapper - 1
SOFTWARE REQUIRED
Arduino IDE 1.8.5 (programmable platform for Arduino)
Click To Download :https://www.arduino.cc/en/Main/Software
SPECIFICATIONS
4*4 Keypad membrane
- Maximum Rating: 24 VDC, 30 mA
- Interface: 8-pin access to 4x4 matrix
- Operating temperature: 32 to 122 °F(0 to 50°C)
- Dimensions: Keypad, 2.7 x 3.0 in (6.9 x 7.6 cm),Cable: 0.78 x 3.5 in (2.0 x 8.8 cm)
CIRCUIT CONNECTION
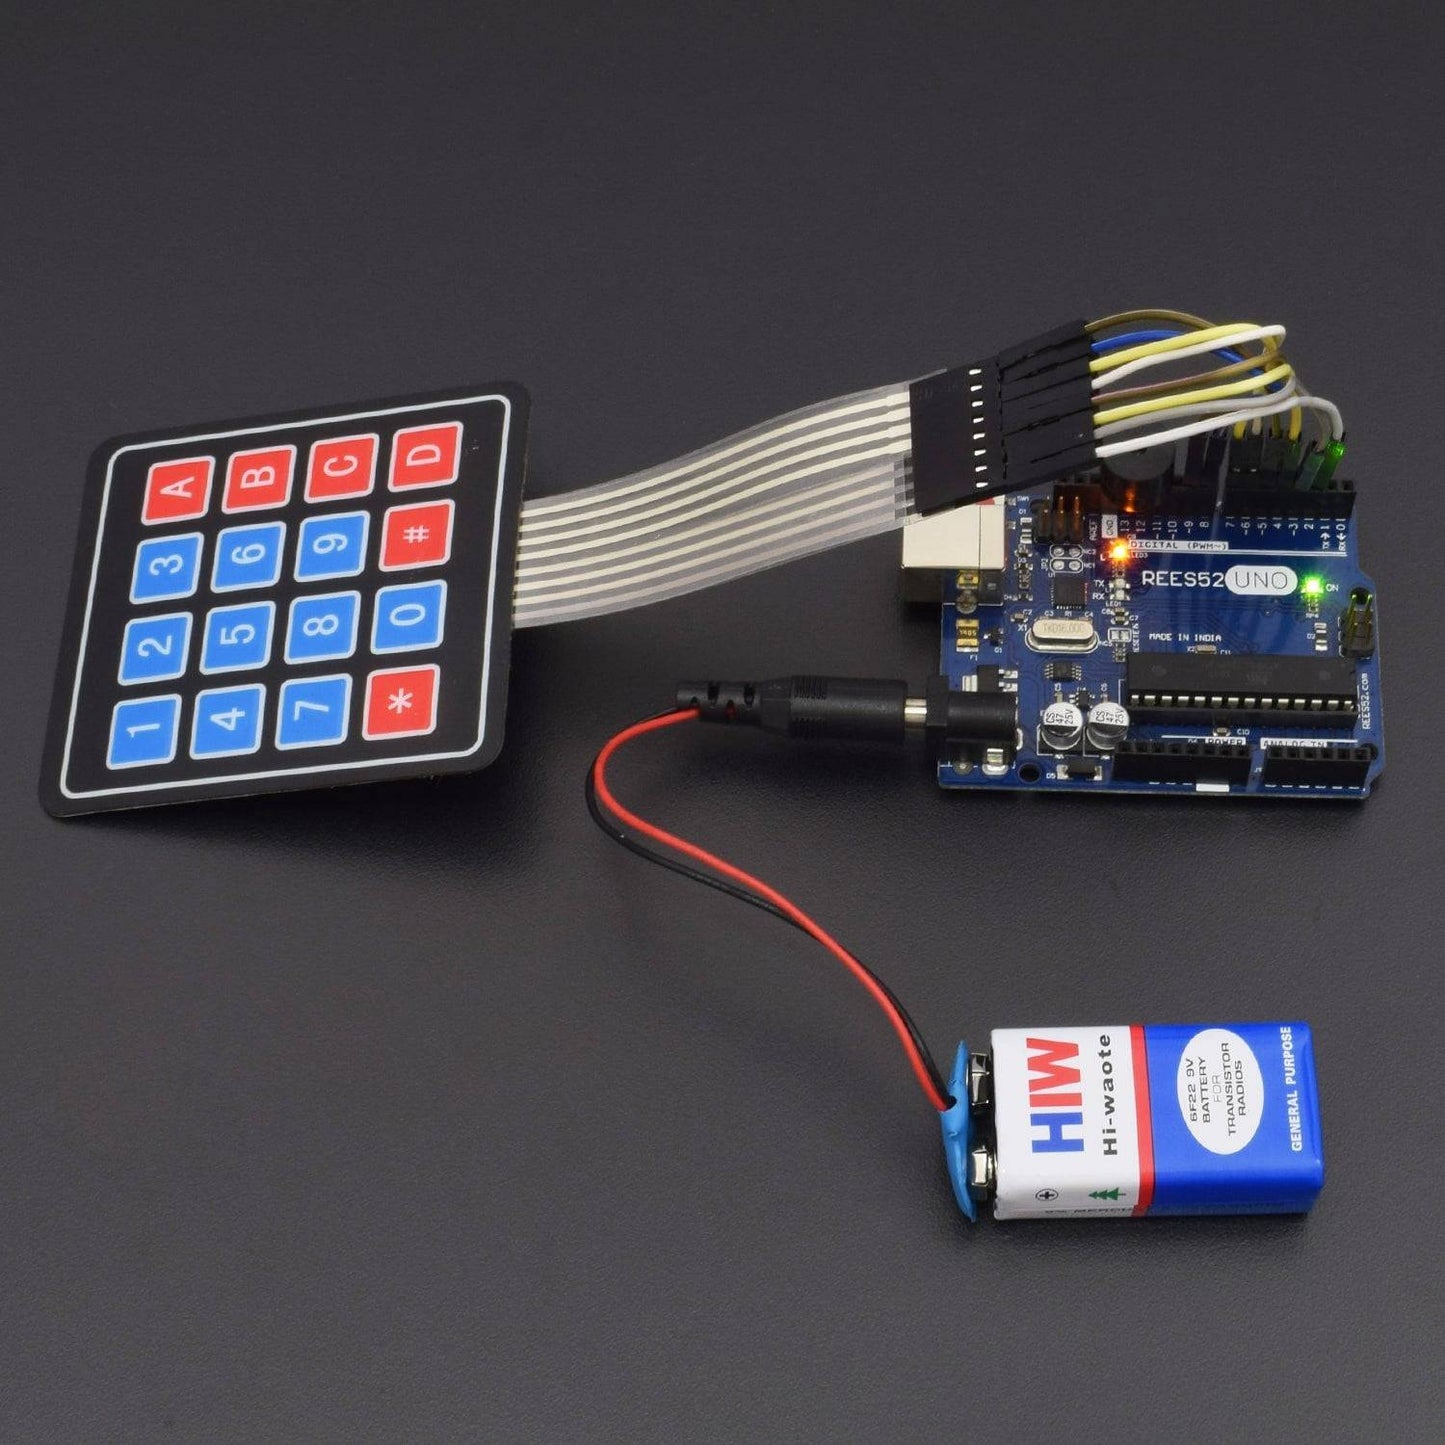
- Pin 8 to pin 1 of the keypad are connected to Arduino pin 2 to pin 9
- The buzzer is connected to the D11 and ground of Arduino Uno
CODE
WORKING
You can generate close to any desired frequency using Fast Pulse Width Modulation on any microcontroller up to a top frequency limit (depending on the system clock). Here, Arduino Uno is used, which has 16 MHz system clock. So, you can generate a maximum frequency of roughly 8 MHz using PWM.
The frequencies of basic notes of a piano are as follows:
C - 261 Hz
D - 294 Hz
E - 329 Hz
F - 349 Hz
G - 392 Hz
a - 440 Hz
B - 493 Hz
C - 523 Hz
For beginners, this might go over their heads, and for people with non-technical background this might be an 'all-Greek-to-me' thing. I'm going to make it simple.
TCCR2A - Timer/Counter Control Register A for Timer 2)
TCCR2B - Timer/Counter Control Register B for Timer 2)
These are 8 bit registers and there 8 bits are as follows:
TCCR2A - [COM2A1, COM2A0, COM2B1, COM2B0, reserved, reserved, WGM21, WGM20]
TCCR2B - [FOC2A, FOC2B, reserved, reserved, WGM22, CA22, CA21, CS20]
A) Setting WGM22 WGM21 WGM20 as 111 will select the PWM mode - Fast PWM with toggle
B) Setting CA22 CA21 CS20 as 001 will select the pre-scalar as 1 (i.e. the frequency will be divided by 1. For different pre scalar values, the table is as follows:
C) Setting COM2A1 COM2A0 as 01 for toggling counter when value reaches top of the OCR2A register. This is the output compare register A. Whatever the value you want your counter to count up to is assigned to this register.
Rest of the bits are 'don't care' for this project.
Generating a frequency:
The formula is: frequency in Hz = 16MHz/pre scalar/(OCRA+1)/2 (for register A i.e. pin 11). For e.g. for generating 261 Hz:
TCCR2A = B01000011; (com2a1 com2a0 bits are 01 for toggling counter when value reaches 119)
TCCR2B = B00001110; (wgm22 wgm21 wgm20 bits are 111 for fast pwm, ca22 ca21 cs20 bits are 110 for selecting the pre scalar 256)
OCR2A=119;
CALCULATING: 16MHZ/256/120/2 = 260.42 Hz
Similarly, by changing the OCR2A values you can generate rest of the frequencies using this formula. These frequencies are played by a piezoelectric buzzer, which has its positive terminal connected to the pin 11 of Arduino Uno and its negative terminal to the ground.
Now, for piano keys, I used a 4x4 membrane keypad.


