
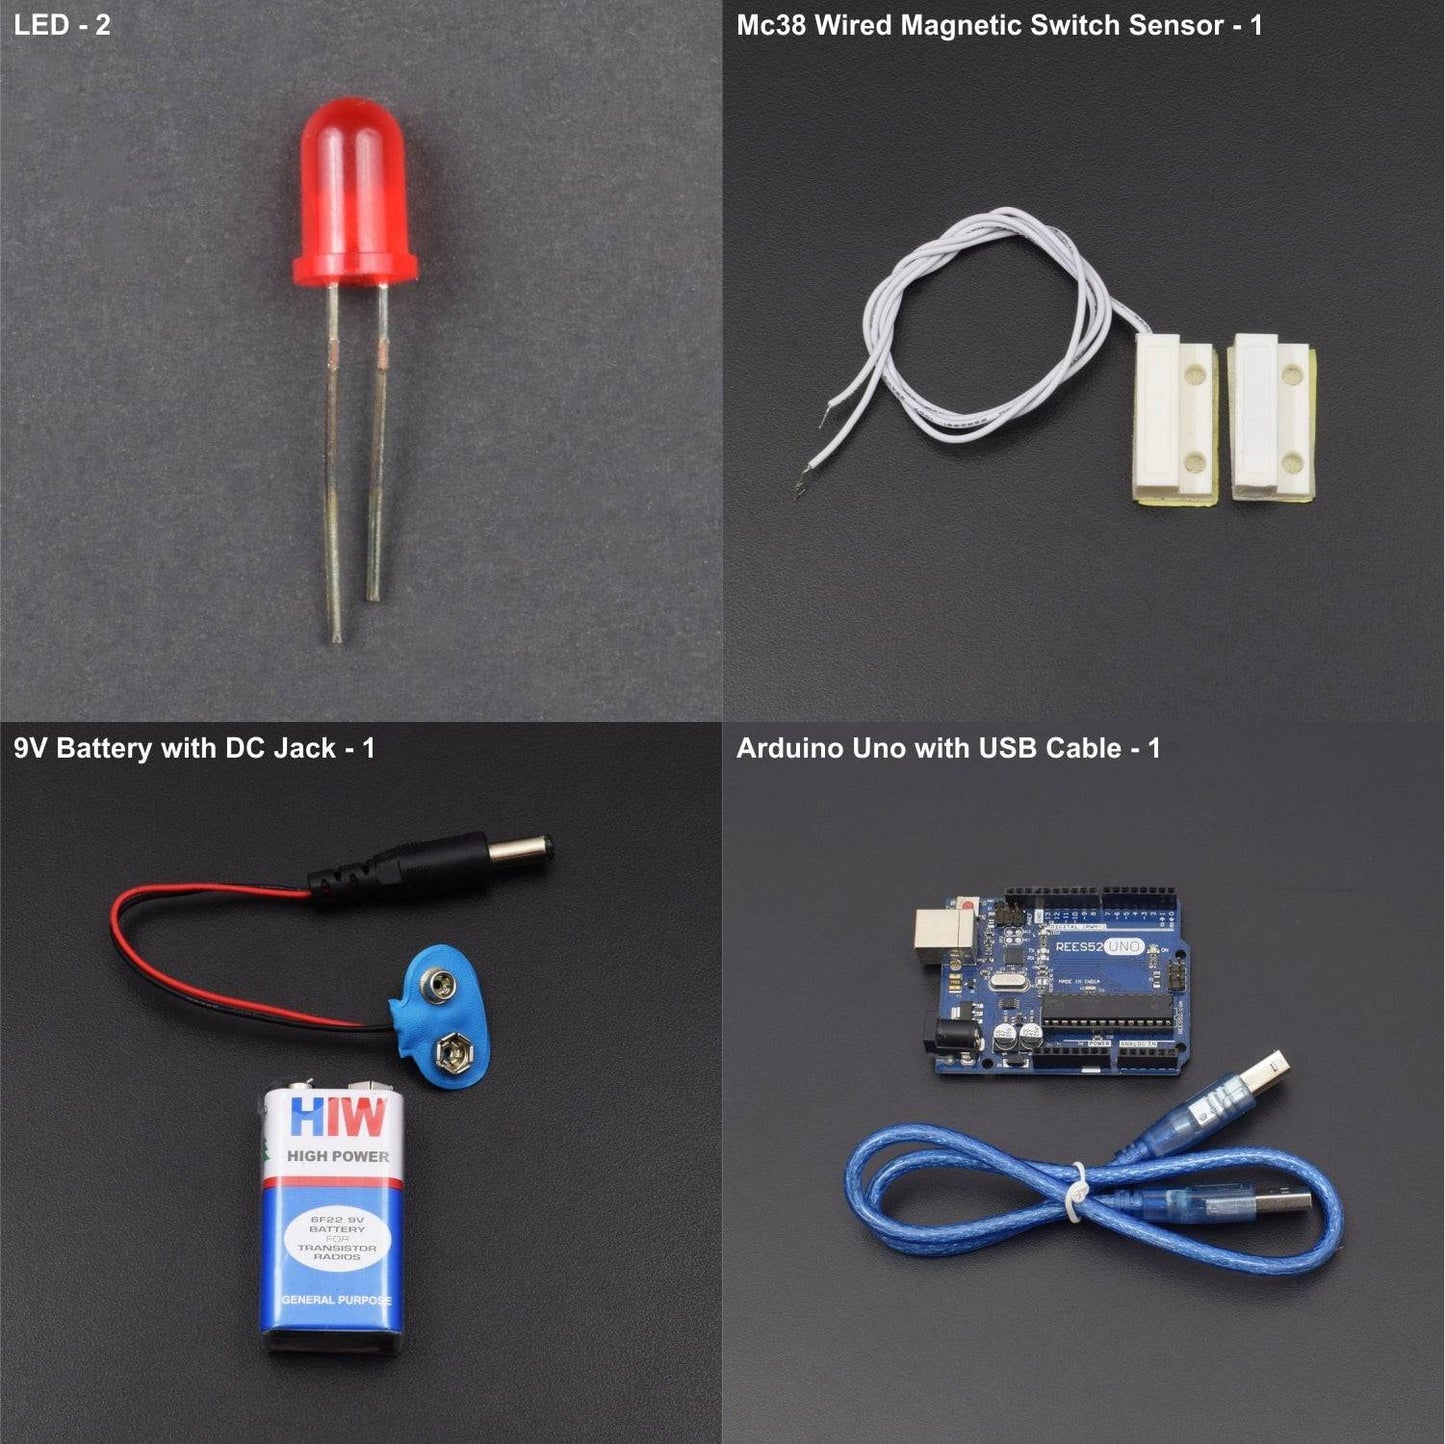
KIT INCLUDES:
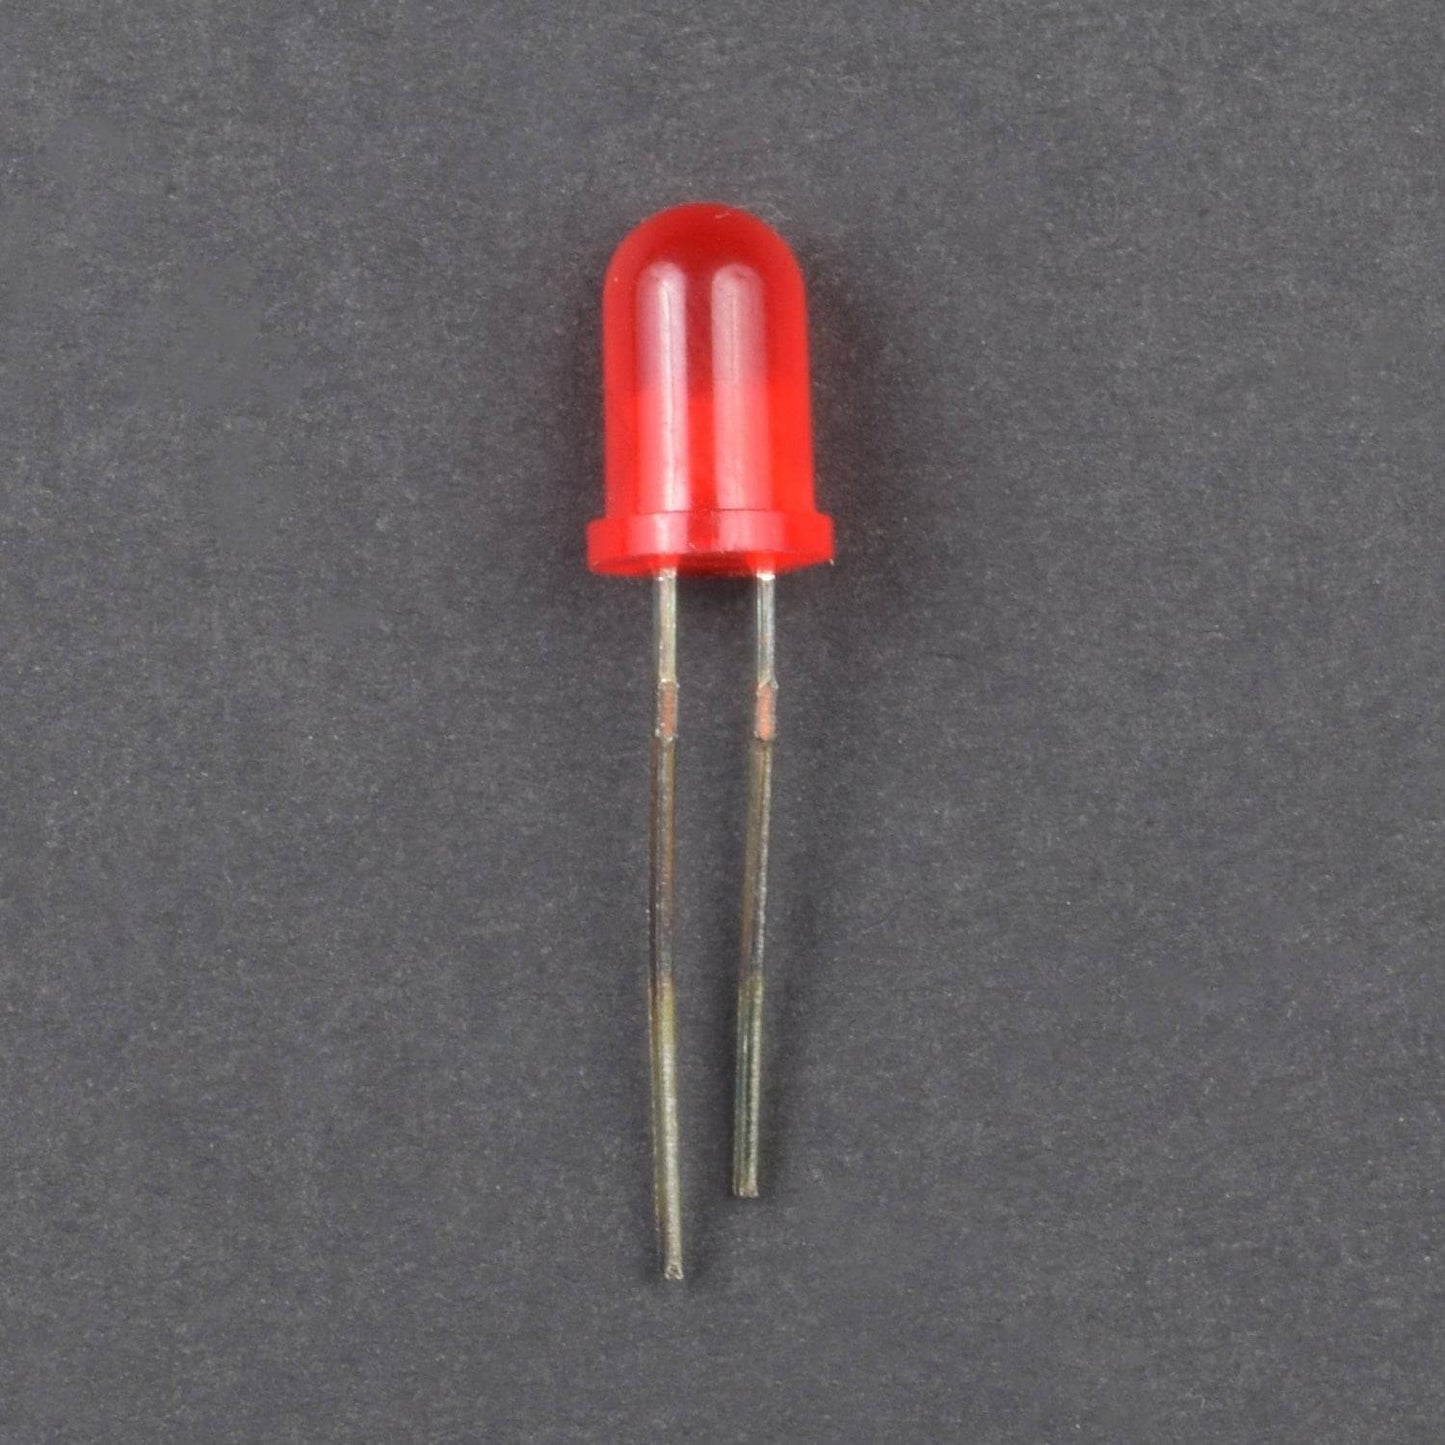
- Led – 2
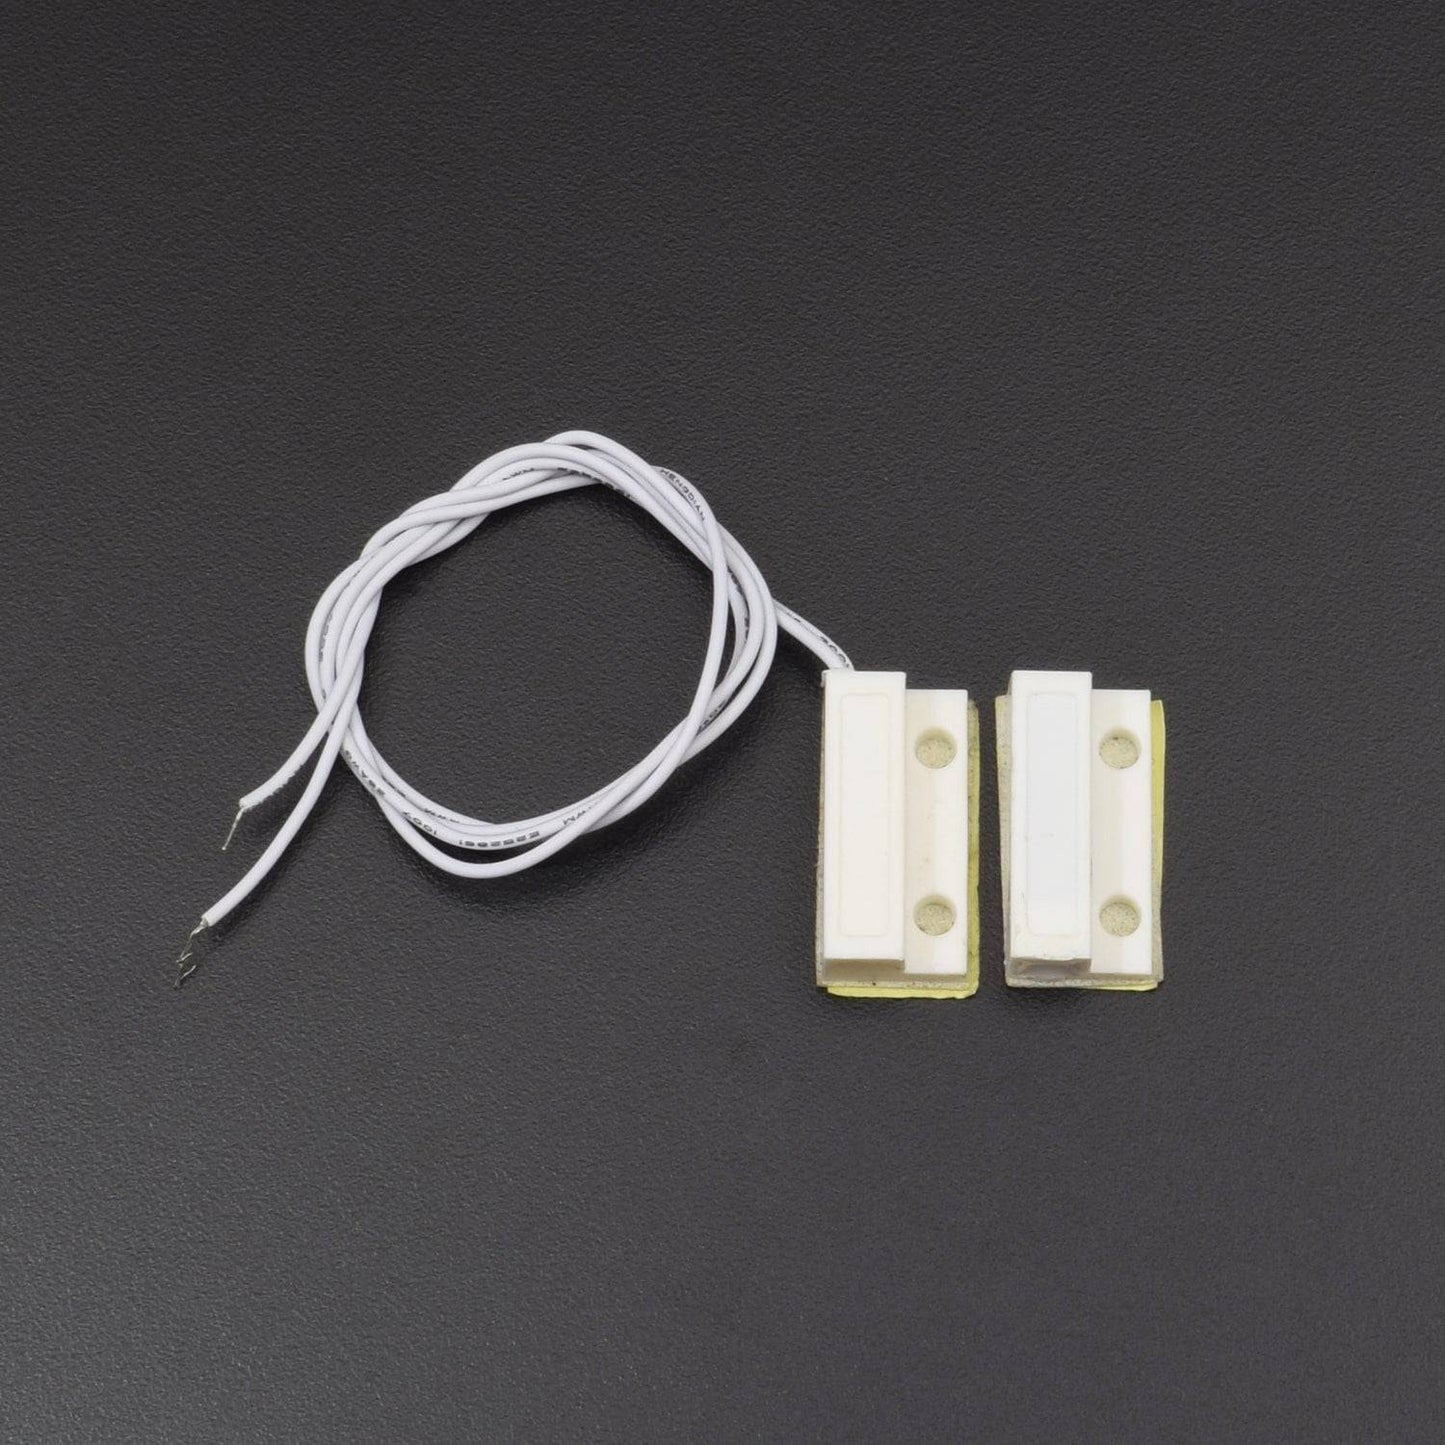
- MC38 Wired Magnetic switch sensor – 1
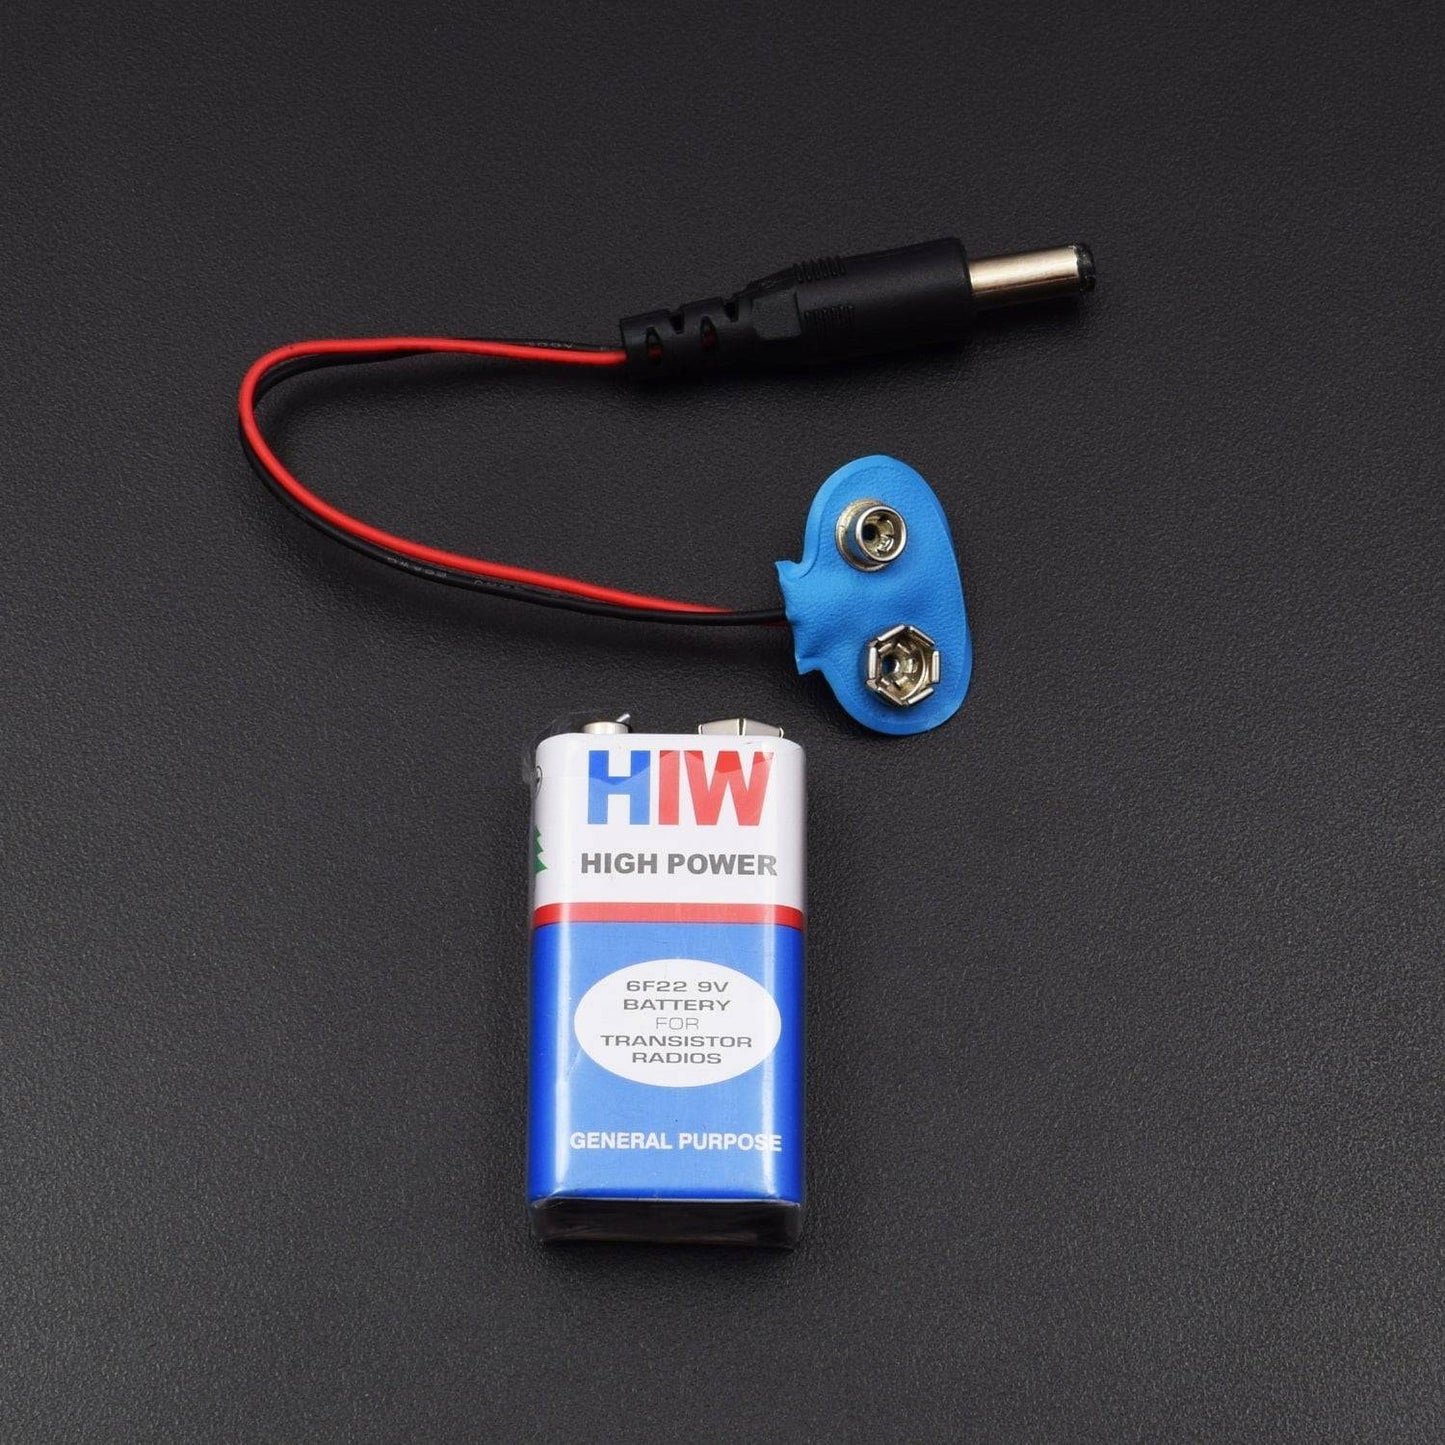
- 9v battery with DC jack – 1
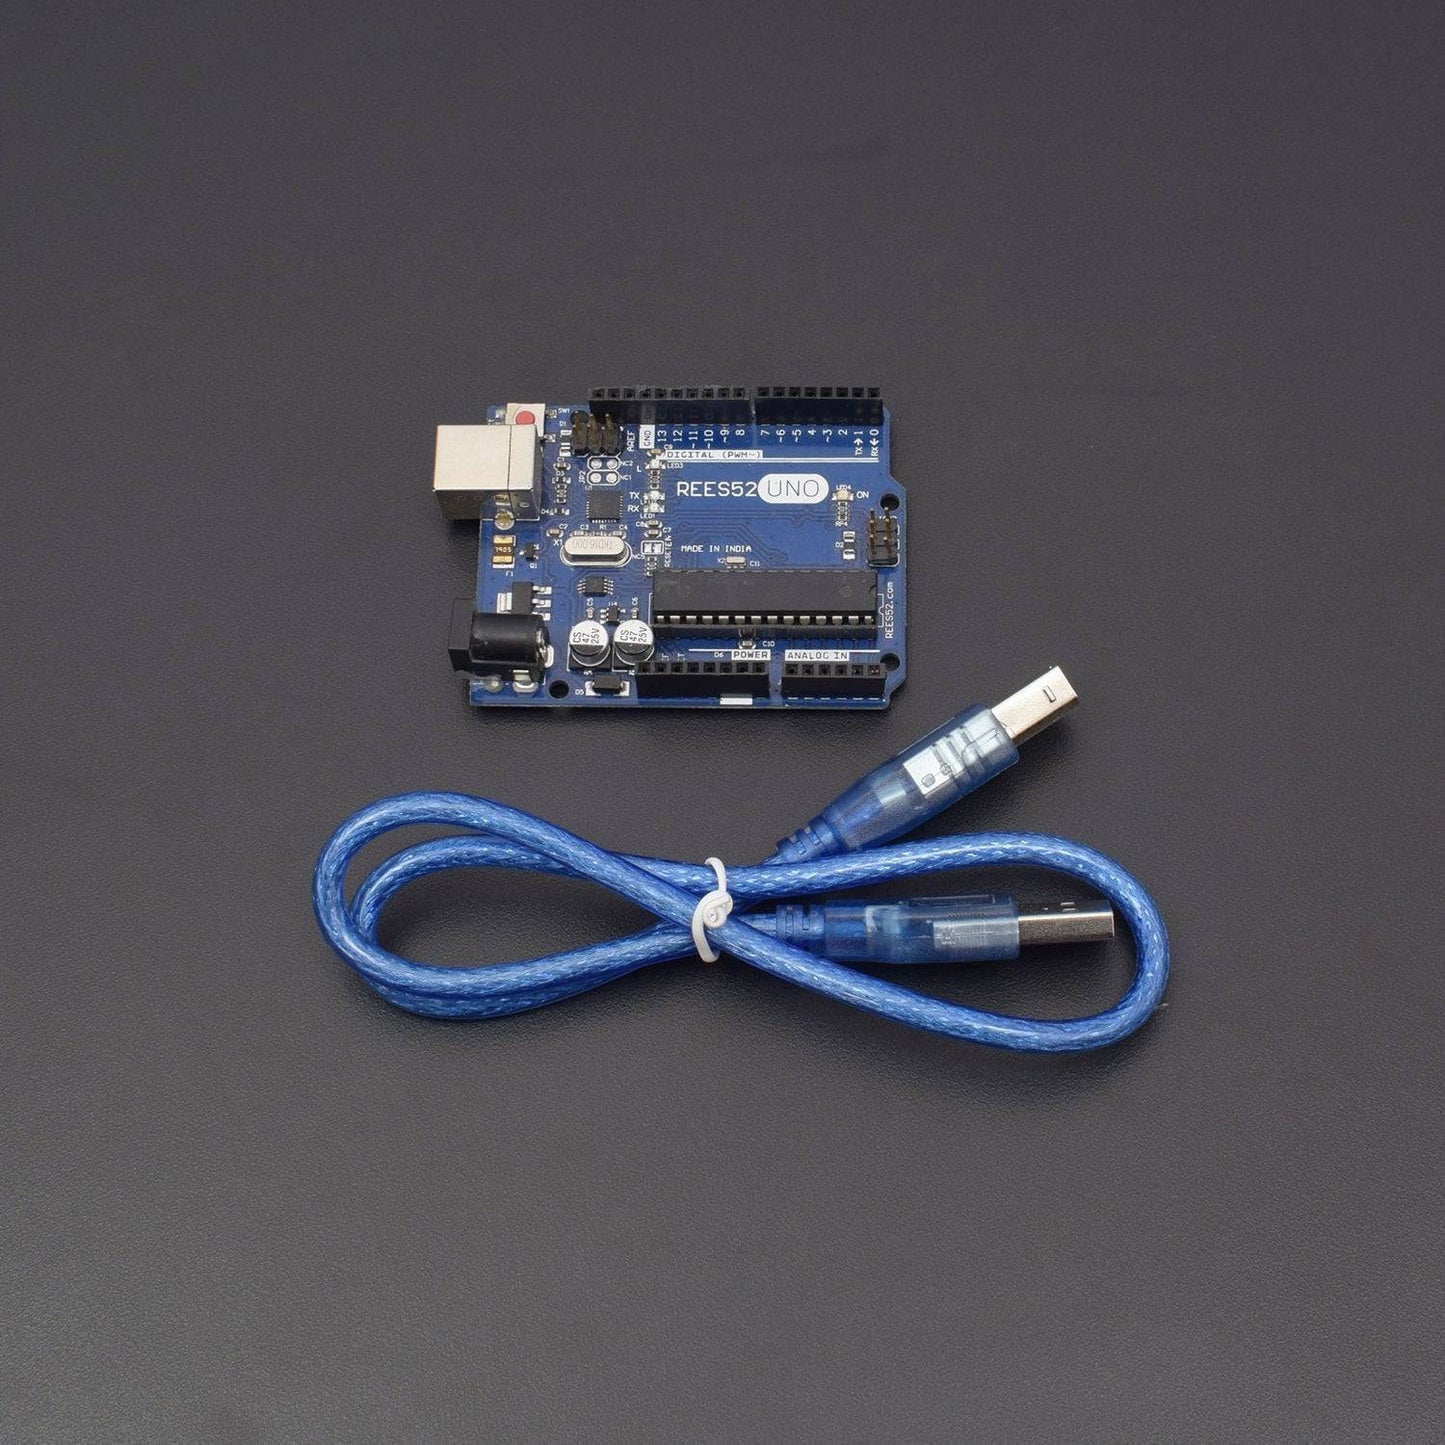
- Arduino uno with USB Cable - 1
HARDWARE REQUIRED
- Led – 2
- MC38 Wired Magnetic switch sensor – 1
- 9v battery with DC jack – 1
- Arduino uno with USB Cable - 1
SOFTWARE REQUIRED
Arduino IDE 1.8.5 (programmable platform for Arduino)
Click To Download :https://www.arduino.cc/en/Main/Software
PIN DESCRIPTION
LED

.
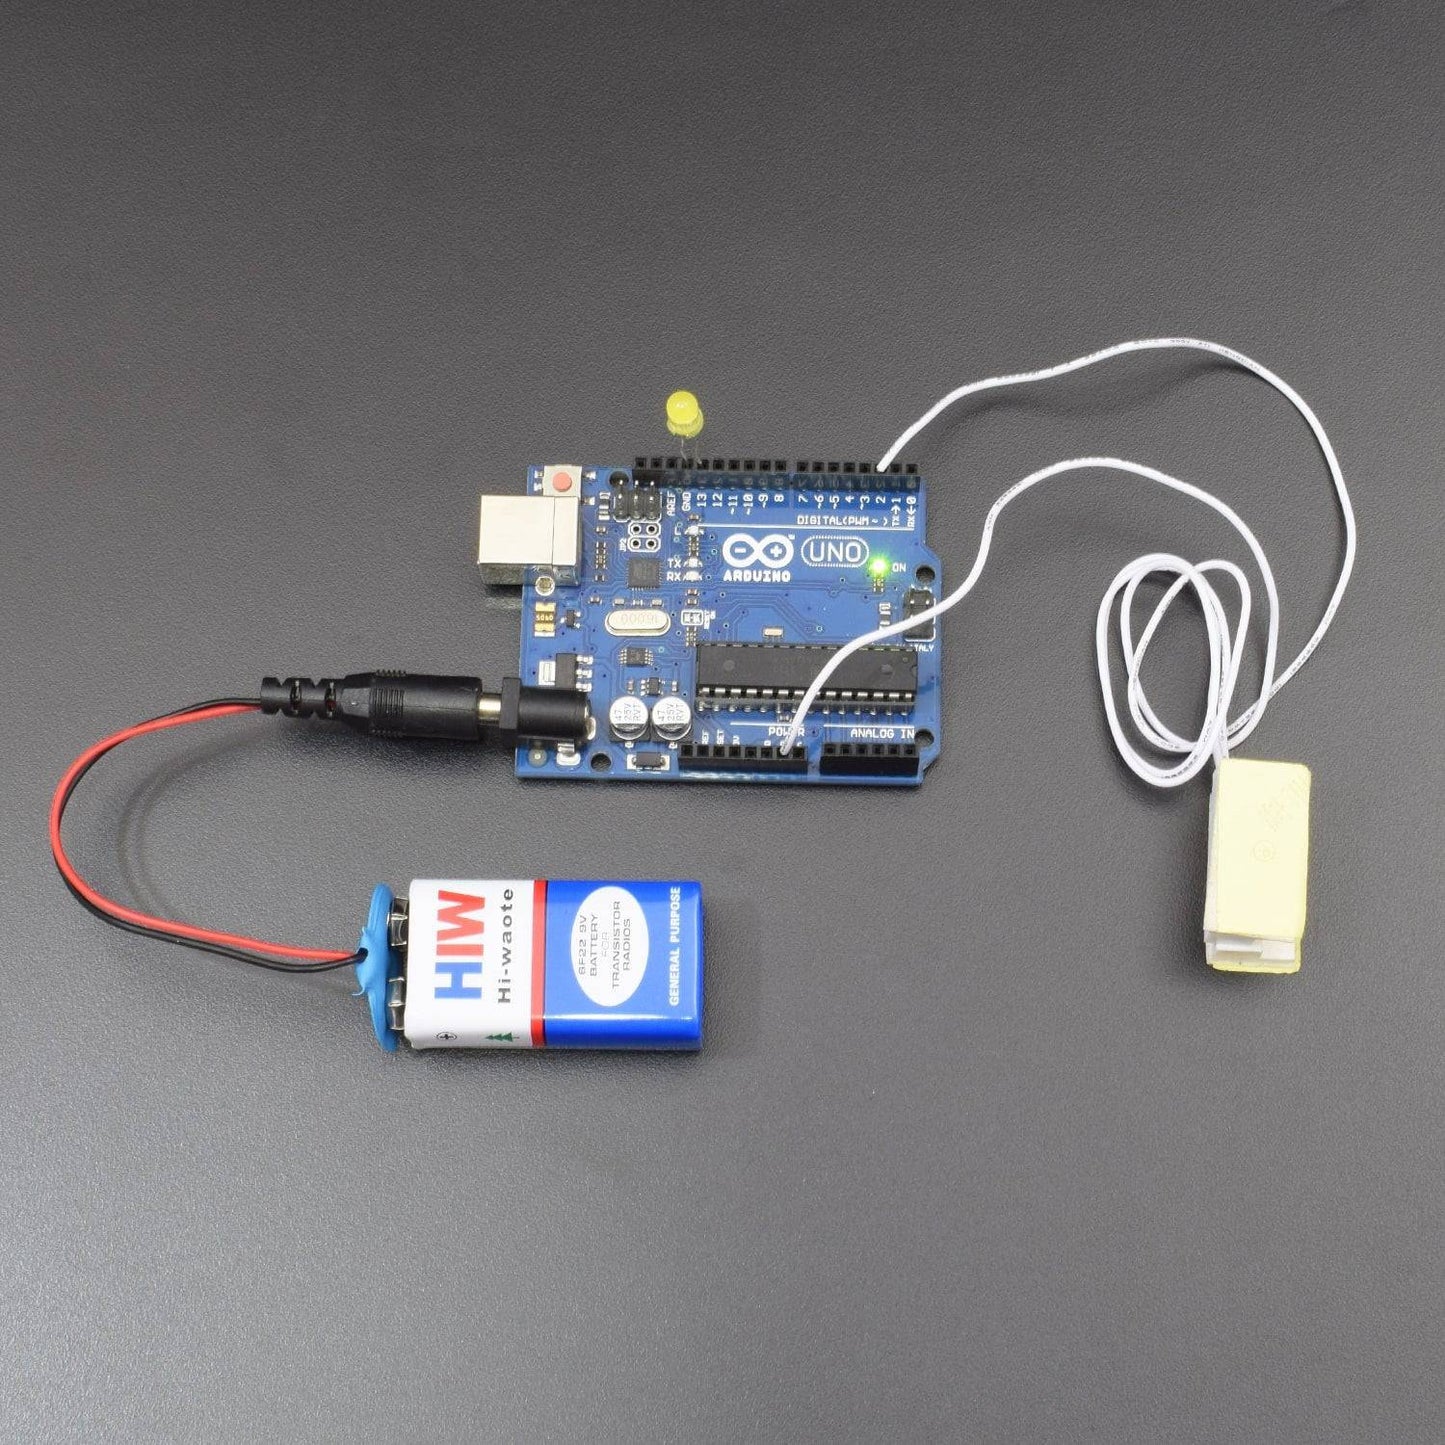
CIRCUIT CONNECTION
- Connect the positive pin (The Longer Lead) of the LED to pin 13 of the Arduino.
- Connect the negative pin (The Shorter Pin) of the LED to pin GND (Ground) of the Arduino. 13 and GND should be next to each other.
Magnetic Door Sensor (Reed Switch):
- Since the switch is non polar, you can plug in the wires any way.
- Connect one wire of the switch to a jumper wire and plug the jumper wire pin to pin GND on the POWER side of the Arduino
- Connect the other switch wire to another jumper wire, and plug that jumper wire into pin 2 of the Arduino.
CODE
const int switchPin = 2;
const int ledPin = 13;
void setup() {
pinMode(switchPin, INPUT);
pinMode(ledPin, OUTPUT);
digitalWrite(switchPin, HIGH);
}
void loop() {
if(digitalRead(switchPin) == LOW){
digitalWrite(ledPin, LOW);
}
else{
digitalWrite(ledPin, HIGH);
}
}
WORKING
In this project we are making a magnetic door Sensor in which we connect a magnetic door sensor to the door, to log basically if anyone came into the room when nobody’s there or if we entered the room from outside, it will some play some cool welcoming sound and it will blink.
Upload the code and move a magnet away and closer to the sensor and watch how the LED reacts!


