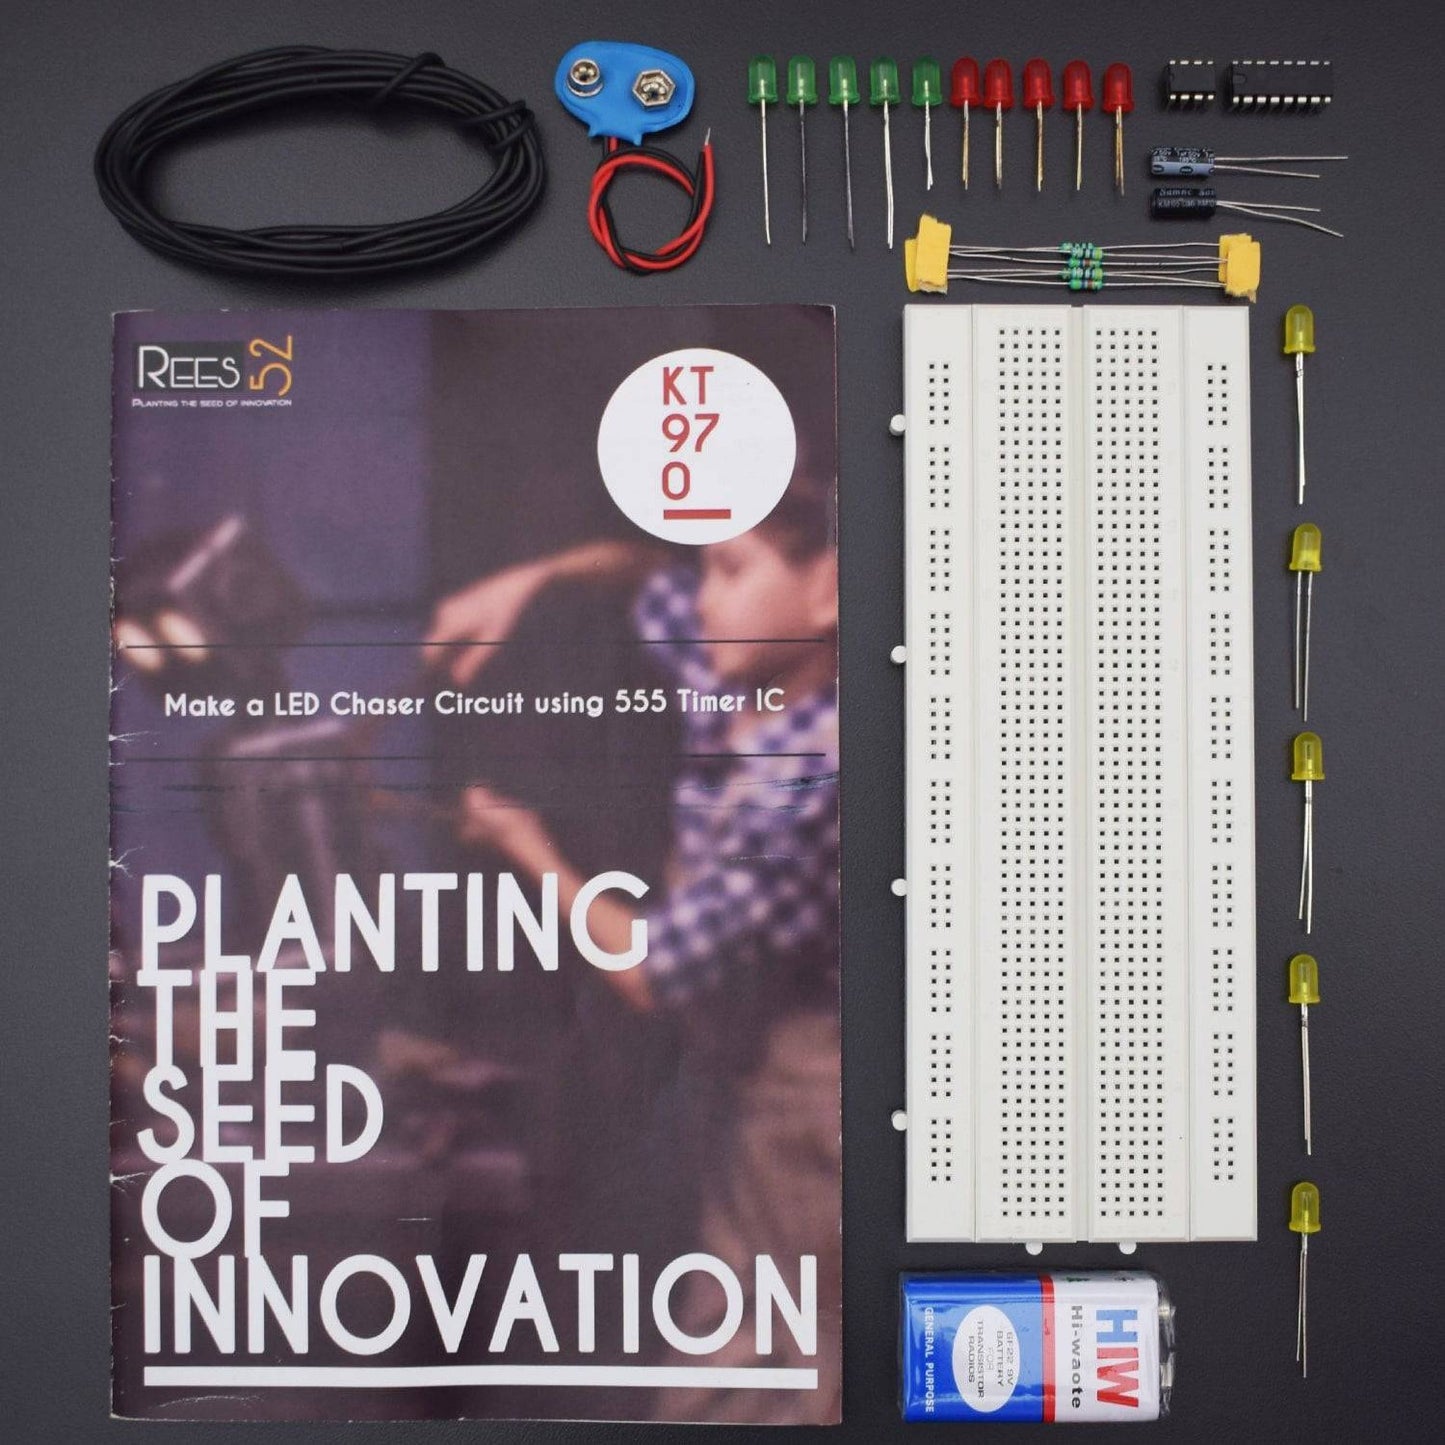
- 9v Battery - 1
- Battery snapper – 1
- Single stand wire 2m - 1
- NE555 Timer Ic -1
- CD4017 IC – 1
- Capacitor 1uf – 2
- Multi-colour led (red – 5 , green – 5 , yellow - 5)
- Resistors ( 1 k - 2 , 47 k - 2 , 470 ohm - 2)
- Breadboard 840 points -1
HARDWARE REQUIRED
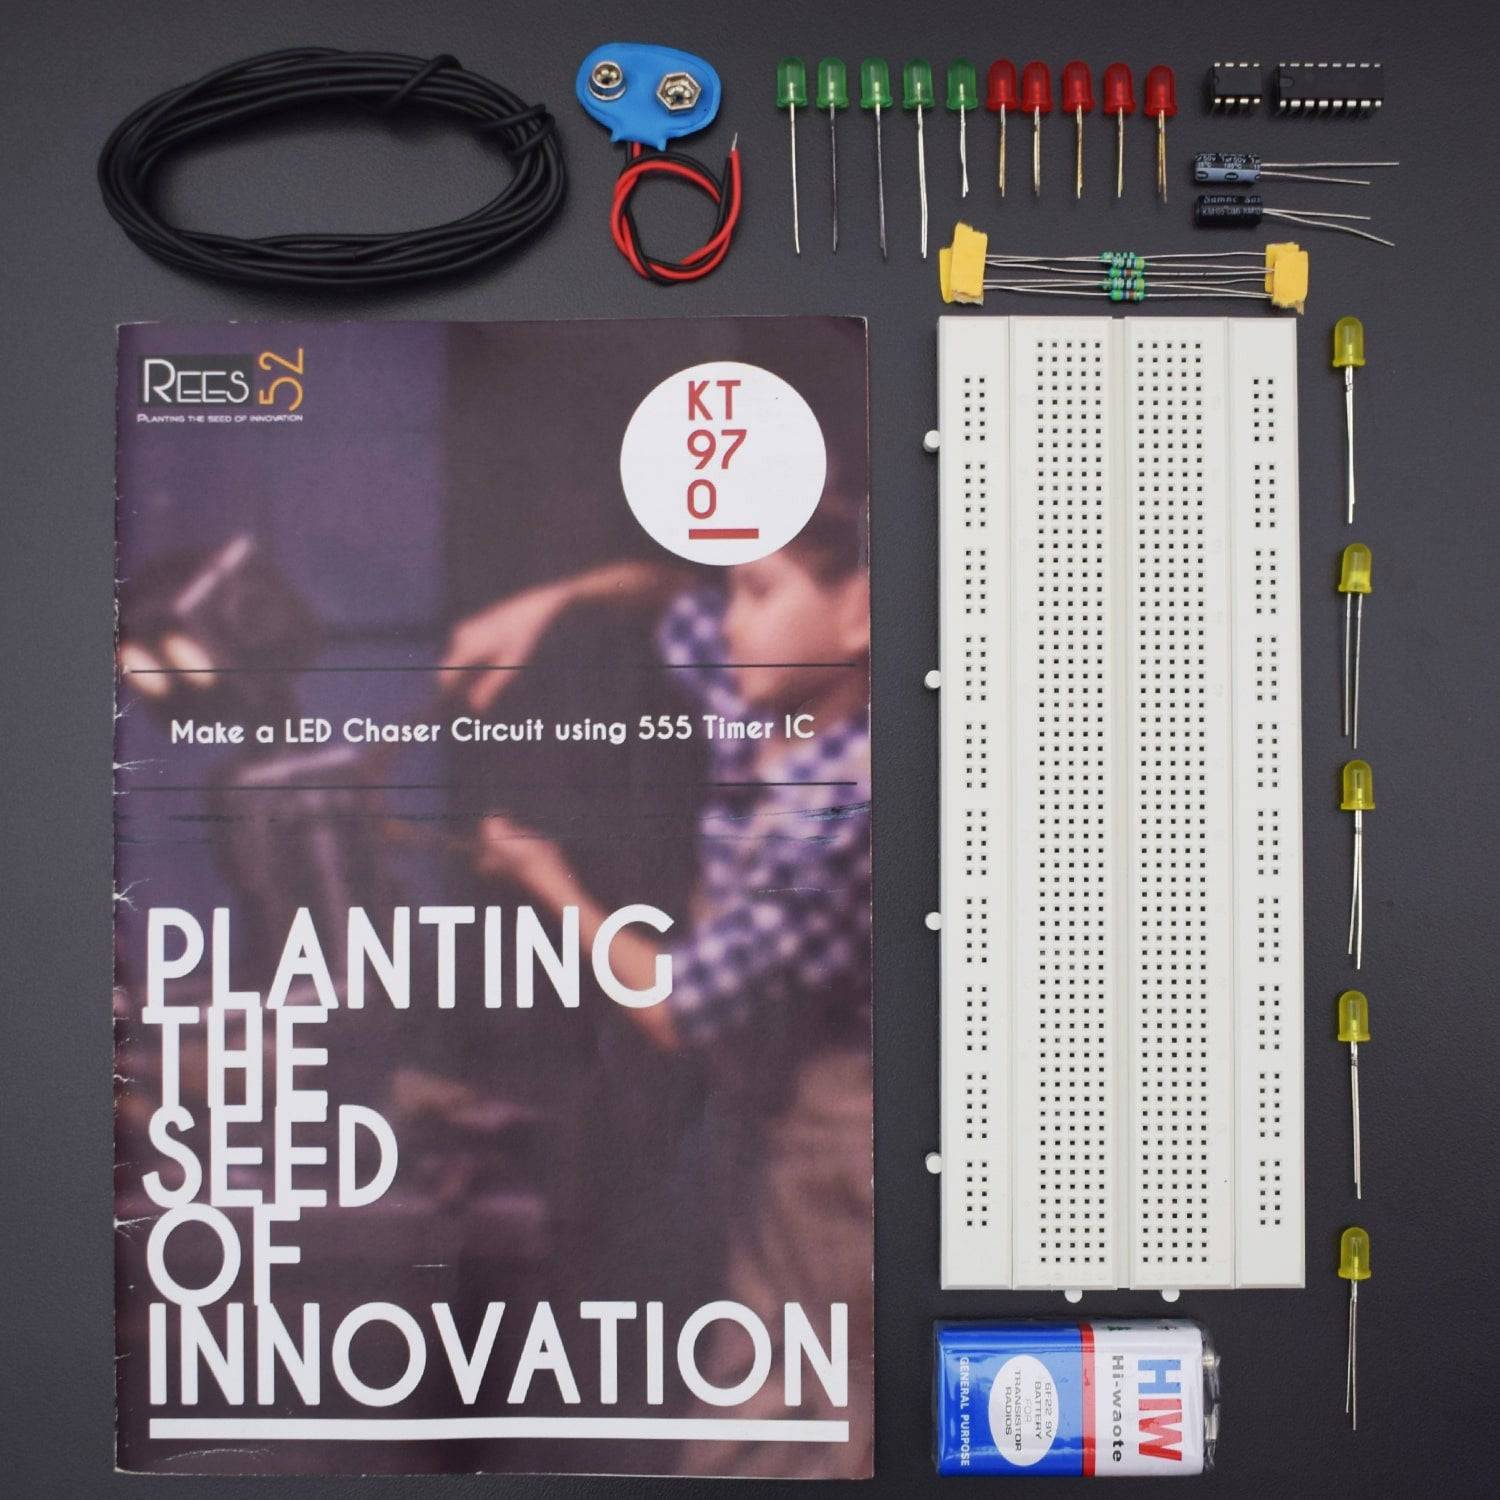
- 9v Battery - 1
- Battery snapper – 1
- Single stand wire 2m - 1
- NE555 Timer Ic -1
- CD4017 IC – 1
- Capacitor 1uf – 2
- Multi-color led (red – 5, green – 5, yellow - 5)
- Resistors ( 1 k - 2 , 47 k - 2 , 470 ohm - 2)
- Breadboard 840 points - 1
PIN DESCRIPTION
IC 4017


The importance Pins look at table below.

1.) Pin 16 is a positive power supply and pin 8 is a ground.
The power supply range of 3 volts to 16 volts and Maximum power supply voltage at pin 1 must not much than 18 volts.
2.)Pin 13 is Clock enabled pins to controls the clock.
When it is “0” logic, the clock is enabled and the counter advances one count for each clock pulse.
When “1” logic, the clock input is stopped, and the counter does nothing even when clock pulse arrives.
3.) Pin 14 is the clock triggers one count.
The clock pulse must be “clean”.
If they are “noisy” the counter may advance two or more times during each clock pulse.
4.) Pin 15 is the reset pin. Normally, it is “0”.
When made “1”, the counter is reset to “0”.
5.) Pins 1-7 and 9-11 are the decoded output pins.
The active count pin goes high and all others remain low.
6.) Pin 12 is Carry output, for the clock input of an additional counter or an external circuit that the count is complete.
555 TIMER


Pin |
Name |
Purpose |
1 |
GND |
The ground reference voltage, low level (0 V) |
2 |
TRIG |
The OUT pin goes high and a timing interval starts when this input falls below 1/2 of CTRL voltage (which is typically 1/3 Vcc, CTRL being 2/3 Vcc by default if CTRL is left open). In other words, OUT is high as long as the trigger low. The output of the timer totally depends upon the amplitude of the external trigger voltage applied to this pin. |
3 |
OUT |
This output is driven to approximately 1.7 V below +Vcc, or to GND. |
4 |
RESET |
A timing interval may be reset by driving this input to GND, but the timing does not begin again until RESET rises above approximately 0.7 volts. Overrides TRIG which overrides threshold. |
5 |
CTRL |
Provides “control” access to the internal voltage divider (by default, 2/3 Vcc). |
6 |
THR |
The timing (OUT high) interval ends when the voltage at threshold is greater than that at CTRL (2/3 Vcc if CTRL is open). |
7 |
DIS |
Open collector output which may discharge a capacitor between intervals. In phase with output. |
8 |
Vcc |
Positive supply voltage, which is usually between 3 and 15 V depending on the variation. |
LED


CIRCUIT CONNECTION


- Place the 555 timer IC on the breadboard its notch facing left.
- Now connect the 555 timer ic’s first pin to the ground or negative rail and pin 8 the ic to the positive rail.
- Now place a breadboard connector between pin 2 and pin 6 of the IC and another one between pin 4 and 8 of 555 timer ic.
- Place one microfarad capacitor on the breadboard with the negative terminal. Connected to pin one of the 555 timer ic and its positive terminal connected to pin 2 of the ic.
- Place 1K resistor on the breadboard with one of its terminal connected to pin 7 of the ic and the other one is connected to pin 8 of the 555 timer ic.
- Now place the 47k resistor between pin 6 and pin 7 of the 555 timer ic. Place 4017 icon the breadboard with its notch toward left.
- Now connect pin 16 of 4017 ic to the positive rail and pin 8 of the IC to the negative rail. Now place a board connector between pin 8 and pin 13 of the ic 4017 and another one is between pin 8 and 15 of 4017 IC.
- Connect pin 13 and 15 to the ground.
- Now place a breadboard connector between the output of 555 timer IC which is the pin 3 and the clock input of 4017 IC which is pin 14. Now place a 470-ohm resistor on a breadboard with one of its terminals connected to ground and other terminal connected to the next rail.which will be using to connect all the negative terminal of Led
If you are using the circuit with any voltage between 9 to 15v the must use a 1k resistor in place of the 470ohm resistor. |
Now connect pin 3 of the 4017 ic to the first led and pin 2 to the second led. And 4 pin to the third led to pin 7 to the fourth led. Pin 10 to the 5th led. Pin 1 to the 6th led. Pin 5 to the 7th led. Pin 6th to the 8 led and pin 9 to the 9 leds. Apply pin 11 to the led 10. now connect the positive and negative terminal on the breadboard
WORKING
555 timer IC works In a stable mod which makes its input of output changes between high low . the duration of each pulse depends on resistor and capacitor, now 4017 is decade counter which switches input to the next sequential pin each time it senses a low to high transition of the clock input pin , the sequential switching looks like all the led chasing each other>Continue to the led 10 and reset back to the first one.


