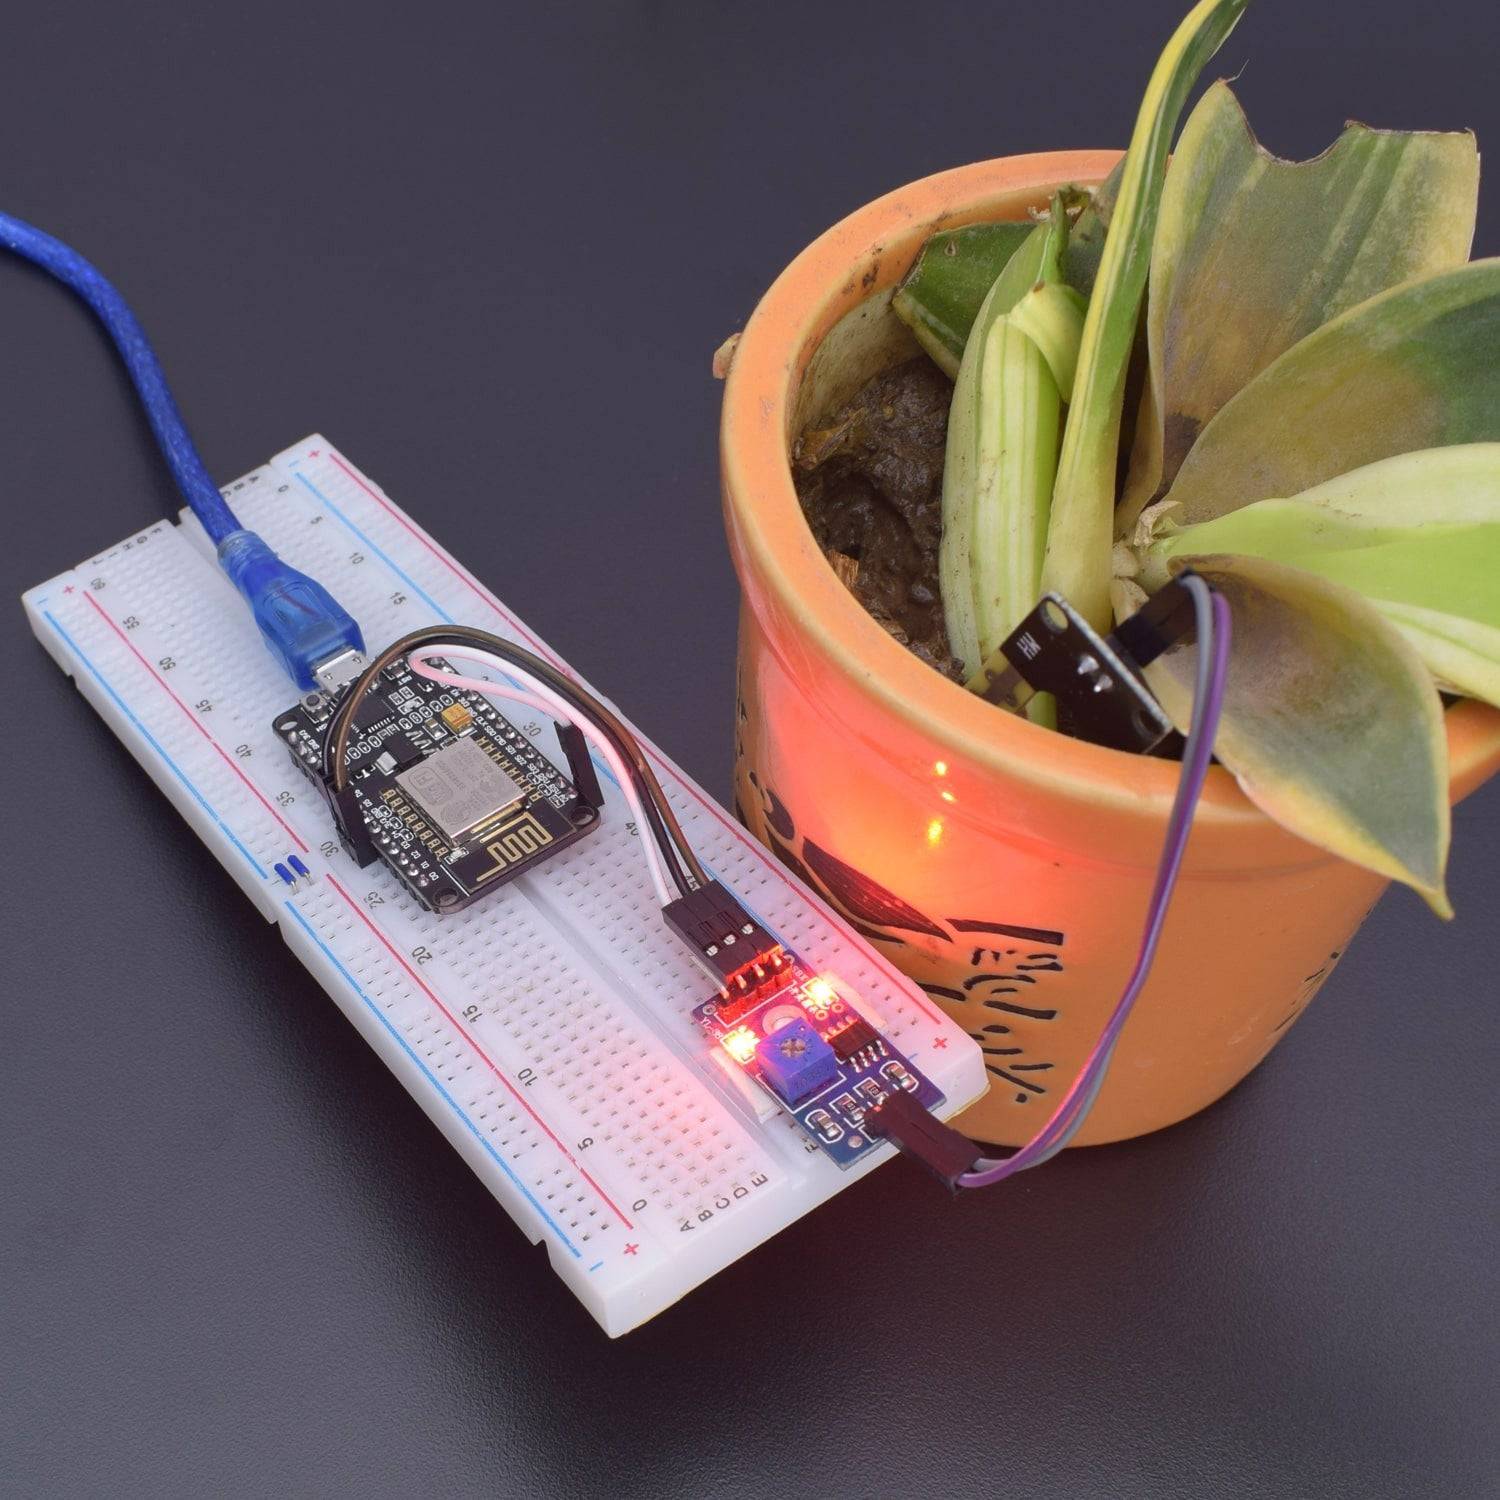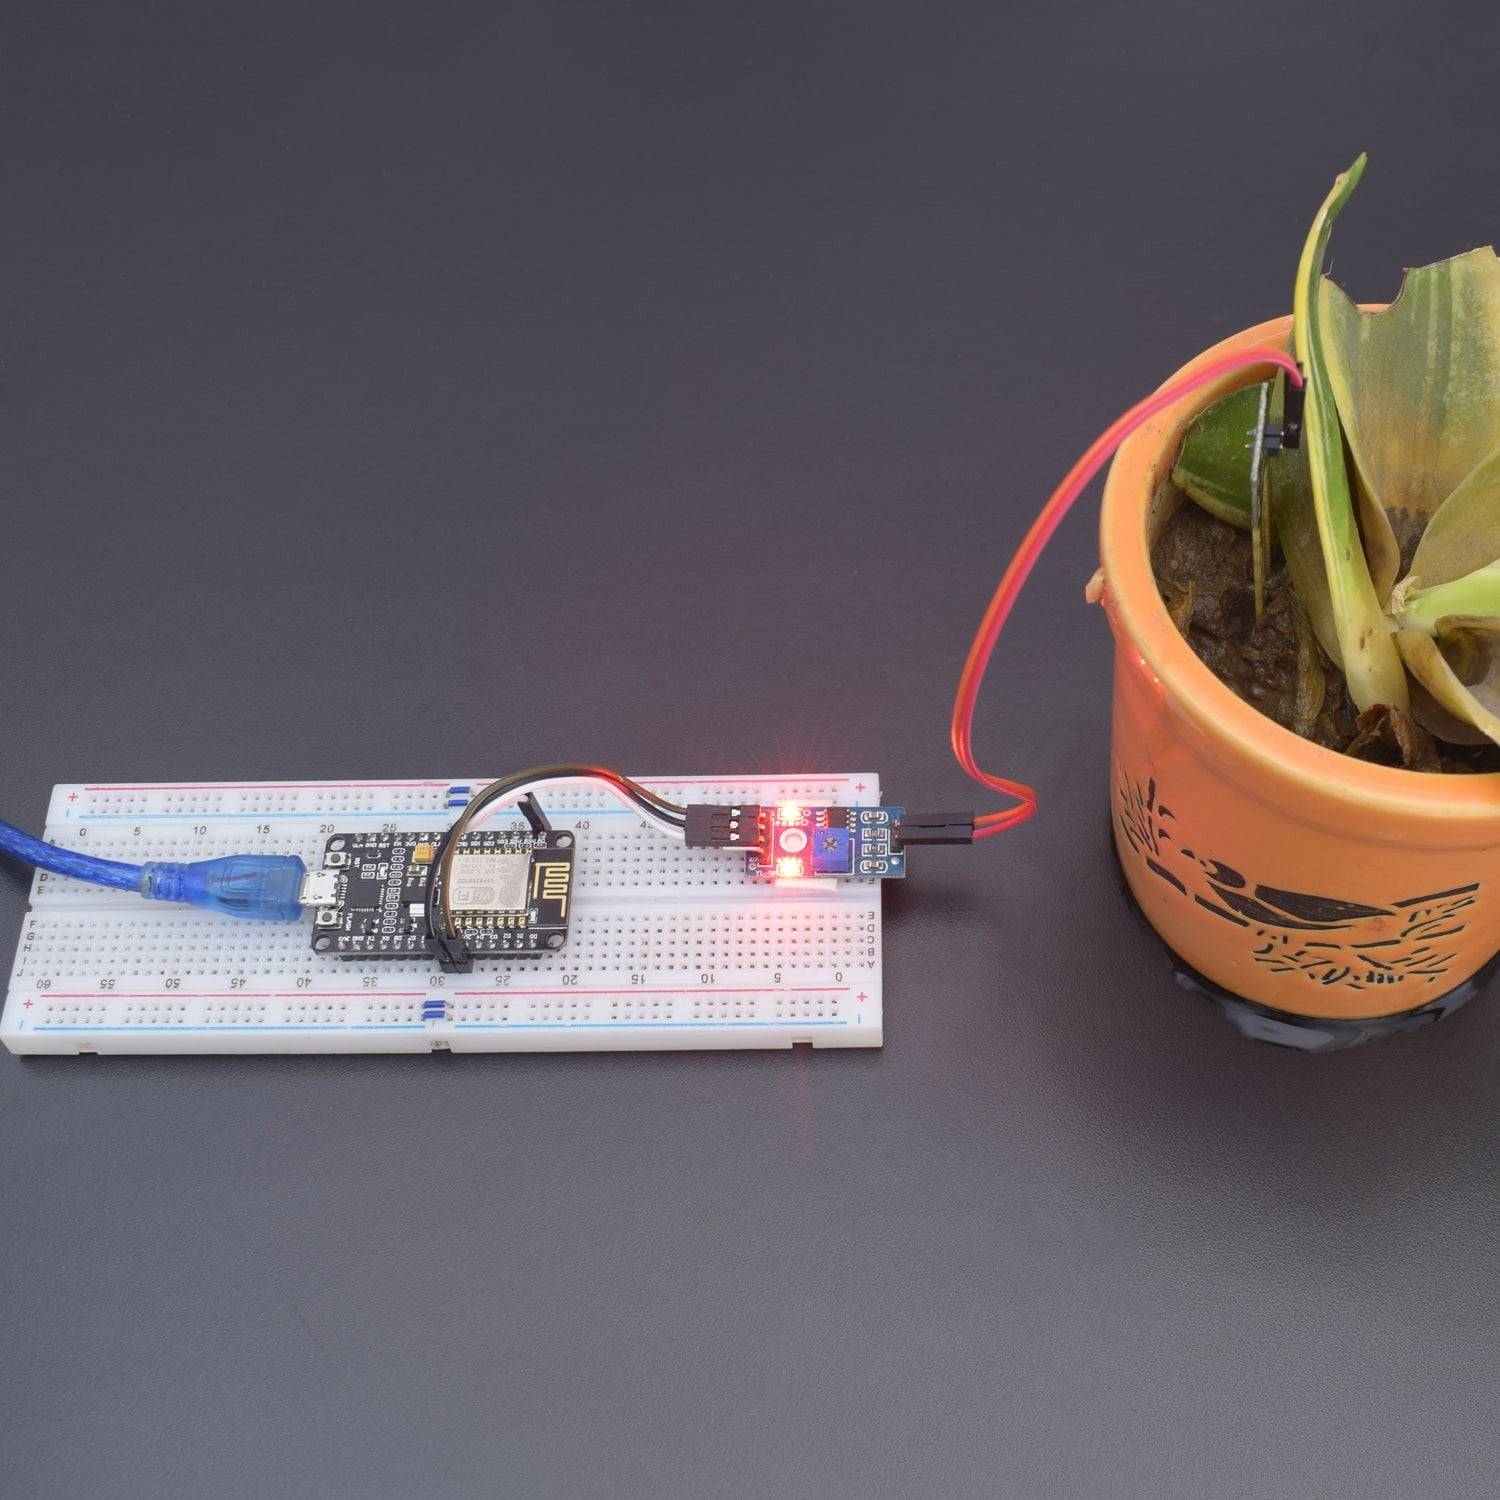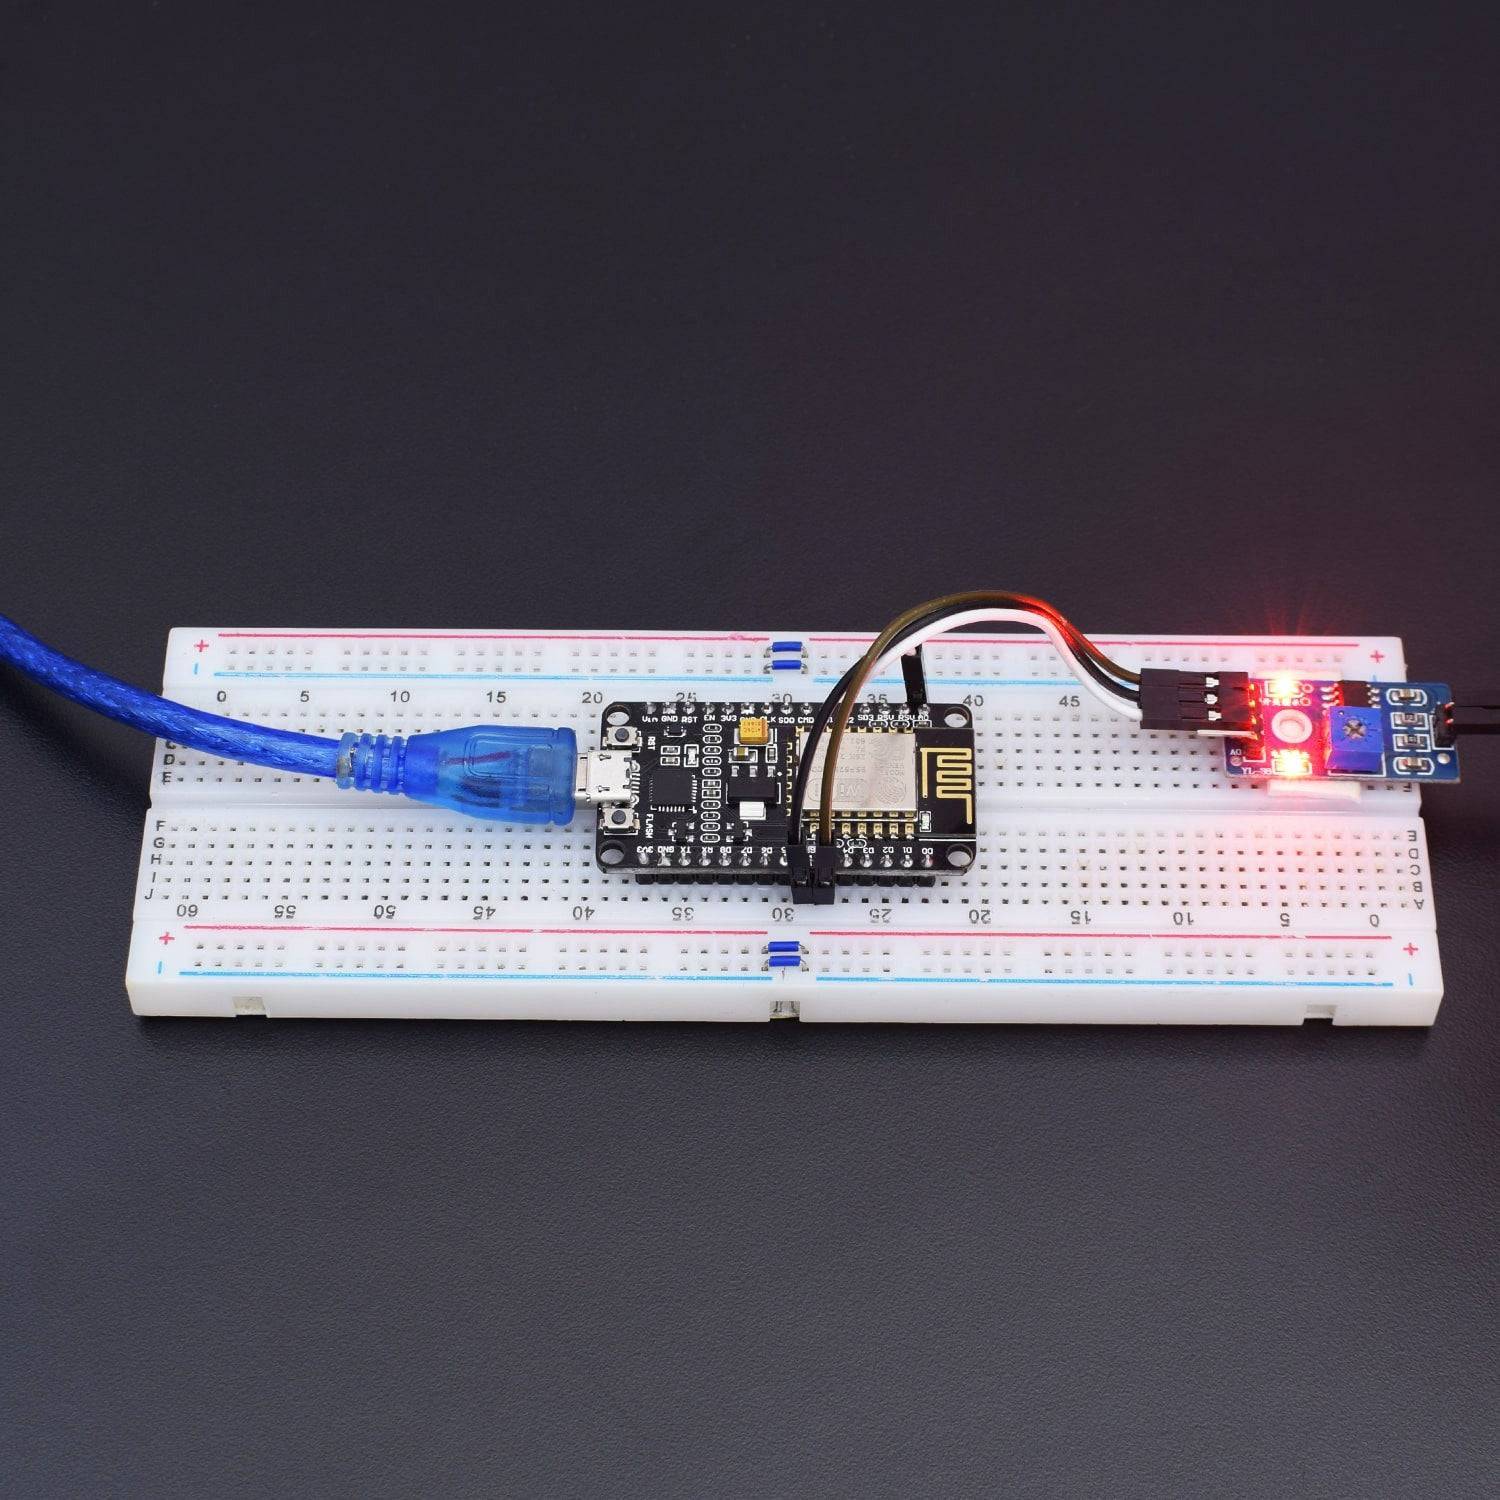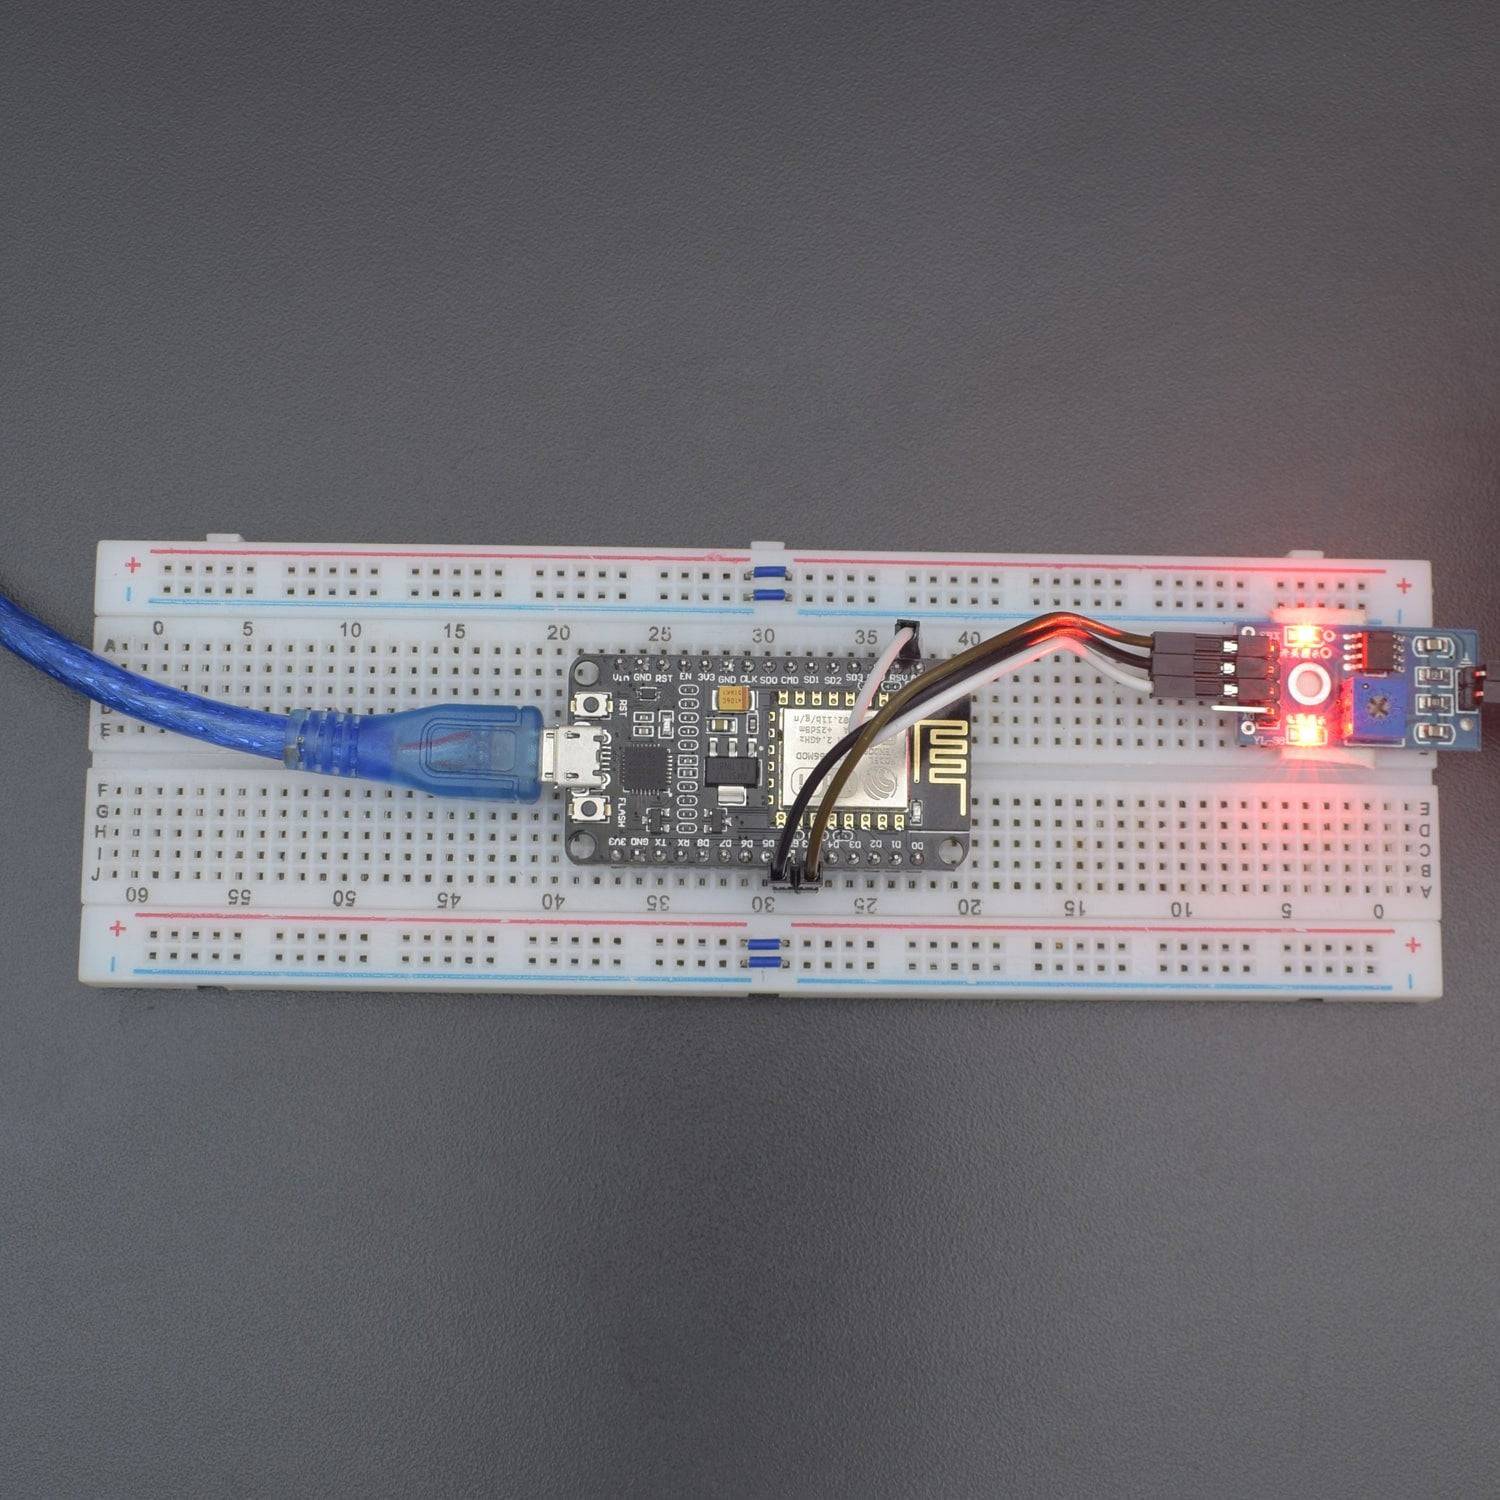
Kit Includes
- Node MCU (esp82 66-12e v1.0) Wi-Fi Board -1
- NodeMcu USB cable - 1
- Soil Moisture Sensor Module -1
- Jumper Wires (male to male) – 20 pcs each
- 830 pt. breadboard - 1
Introduction
In this project, we are making an IOT based Soil Moisture Level Indicator using Node MCU ESP8266-12e wi-fi board and Soil Moisture Level Sensor by interfacing with Thingspeak. We will show the measured data on the Thingspeak interface in graph or chart.
HARDWARE REQUIRED
- Node MCU (esp82 66-12e v1.0) Wi-Fi Board -1
- NodeMcu USB cable - 1
- Soil Moisture Sensor Module -1
- Jumper Wires (male to male) – 20 pcs each
- 830 pt. breadboard - 1
SOFTWARE REQUIRED
Arduino IDE 1.8.10 (programmable platform for Arduino)
Click To Download: https://www.arduino.cc/en/Main/Software

SPECIFICATIONS
NodeMCU ESP8266 CP2102 NodeMCU WIFI Serial Wireless Module
The development board equips the ESP-12E module containing ESP8266 chip having Tensilica Xtensa® 32-bit LX106 RISC microprocessor which operates at 80 to 160 MHz adjustable clock frequency and supports RTOS.
- Operating Voltage: 2.5V to 3.6V
- On-board 3.3V 600mA regulator
- 80mA Operating Current
- 20 µA during Sleep Mode
- ESP8266 CP2102 NodeMCU LUA ESP-12E WIFI Serial Wireless Module
- Built-in Micro-USB, with flash and reset switches, easy to program
- Full I/O port and Wireless 802.11 supported, direct download no need to reset
- Arduino compatible works great with the latest Arduino IDE/Mongoose IoT/Micro python

WARNING
The ESP8266 requires a 3.3V power supply and 3.3V logic levels for communication. The GPIO pins are not 5V-tolerant! If you want to interface the board with 5V (or higher) components, you’ll need to do some level shifting.
Soil Moisture Sensor Module

The specifications of the soil moisture sensor FC-28 are as follows
Input Voltage |
3.3 – 5V |
Output Voltage |
0 – 4.2V |
Input Current |
35mA |
Output Signal |
Both Analog and Digital |
The soil Moisture sensor FC-28 has four pins
- VCC: For power
- A0: Analog output
- D0: Digital output
- GND: Ground
The Module also contains a potentiometer that will set the threshold value and then this threshold value will be compared by the LM393 comparator. The output LED will light up and down according to this threshold value.
APPLICATION REQUIRED
ThingSpeak - https://thingspeak.com/
CIRCUIT CONNECTION

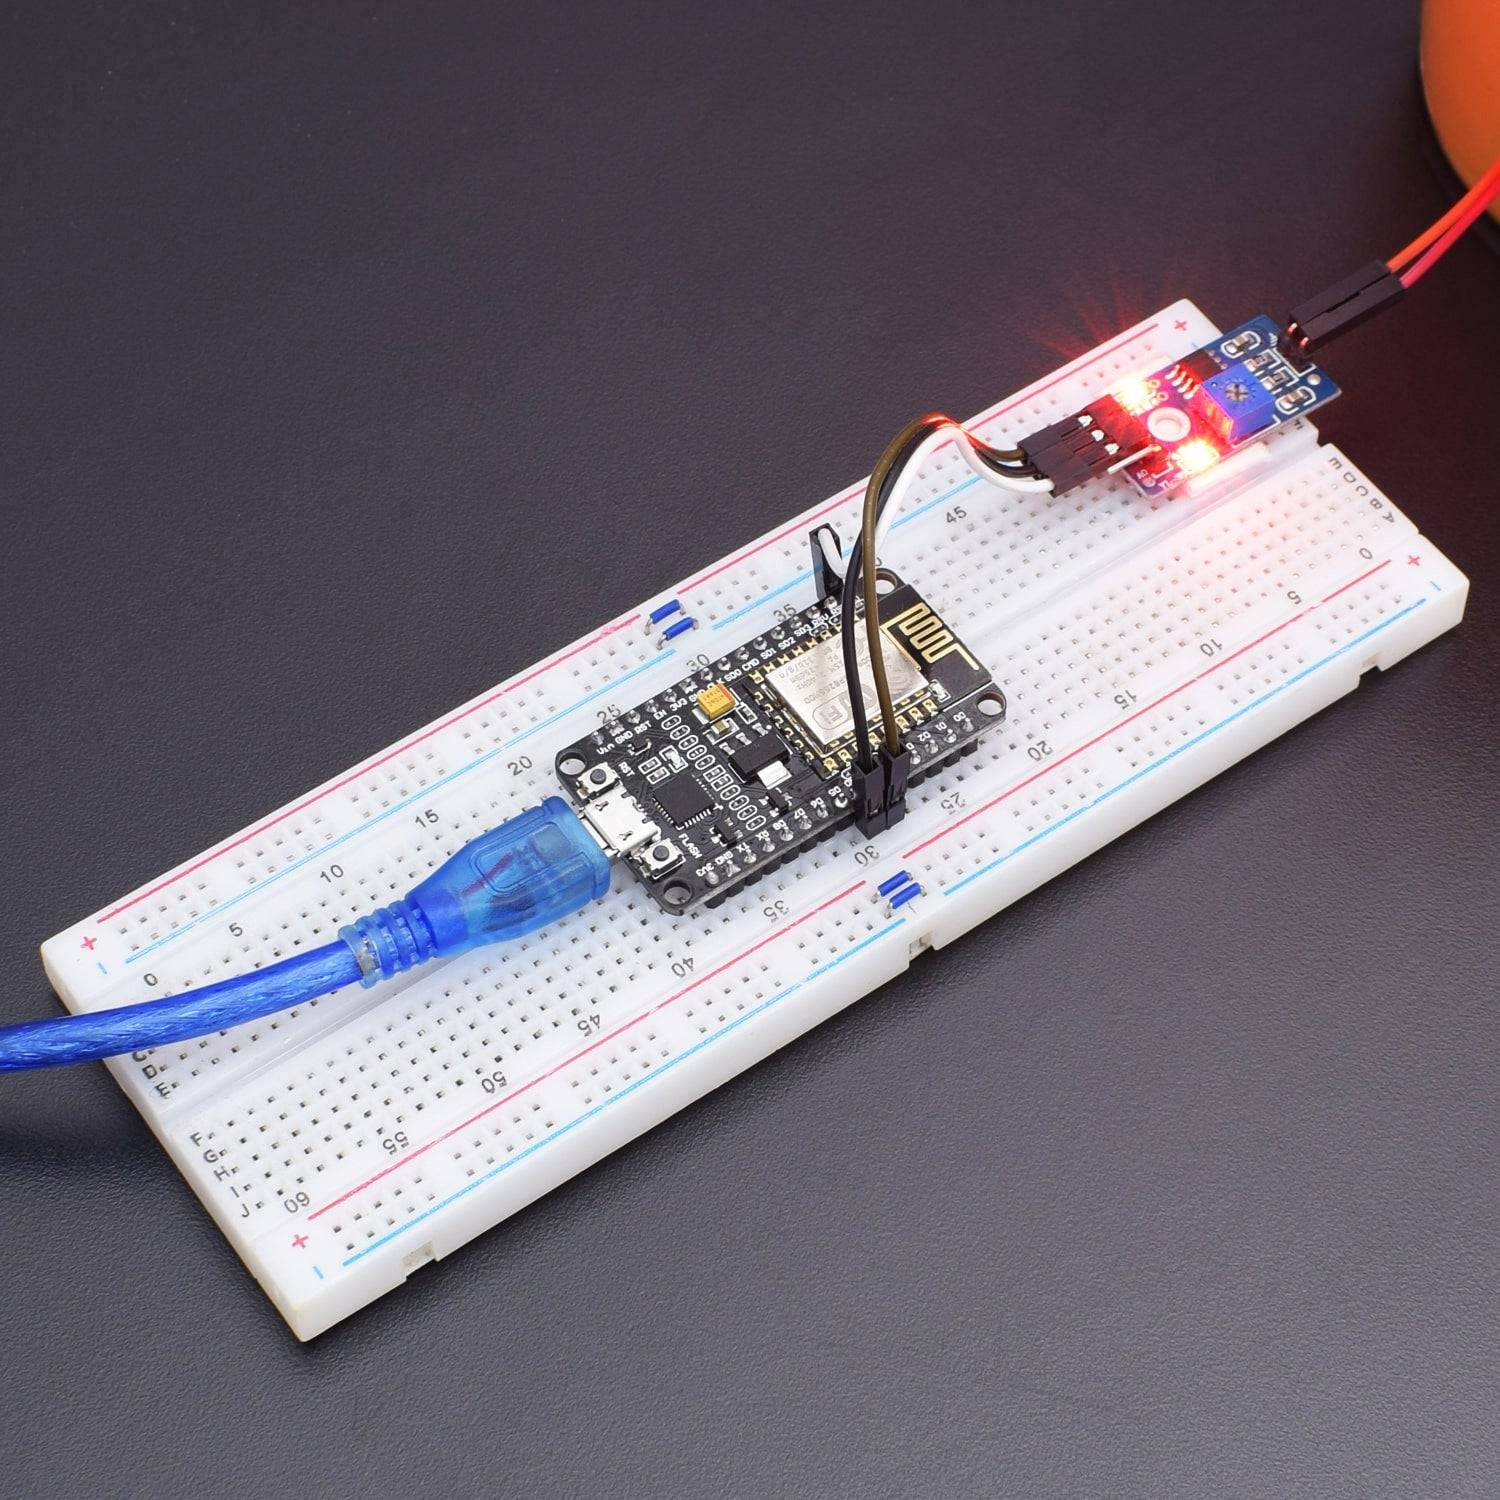
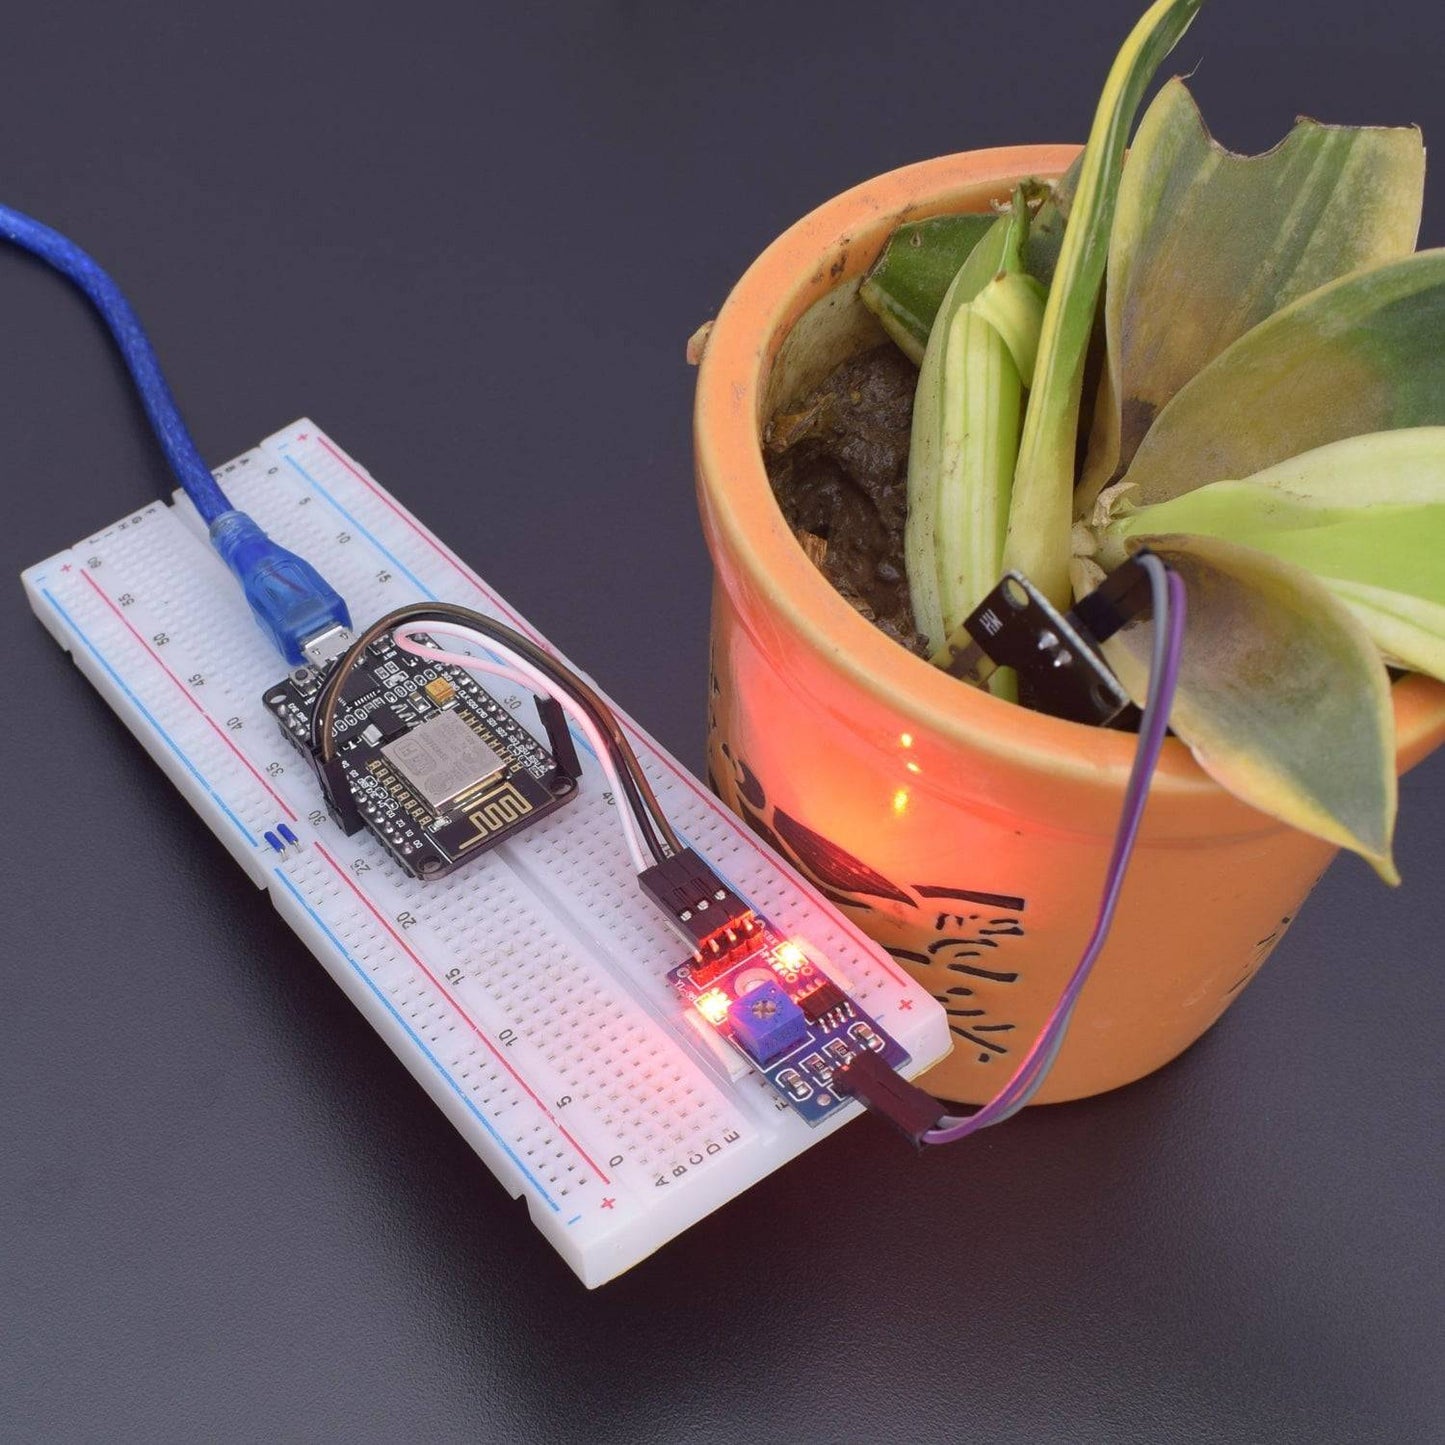
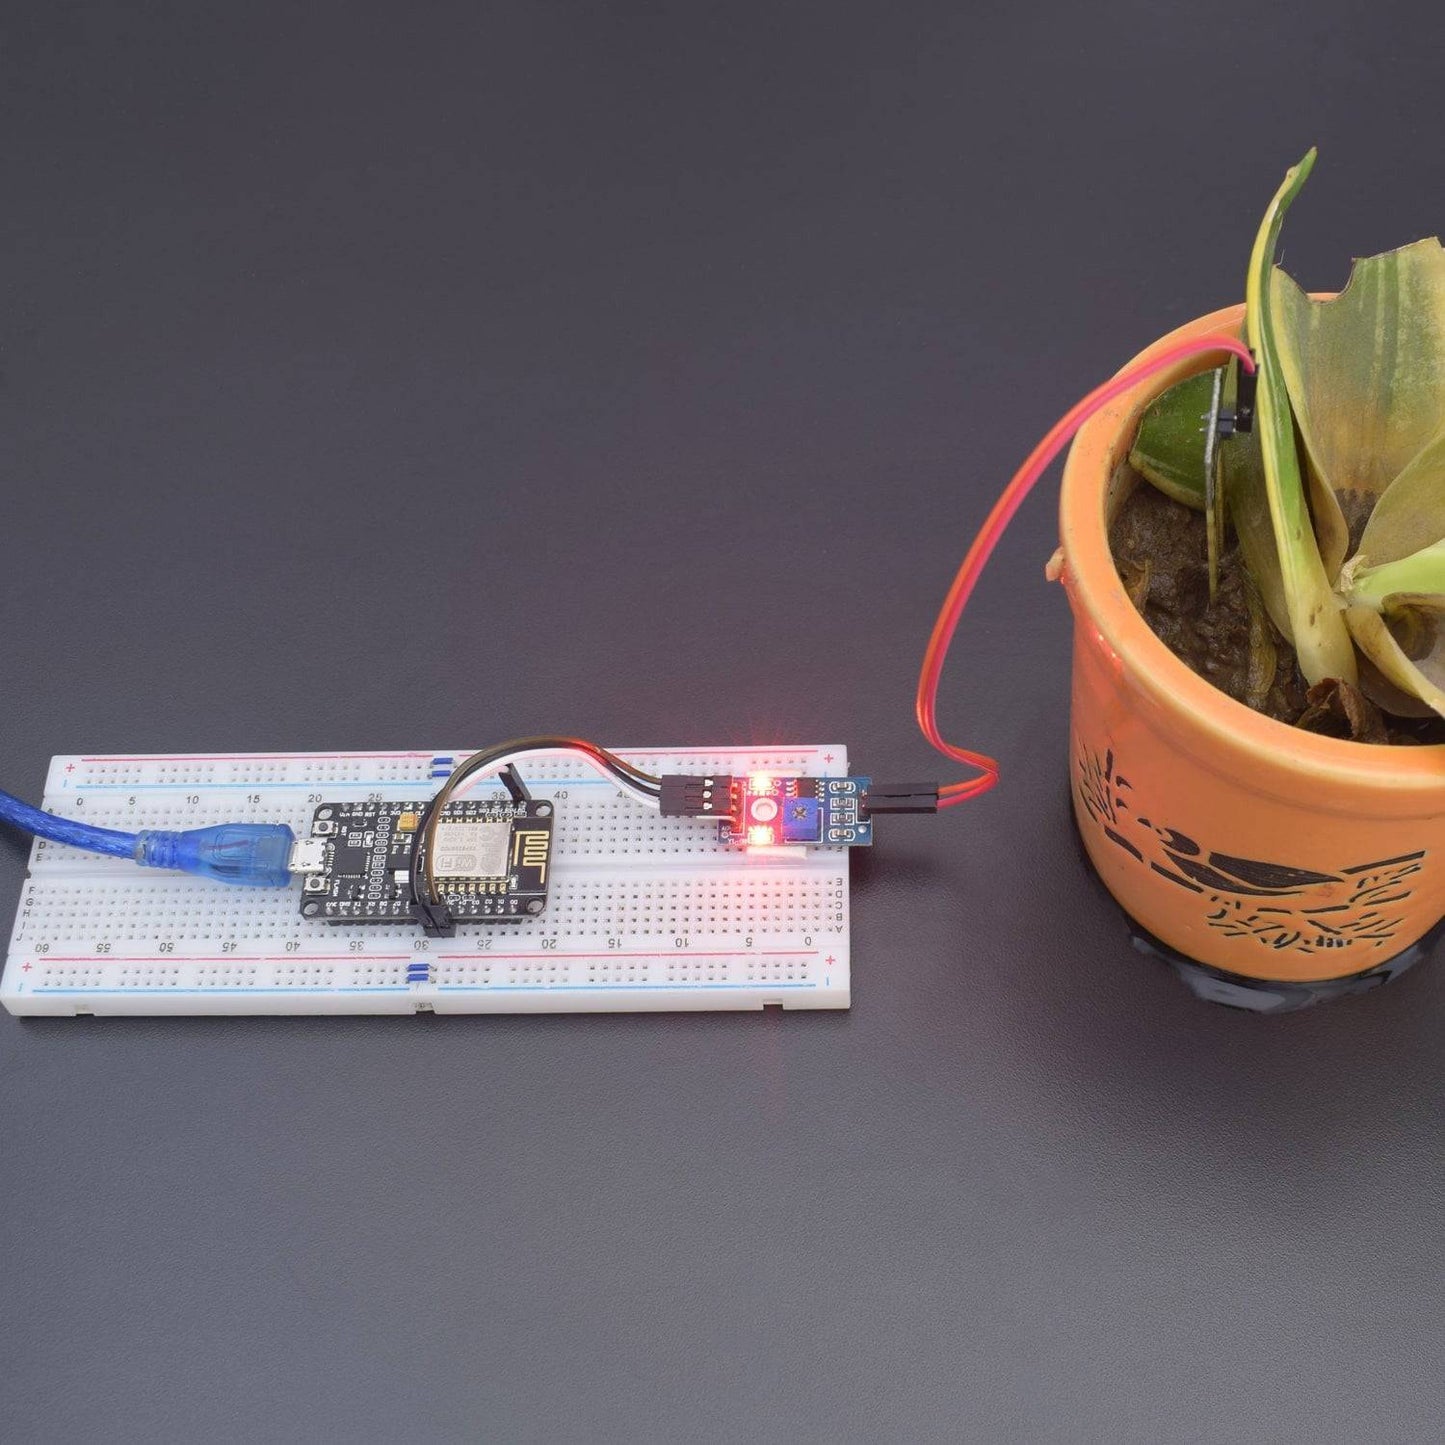
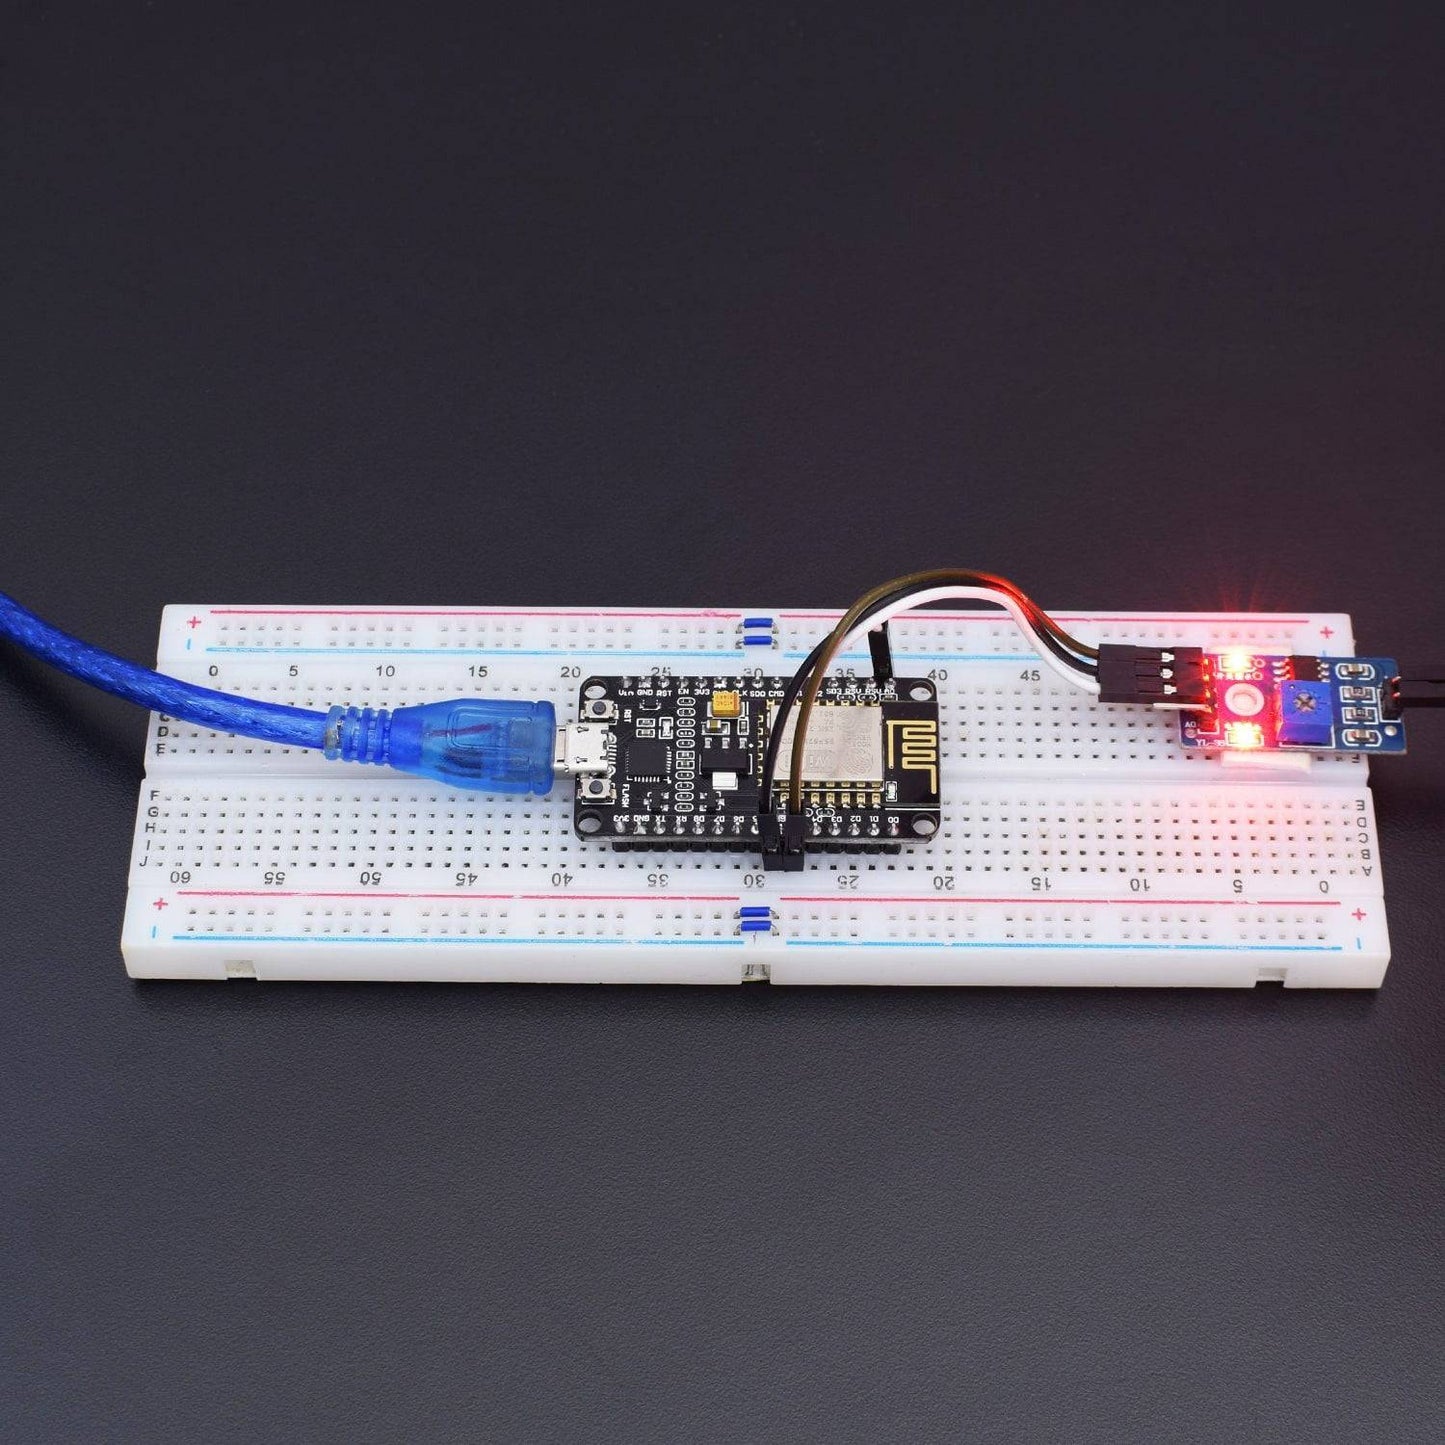
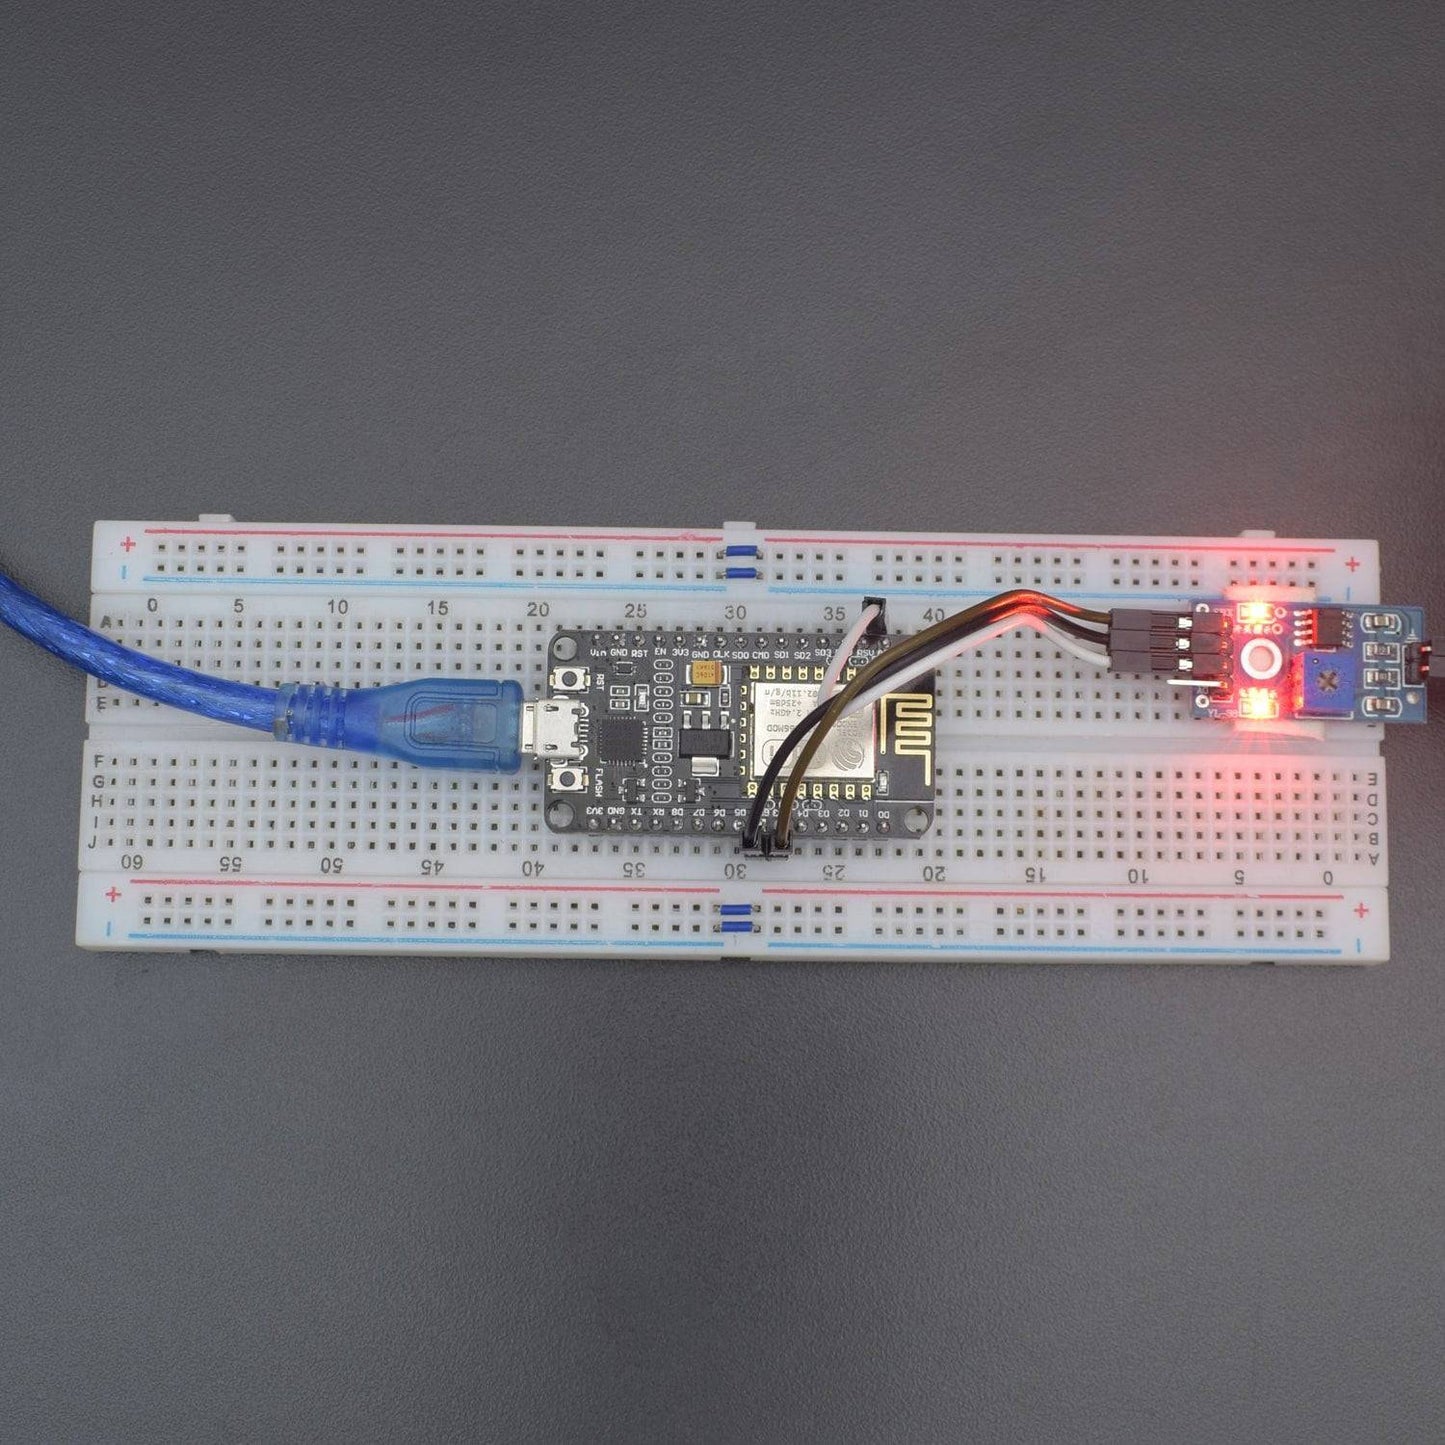
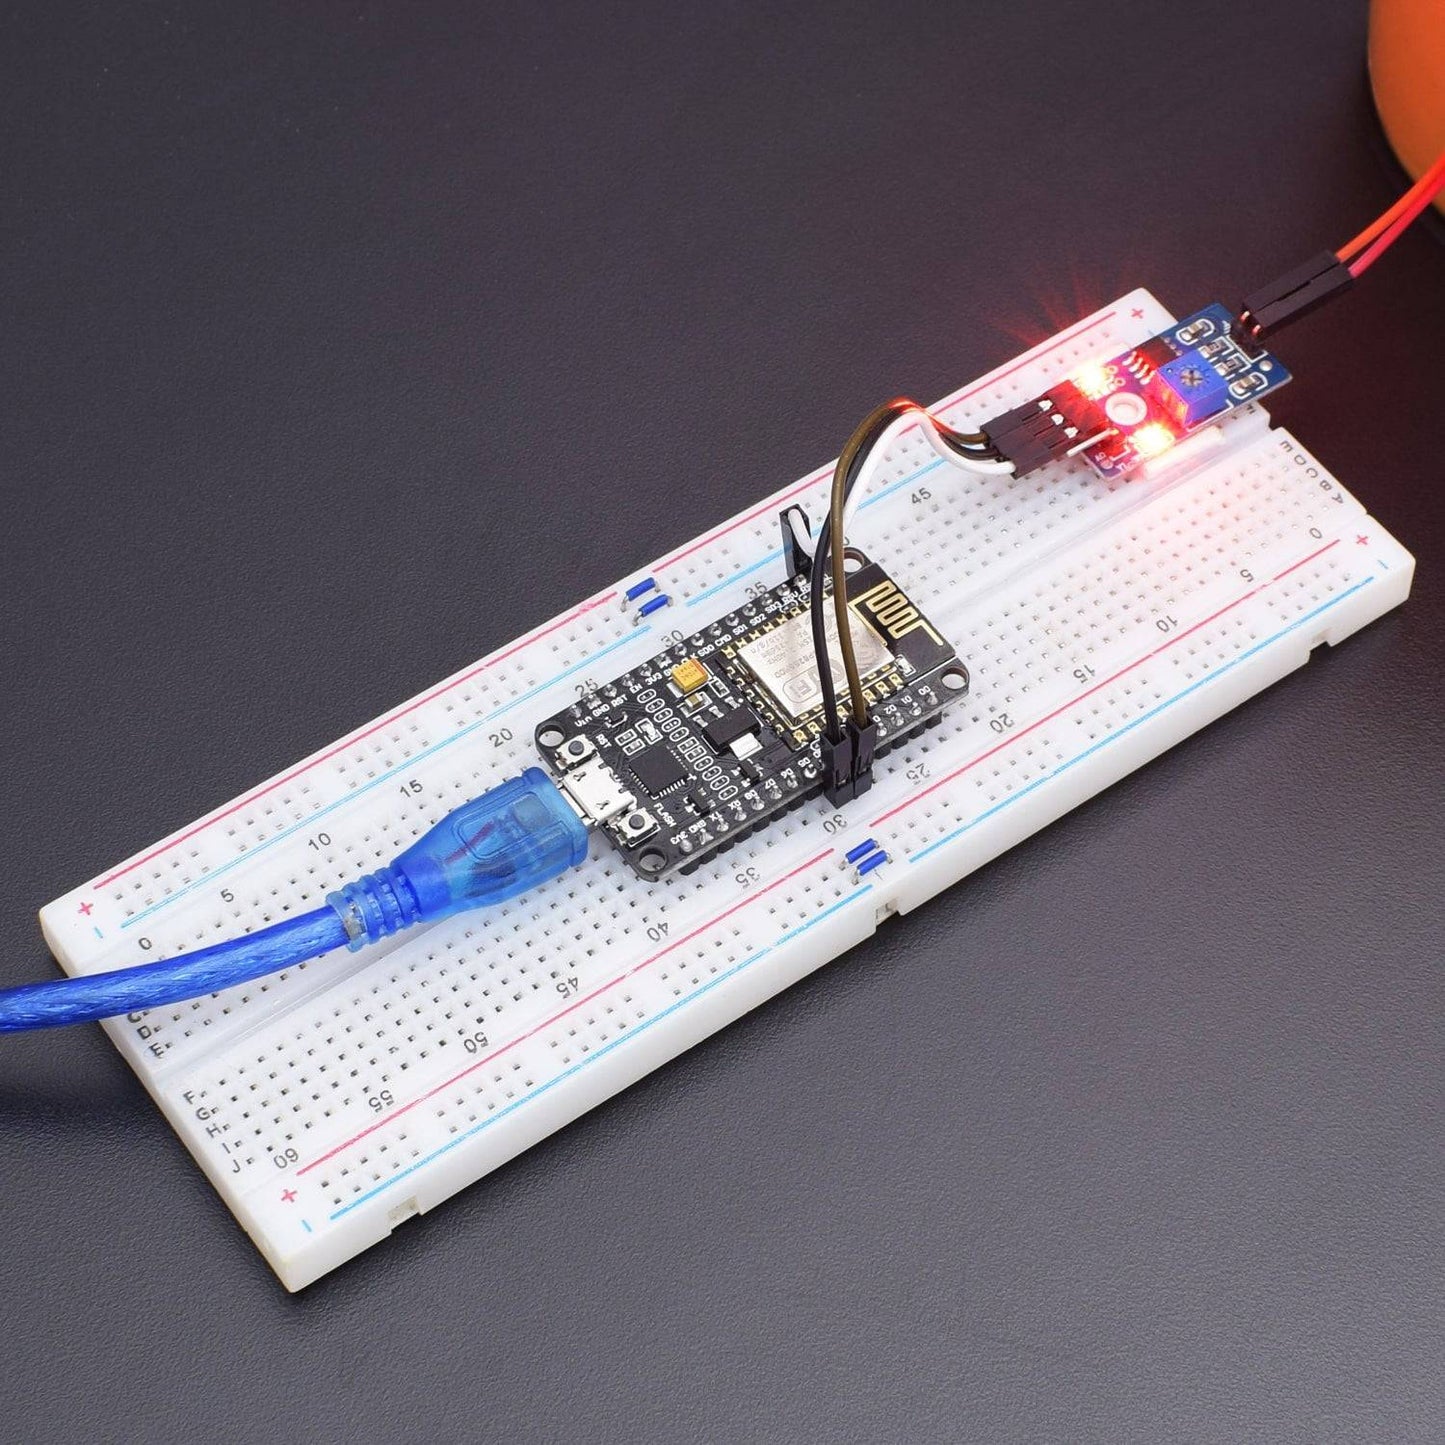
- Connect D0 pin of Soil moisture Module to A0 Pin of NodeMCU ESP8266-12E Board.
- Connect V pin of Soil moisture Module to 3V3 Pin of NodeMCU ESP8266-12E Board.
- Connect GND pin of Soil moisture Module to GND Pin of NodeMCU ESP8266-12E Board.
CODE
Click to see the code
https://drive.google.com/open?id=1jyvV81LQAWKVW4H7agD3yqKC414DXR2b
WORKING AND OUTPUT
Welcome to the IOT based Soil Moisture Level indicator circuit.
- Go to https://thingspeak.com/
- Sign up to the account.
- After Sign up/Sign in Go My channel and create new channel
- now go to the API keys Copy your API key and Paste in your Code.

Then

After uploading the code, you will able to see the readings after measuring the Soil Moisture level in the Soil Moisture level monitoring system using Thingspeak IOT platform in which after a several raised value, it will indicate as a graphical point where the Moisture Level increases above the set value.


Click to watch the tutorial
For more tutorials subscribe our channel REES52 on YouTube


