

REES52
Make A Gesture Control Air Mouse Using MPU6050 Accelerometer with Arduino Leonardo - KT773
Make A Gesture Control Air Mouse Using MPU6050 Accelerometer with Arduino Leonardo - KT773
SKU:KT773
49 in stock
Couldn't load pickup availability
- For Bulk Order Click Here
- Need Customer Support?
- Free Delivery Above 999/-
Note: In case you receive a damaged or faulty product, please return it in the original box with all foam and packaging. Returns will not be accepted if further damage occurs due to improper packing.
If you order a product that is currently in Preorder, and the price of that item increases in the future, you will be required to pay the difference in price.
For refund/return/replacement, call us at +91 95995 94520 or email us at support@rees52.com
Delivery Time
Delivery Time
- Delivery time with the Express Shipping option is 2-3 working days, and with the Standard Shipping option is 5-6 working days. It varies based on location, reliant on courier services.
- Delivery time if the order item is on Preorder Status is 15-20 working days.
COD (Cash on Delivery)
COD (Cash on Delivery)
- For COD you have to pay extra charges of Rs 350/- before the shipment. (We will share the company QR Code, UPI ID or Account details for the same)


INTRODUCTION
In this project, we will make an air mouse and gesture control mouse using an Arduino Leonardo and MPU6050 accelerometer and gyroscope module. The project depends on 2 key components: the MPU6050 module and Arduino Leonardo. The MPU6050 helps us to collect the data for the 3D pose of " AIR MOUSE" along the X and Y-axis. Then board on the values of the sensor can control the mouse cursor.
HARDWARE REQUIRED
-
Arduino Leonardo with USB Cable -1
- Joystick Module – 1
- GY-521 MPU6050 3-Axis Acceleration Gyroscope 6DOF Module -1
- Breadboard 830 Points - 1
- Push Button - 2
- Jumper Wire Male to Female- 40 pieces
- Jumper Wire Male to Male - 40 pieces
SOFTWARE REQUIRED
Arduino IDE 1.8.5 (programmable platform for Arduino)
Click To Download: https://www.arduino.cc/en/Main/Software
SPECIFICATIONS
GY-521 MPU6050 3-Axis Acceleration Gyroscope 6DOF Module:
The MPU6050 contains both a 3-axis Gyroscope and a 3-axis accelerometer allowing measurements of both independently, but all based around the same axes, thus eliminating the problems of cross-axis errors when using separate devices.
- Accelerometer ranges: ±2, ±4, ±8, ±16g
- Gyroscope ranges: ± 250, 500, 1000, 2000 °/s
- Voltage range: 3.3V - 5V (the module includes a low drop-out voltage regulator
Use: The MPU6050 is a 6 DOF (Degrees of Freedom) or a six-axis IMU sensor, which means that it gives six values as output. Three values from the accelerometer and three from the gyroscope. It is used as a mouse.
Arduino Leonardo:
Arduino Leonardo is an old board but the only compatible board for this project. It has the required SCL and SDA pin for the connection of MPU6050.
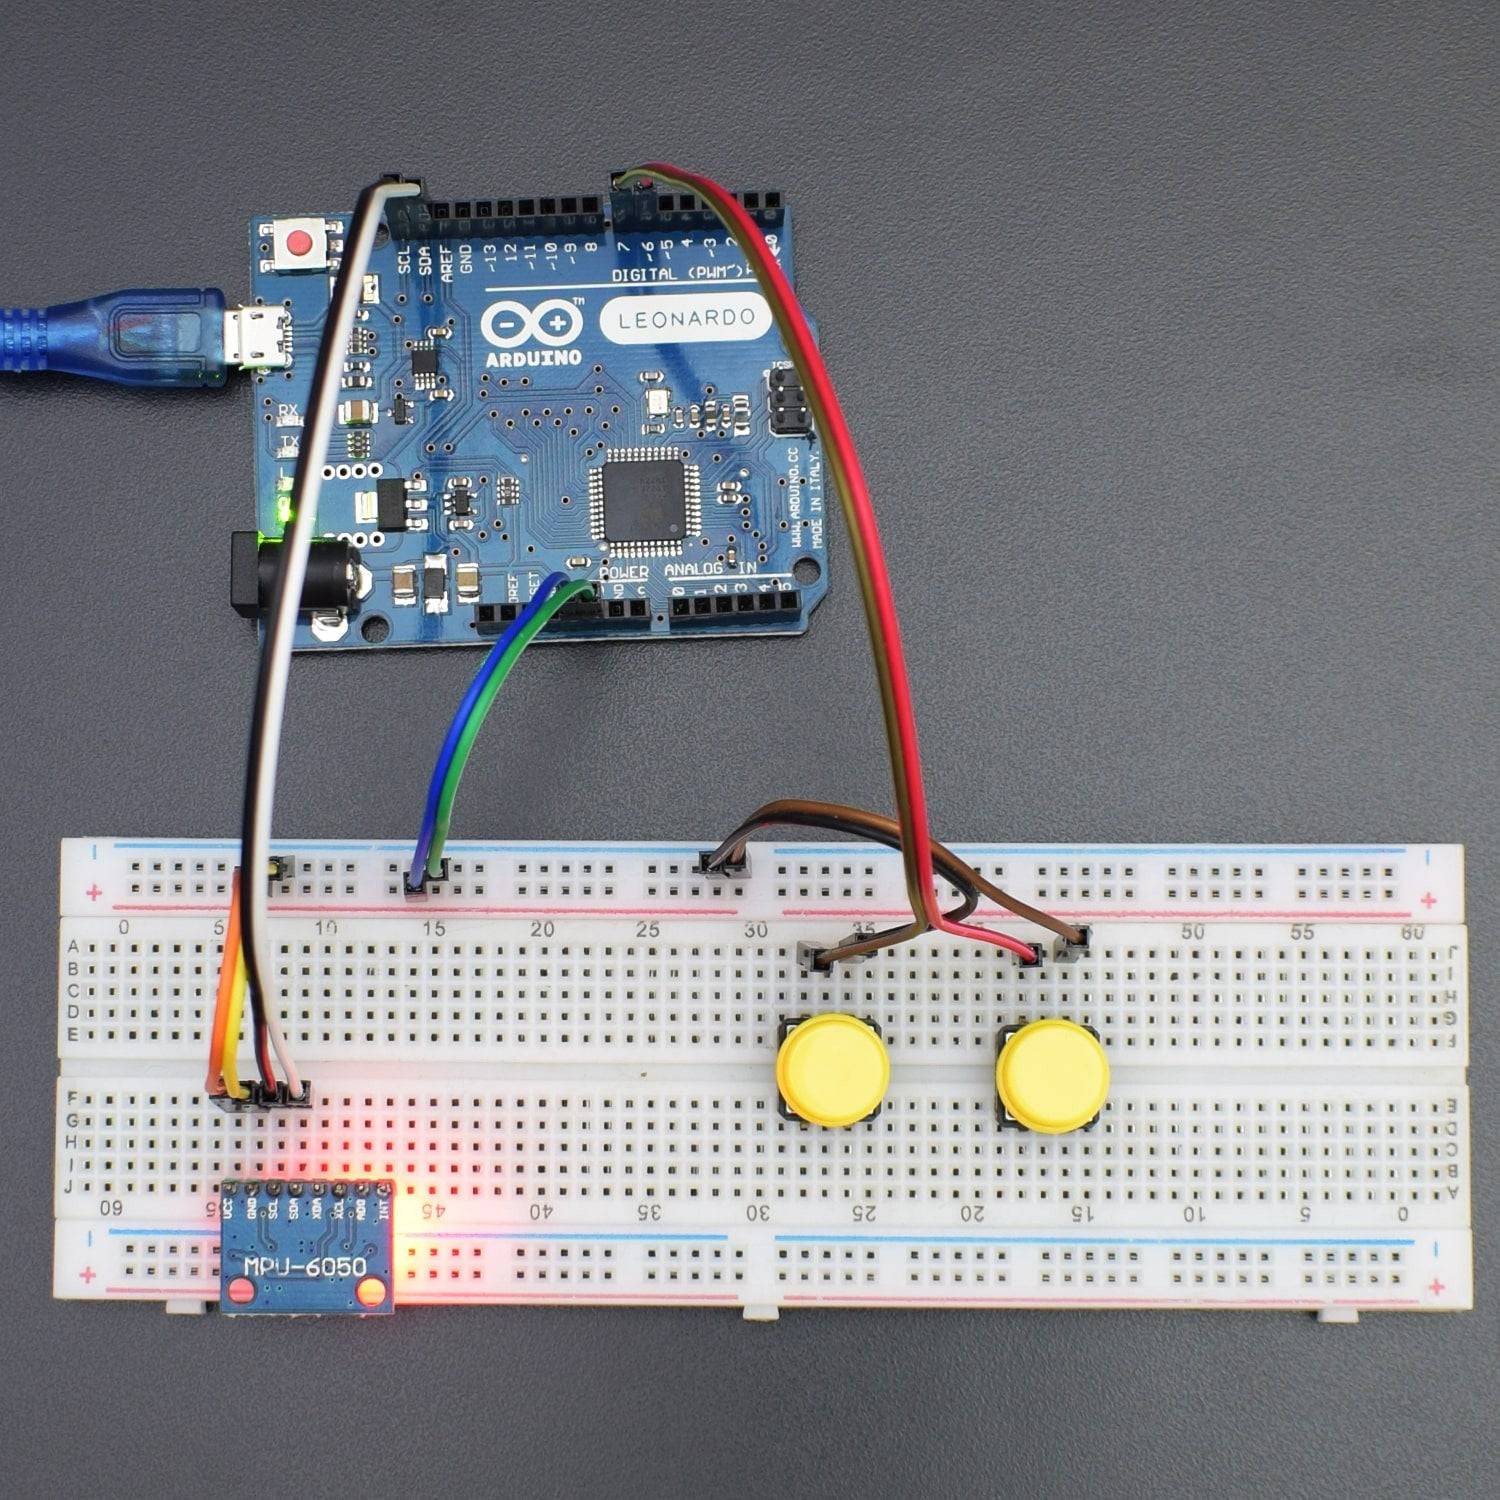
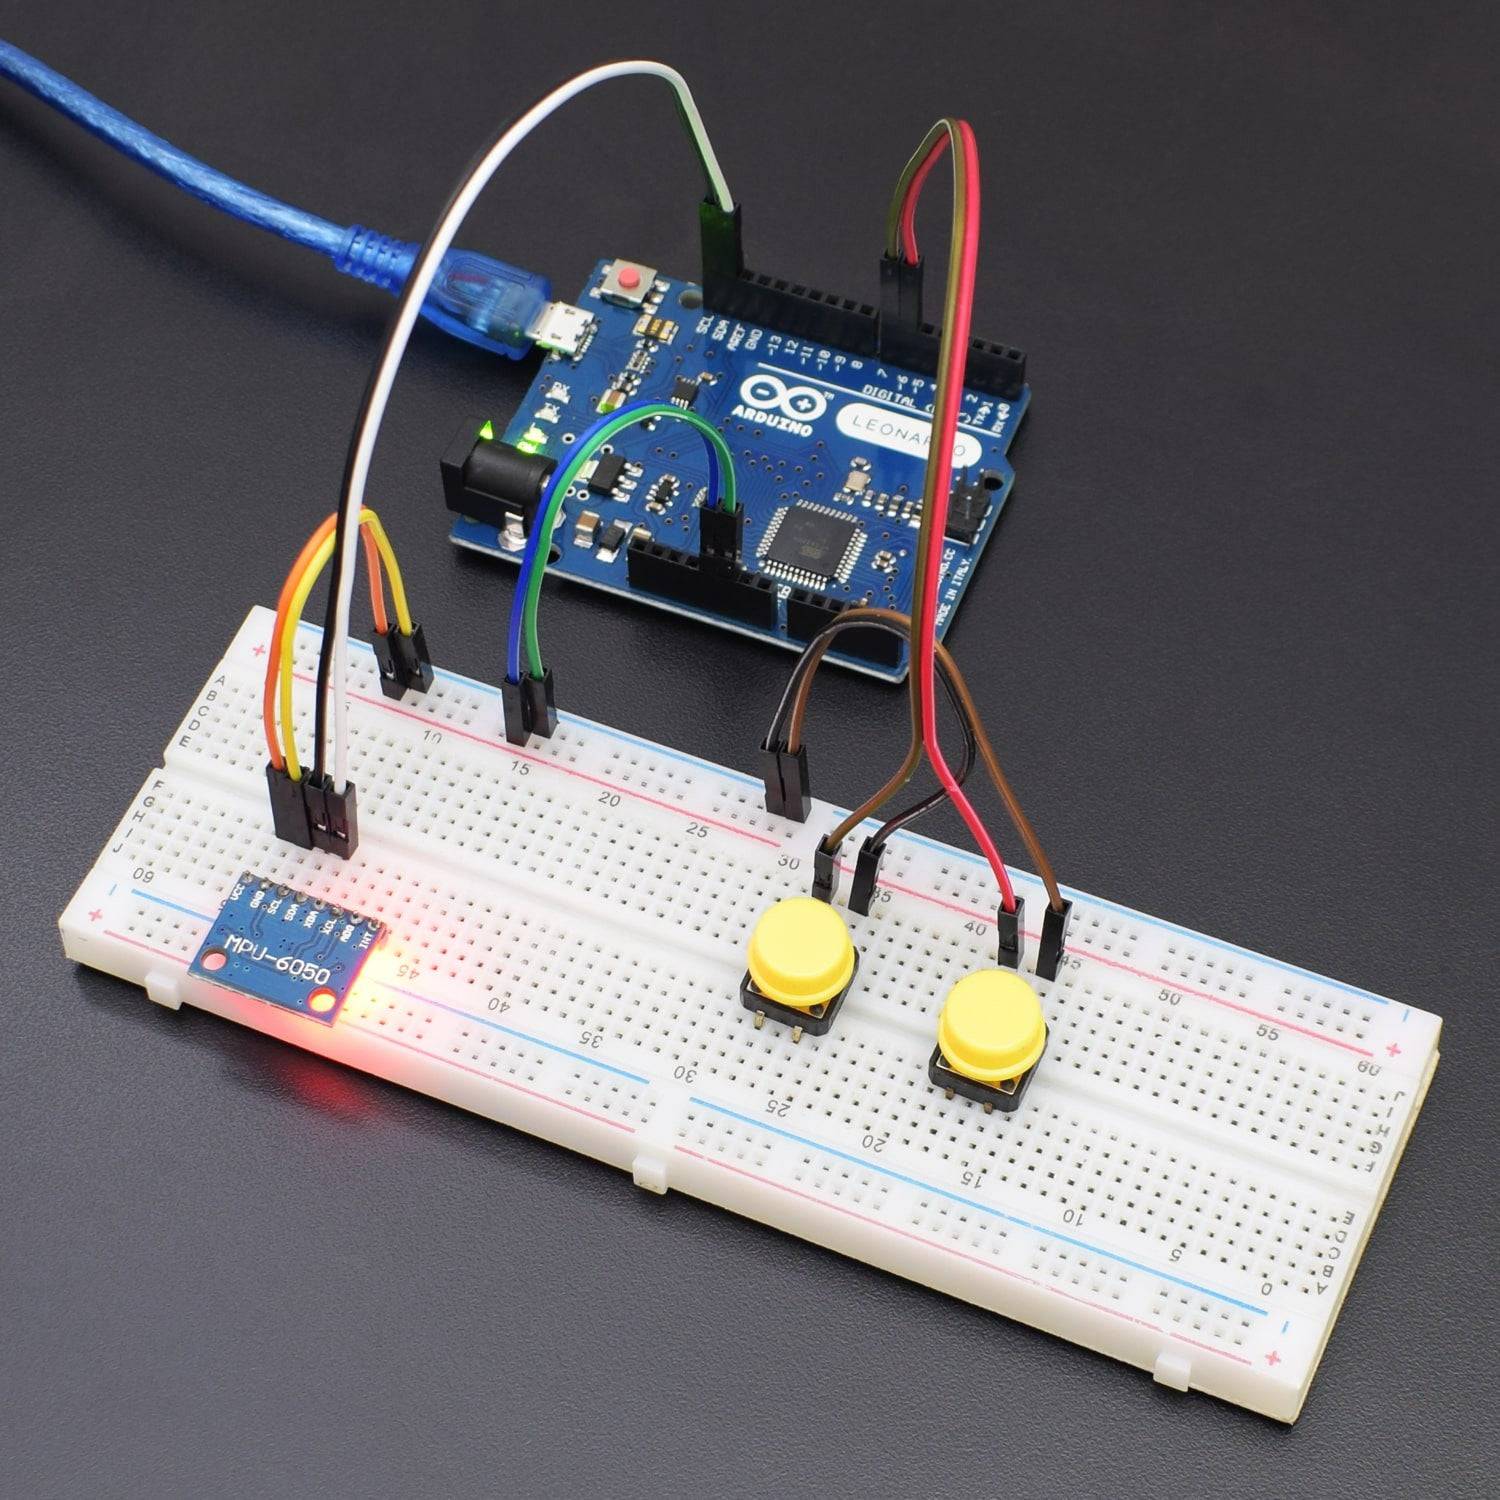
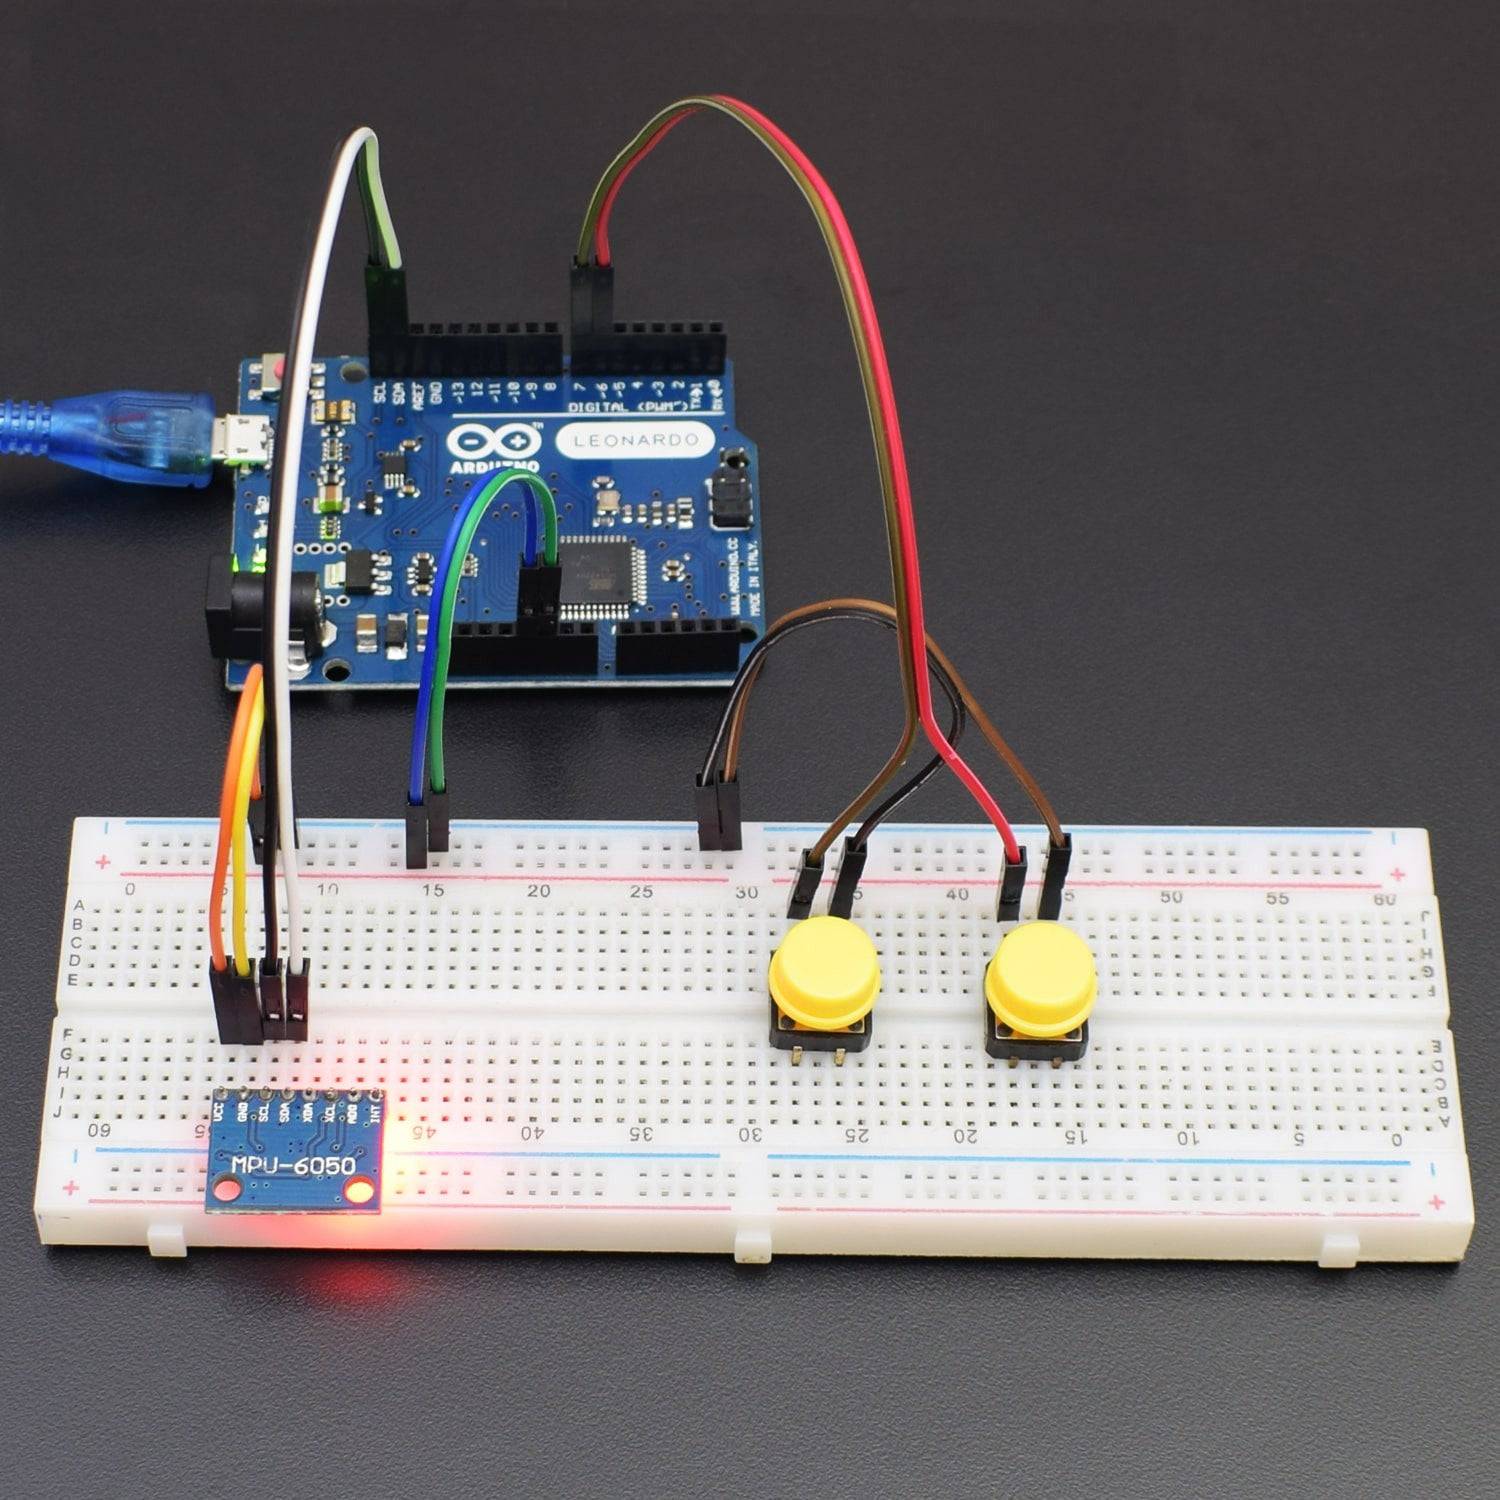
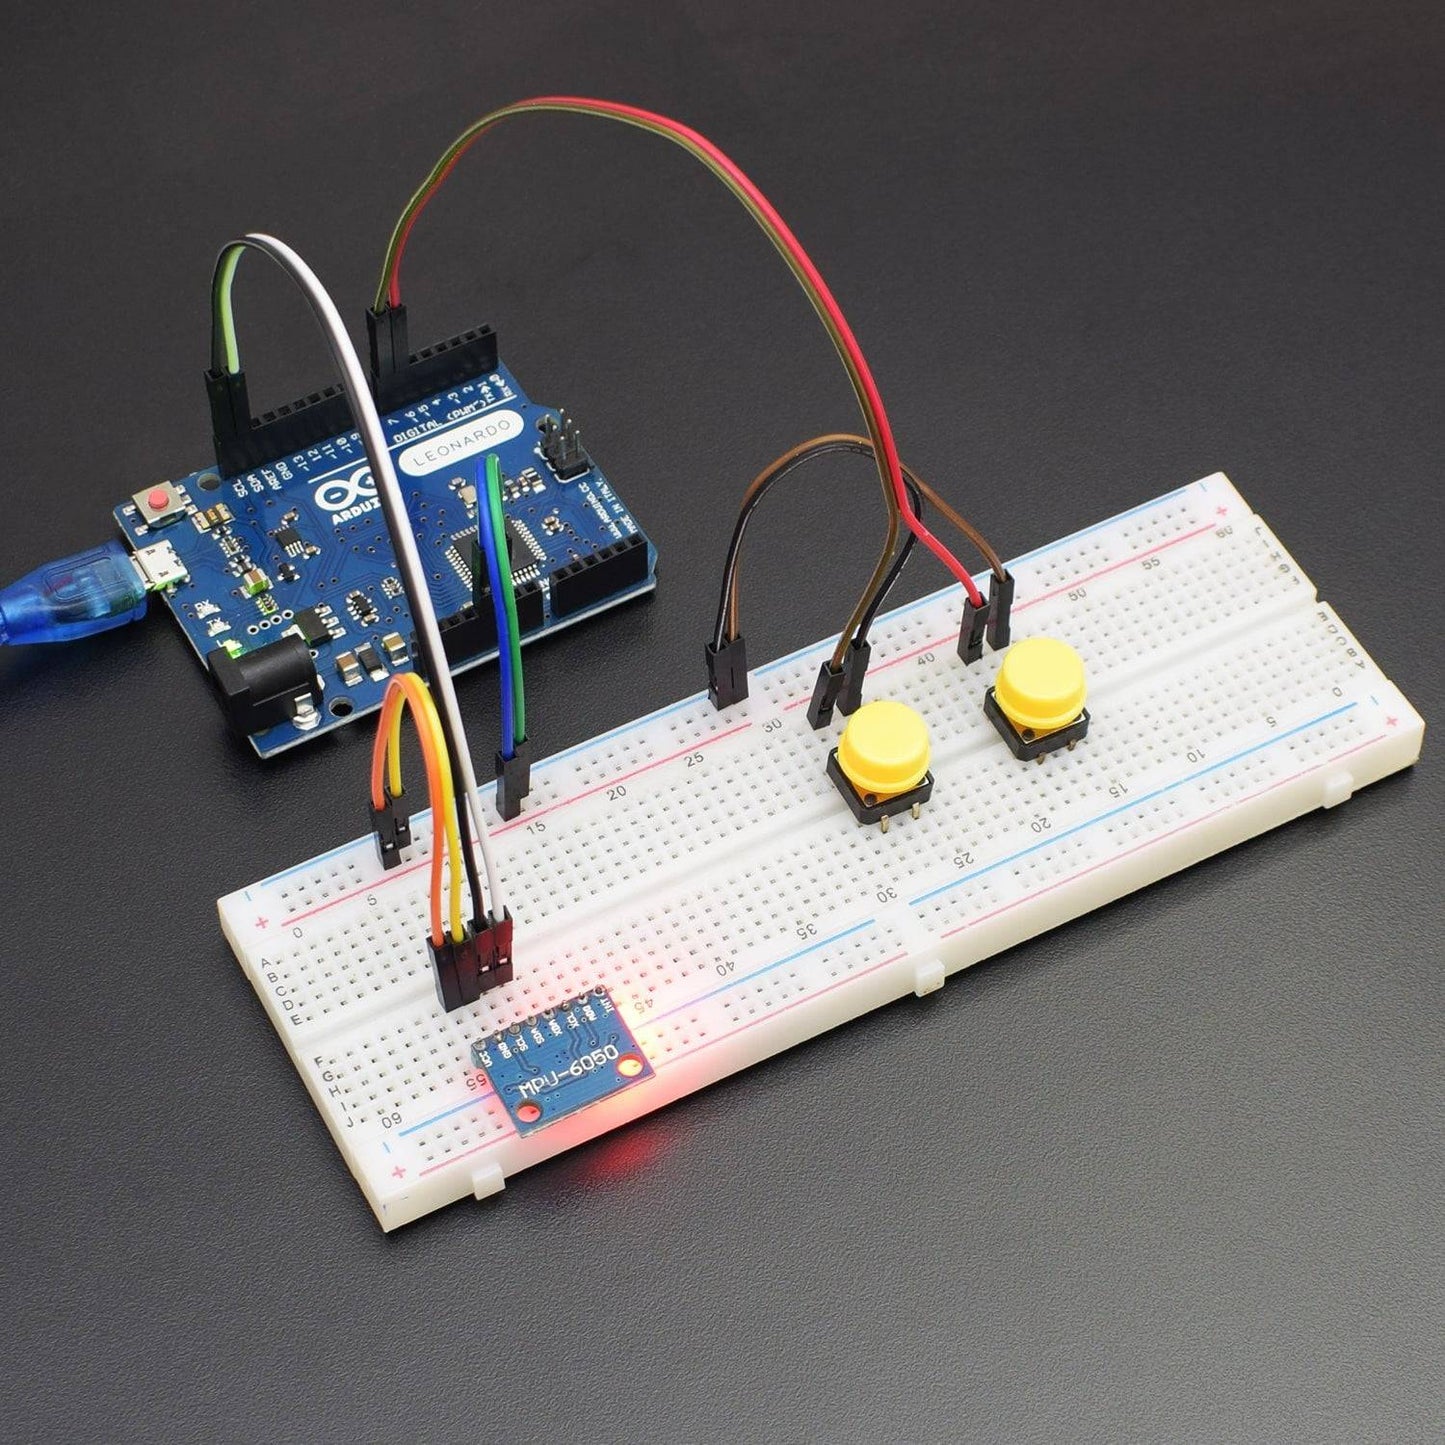
CIRCUIT CONNECTION

- Connect the VCC and GND pin of Arduino Leonardo to the breadboard for making further VCC and GND connections.
- Connect the VCC and GND pin of Arduino Leonardo to the breadboard for making further VCC and GND connections.
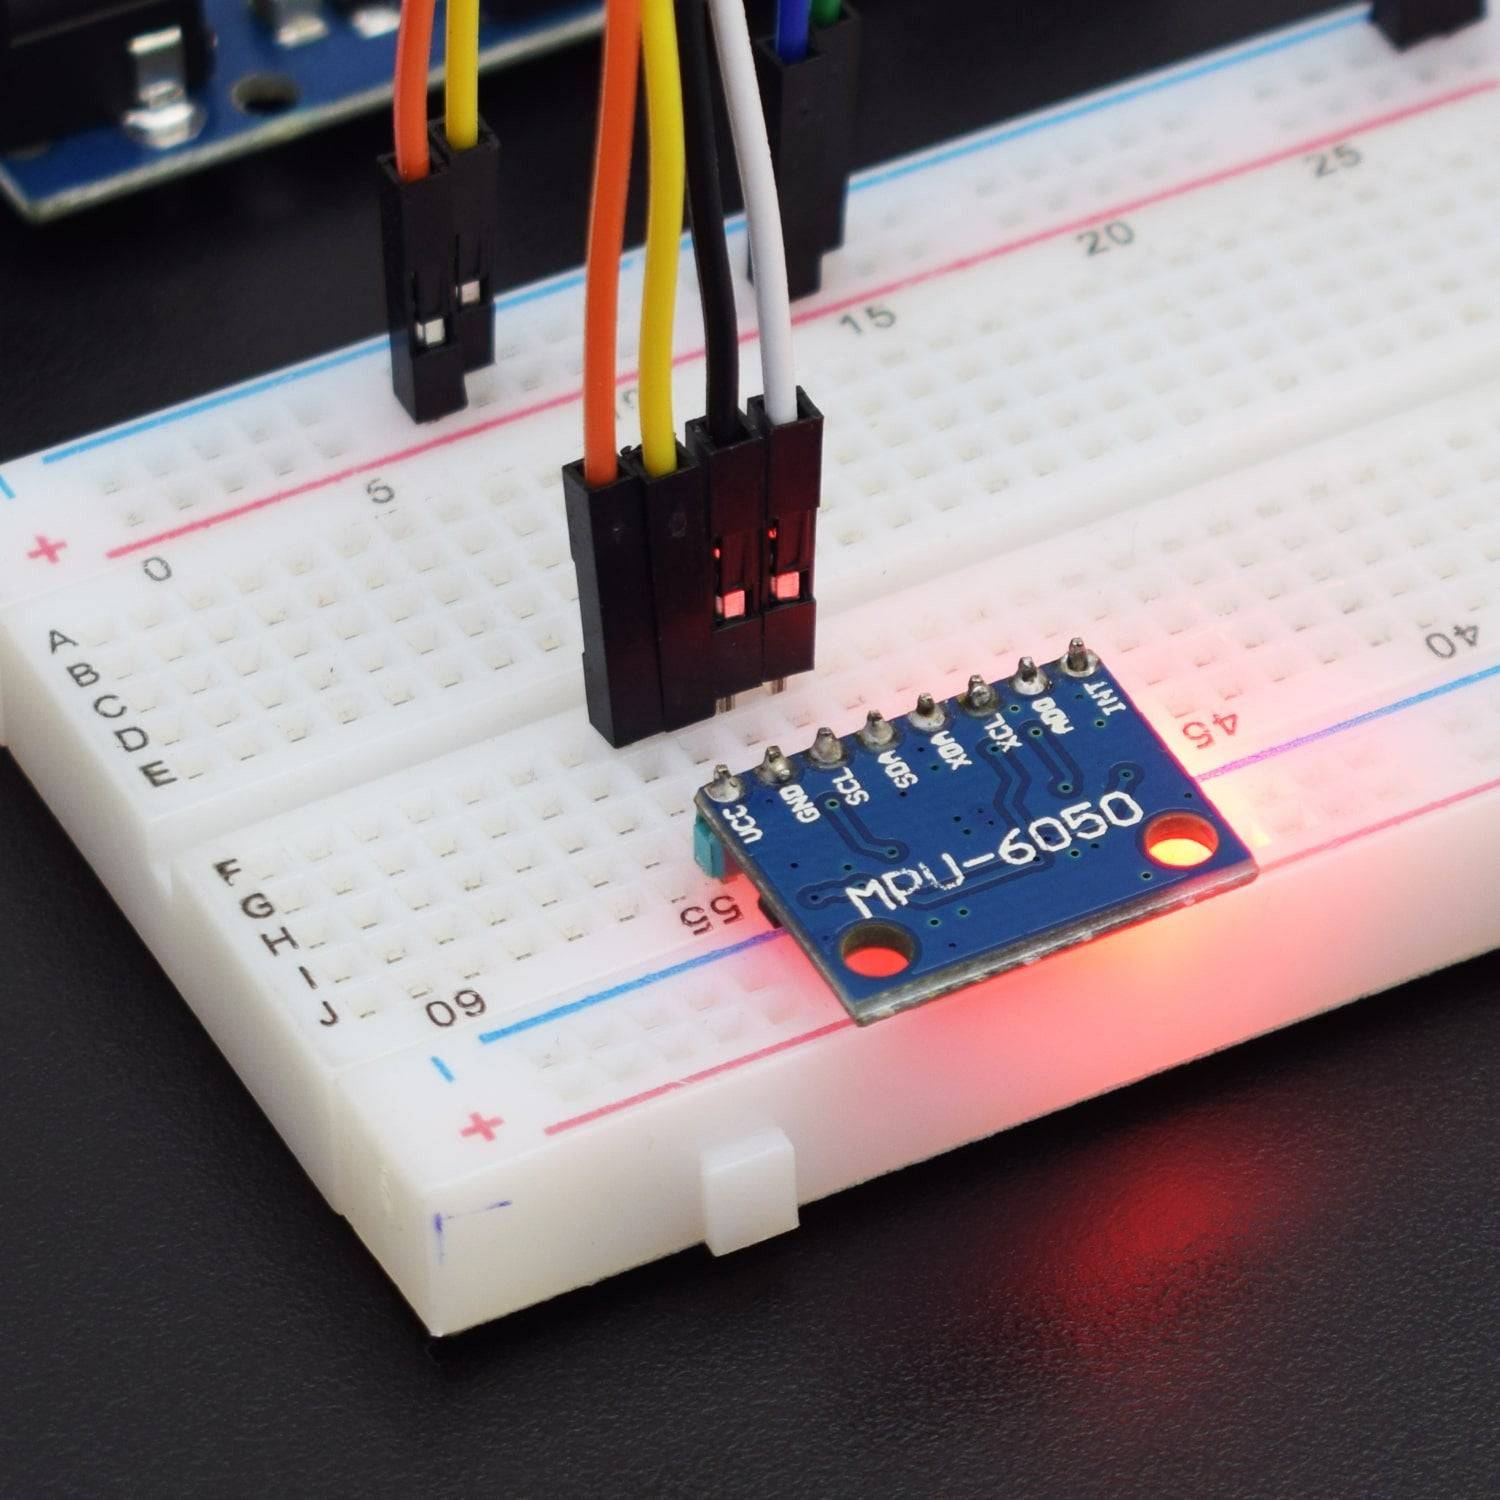
- Connect the VCC pin of the MPU6050 Accelerometer module with the positive rail on the breadboard.
- Connect the GND pin of the MPU6050 Accelerometer module with the negative rail on the breadboard.
- Connect the SCL pin of the MPU6050 Accelerometer module with the SCL pin of Arduino Leonardo
- Connect the SDA pin of the MPU6050 Accelerometer module with the SDA pin of the Arduino Leonardo
- Attach both the push buttons to the breadboard
- Now connect each pin of the push-button with the negative rail on the breadboard as shown in the diagram.
- Connect push button 1 (for Left click) with the digital pin 7 of Arduino Leonardo
- Connect push button 2 (for right-click)with the digital pin 6 of Arduino Leonardo
Note- To click the mouse you need to stop moving the mouse and lock it to a point for 2 sec so you can integrate a button for this purpose. you can add a button for this function we have not added it in the circuit but it is mentioned in the code as it is connected to the digital pin 1 of the Arduino Leonardo.
CODE
Click to see the code
https://drive.google.com/open?id=1r_aSiOSmptiCrnNXzPA8sbkcRmpxowr2
OUTPUT
Welcome to the Arduino-based project in which you can control the gesture of the MPU6050 module. The first push button is for the left click and the second push button is for the right click.