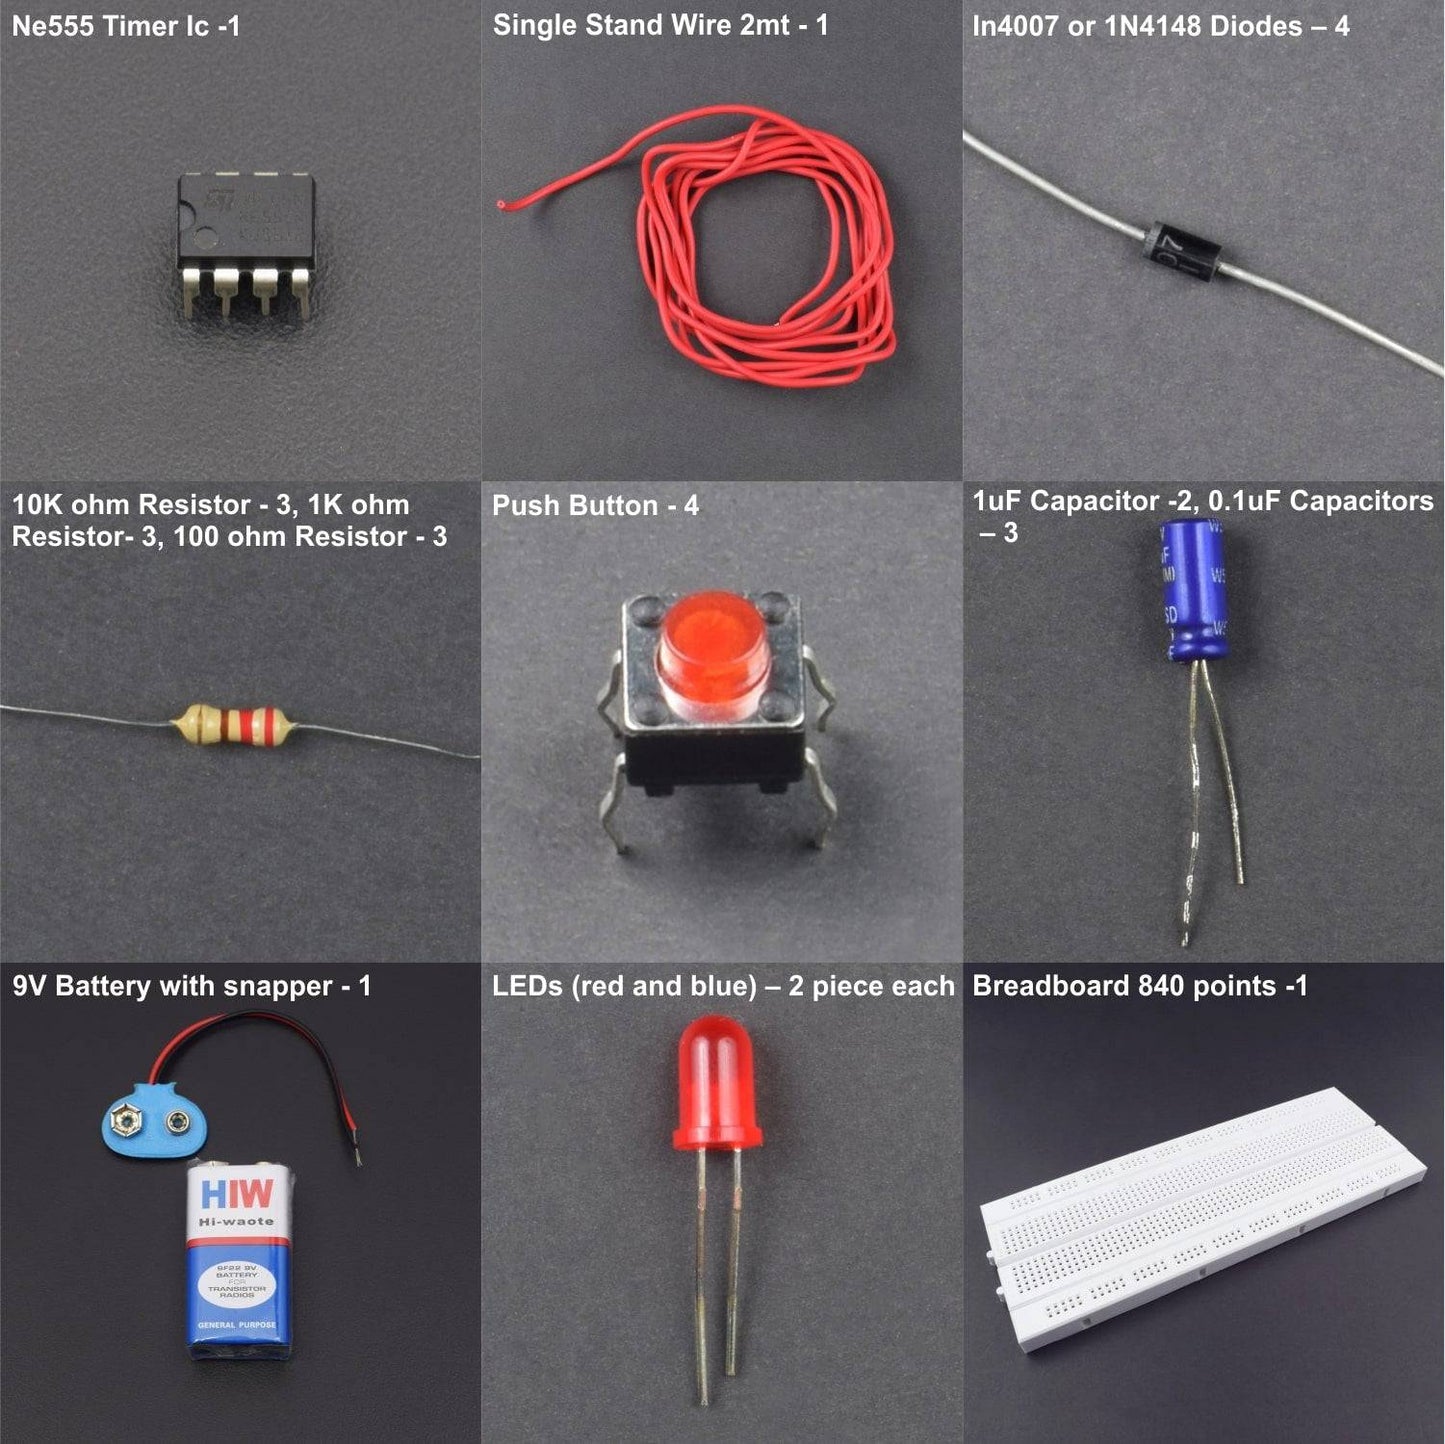

KIT INCLUDES:
- NE555 Ic - 1
- LEDs (red and blue) – 2 piece each
- push buttons - 4
- 10K ohm Resistor - 3
- 1K ohm Resistor- 3
- 100 ohm Resistor - 3
- 1uF Capacitor -2
- 0.1uF Capacitors – 3
- IN4007 or 1N4148 Diodes – 4
- Breadboard 840 points – 1
- 9v Battery - 1
- battery snapper – 1
- Single stand wire 2m – 1
HARDWARE REQUIRED
- NE555 Ic - 1
- LEDs (red and blue) – 2 piece each
- push buttons - 4
- 10K ohm Resistor - 3
- 1K ohm Resistor- 3
- 100 ohm Resistor - 3
- 1uF Capacitor -2
- 0.1uF Capacitors – 3
- IN4007 or 1N4148 Diodes – 4
- Breadboard 840 points – 1
- 9v Battery - 1
- battery snapper – 1
- Single stand wire 2m – 1
SPECIFICATION
Power supply – 9V( from 9v battery)
PIN DESCRIPTION
CAPACITOR

The Shorter Terminal is negative and the longer Terminal is Positive.

LED


555 TIMER IC


Pin |
Name |
Purpose |
1 |
GND |
Ground reference voltage, low level (0 V) |
2 |
TRIG |
The OUT pin goes high and a timing interval starts when this input falls below 1/2 of CTRL voltage (which is typically 1/3 Vcc, CTRL being 2/3 Vcc by default if CTRL is left open). In other words, OUT is high as long as the trigger low. Output of the timer totally depends upon the amplitude of the external trigger voltage applied to this pin. |
3 |
OUT |
This output is driven to approximately 1.7 V below +Vcc, or to GND. |
4 |
RESET |
A timing interval may be reset by driving this input to GND, but the timing does not begin again until RESET rises above approximately 0.7 volts. Overrides TRIG which overrides threshold. |
5 |
CTRL |
Provides “control” access to the internal voltage divider (by default, 2/3 Vcc). |
6 |
THR |
The timing (OUT high) interval ends when the voltage at threshold is greater than that at CTRL (2/3 Vcc if CTRL is open). |
7 |
DIS |
Open collector output which may discharge a capacitor between intervals. In phase with output. |
8 |
Vcc |
Positive supply voltage, which is usually between 3 and 15 V depending on the variation. |
CIRCUIT DESCRIPTION


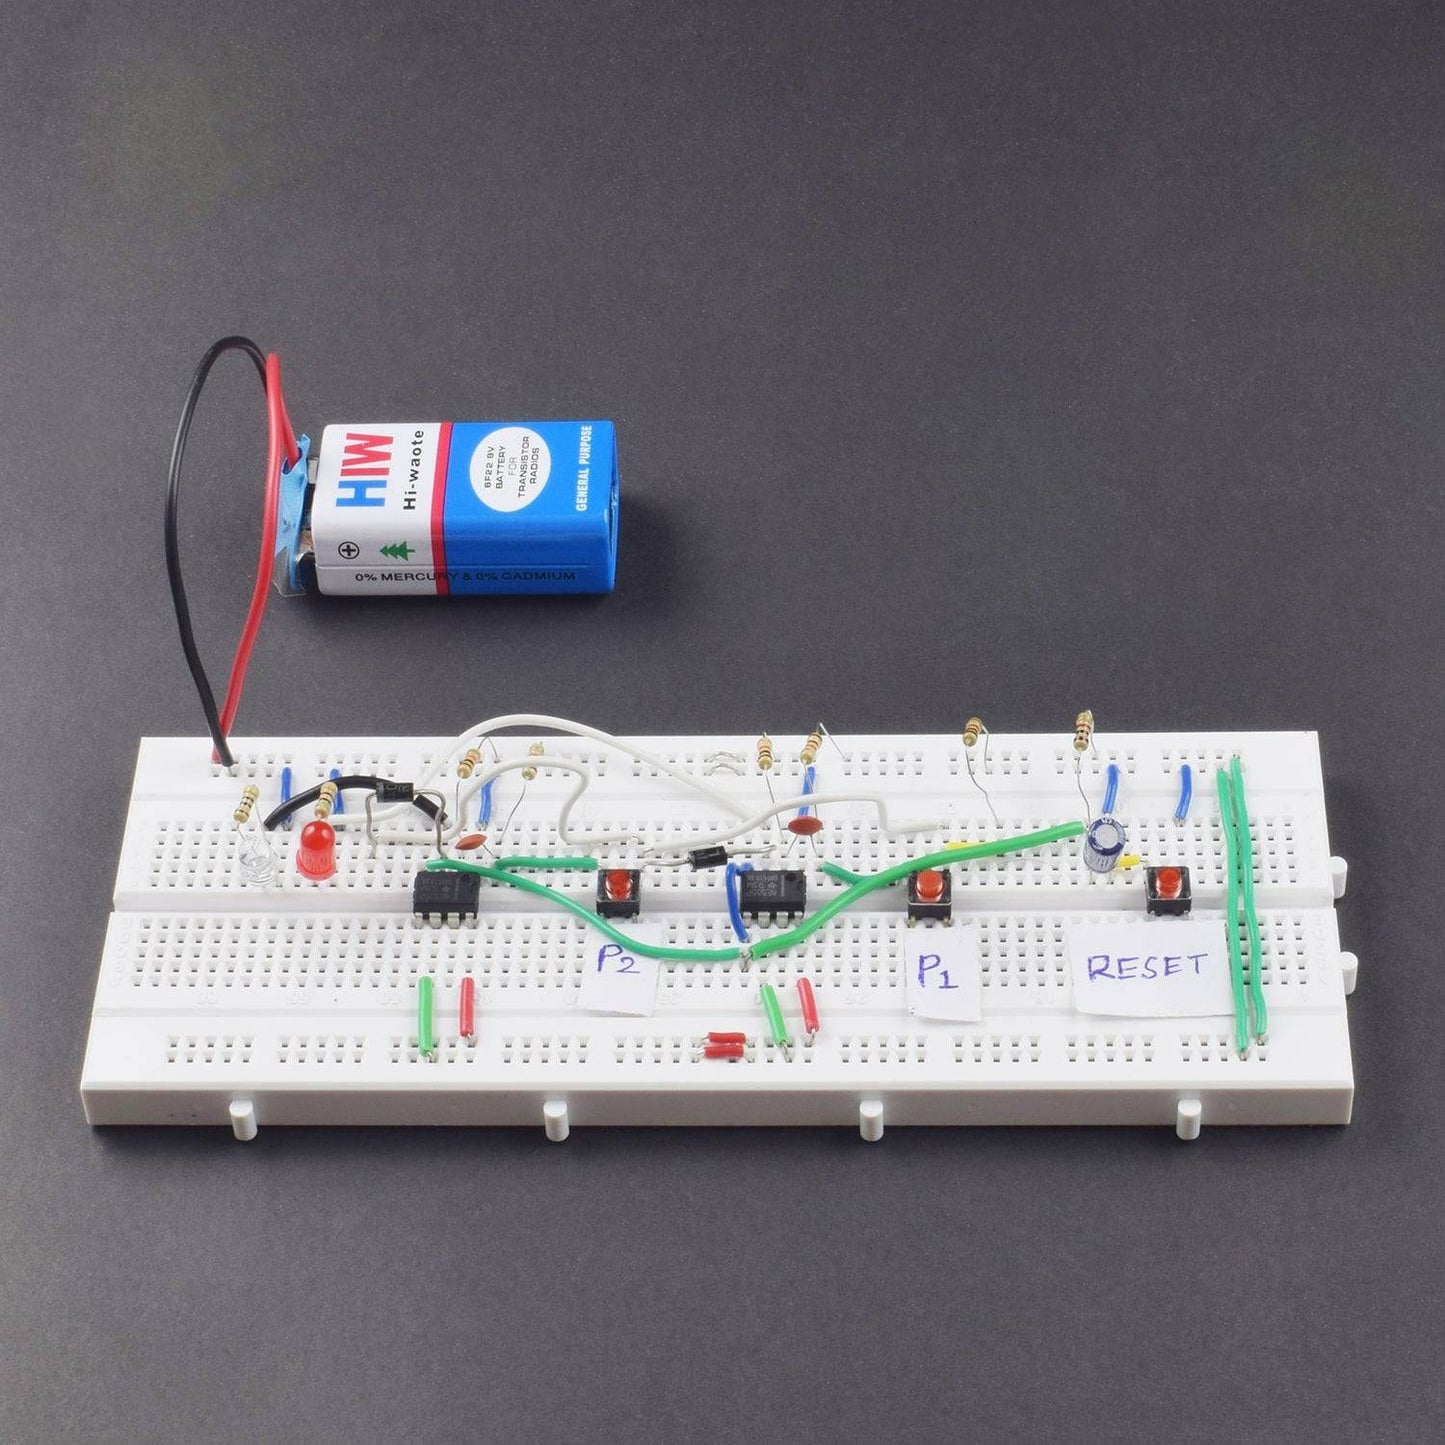
- Reset button point 1 connects to negative rail and point 2 connects to positive of 1uf capacitor positive and capacitor negative to negative rail.
- positive of capacitor 1uf to p1 555ic pin 5 and then pin 5 of 555 timer ic to pin 4 of 555 timer ic
- capacitor 1uf positive to positive rail on breadboarD
- p1 button point 1 to negative rail through 1k resistor and same point to p2 point 1
- p1 button point 2 to 0.01uf capacitor to p1 555ic pin 2 and both pin of this cap connect to positive rail through both 10k resistor
- p1 555ic pin 1 to negative rail
- p1 555ic pin 3 connect to p2 button point 1 through diode in4007
- p1 555ic pin 8 to positive rail and 6 pin to negative rail
- pin 5 of p1 555ic to p2 555ic pin 4
- p2 button point 2 to cap 0.01uf to pin 1 of p2 555ic
- p2 555ic pin 1 to negative rail pin 6 to negative rail and pin 8 to positive rail
- pin 3 of p2 555ic connect with p2 point 1 through in4001
- p1 555ic pin 3 to p1 led positive pin and negative pin to ground
- p2 555ic pin 3 to p2 led positive and negative pin to ground

WORKING
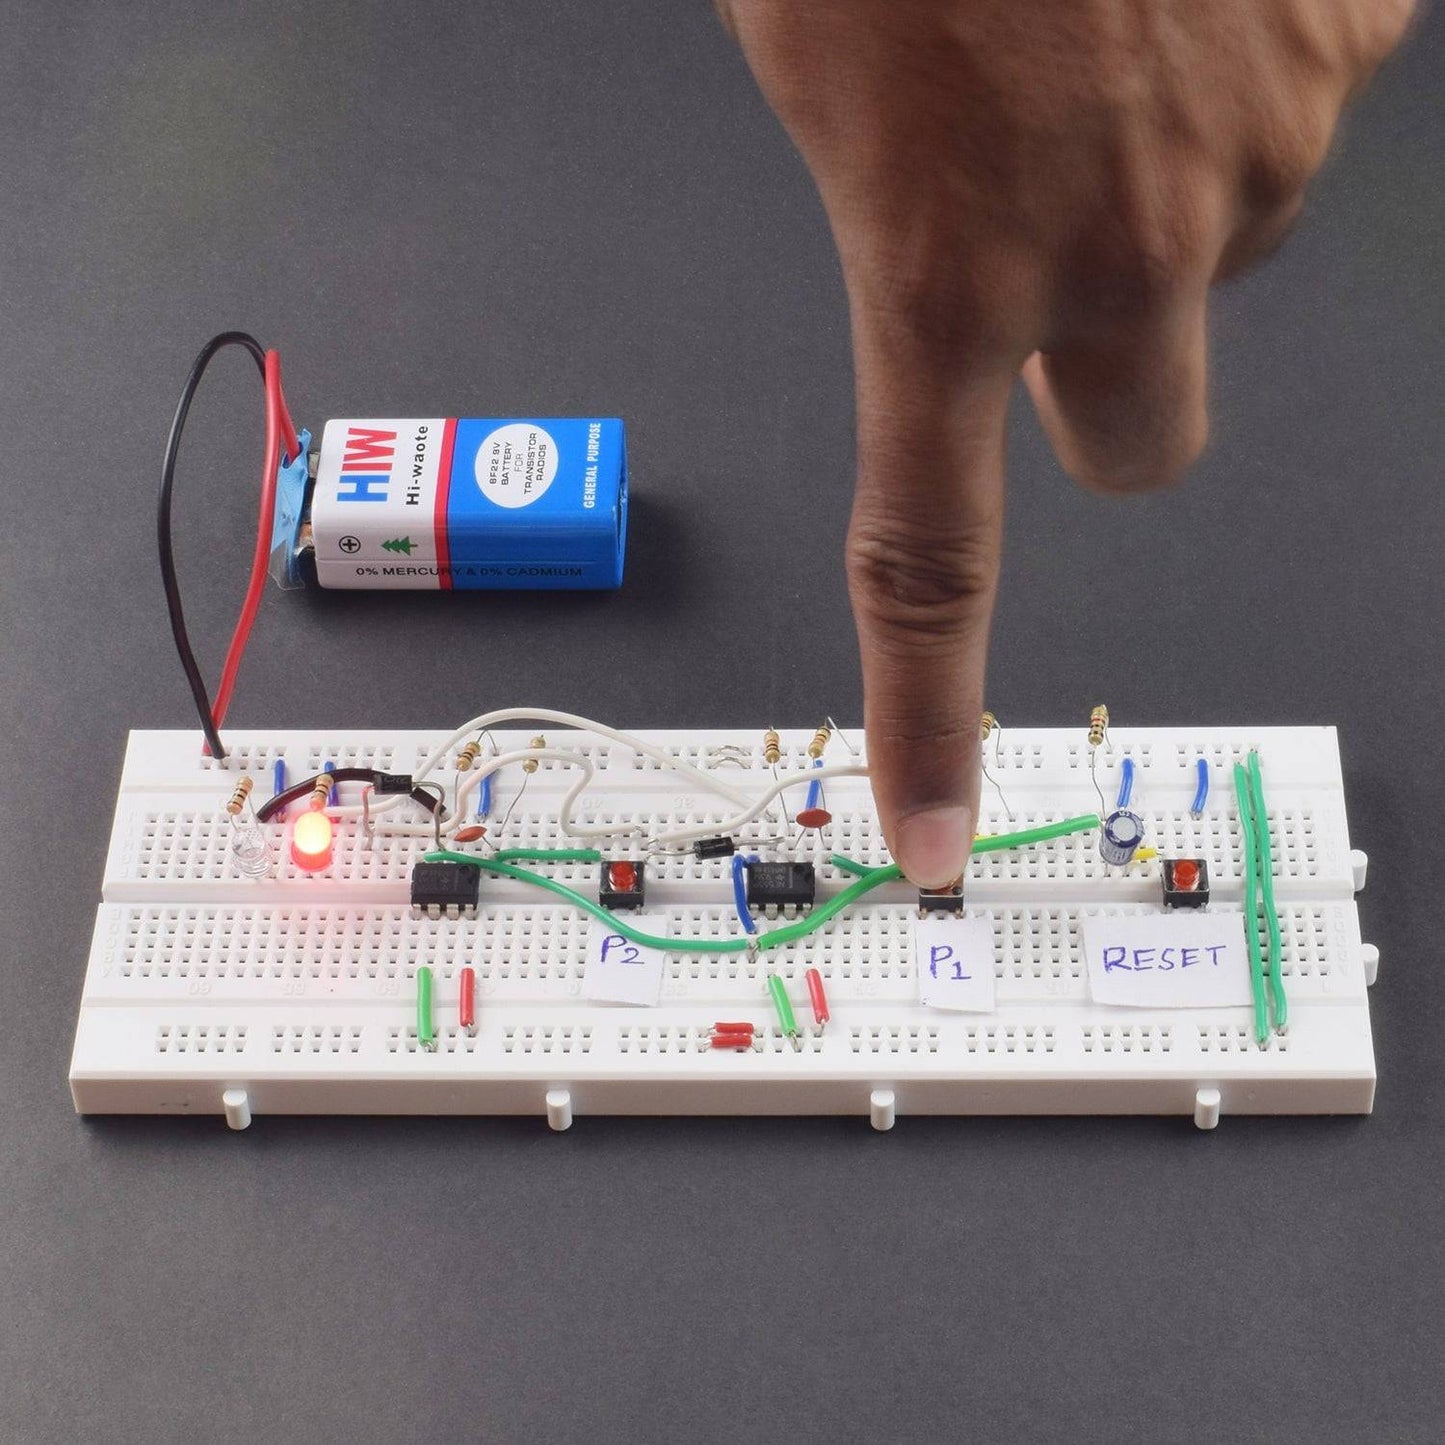
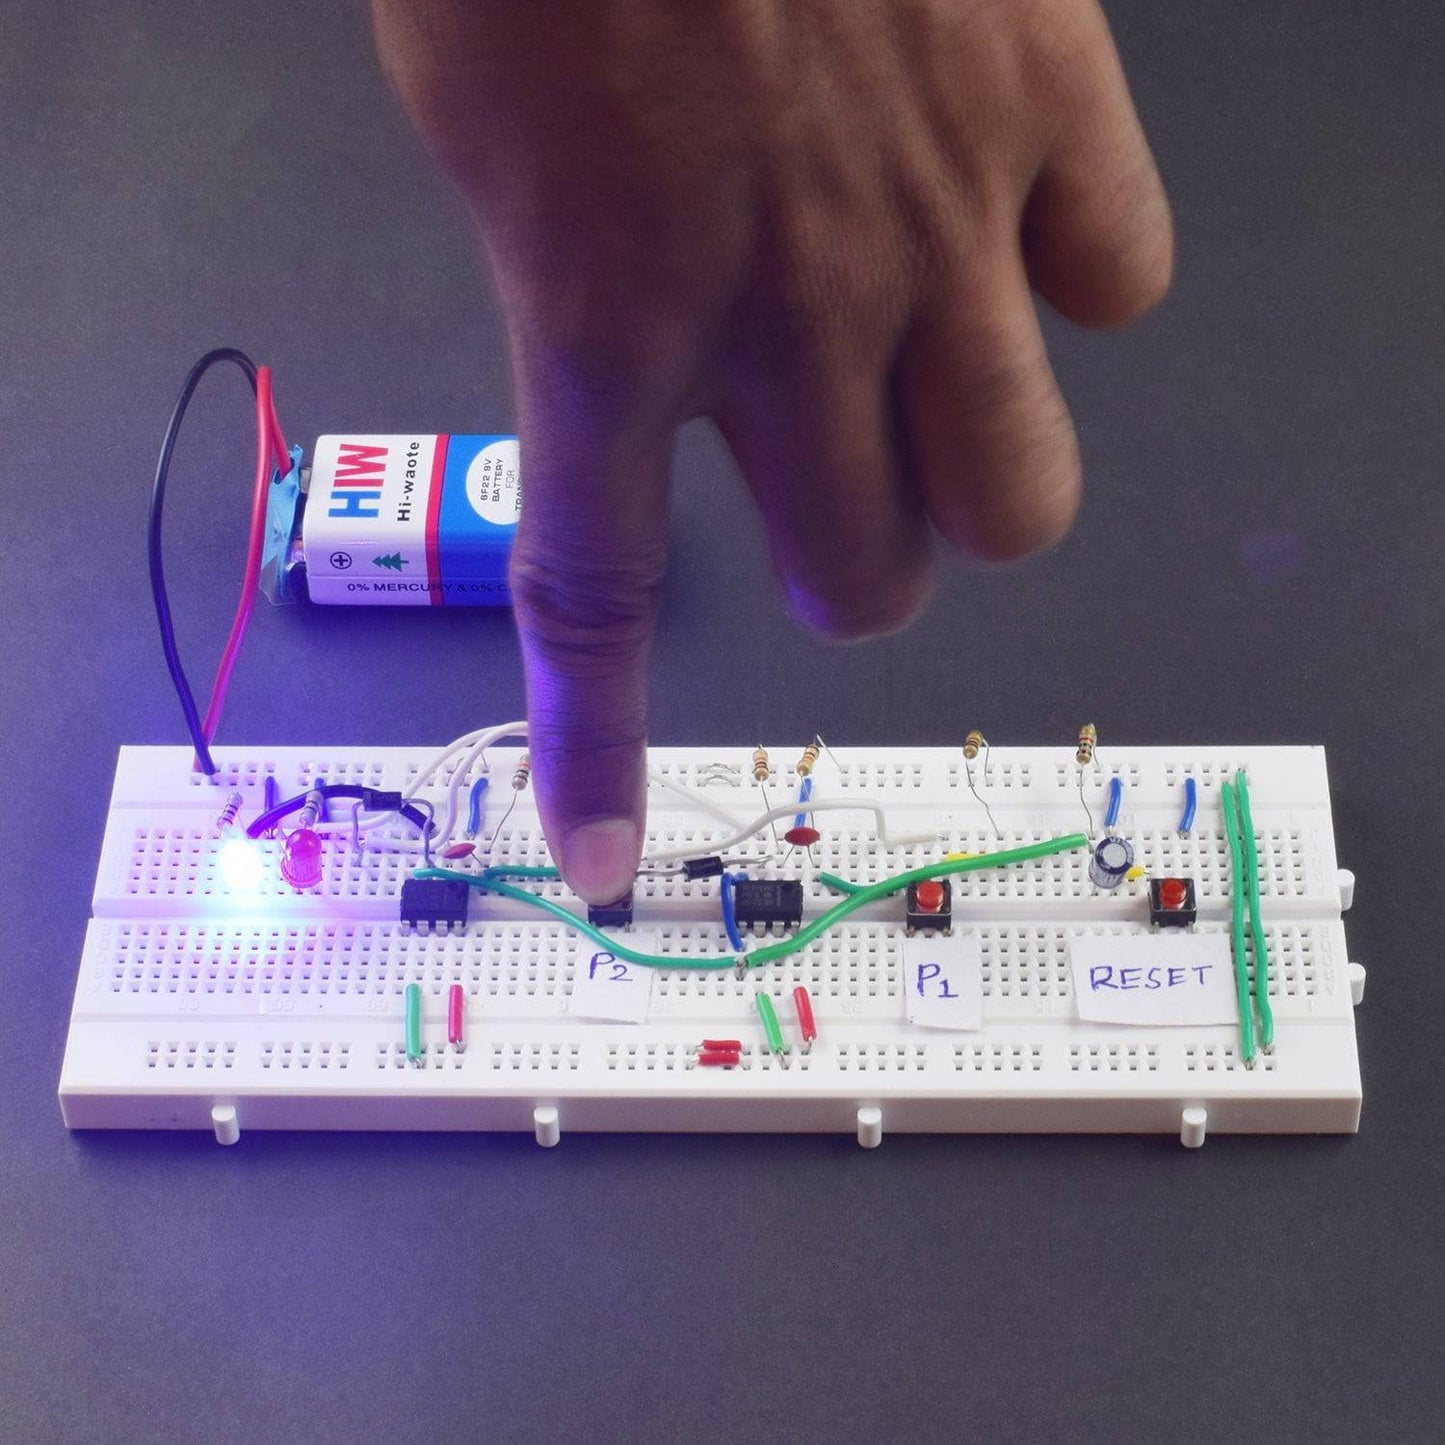
- The aim is to press the button earlier than your opponent (w/ 2 players). A third person would be there to reset the switches and to restart the game.
- One more use of this is, as a Quiz timer. Whichever competent knows the answer, has to quickly press the buzzer, which will lead to the disability of other buttons. Even if
- both the players press the buttons at the same time, this circuit can decide between fractions of milliseconds.
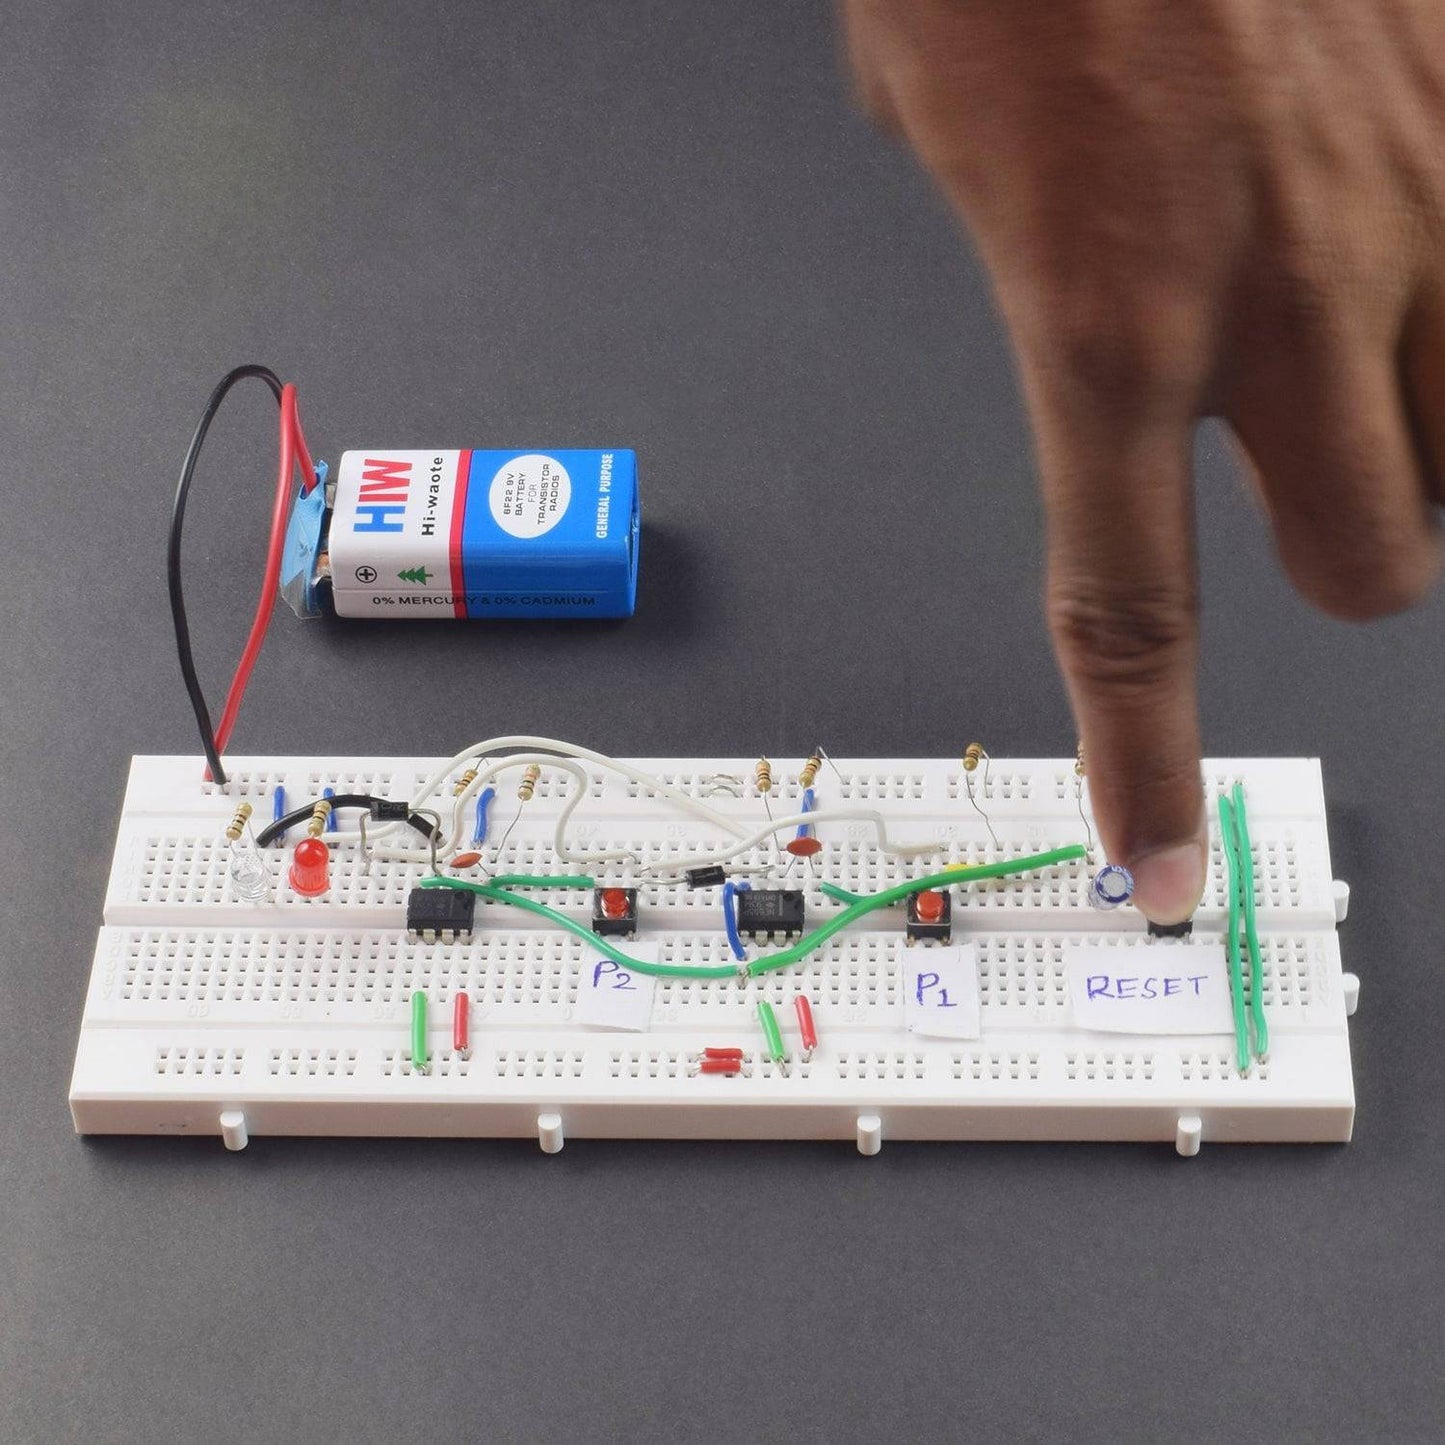
- You have to be careful with the circuit, as this one has quite messy connections. Use up the entire breadboard space to make it neater. Finally, power up the circuit and press one of the two buttons, the corresponding LED would light up. You will also notice that pressing the other one would now do nothing. Press the reset button to start the game again.


