


INTRODUCTION
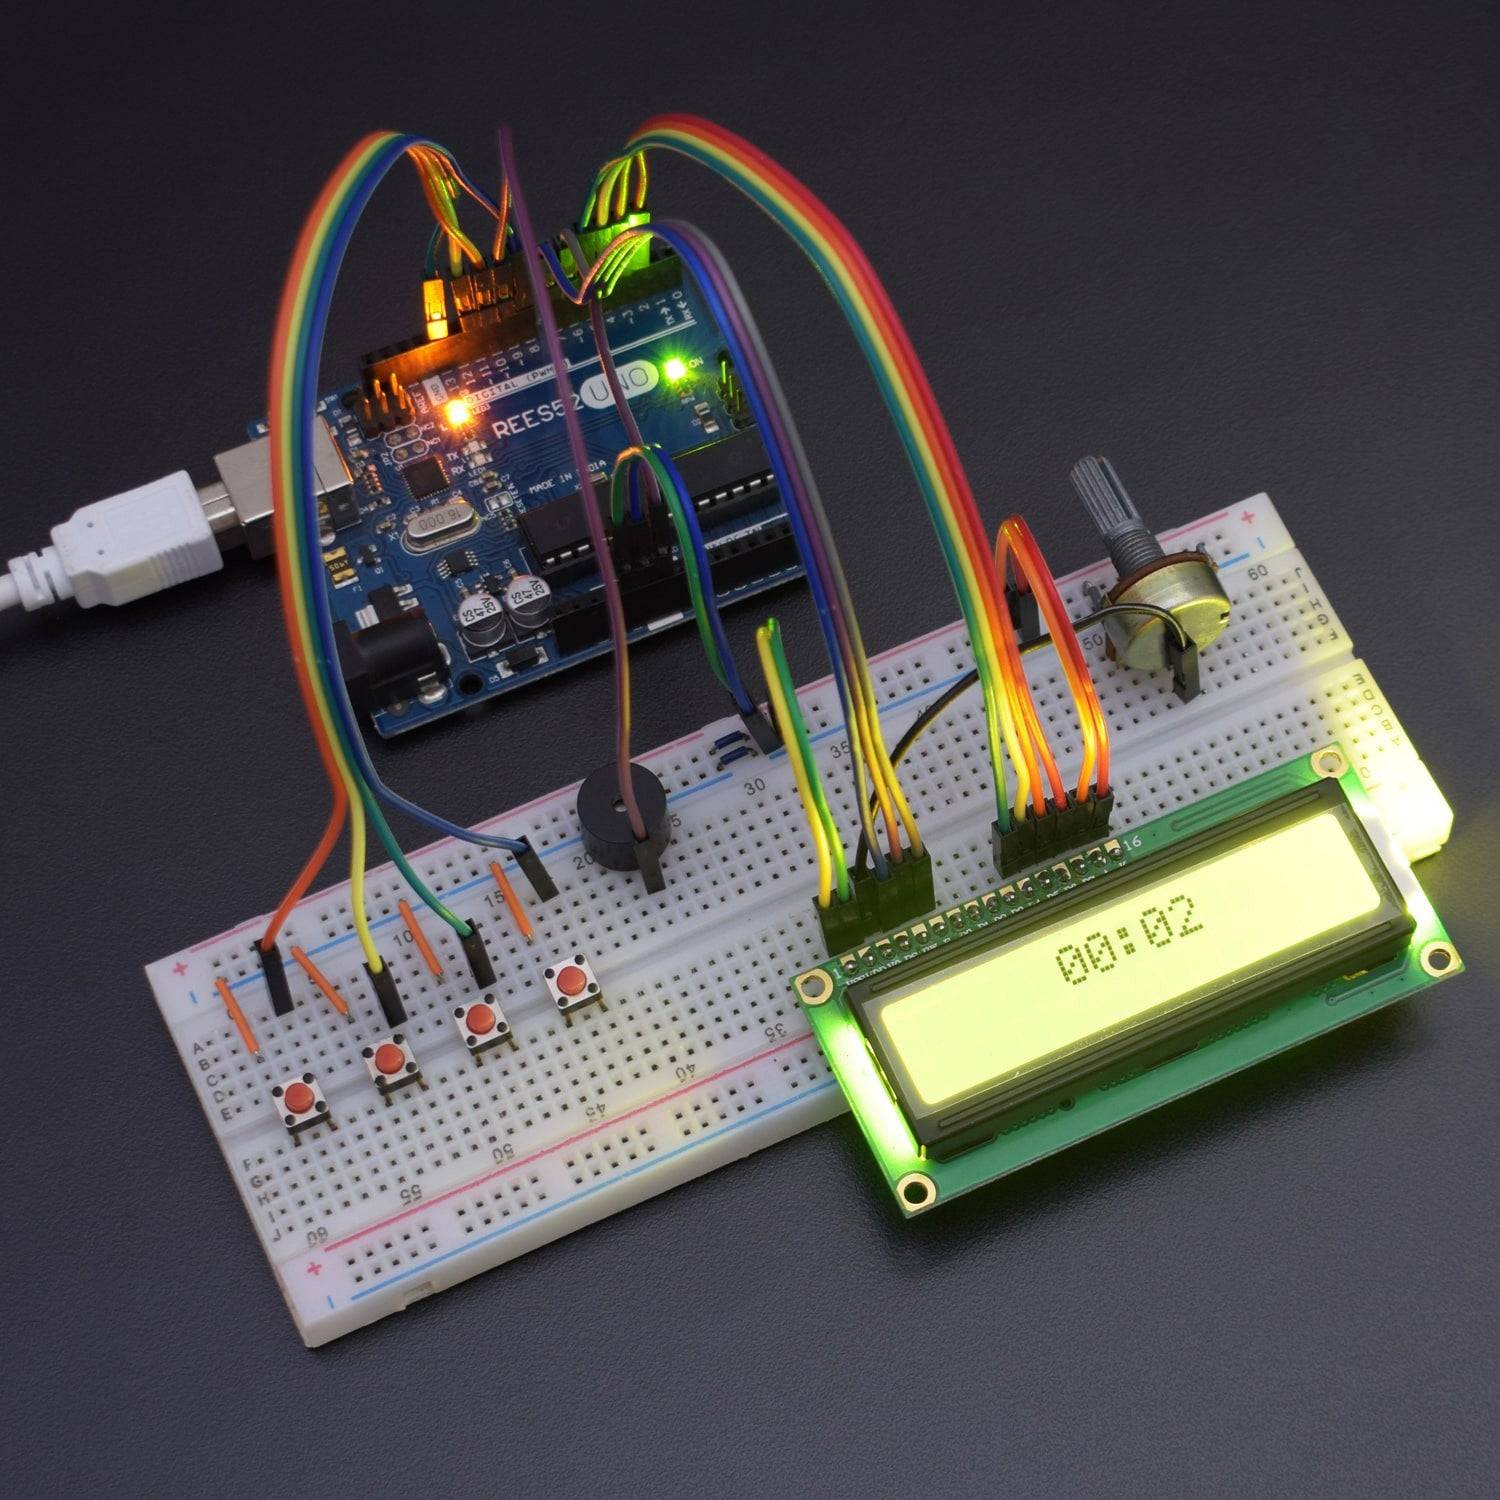
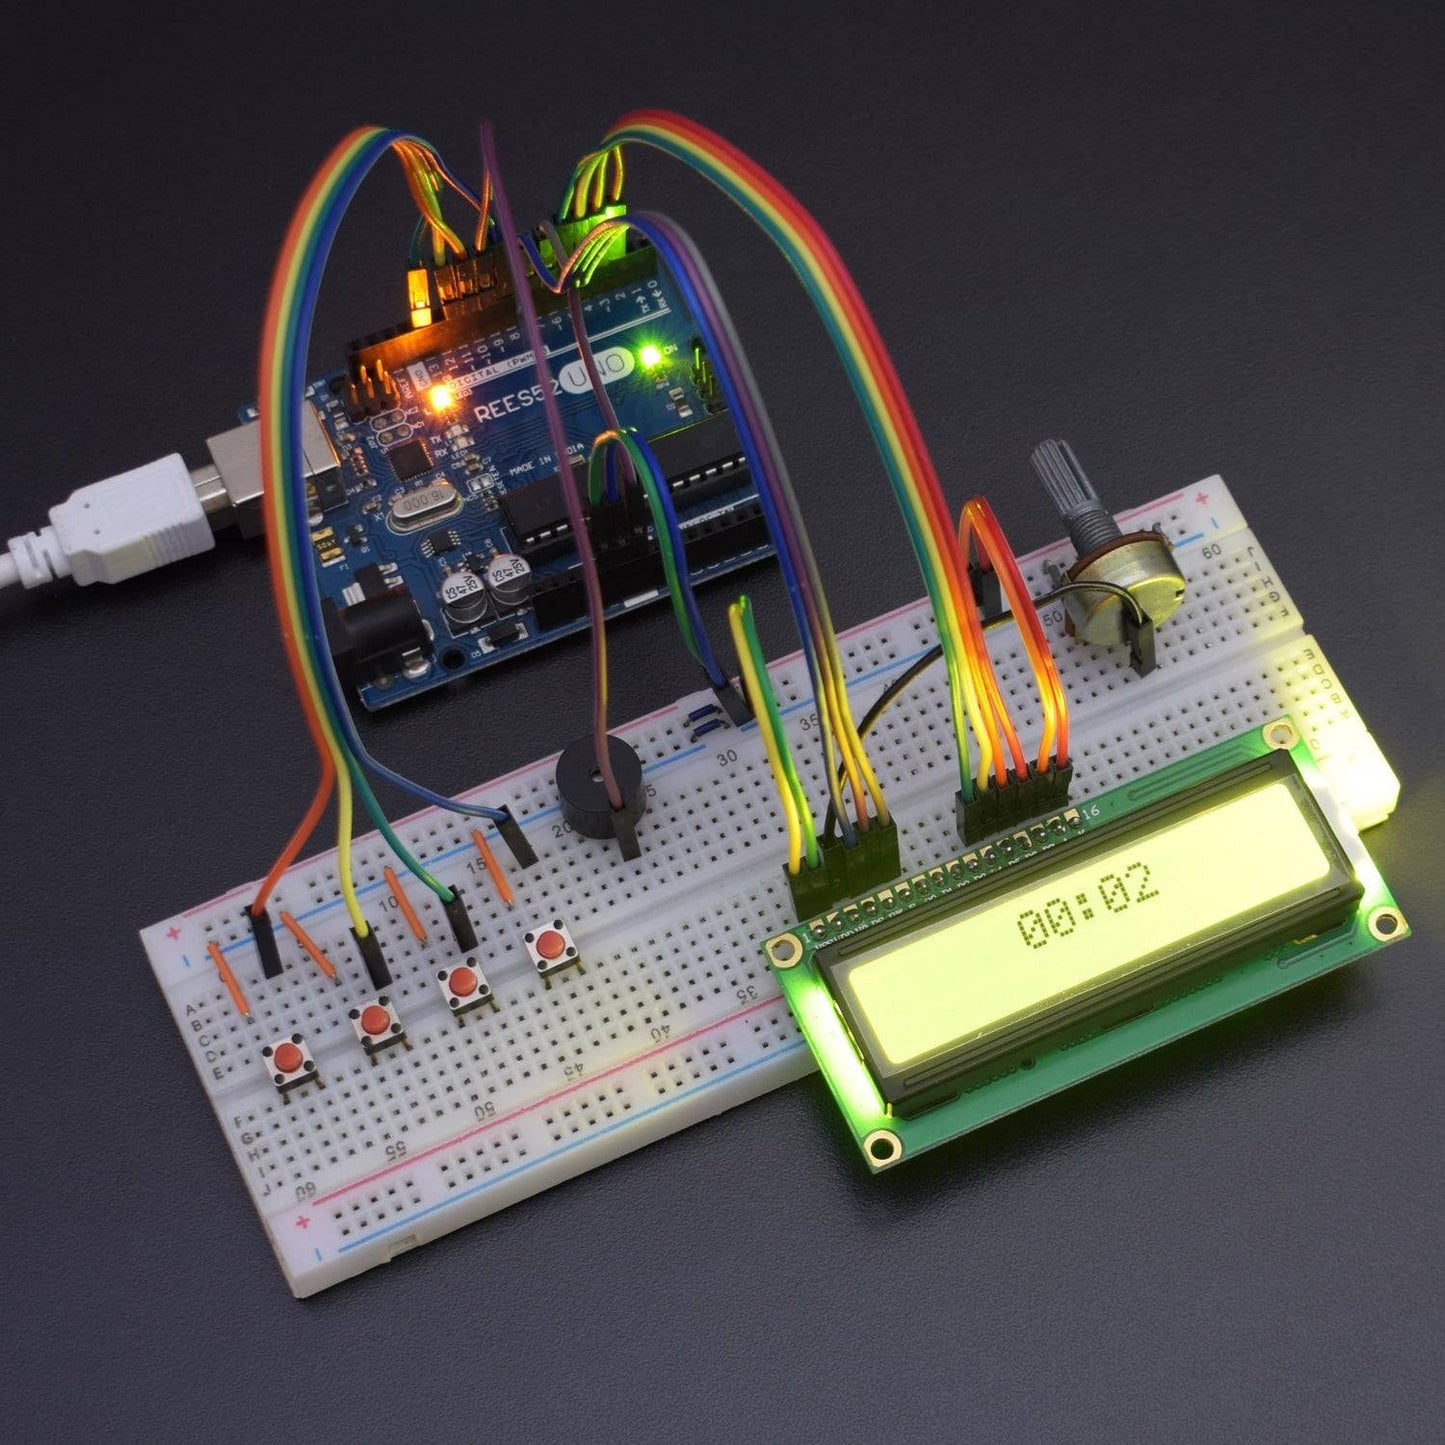
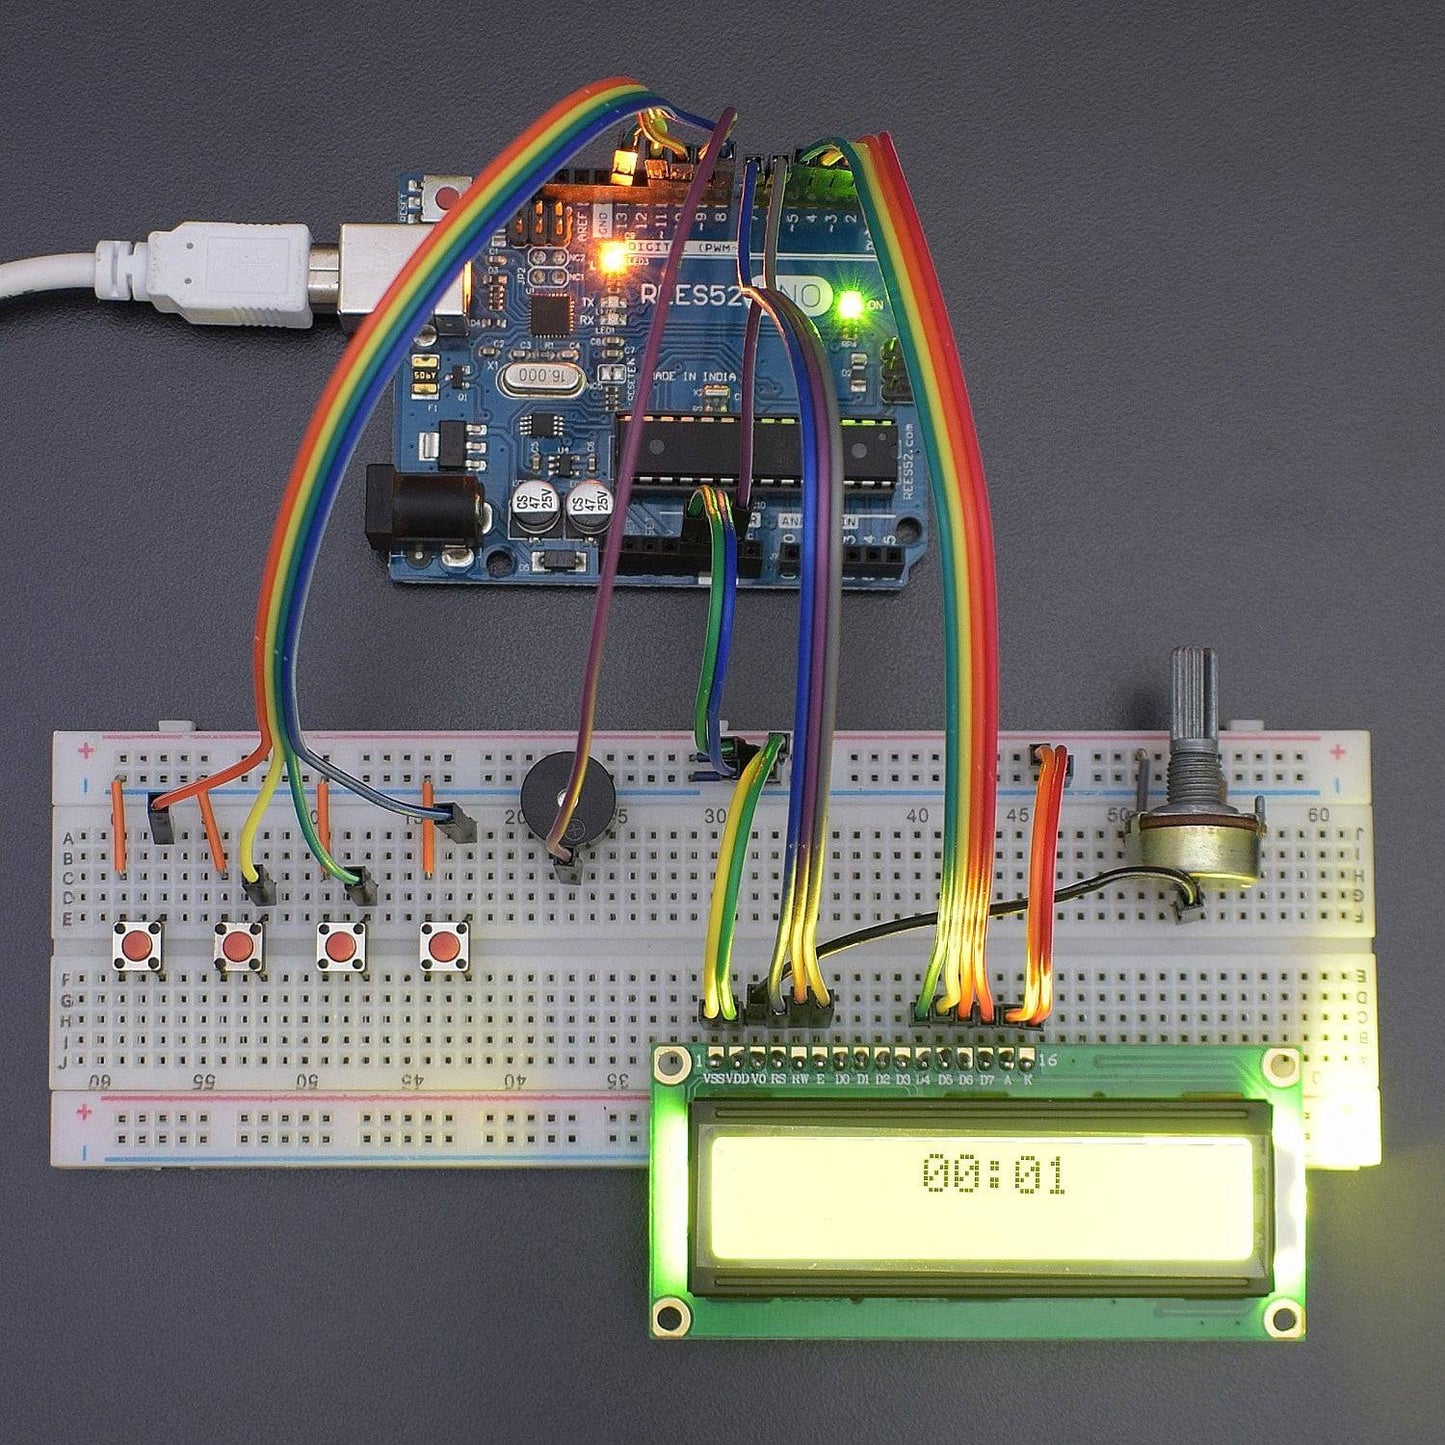
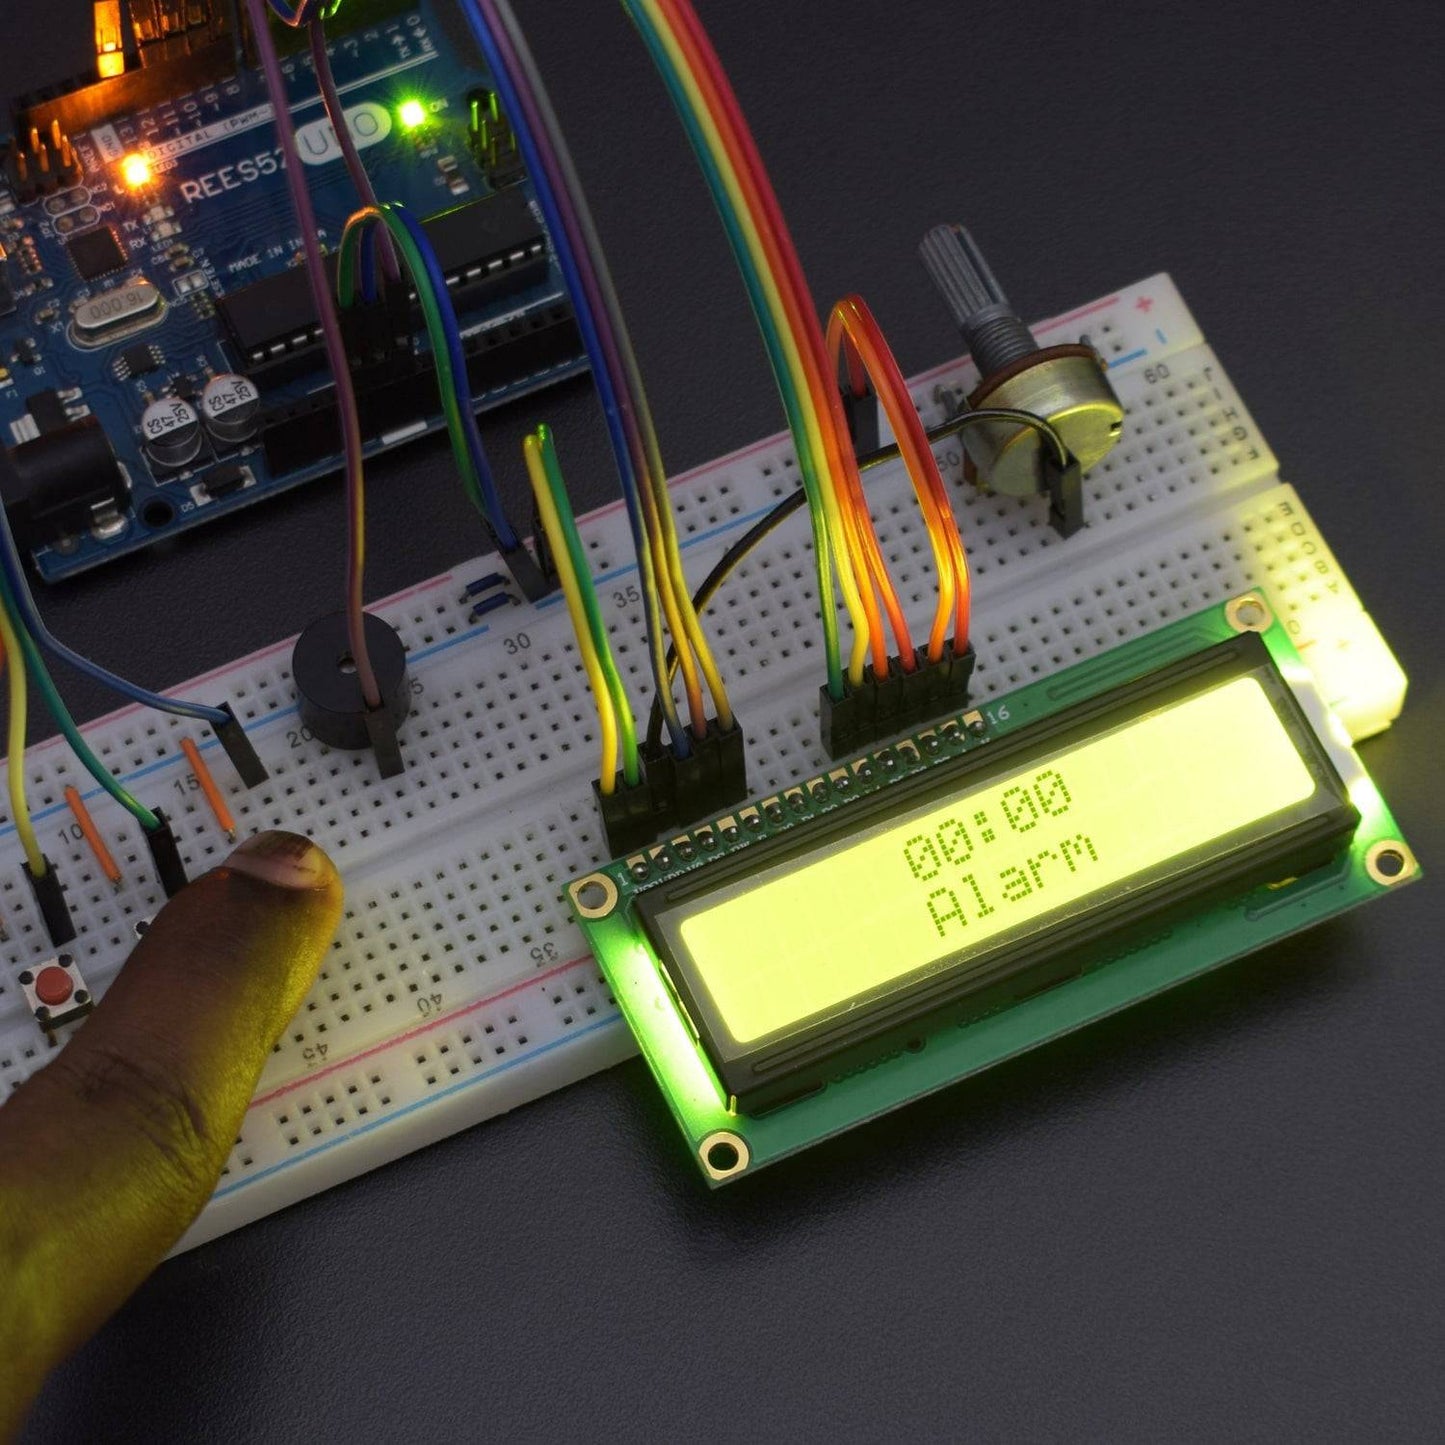
In this project, we make a Clock alarm using a push-button and a 16*2 LCD Display with Arduino Uno.
Here 4 push buttons were used where 2 push buttons to increase or decrease the value and other 2 push buttons for ‘set time’ and ‘set alarm’
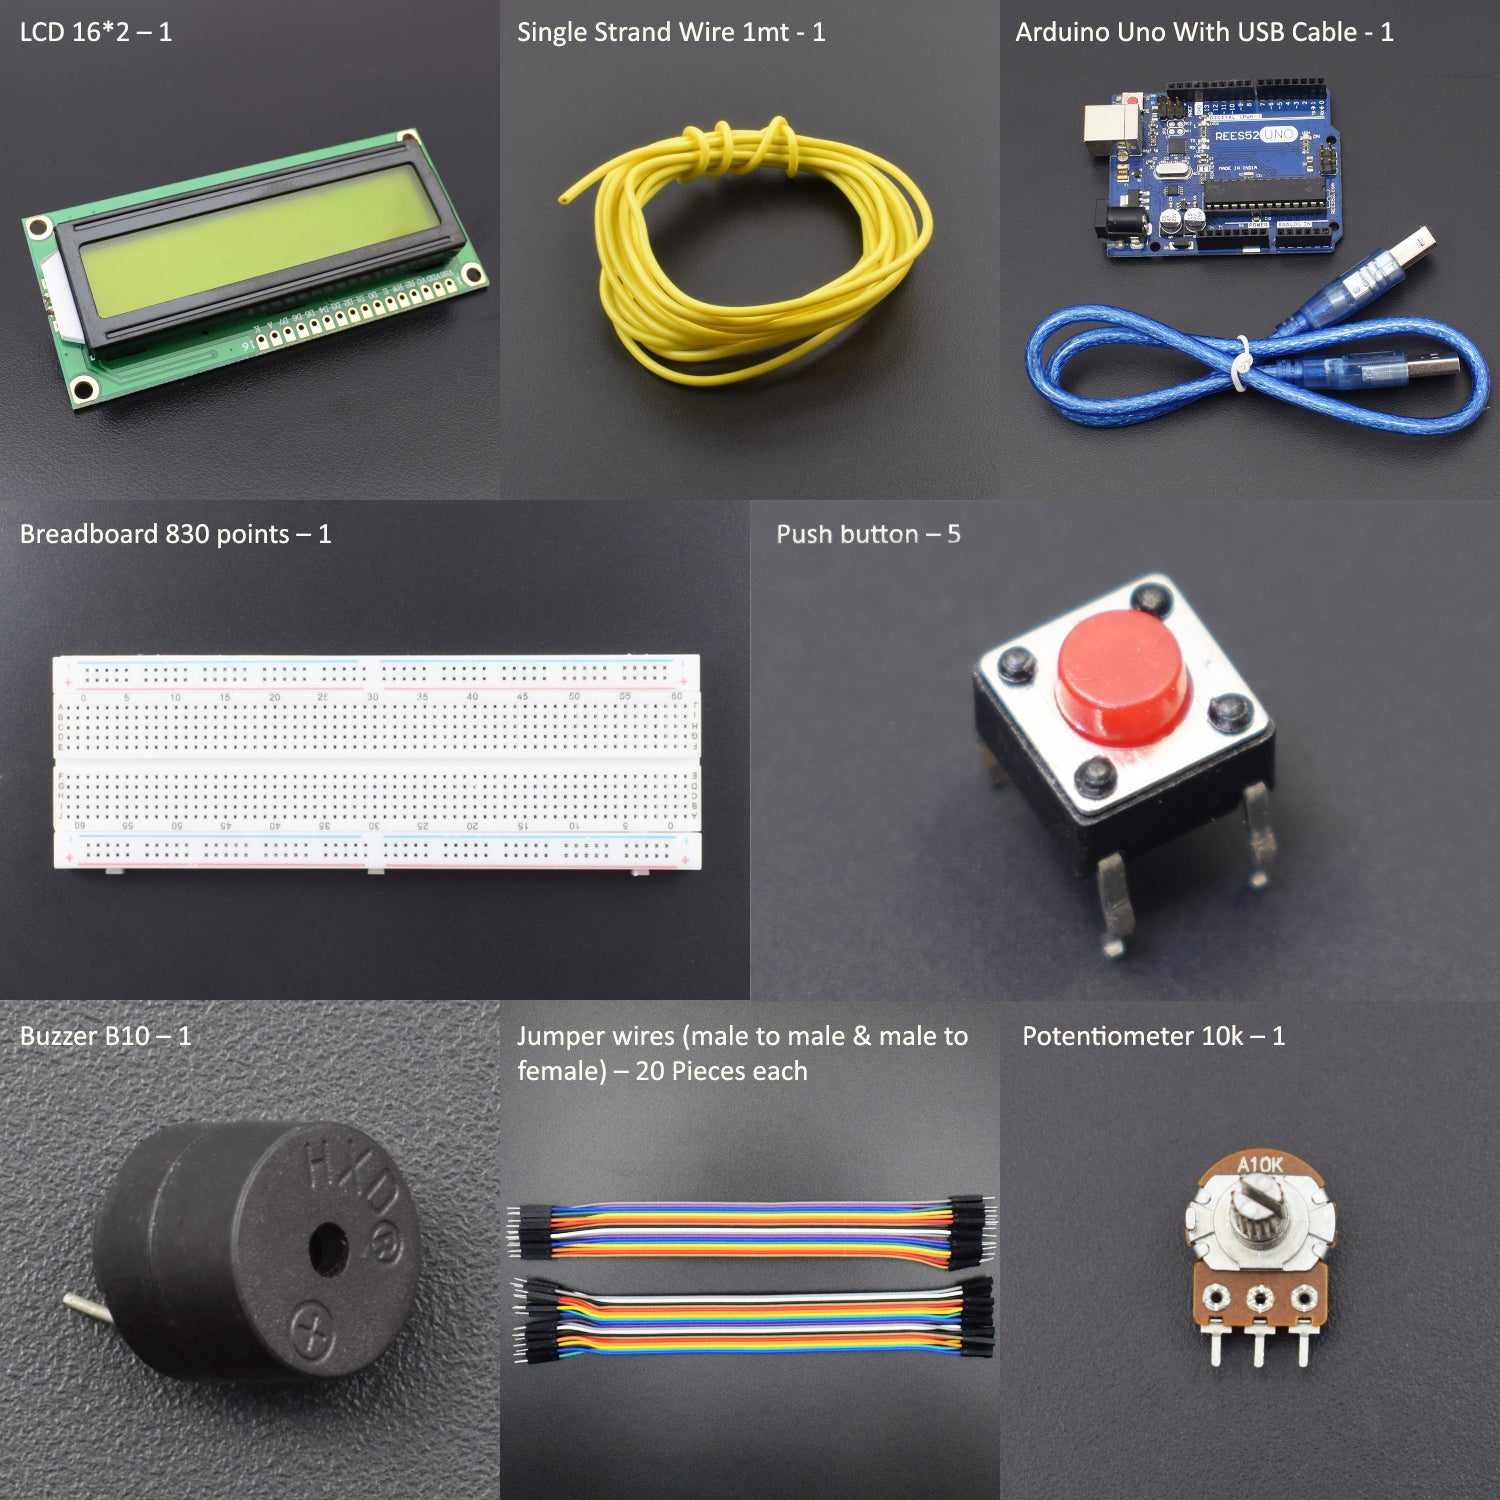
HARDWARE REQUIRED
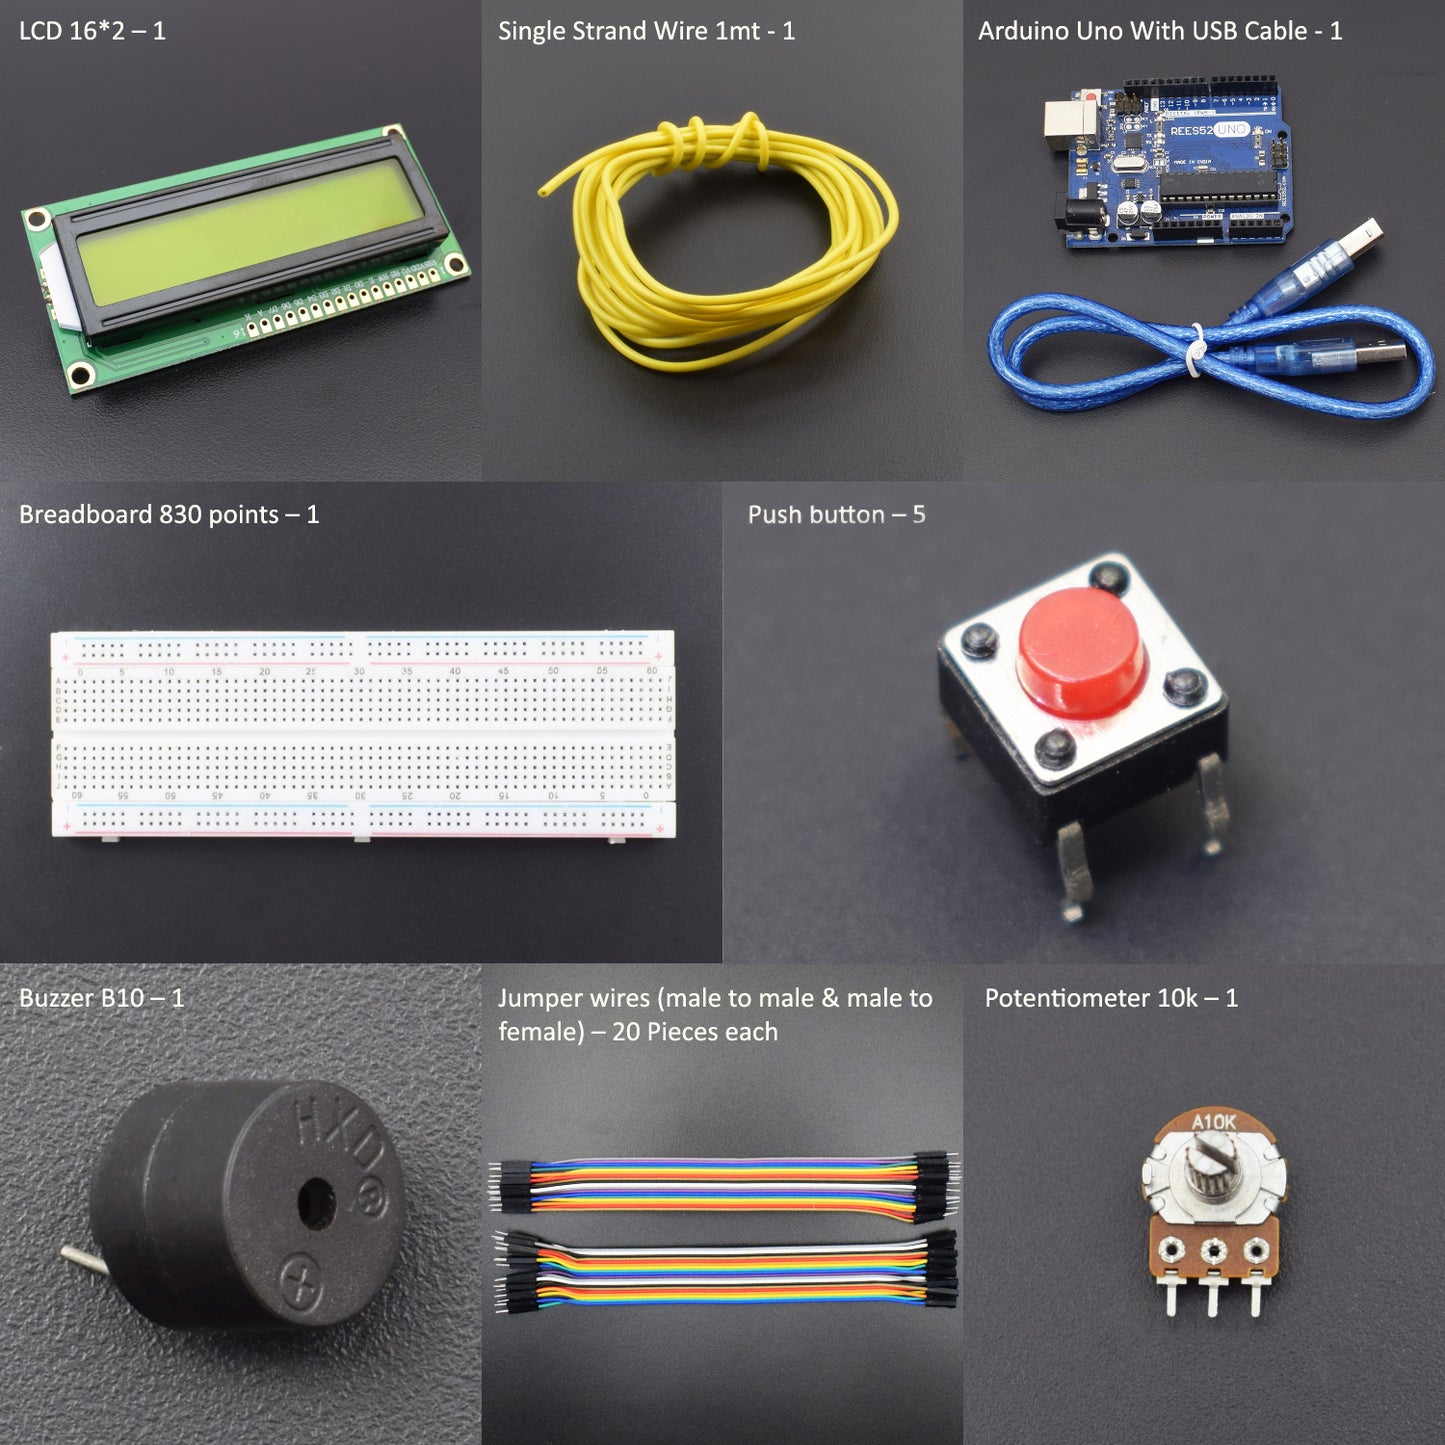
- Arduino UNO with USB Cable – 1
- LCD 16*2 – 1
- Potentiometer 10k – 1
- Breadboard 830 Points – 1
- Jumper Wires Male to Male – 20 Piece
- Jumper Wires Male to Female– 20 Piece
- Push Button – 5
- Buzzer B10 – 1
- Single Strand Wire 2m - 1
SOFTWARE REQUIRED
Arduino IDE (programmable software for Arduino)
https://www.arduino.cc/en/Main/Software
PIN DESCRIPTION
16*2 LCD:
10K Potentiometer:
YOU CAN ADJUST THE CONTRAST OF THE LCD BY ROTATING THIS 10K POTENTIOMETER-
|
Pin |
Description |
|
GND |
Completes the electrical pathway of power. |
|
OUT |
To Adjust the contrast |
|
VCC |
Connects to 5v of positive voltage for power |
CIRCUIT DIAGRAM
Arduino to 16*2 LCD:
|
LCD 16*2 |
Arduino |
|
VSS |
Ground |
|
VDD |
5v |
|
V0 |
Data pin of 10k pot (1st pin of pot connected to GND – 2nd pin of pot connected to VCC) |
|
RS |
D7 |
|
R/W |
Ground |
|
E |
D6 |
|
D4 |
D5 |
|
D5 |
D4 |
|
D6 |
D3 |
|
D7 |
D2 |
|
A |
Vcc |
|
K |
Ground |
Push Button to Arduino:
|
Push Button 1 |
Arduino Digital pin 10 |
|
Push Button 2 |
Arduino Digital pin 11 |
|
Push Button 3 |
Arduino Digital pin 13 |
|
Push Button 4 |
Arduino Digital pin 8 |
Buzzer to Arduino:
|
Buzzer positive pin |
Arduino digital pin 9 |
|
Buzzer negative pin |
Ground |
CODE
Click to see the code or copy the link:
WORKING
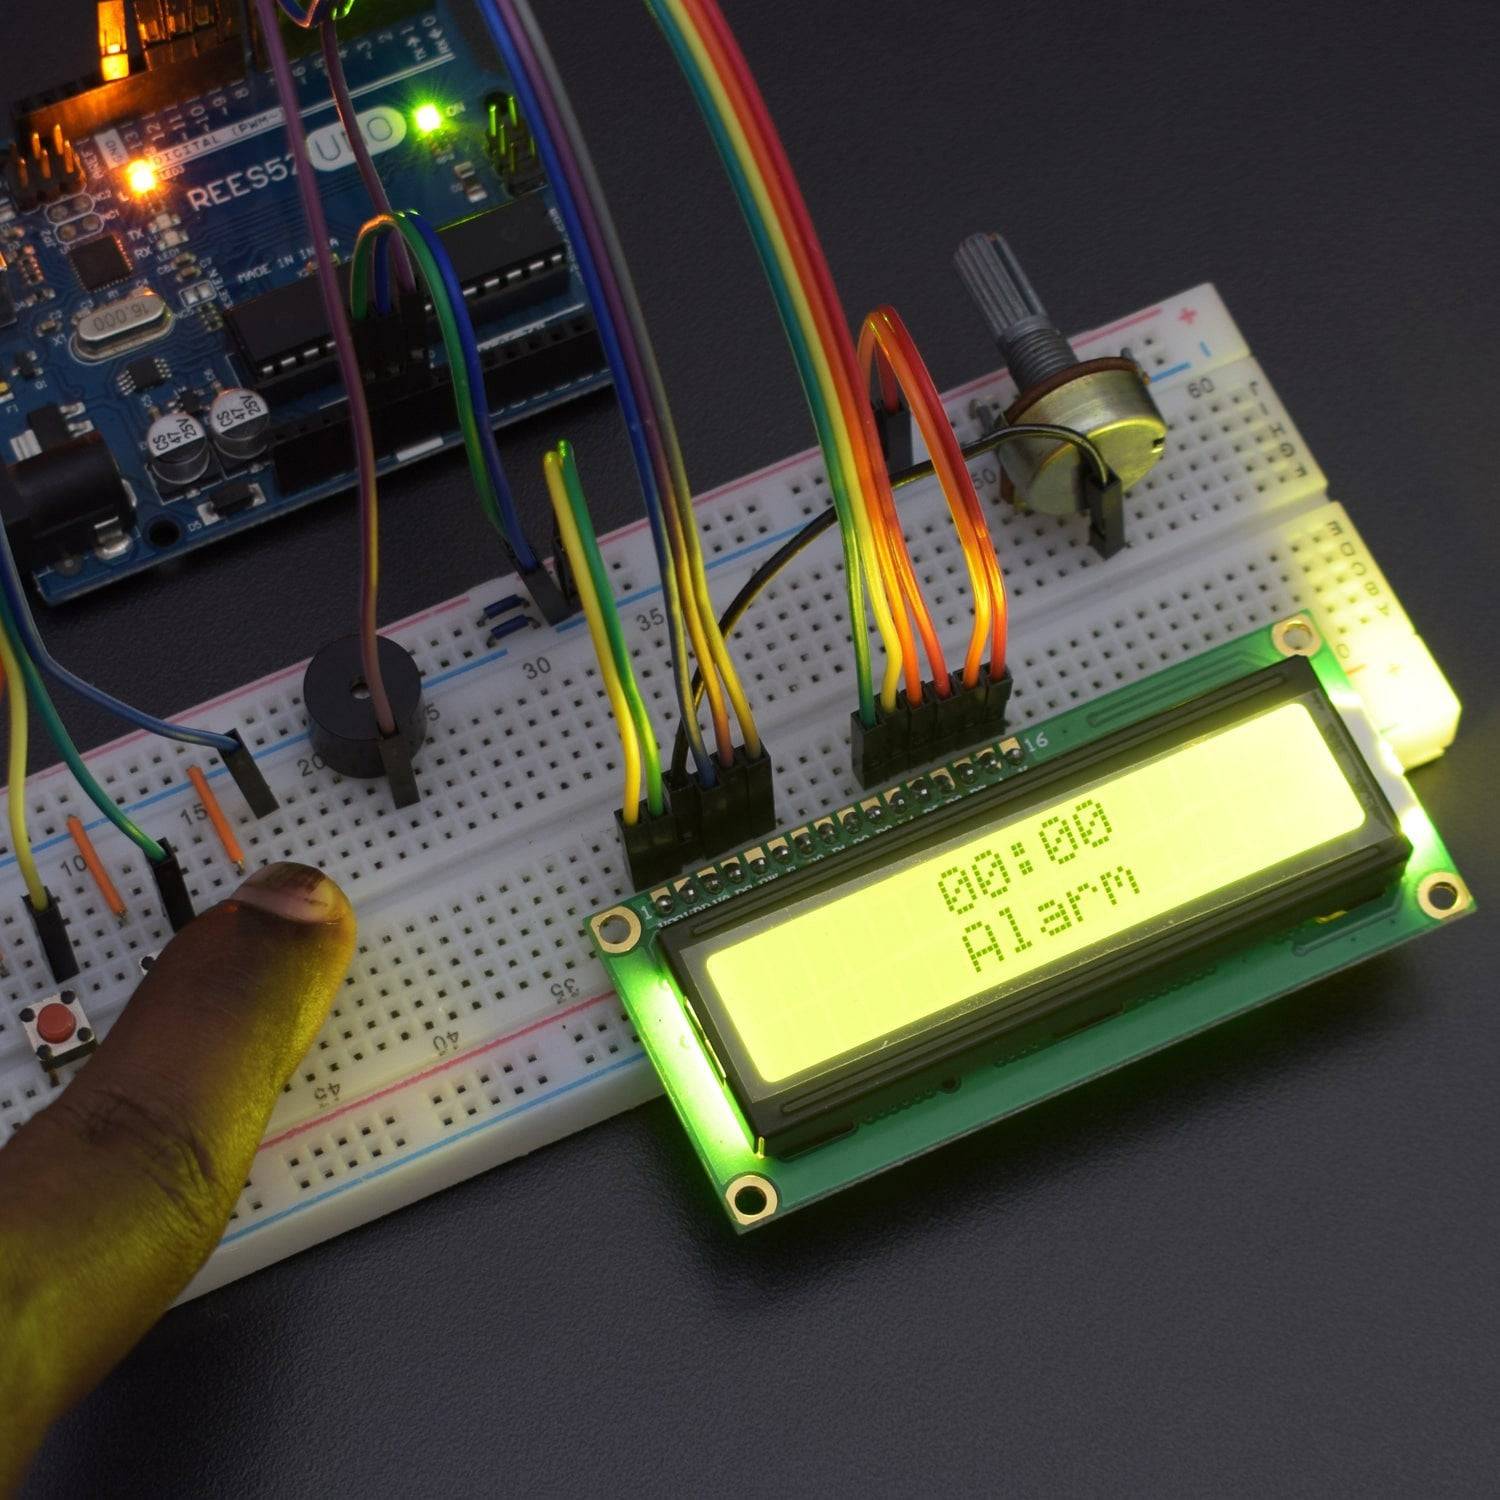
- PUSH BUTTON 1- Press the button once, and the alarm clock will show on the LCD.
- PUSH BUTTON 2- Press the second button to show the clock time.
- SET TIME- Hold the 3rd push button and press push button 1 to set the hour and push button 2 to set the minute
- ALARM TIME - Hold the 4th push button and press push button 1 to set the hour time and push button 2 for a set minute
- When the time matches the alarm time, the buzzer starts ringing.


