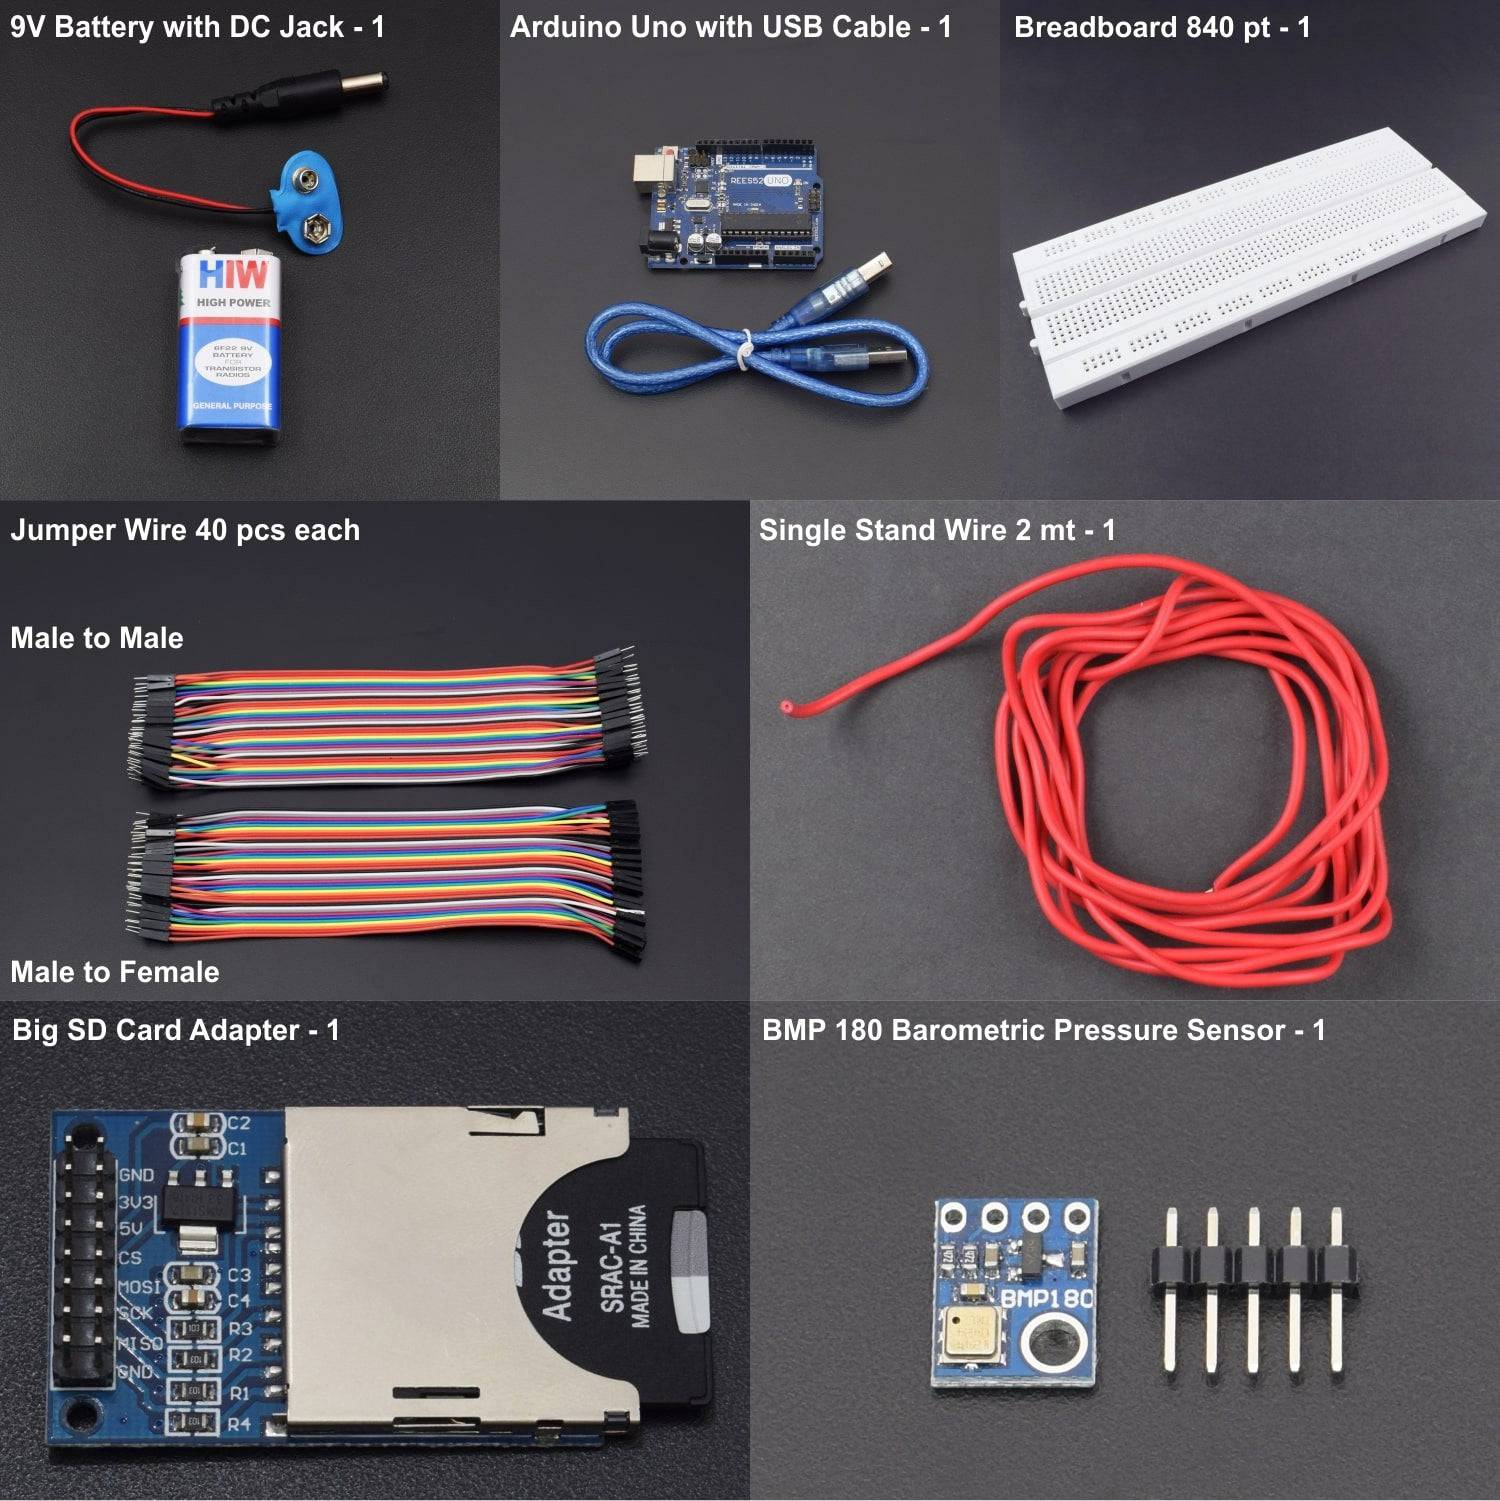
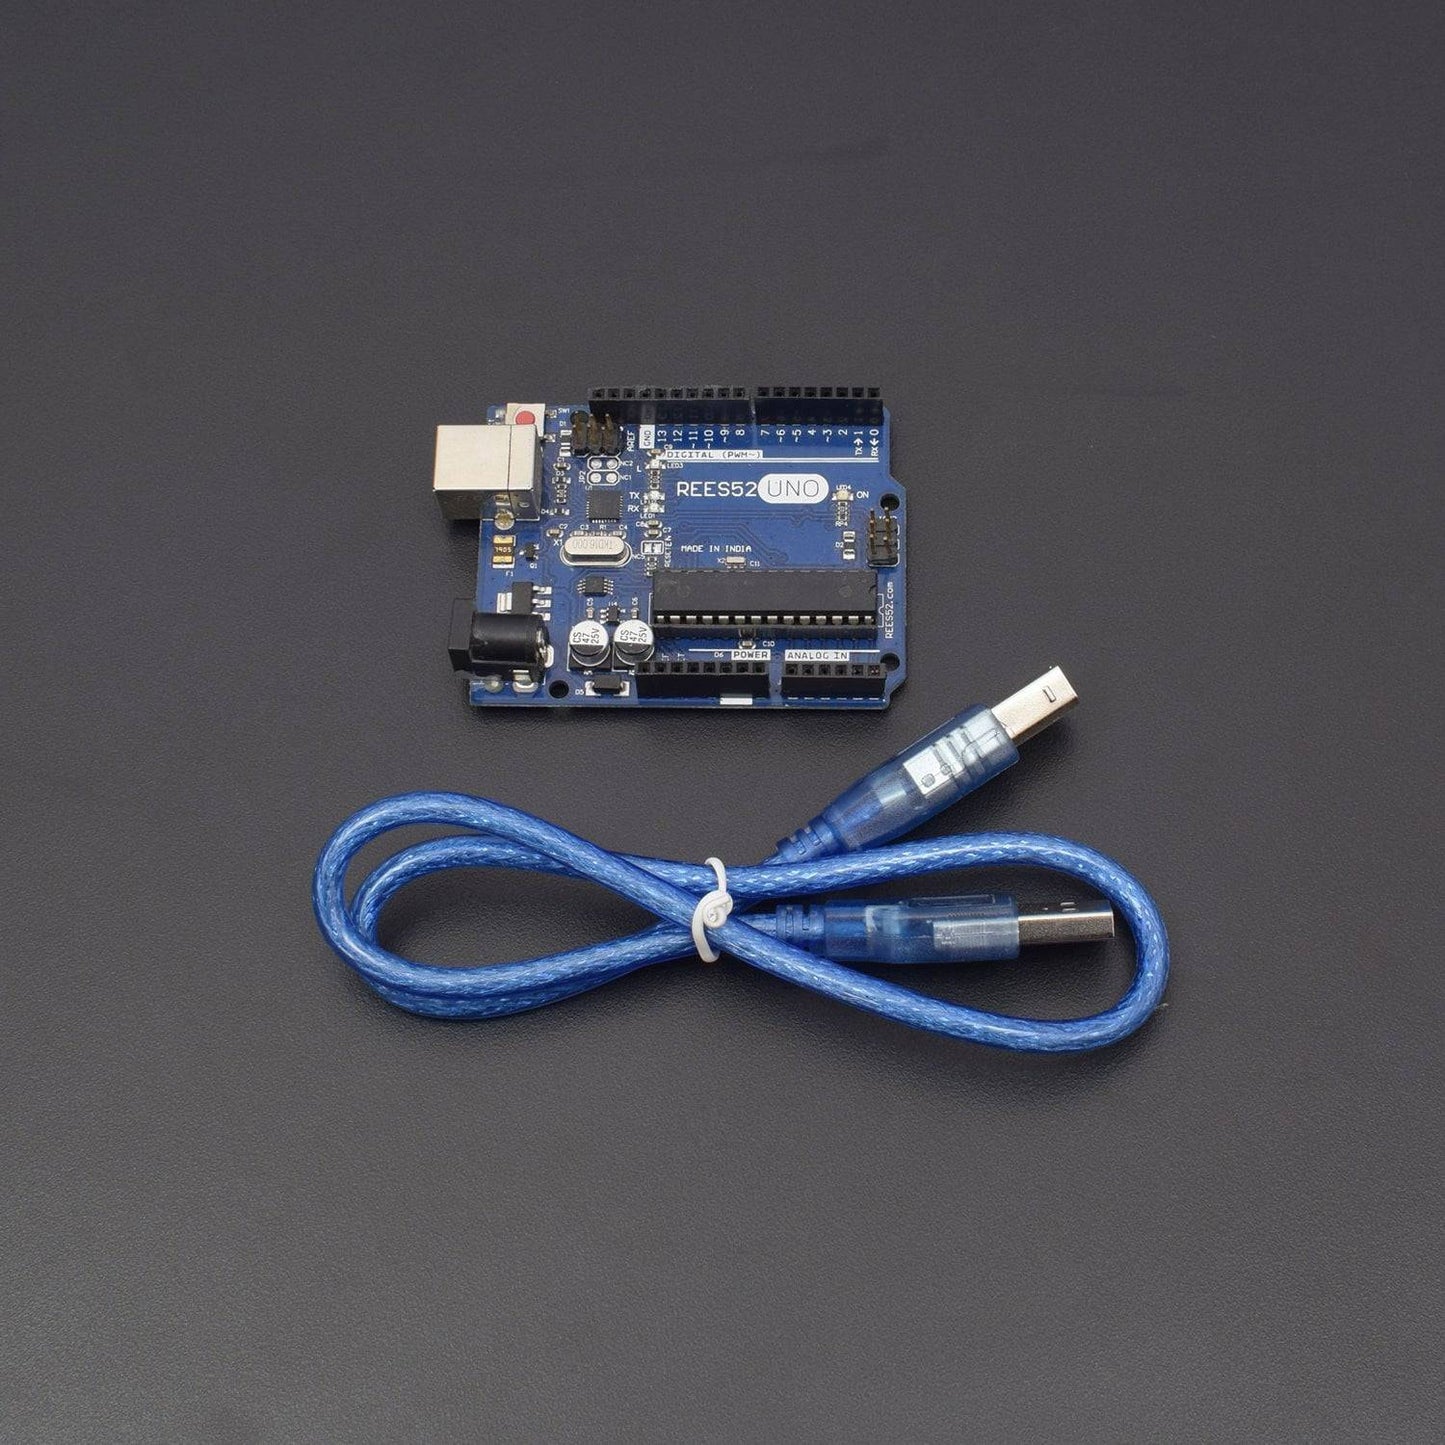
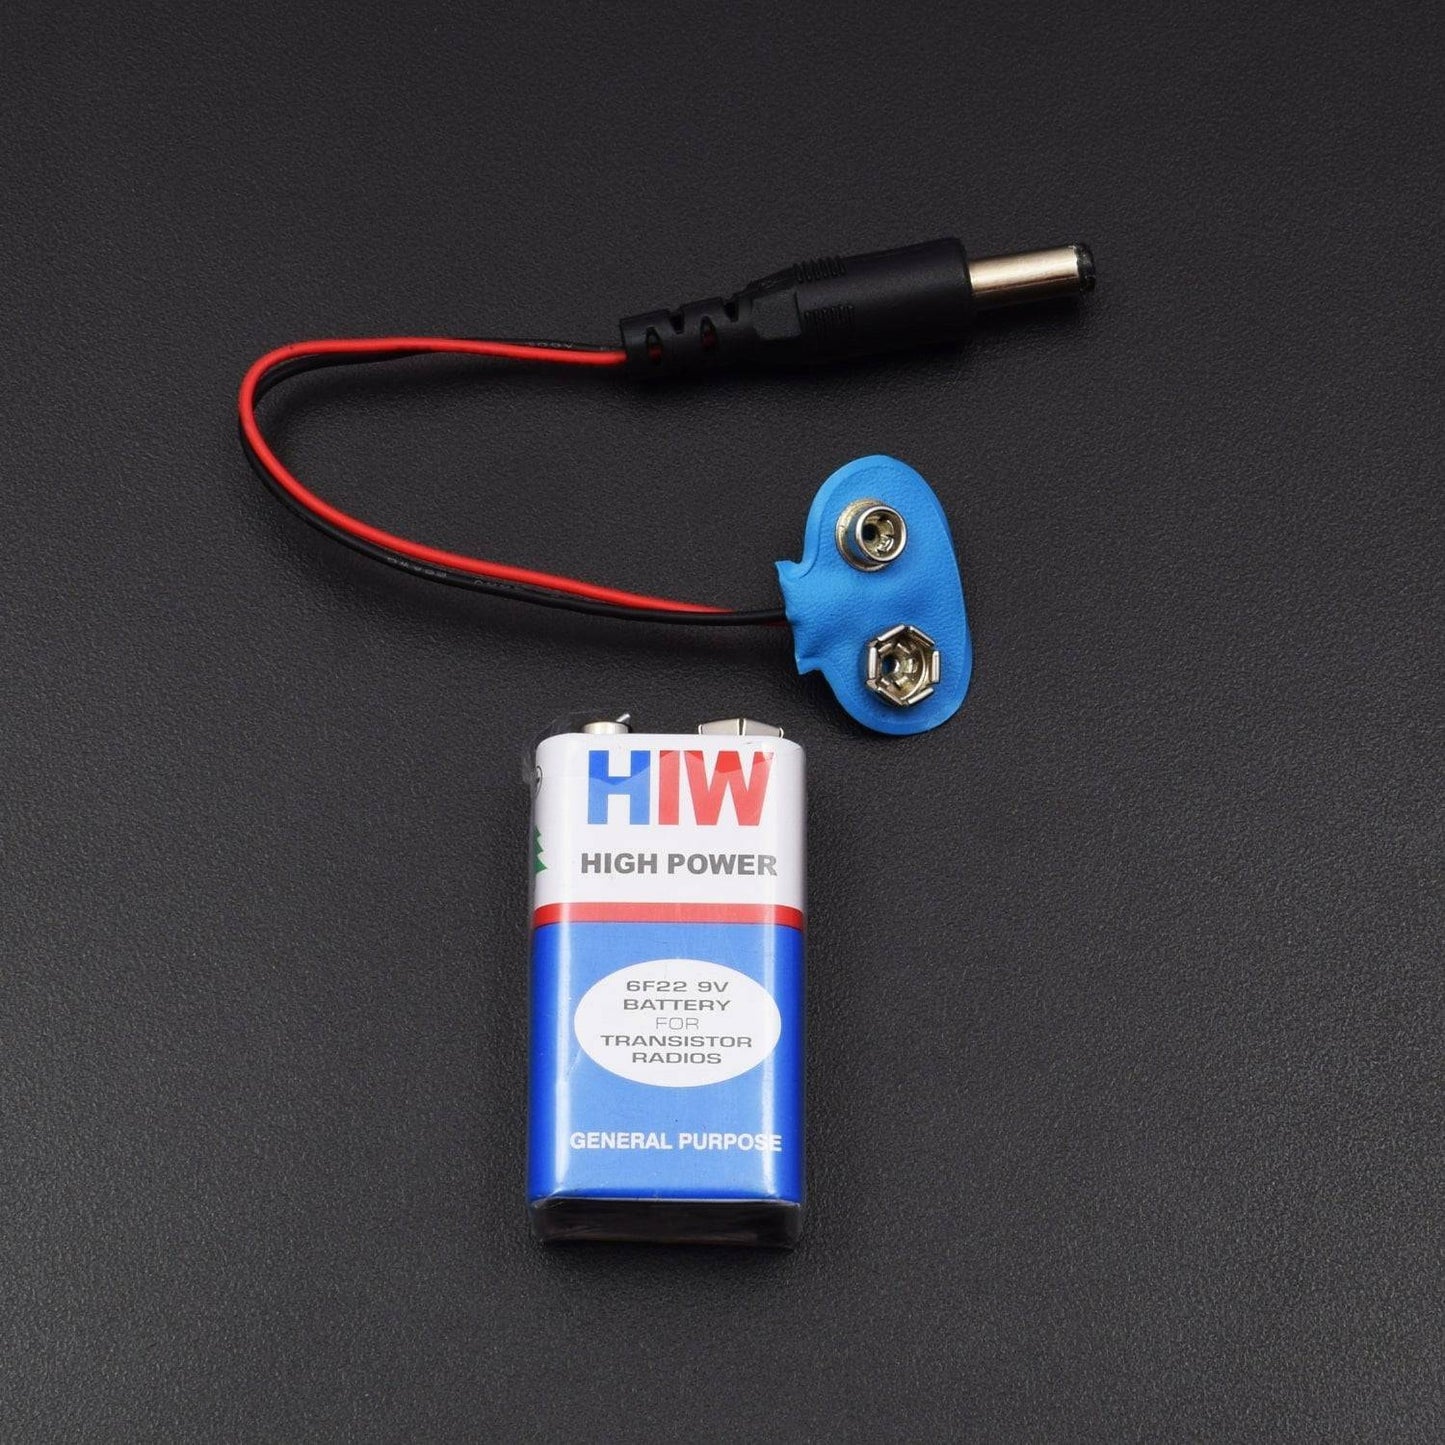
HARDWARE REQUIRED
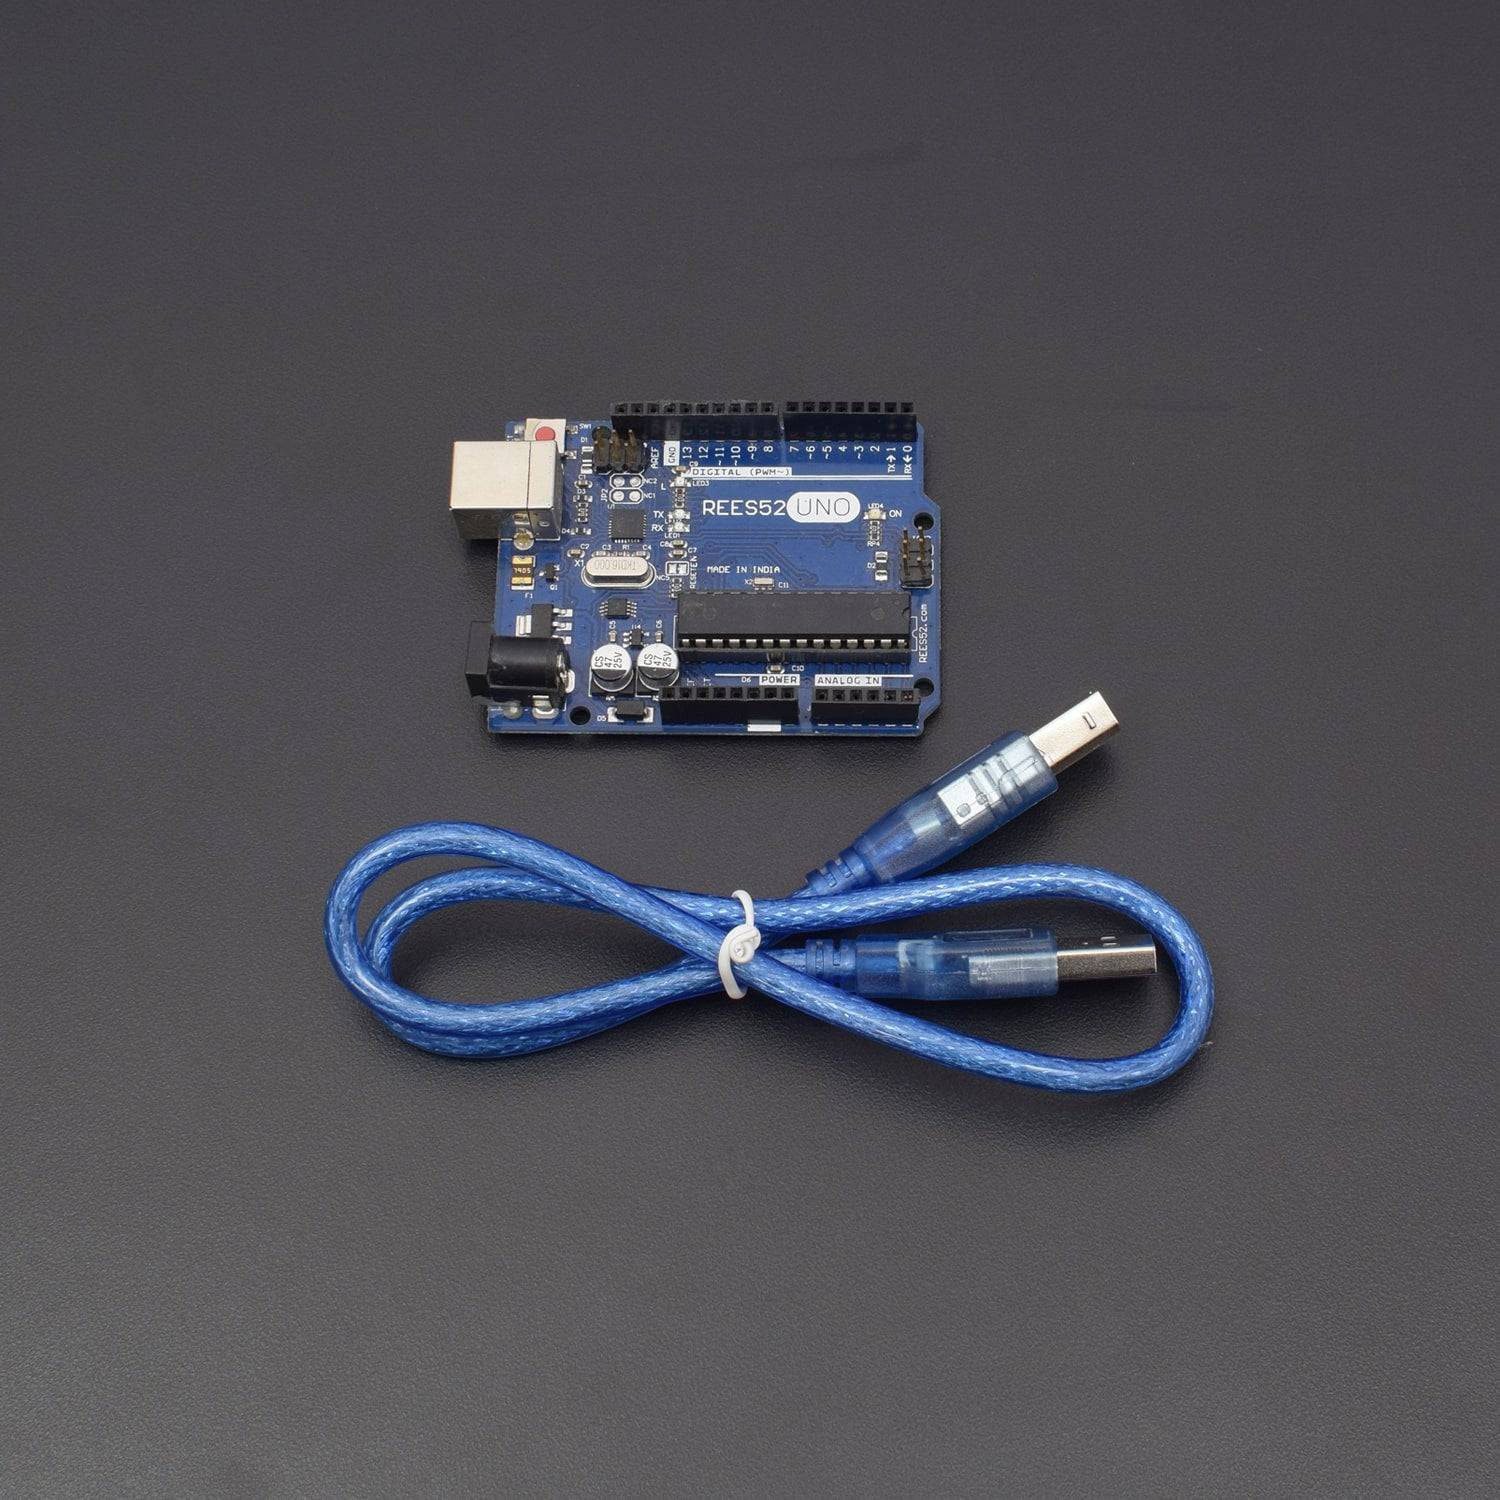
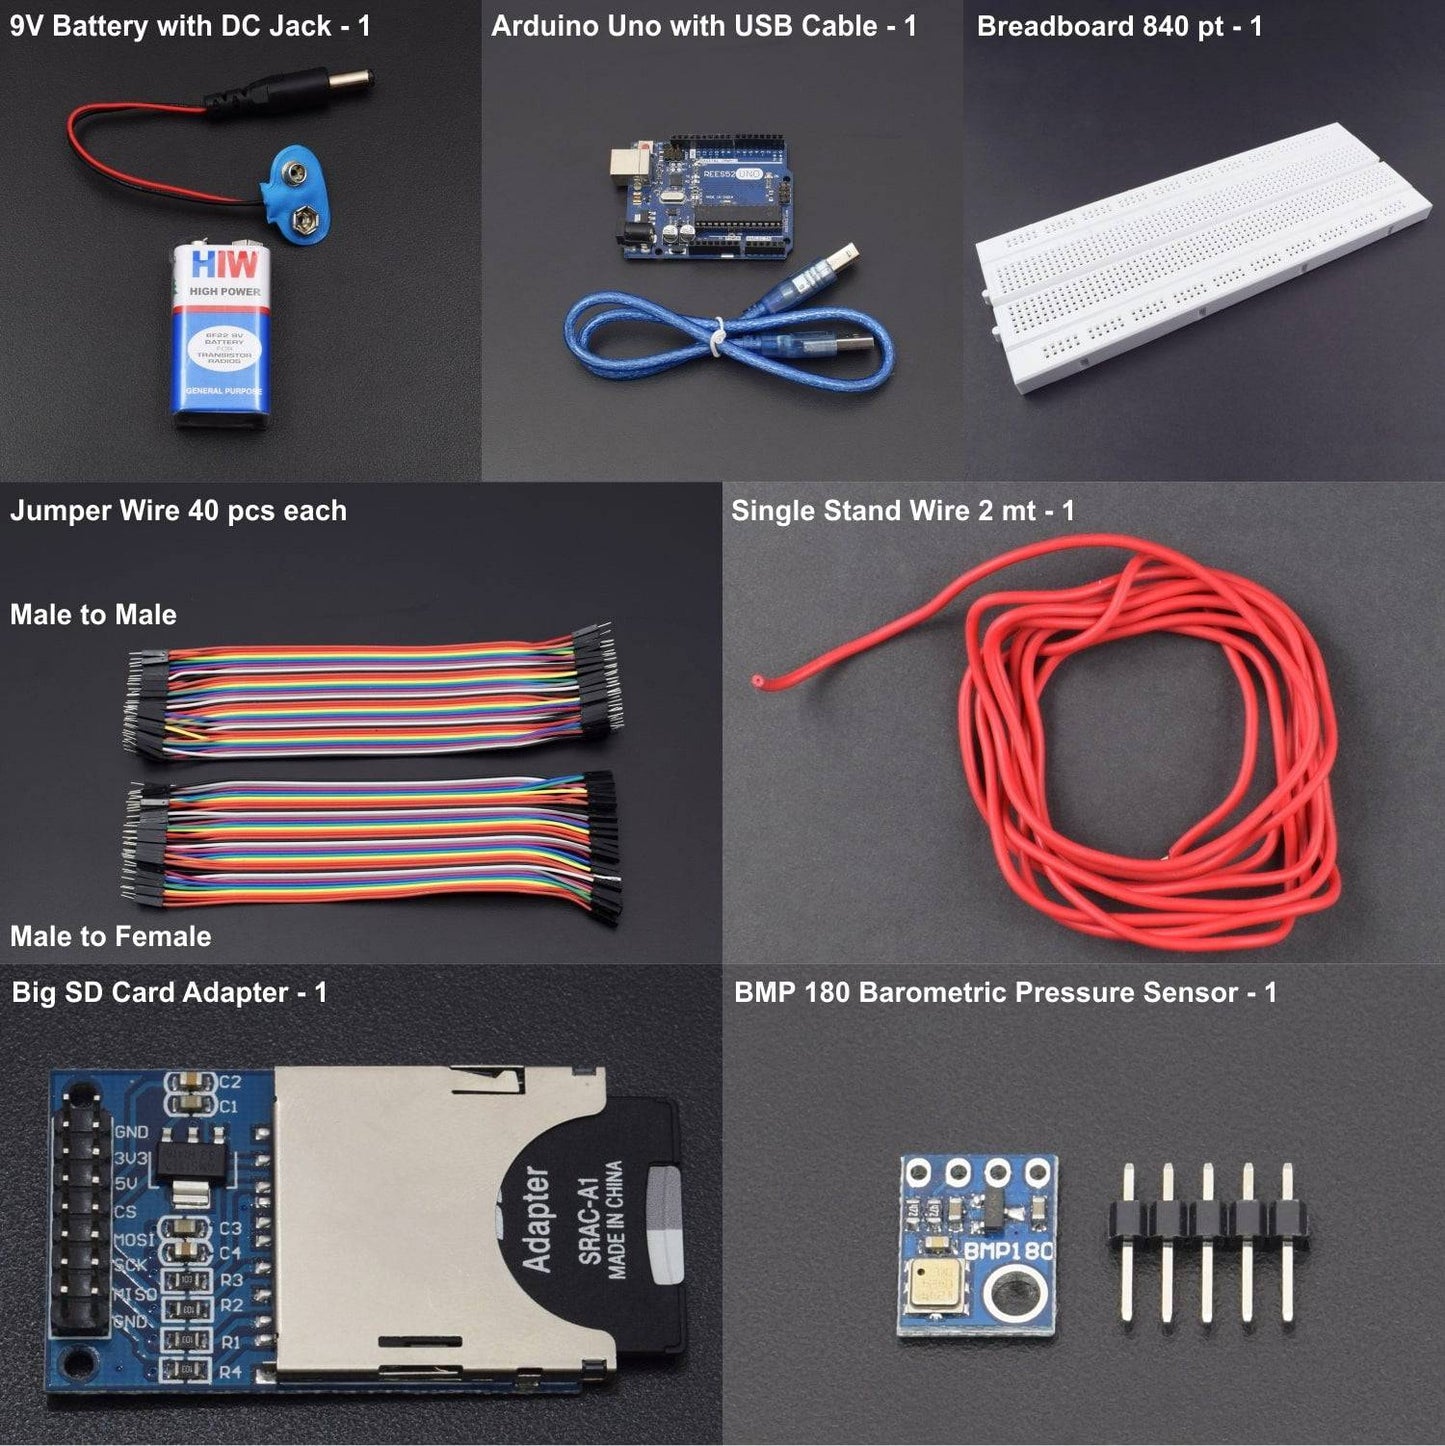
- Arduino uno with USB cable – 1
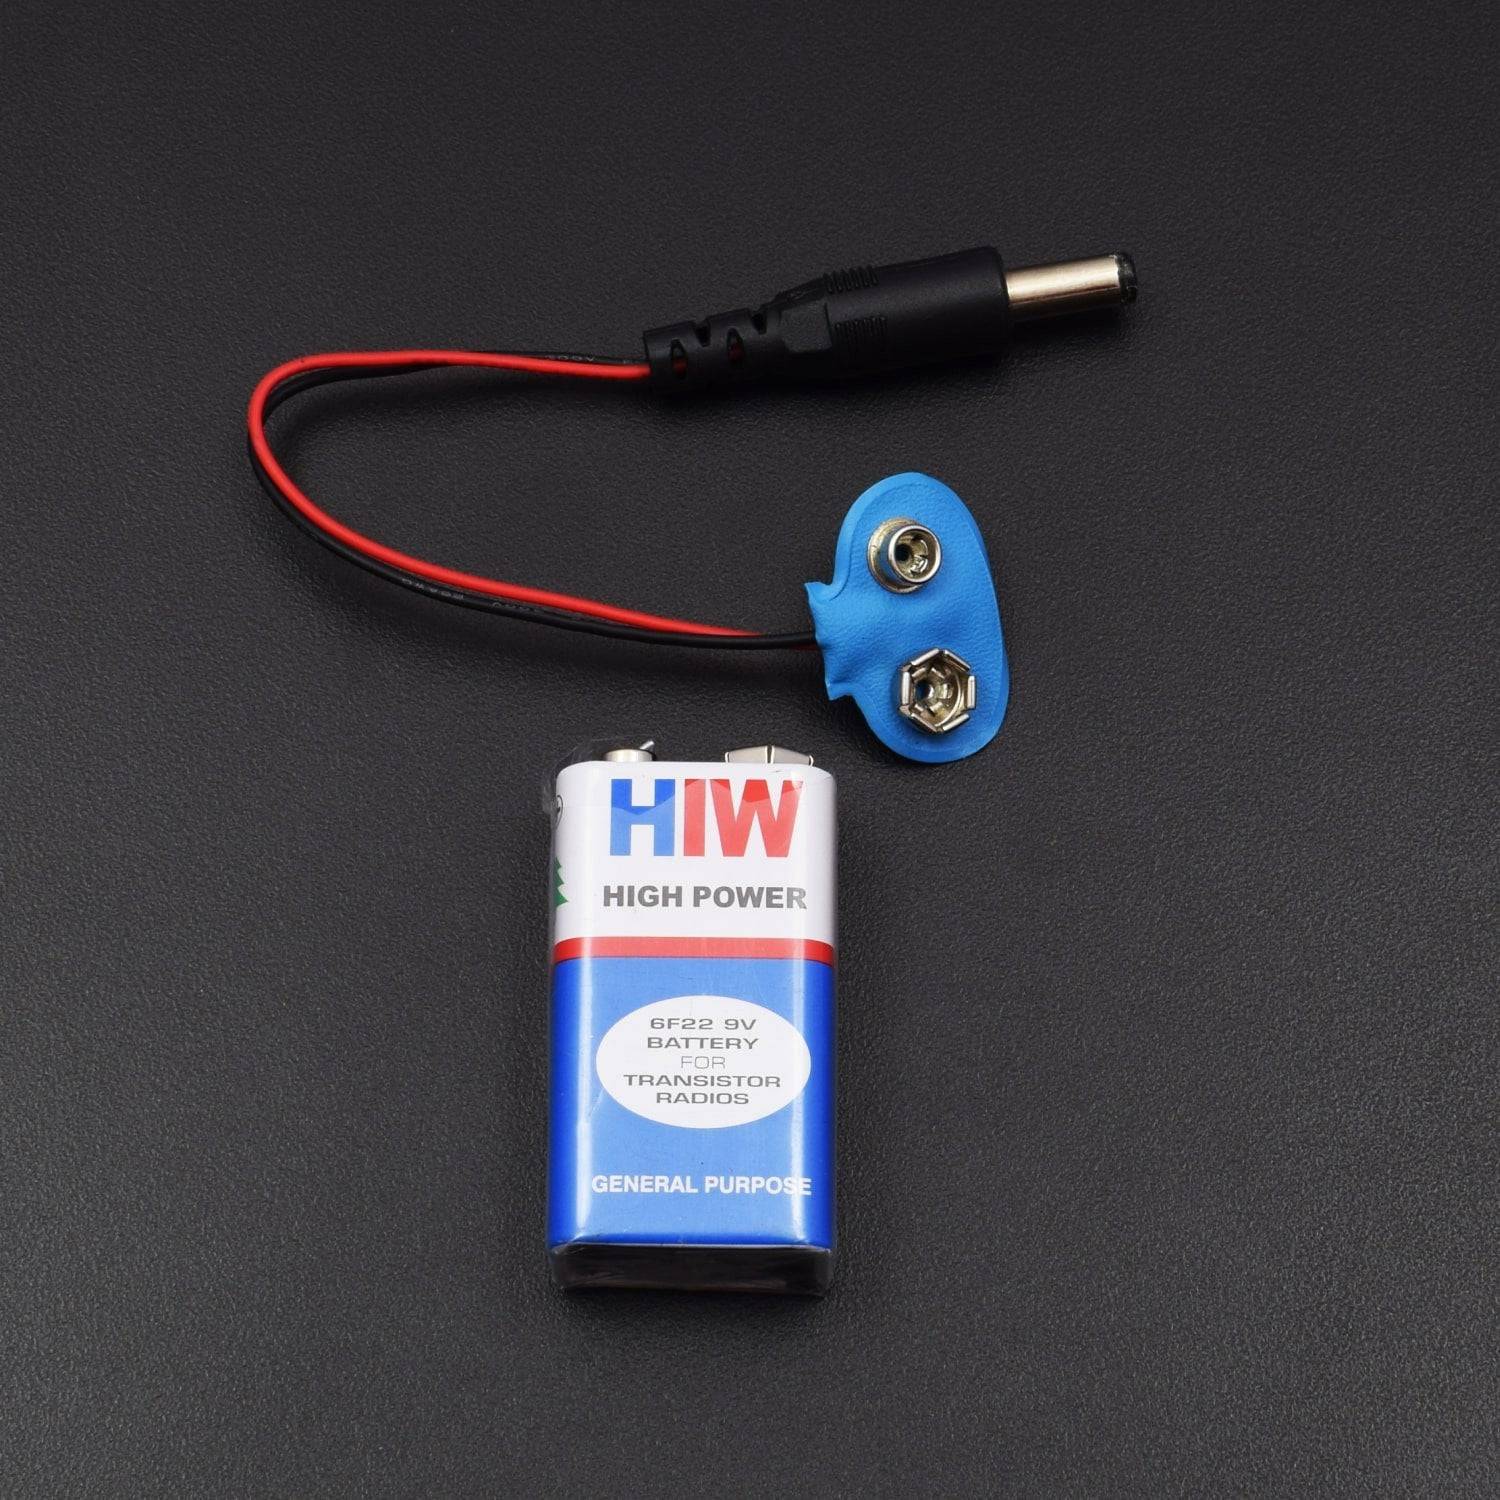
- 9v battery with DC jack -1
- Big SD card module – 1
- BMP180 Pressure and temperature sensor – 1
- Jumper Wire male to female – 40 pieces
- Jumper Wire Male to male – 40 pieces
- Breadboard 840 points – 1
- Single stand wire 2m – 1
HARDWARE REQUIRED
- Arduino uno with USB cable – 1
- 9v battery with DC jack -1
- Big SD card module – 1
- BMP180 Pressure and temperature sensor – 1
- Jumper Wire male to female – 40 pieces
- Jumper Wire Male to male – 40 pieces
- Breadboard 840 points – 1
- Single stand wire 2m – 1
SOFTWARE REQUIRED
Arduino IDE 1.8.5 (programmable platform for Arduino)
Click To Download: https://www.arduino.cc/en/Main/Software
SPECIFICATIONS
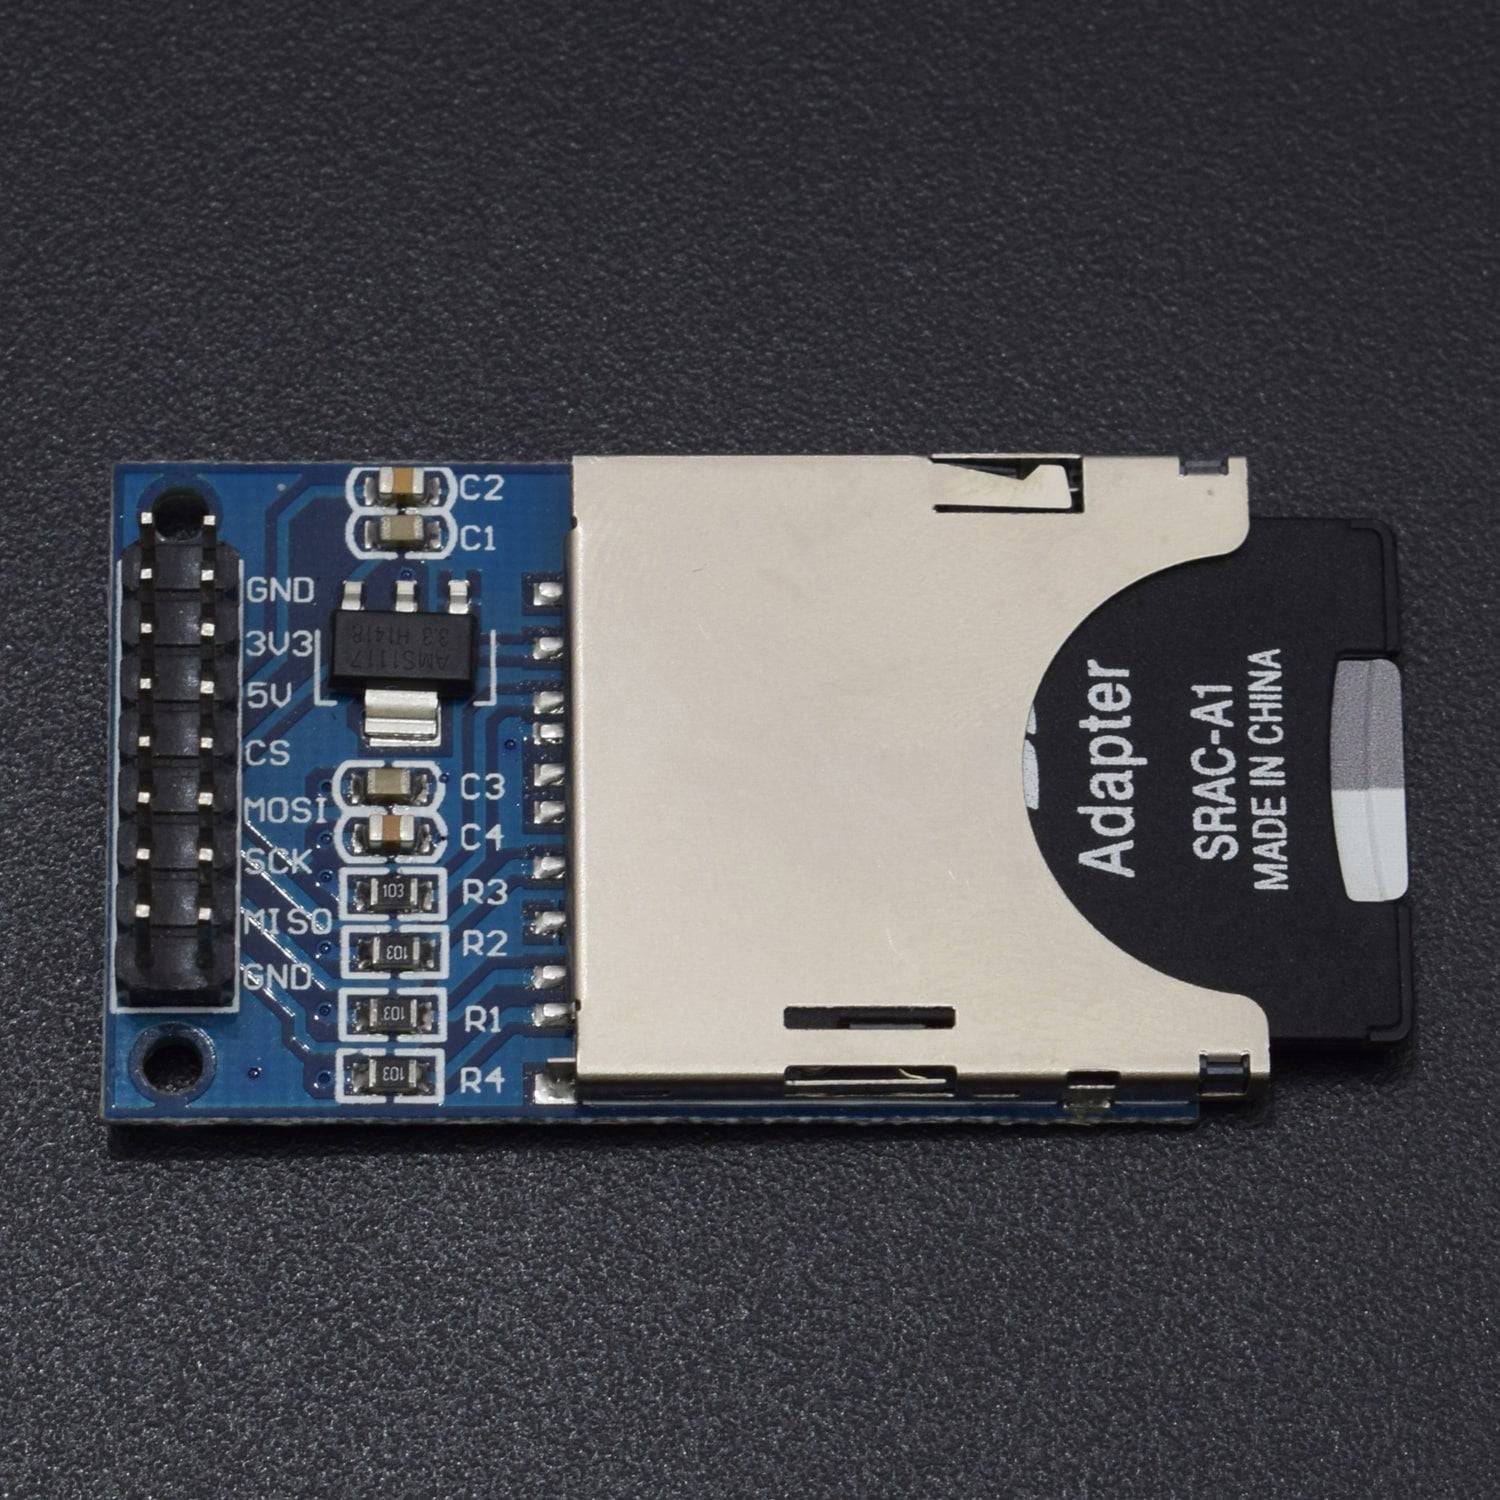
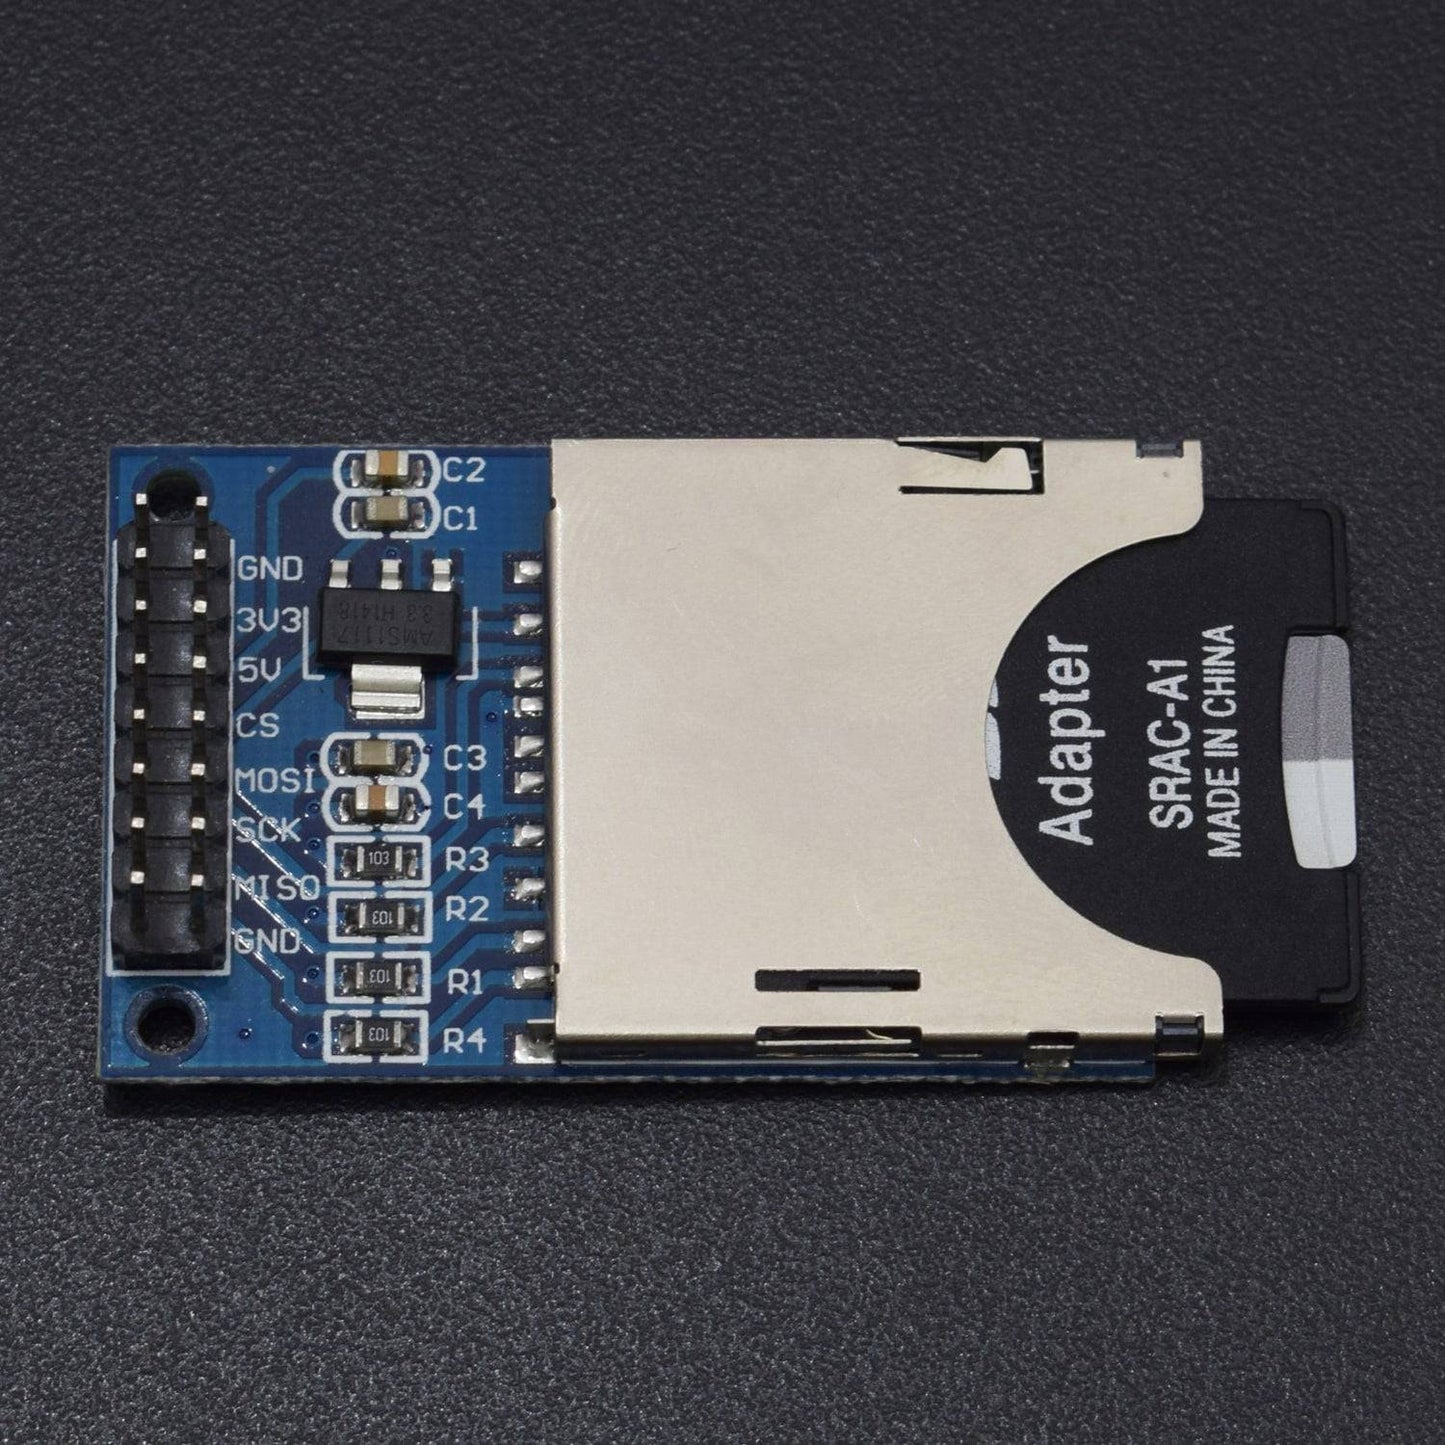
Big SD Card Module
The SD Card Module is a simple solution for transferring data to and from a standard SD card.This module has SPI interface which is compatible with any SD card and it use 5V or 3.3V power supply which is compatible with Arduino UNO/Mega.SD module has various applications such as data logger, audio, video, graphics.
- Operating voltage 5V
- SPI Communication method
- SD card Socket
- Supports FAT16 and FAT32
- Break out board for standard SD card.
- Contains a switch to select the flash card slot
- Sits directly on a Arduino
- Also be used with other microcontrollers
BMP180 Pressure and Temperature sensor
This pressure sensor is a BMP-180 based digital barometric pressure sensor module and is functional compatible with older BMP-085 digital pressure sensor with less power consumption smaller in size and more accurate.
- Supply Voltage:1.8V to 3.6V
- Low power consumption:0.5uA at 1Hz
- I2C interface
- Max I2C Speed: 3.5Mhz
- Pressure Range: 300hPa to 1100hPa (+9000m to -500m)
CIRCUIT CONNECTION
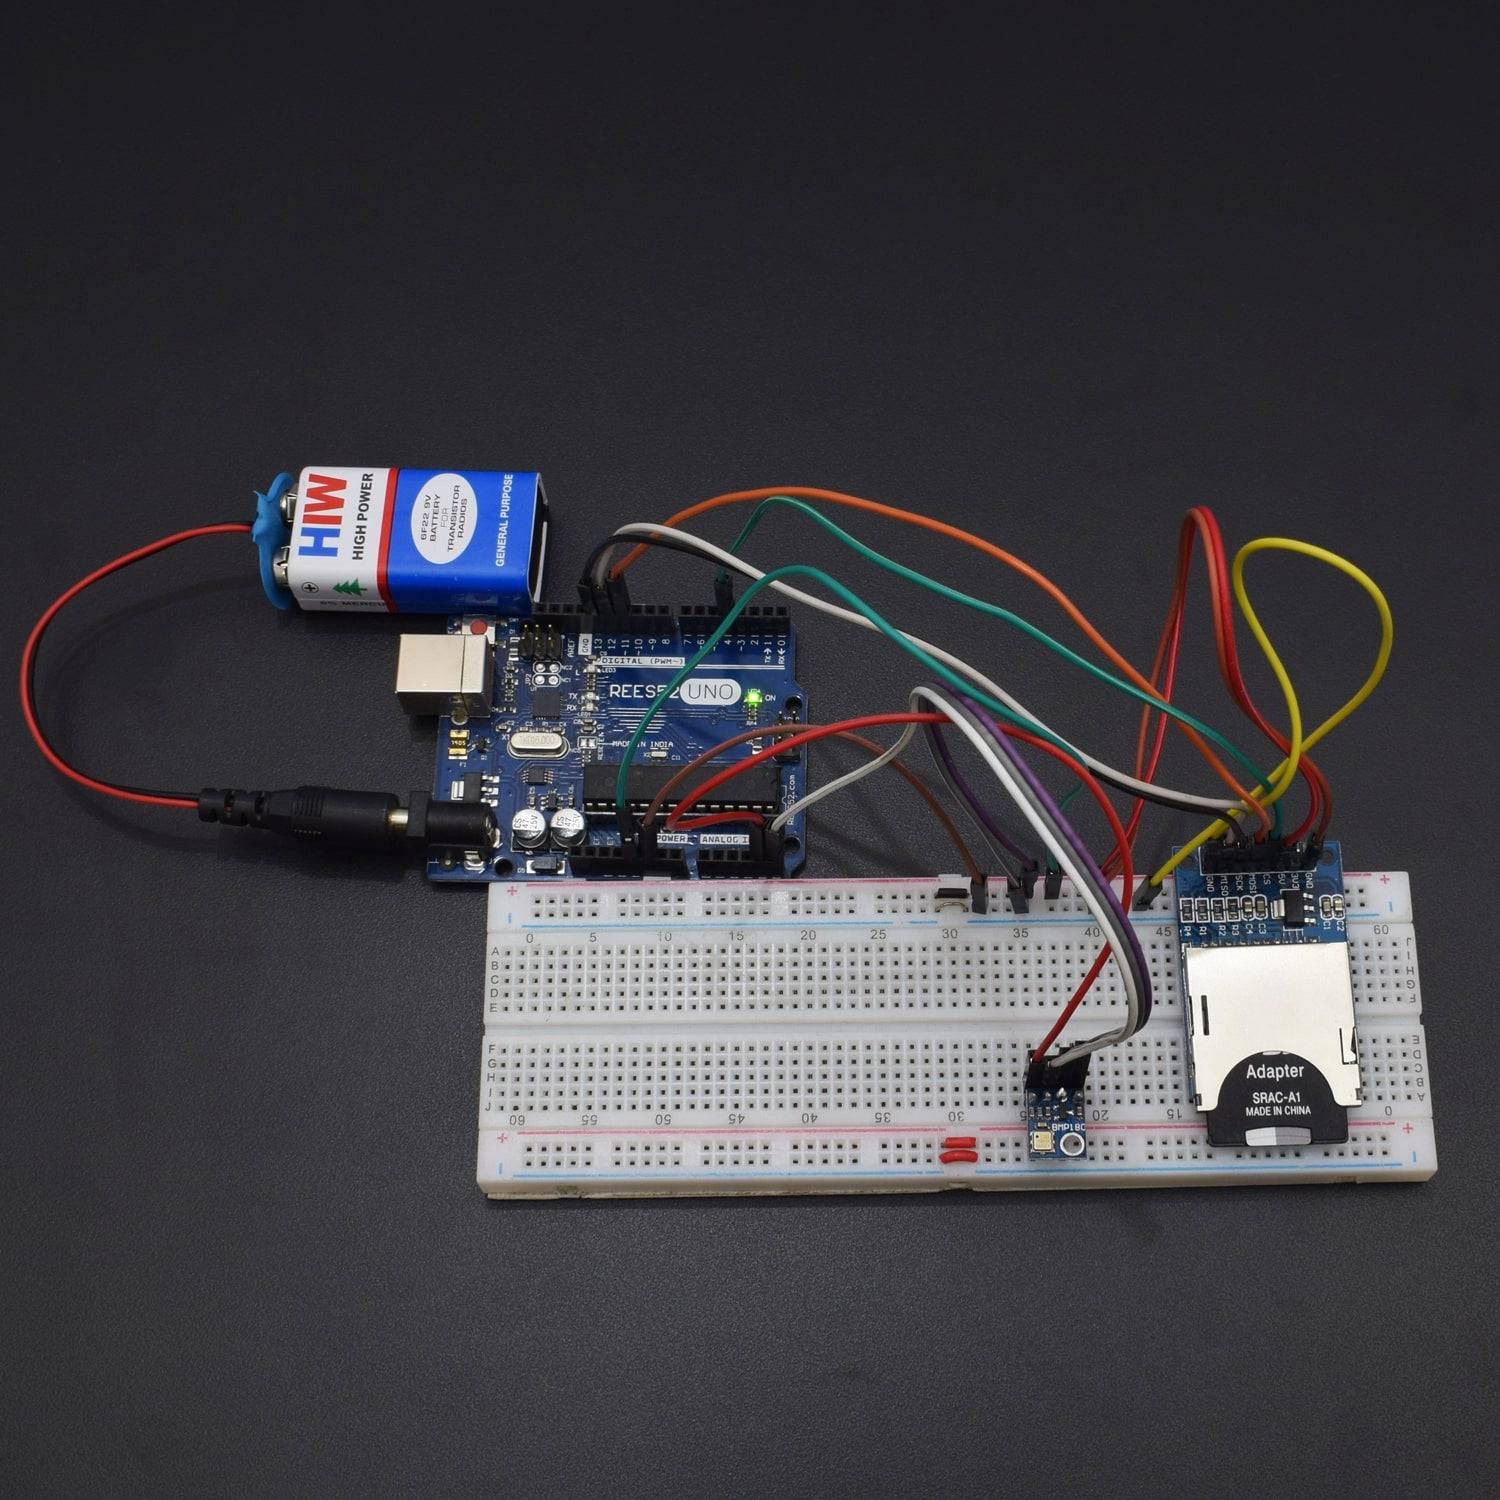
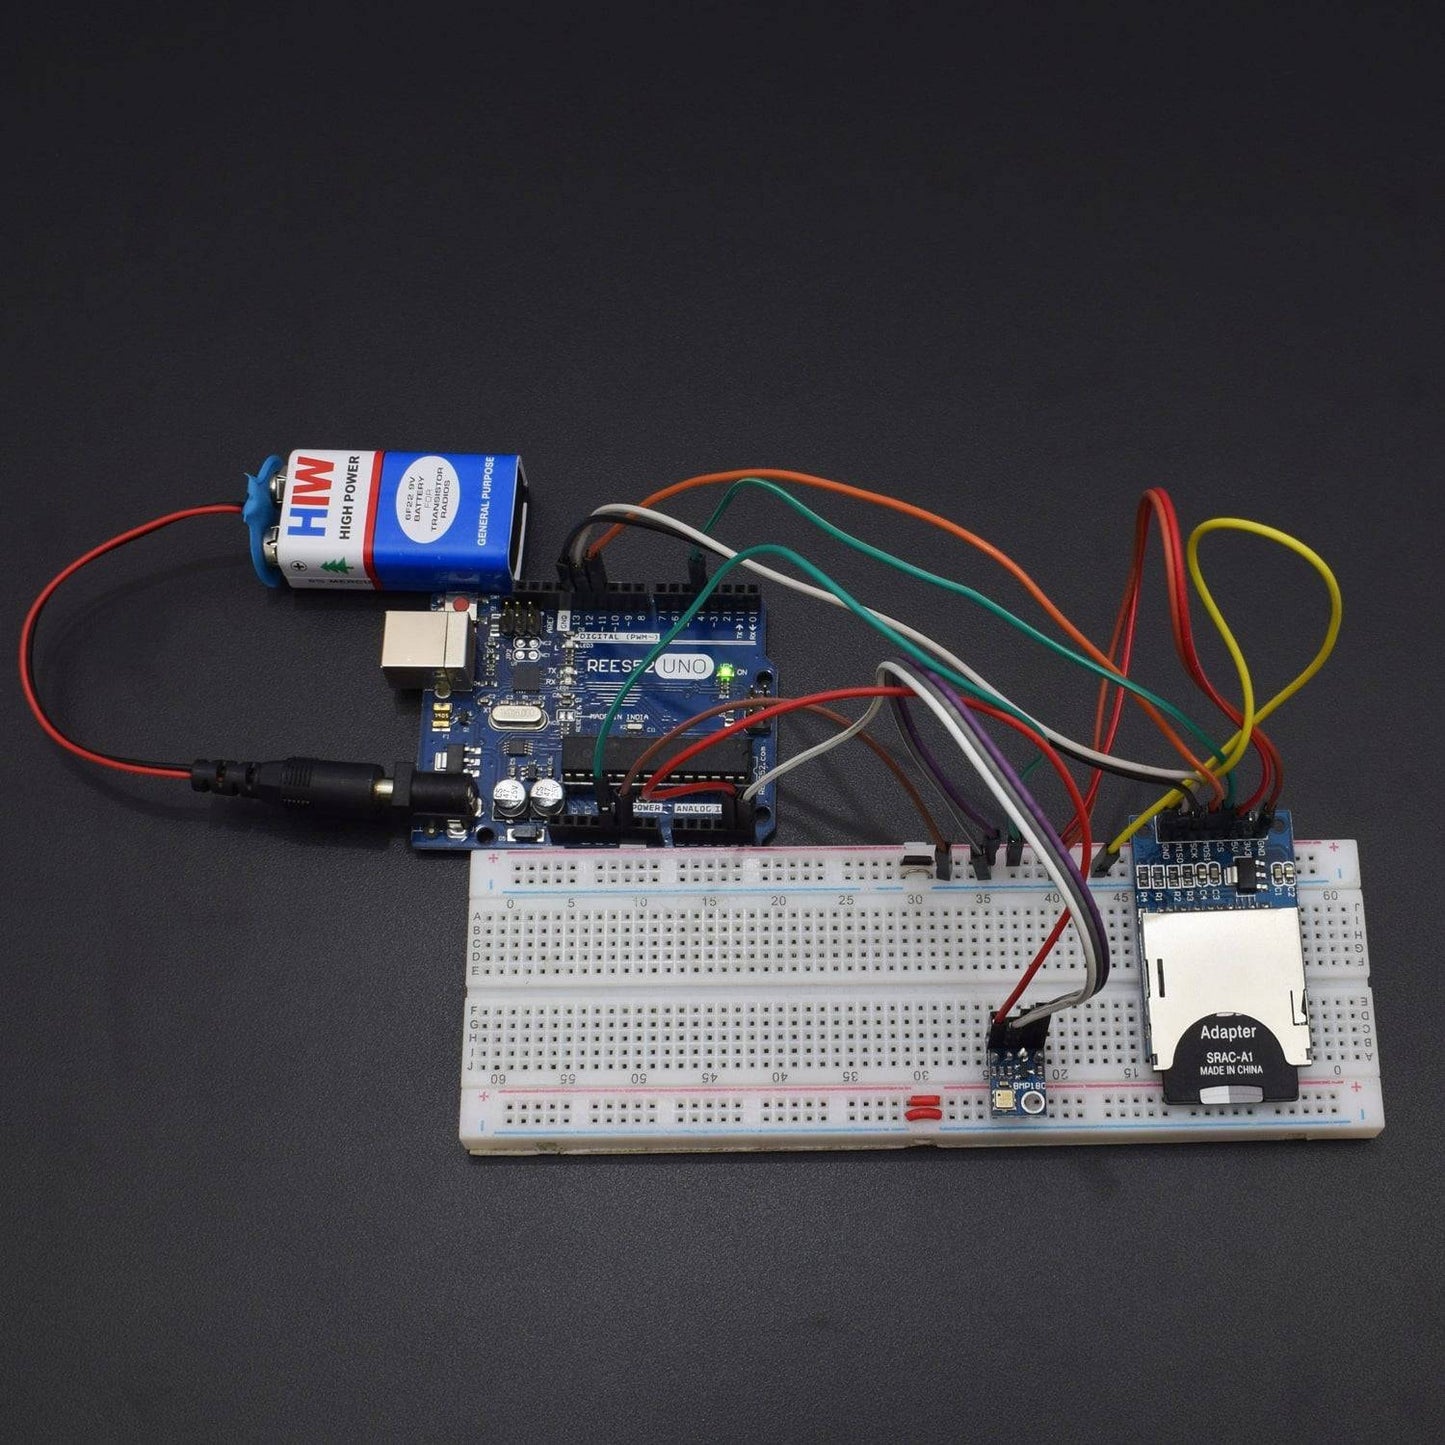
The BMP180 is connected to the arduino as follows:
Once you have the BMP180 connected, test and make sure your code is working, and you are getting good pressure and temperature readings. Once that is working, you are ready to connect your SD card Reader/Writer.
The SD card reader should be connected as follows:


LIBRARY & CODE
Install this library as follows: Sketch -> Include Library -> add .zip Library
SD
https://drive.google.com/open?id=14XeOIpZXd5gEfq7_N0y3rpAMTRr1ZpnK
SPI:Inbuilt Library you can add this using IDE
Sketch -> Include Library -> Manage Library -> Search for SPI -> Install the latest version
Or
Click to downloadhttps://drive.google.com/open?id=1sYq1UCDgBf1_Njkg8Bt7_R2rq1u0ghpC
WIRE
https://drive.google.com/open?id=1Ej-R75OikJAlHrj275zYvKNzDN3cm0zi
BMP180
https://drive.google.com/open?id=1MehZlFQpO_HgZFF5hOCNnV4nr4NlHjj_
Click to see the code or copy the link :
https://drive.google.com/open?id=1Bz3csaVULx0ruUnG9MKlFk7c1oWclp_J
WORKING
If you have the BMP180 and the SD card connected correctly, this should create a file called PTData.txt on the card, and write comma delimited data to the file. Note that if the file does not exist on the card, the command:
mySensorData = SD.open("PTData.txt", FILE_WRITE);
will create the file. If the file already exists, this command will append data to the existing file. If you want to start with a clean new data set, erase the old PTData file.
When you run the program, you end up with a PTData.txt file on the SD card. When you have finished logging your data, you can pop the card out, put it into your PC, and then import the data into excel. You should now be able to plot, graph or analyze the data using all the powerful features of Excel.
If you want to see the saved file(reading of BMP180) , the saved data reading will be stored in SD Card .so to see the file go to MY COMPUTER then you will see the location as given in image below (USB Drive (F:))


Click on the File then you will able to see the PTdata file.


SERIAL MONITOR READING


PTdata


