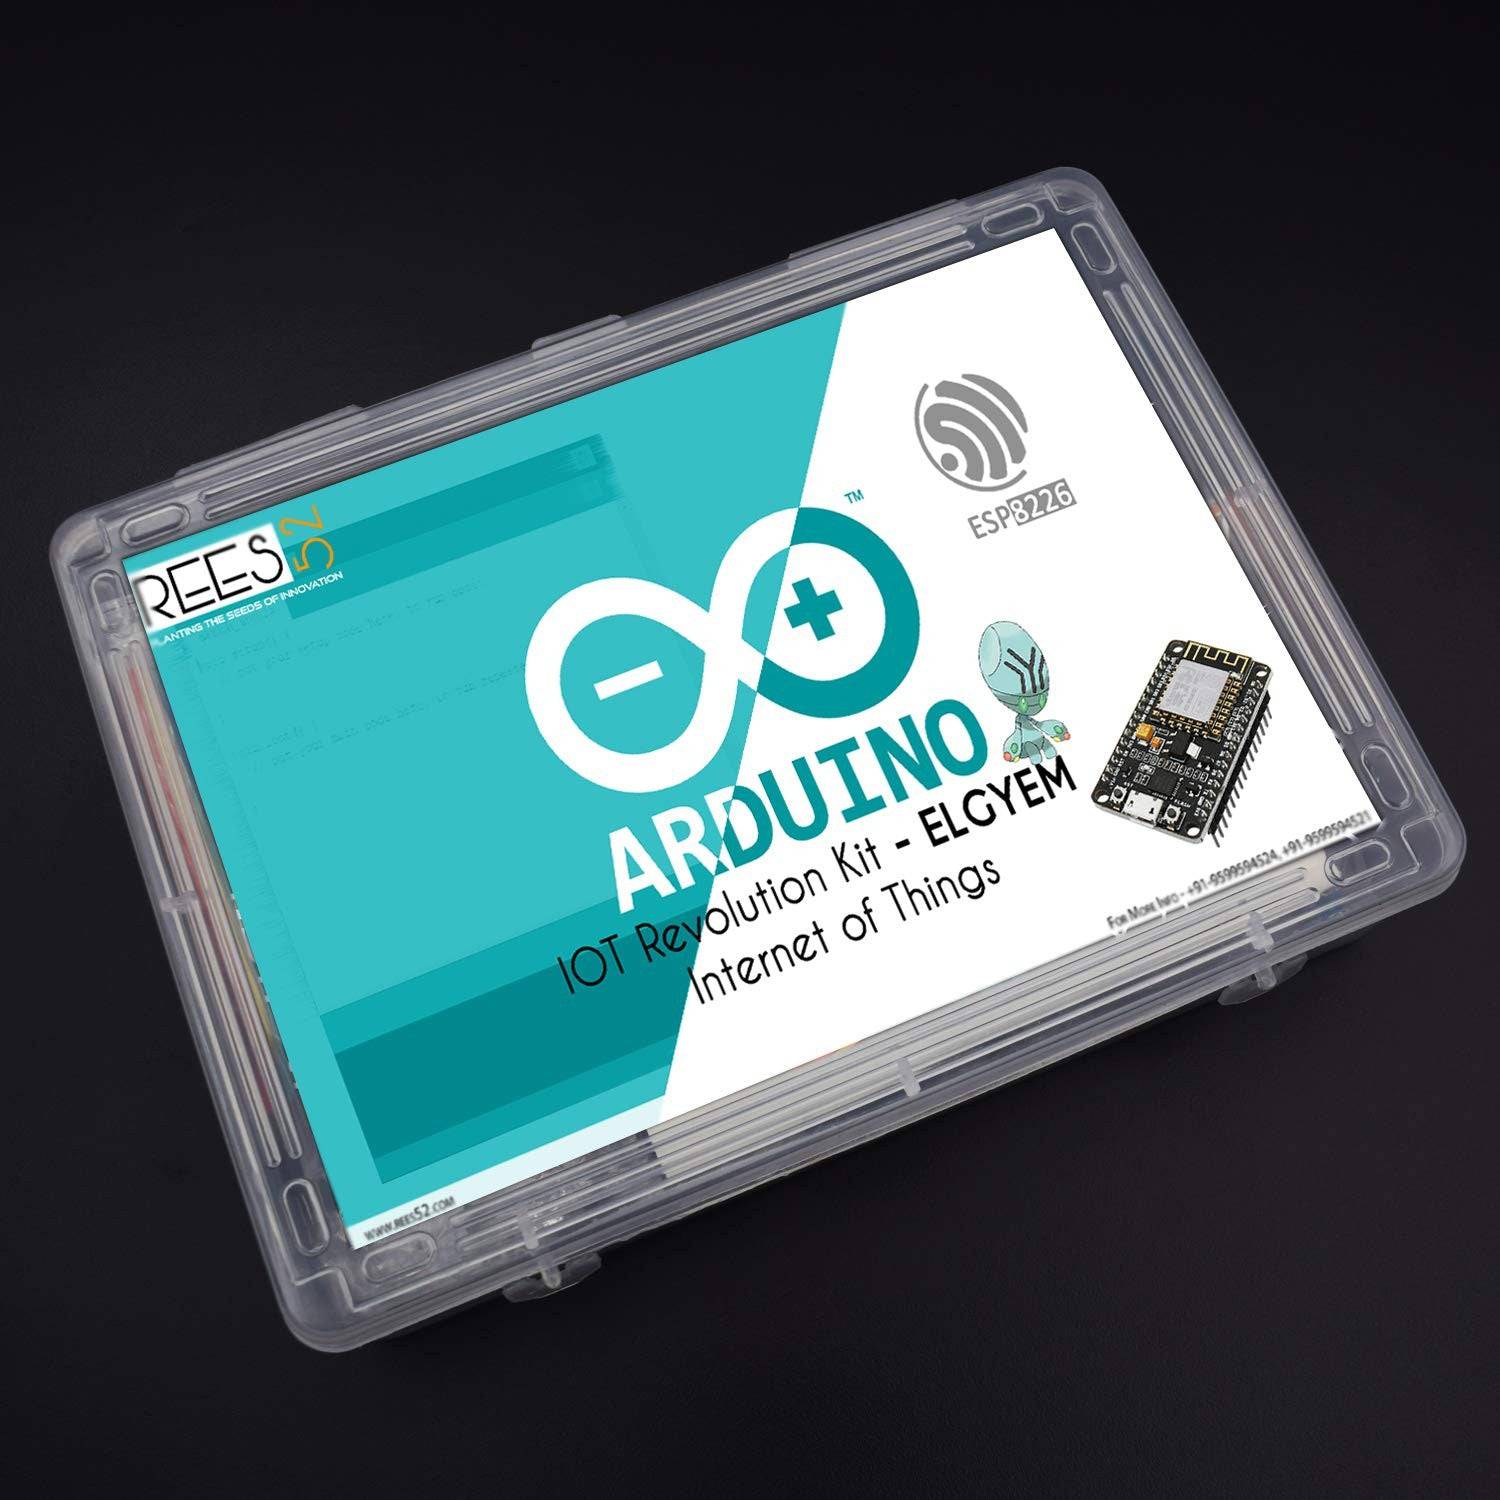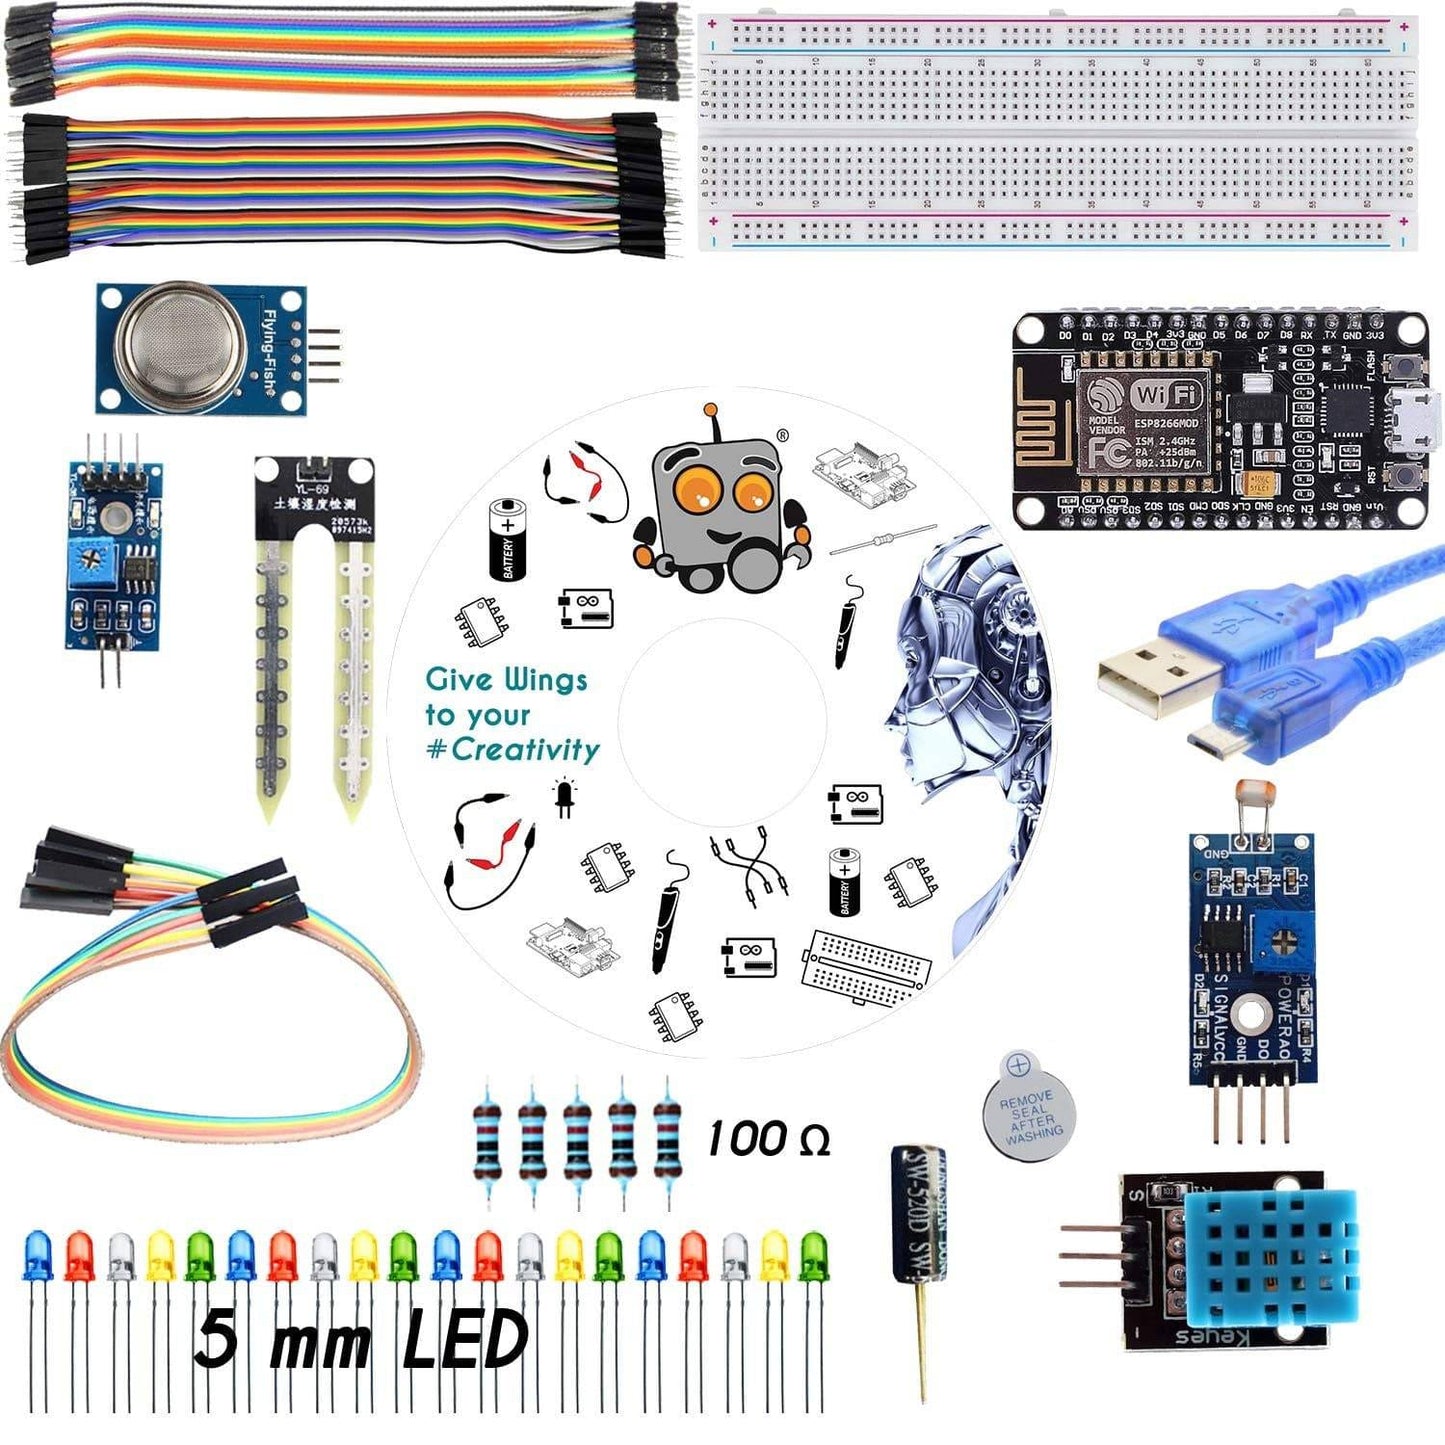
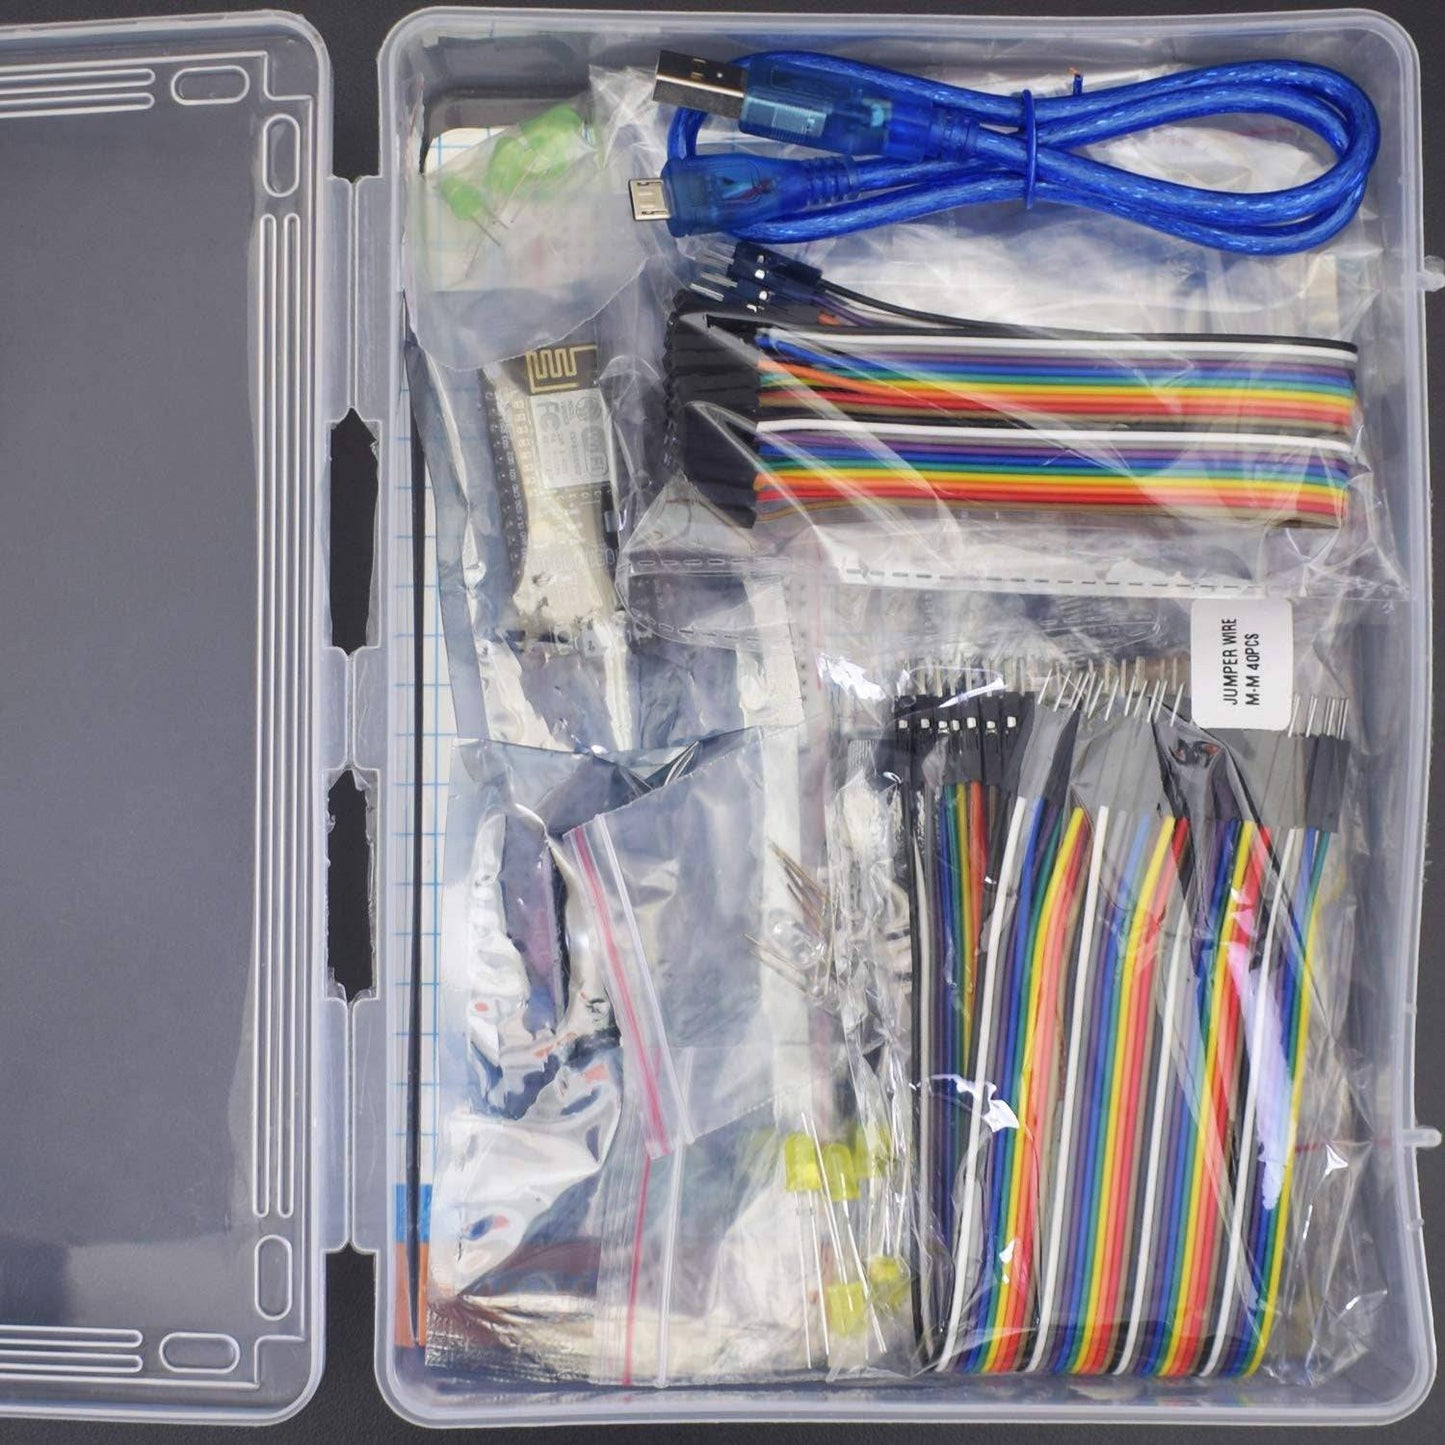
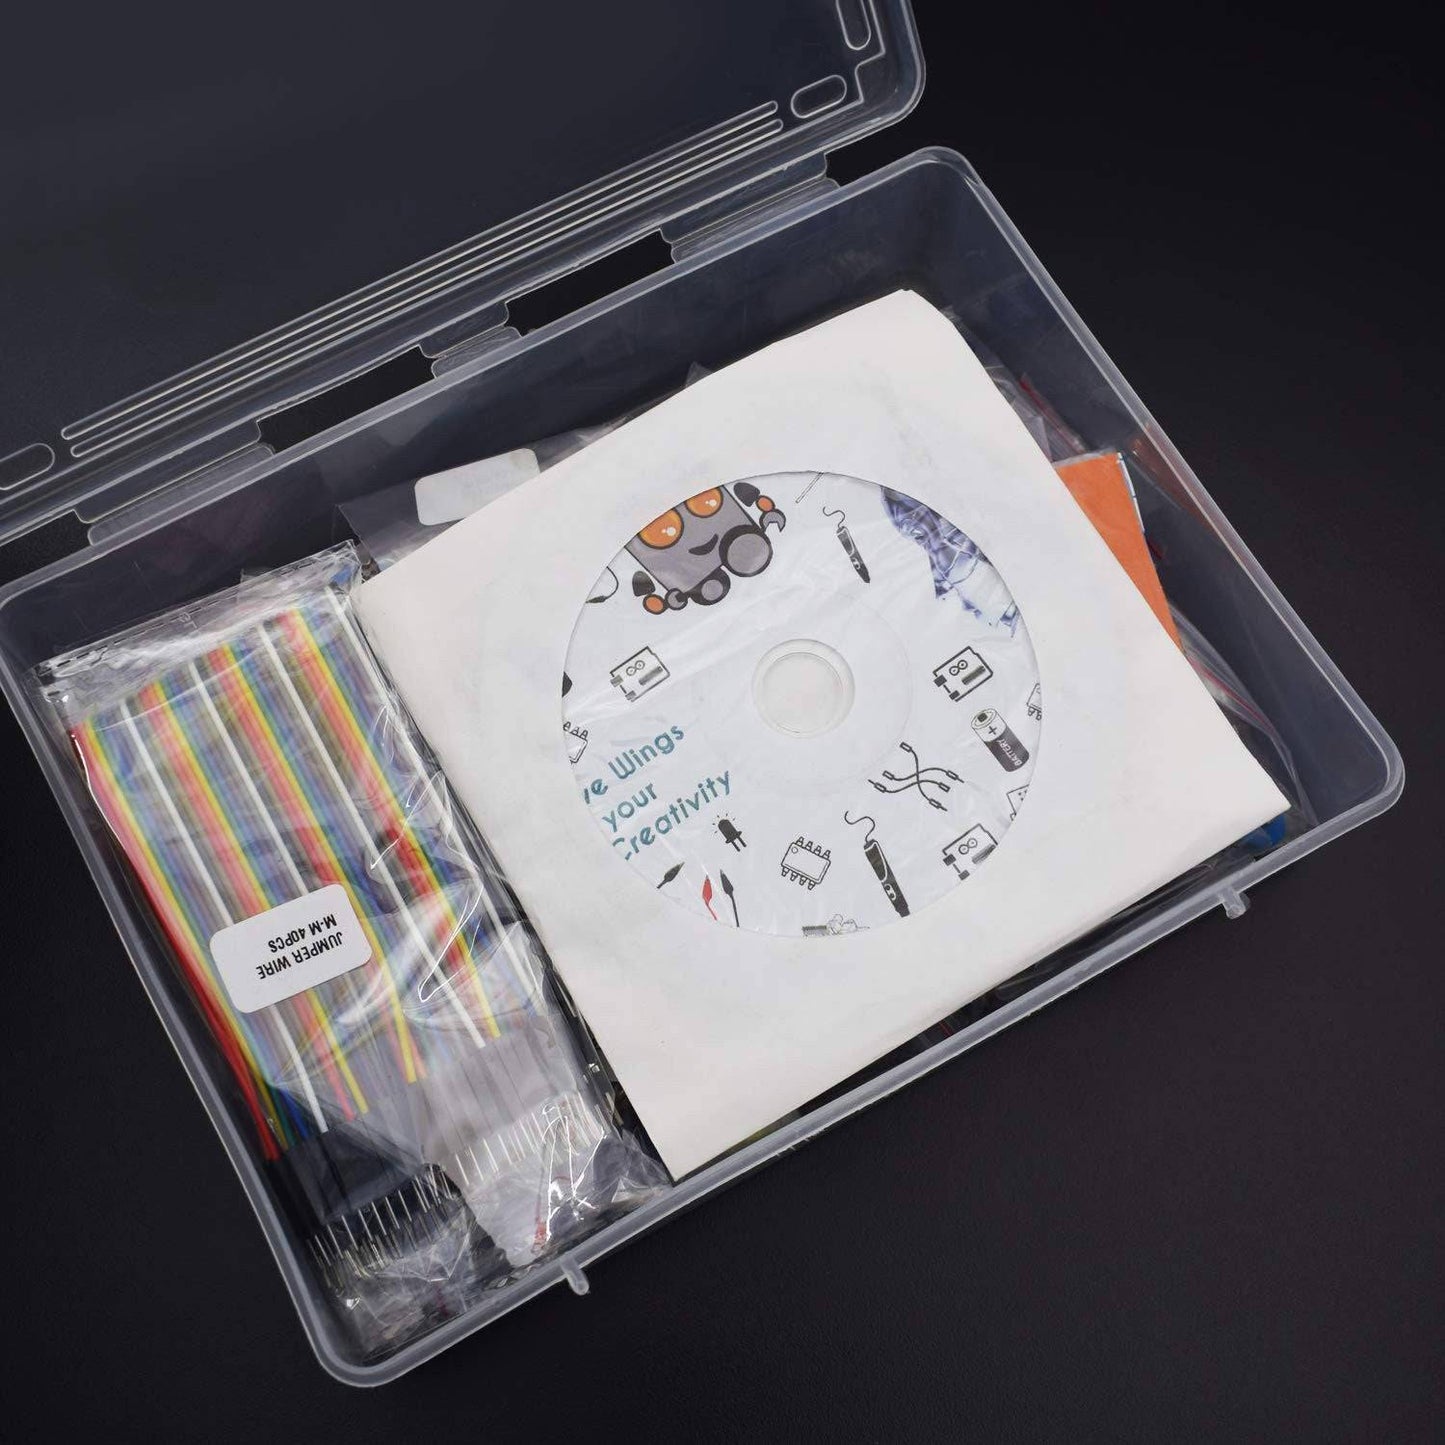
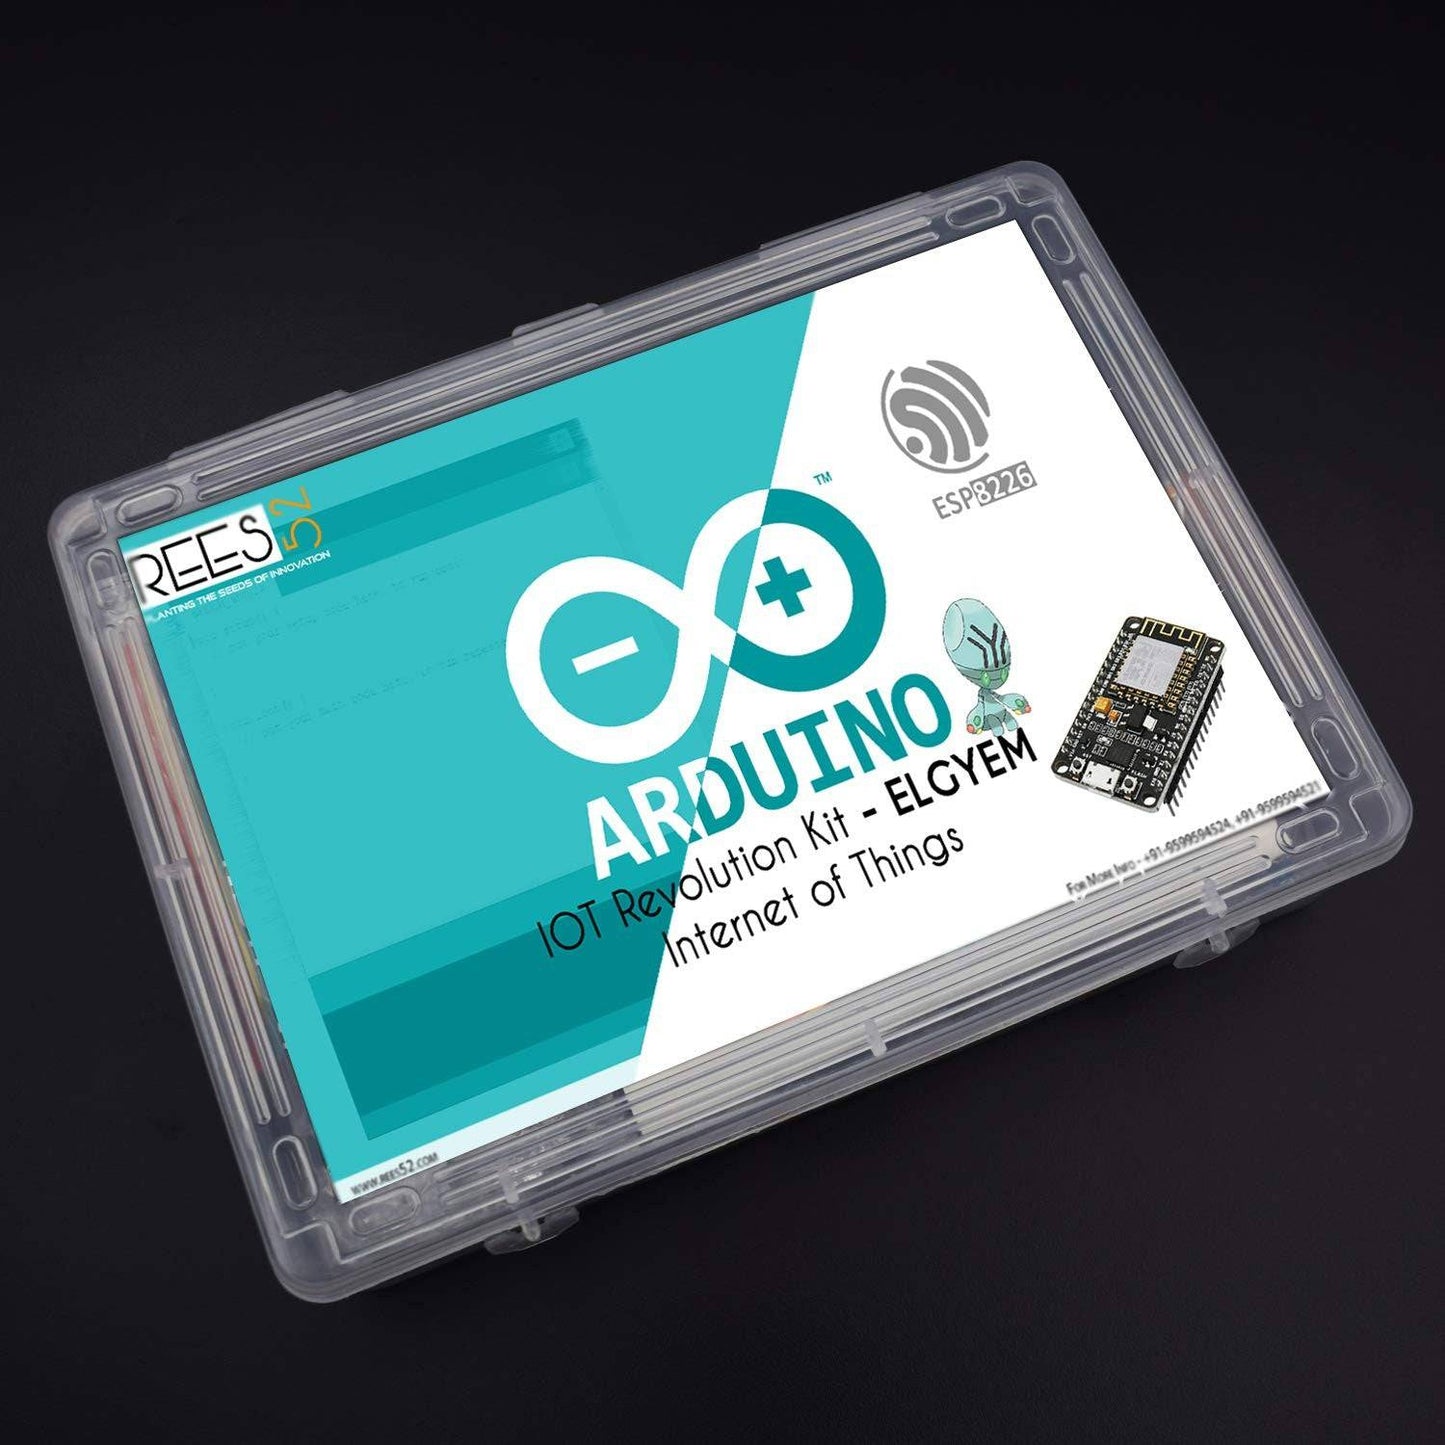
Welcome to Our Channel REES52 In this video, we are introducing our new kit "IoT Revolution kit - ELGYEM". Complete description for all the components available in this video (Link - https://www.youtube.com/watch?v=Nm2Fsi7lLsg). You can learn how to use all the kit components with a diagram.

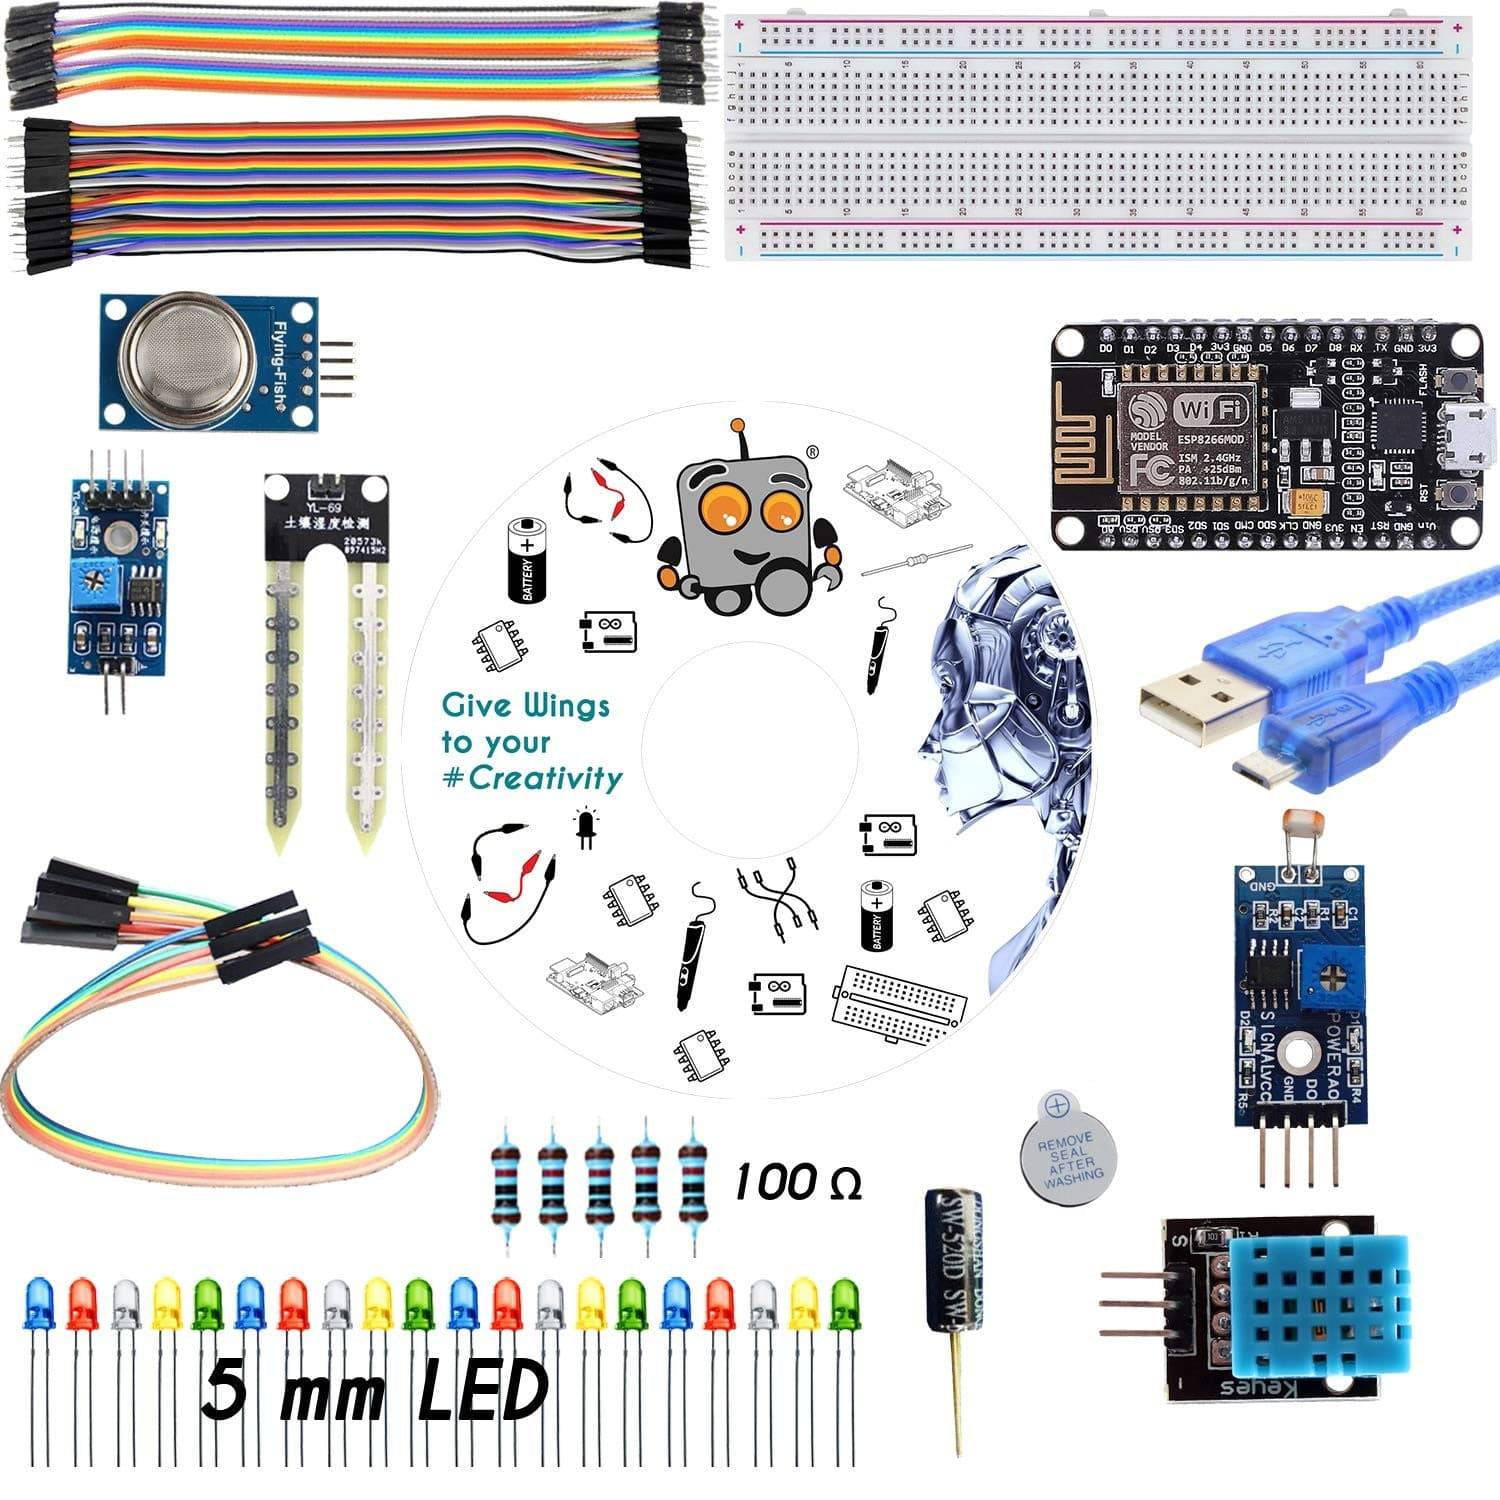
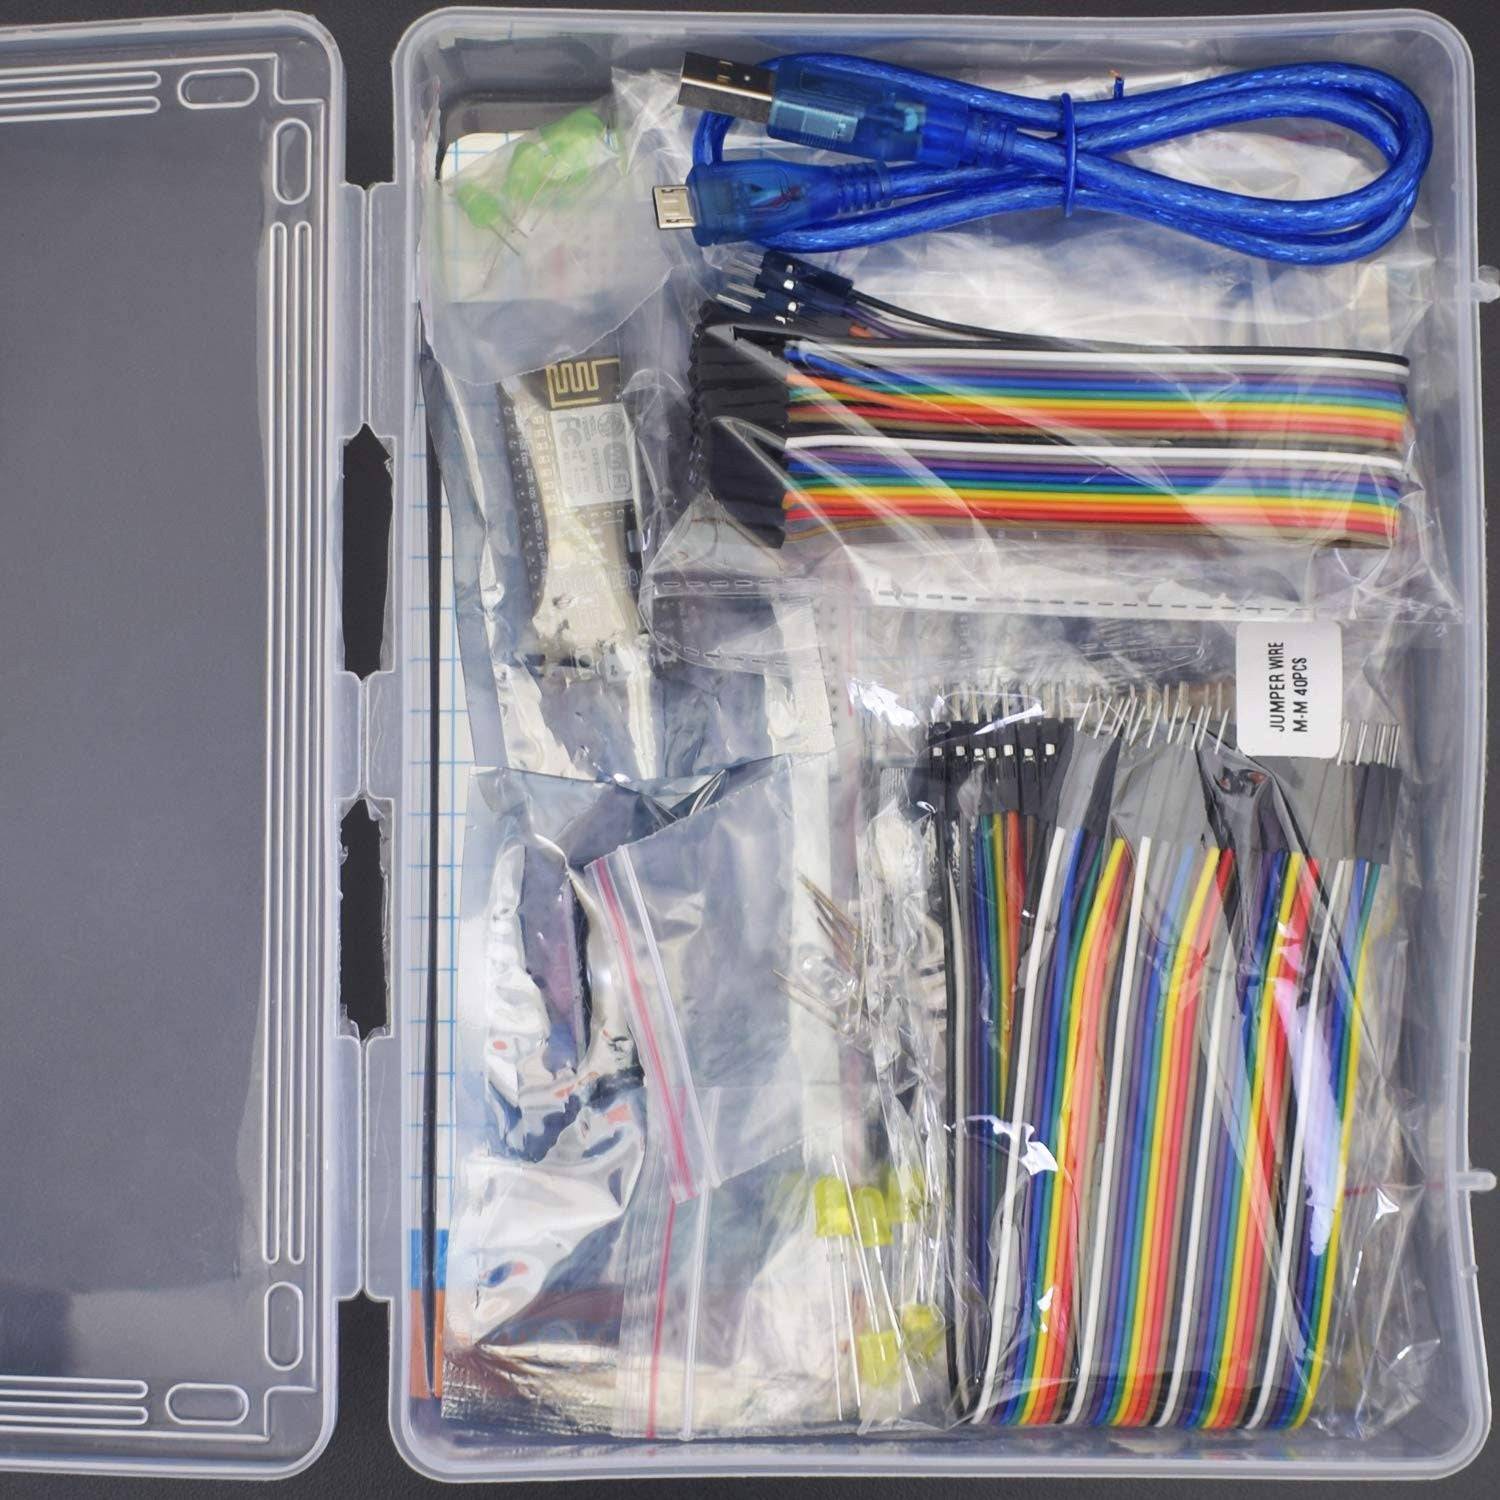
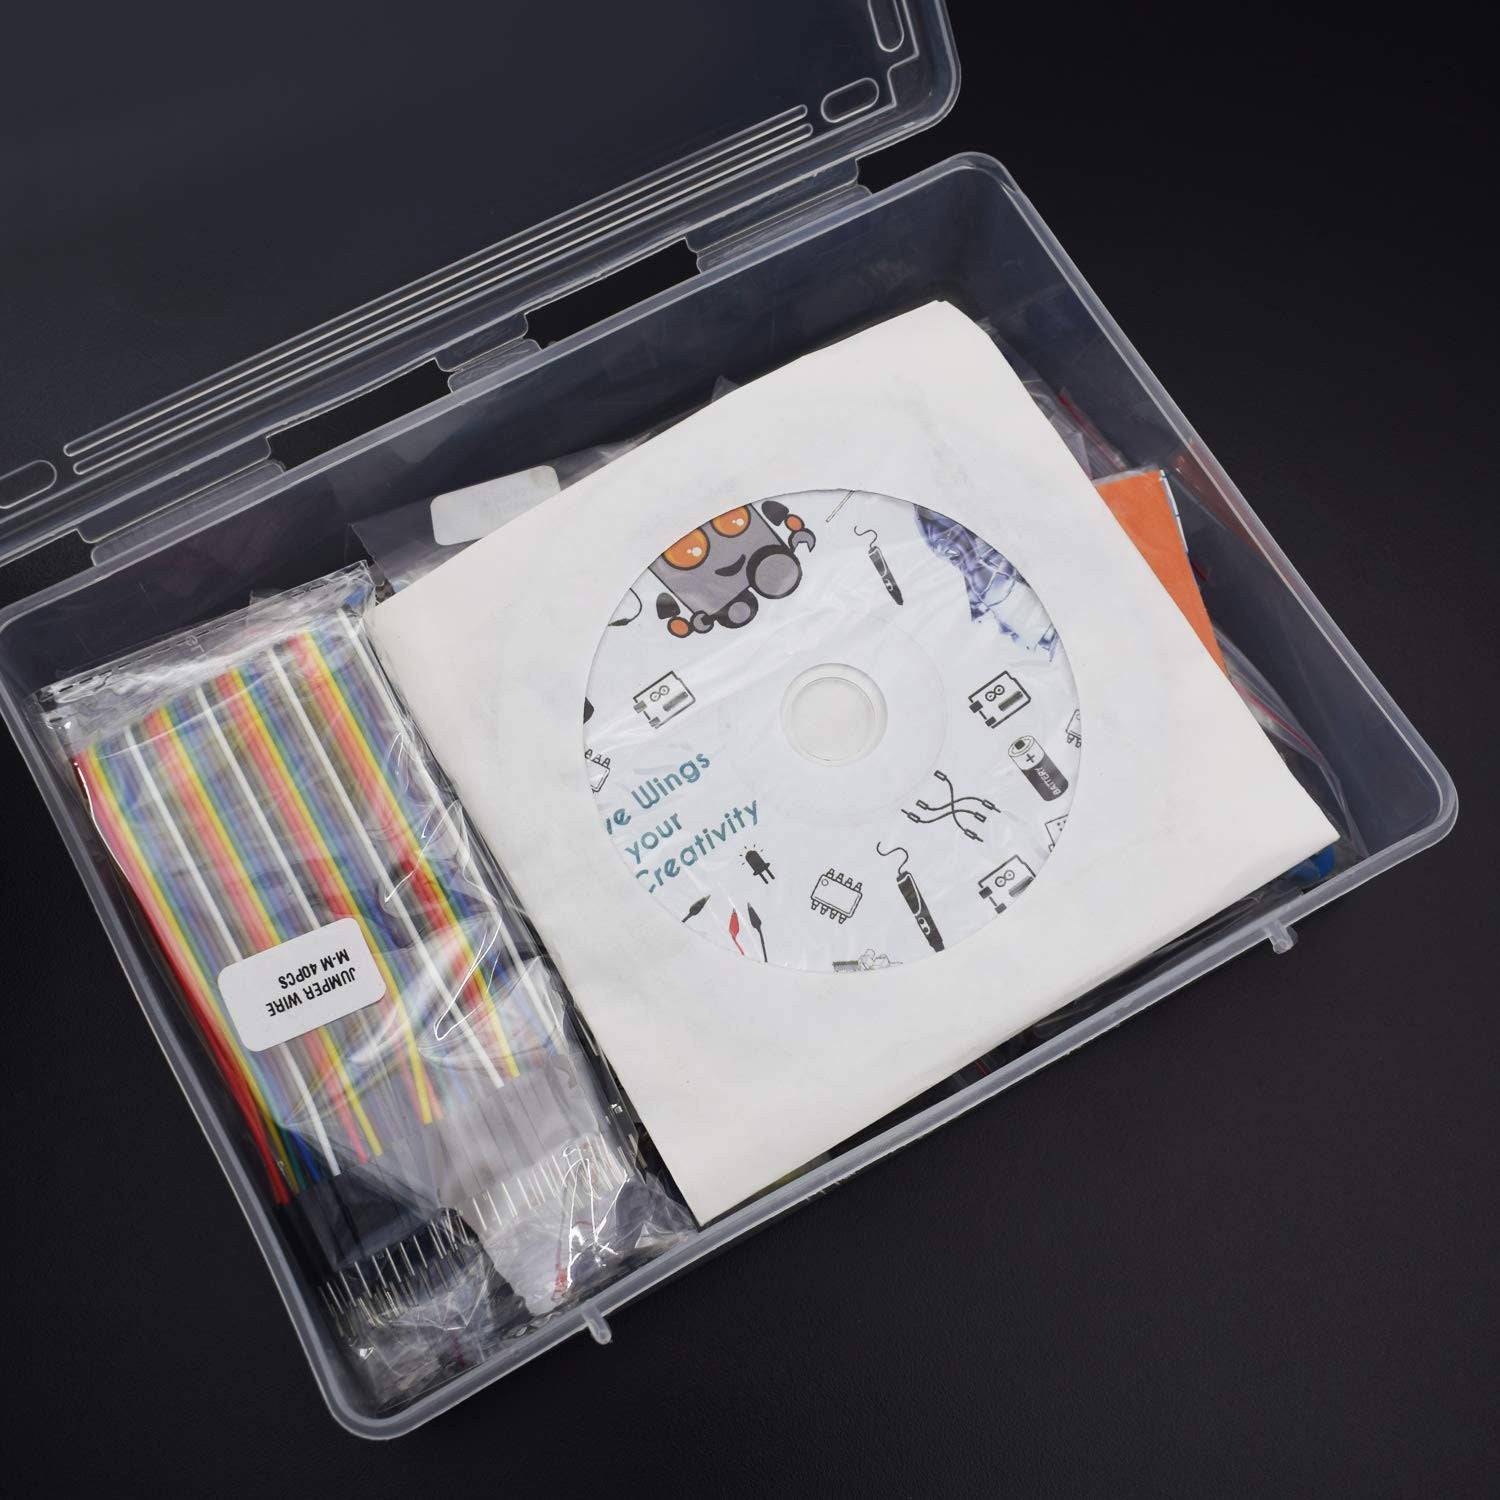
PACKAGE INCLUDED
| Product name | Qty |
| NodeMCU ESP8266-12e Wi-fi V1 board | 1 |
| B-10 Buzzer | 1 |
| DHT11 Module | 1 |
| Resistor ( 100R ) | 5 |
| Breadboard 830 pt | 1 |
| Arduino Due Cable | 1 |
| LDR module | 1 |
| Jumper wire (male to Male) - 40 pcs | 1 |
| Jumper Wire (male to female)- 20 pcs | 1 |
| tilt switch | 1 |
| Led (each colour) | 10 |
| Soil Moisture Sensor | 1 |
| MQ-2 gas Sensor Module | 1 |
PROJECT LIST
SOFTWARE REQUIRED
Arduino IDE 1.8.10 (programmable platform for Arduino)
Click To Download: https://www.arduino.cc/en/Main/Software

PRODUCT DESCRIPTION
LED
NodeMCU ESP8266 CP2102 NodeMCU WIFI Serial Wireless Module
- ESP8266 CP2102 NodeMCU LUA ESP-12E WIFI Serial Wireless Module
- Built-in Micro-USB, with flash and reset switches, easy to program
- Full I/O port and Wireless 802.11 supported, direct download no need to reset
- Arduino compatible works great with the latest Arduino IDE/Mongoose IoT/Micro python

- Operating Voltage: 2.5V to 3.6V
- On-board 3.3V 600mA regulator
- 80mA Operating Current
- 20 µA during Sleep Mode
WARNING
The ESP8266 requires a 3.3V power supply and 3.3V logic levels for communication. The GPIO pins are not 5V-tolerant! If you want to interface the board with 5V (or higher) components, you’ll need to do some level shifting.
DHT11 Module
- Operating Voltage: 3.5V to 5.5V
- Operating current: 0.3mA (measuring) 60uA (standby)
- Output: Serial data
- Temperature Range: 0°C to 50°C
- Humidity Range: 20% to 90%
- Resolution: Temperature and Humidity both are 16-bit
- Accuracy: ±1°C and ±1%

1 |
Vcc |
Power supply 3.5V to 5.5V |
2 |
Data |
Outputs both Temperature and Humidity through serial Data |
3 |
Ground |
Connected to the ground of the circuit |
Tilt Switch Sensor
A Tilt Sensor switch is an electronic device that detects the orientation of an object and gives its output High or Low accordingly. Basically, it has a mercury ball inside it that moves and makes the circuit. So the tilt sensor can turn on or off the circuit based on the orientation.
The tilt sensor is cylindrical and contains a free conductive rolling ball inside with two conductive elements (poles) beneath.

Here’s how it works:
- When the sensor is completely upright, the ball falls to the bottom of the sensor and connects the poles, allowing the current to flow.
- When the sensor is tilted, the ball doesn’t touch the poles, the circuit is open, and the current doesn’t flow.
MQ-2 GAS SENSOR MODULE

Pin No: |
Pin Name: |
Description |
1 |
Vcc |
This pin powers the module, typically the operating voltage is +5V |
2 |
Ground |
Used to connect the module to system ground |
3 |
Digital Out |
You can also use this sensor to get digital output from this pin, by setting a threshold value using the potentiometer |
4 |
Analog Out |
This pin outputs 0-5V analog voltage based on the intensity of the gas |
- Operating Voltage is +5V
- can be used to Measure or detect LPG, Alcohol, Propane, Hydrogen, CO and even methane
- Analog output voltage: 0V to 5V
- Digital Output Voltage: 0V or 5V (TTL Logic)
- Preheat duration 20 seconds
- Can be used as a Digital or analog sensor
- The Sensitivity of Digital pin can be varied using the potentiometer
SOIL MOISTURE SENSOR MODULE

The specifications of the soil moisture sensor FC-28 are as follows
Input Voltage |
3.3 – 5V |
Output Voltage |
0 – 4.2V |
Input Current |
35mA |
Output Signal |
Both Analog and Digital |
The soil Moisture sensor FC-28 has four pins
- VCC: For power
- A0: Analog output
- D0: Digital output
- GND: Ground
The Module also contains a potentiometer that will set the threshold value and then this threshold value will be compared by the LM393 comparator. The output LED will light up and down according to this threshold value.
LDR MODULE

The Light Dependent Resistor (LDR) is just another special type of Resistor and hence has no polarity
- Operating Voltage: 3.3V to 5V DC
- Operating Current: 15ma
- output Digital - 0V to 5V, Adjustable trigger level from preset
- Output Analog - 0V to 5V based on light falling on the LDR
Pin details
- VCC = 3.3V to 5V DC
- GND = Ground
- S = Output
BUZZER

APPLICATION REQUIRED
BLYNK
Download from Google play store and Apple Store


MQTT BOX
URL - http://workswithweb.com/mqttbox.html


