


vendor-unknown
How to make a call using the arduino GSM(sim900/sim900A) intefraing with Arduino uno - KT789
How to make a call using the arduino GSM(sim900/sim900A) intefraing with Arduino uno - KT789
SKU:KT789
1000 in stock
Couldn't load pickup availability
- For Bulk Order Click Here
- Need Customer Support?
- Free Delivery Above 999/-
Note: In case you receive a damaged or faulty product, please return it in the original box with all foam and packaging. Returns will not be accepted if further damage occurs due to improper packing.
If you order a product that is currently in Preorder, and the price of that item increases in the future, you will be required to pay the difference in price.
For refund/return/replacement, call us at +91 95995 94520 or email us at support@rees52.com
Delivery Time
Delivery Time
- Delivery time with the Express Shipping option is 2-3 working days, and with the Standard Shipping option is 5-6 working days. It varies based on location, reliant on courier services.
- Delivery time if the order item is on Preorder Status is 15-20 working days.
COD (Cash on Delivery)
COD (Cash on Delivery)
- For COD you have to pay extra charges of Rs 350/- before the shipment. (We will share the company QR Code, UPI ID or Account details for the same)


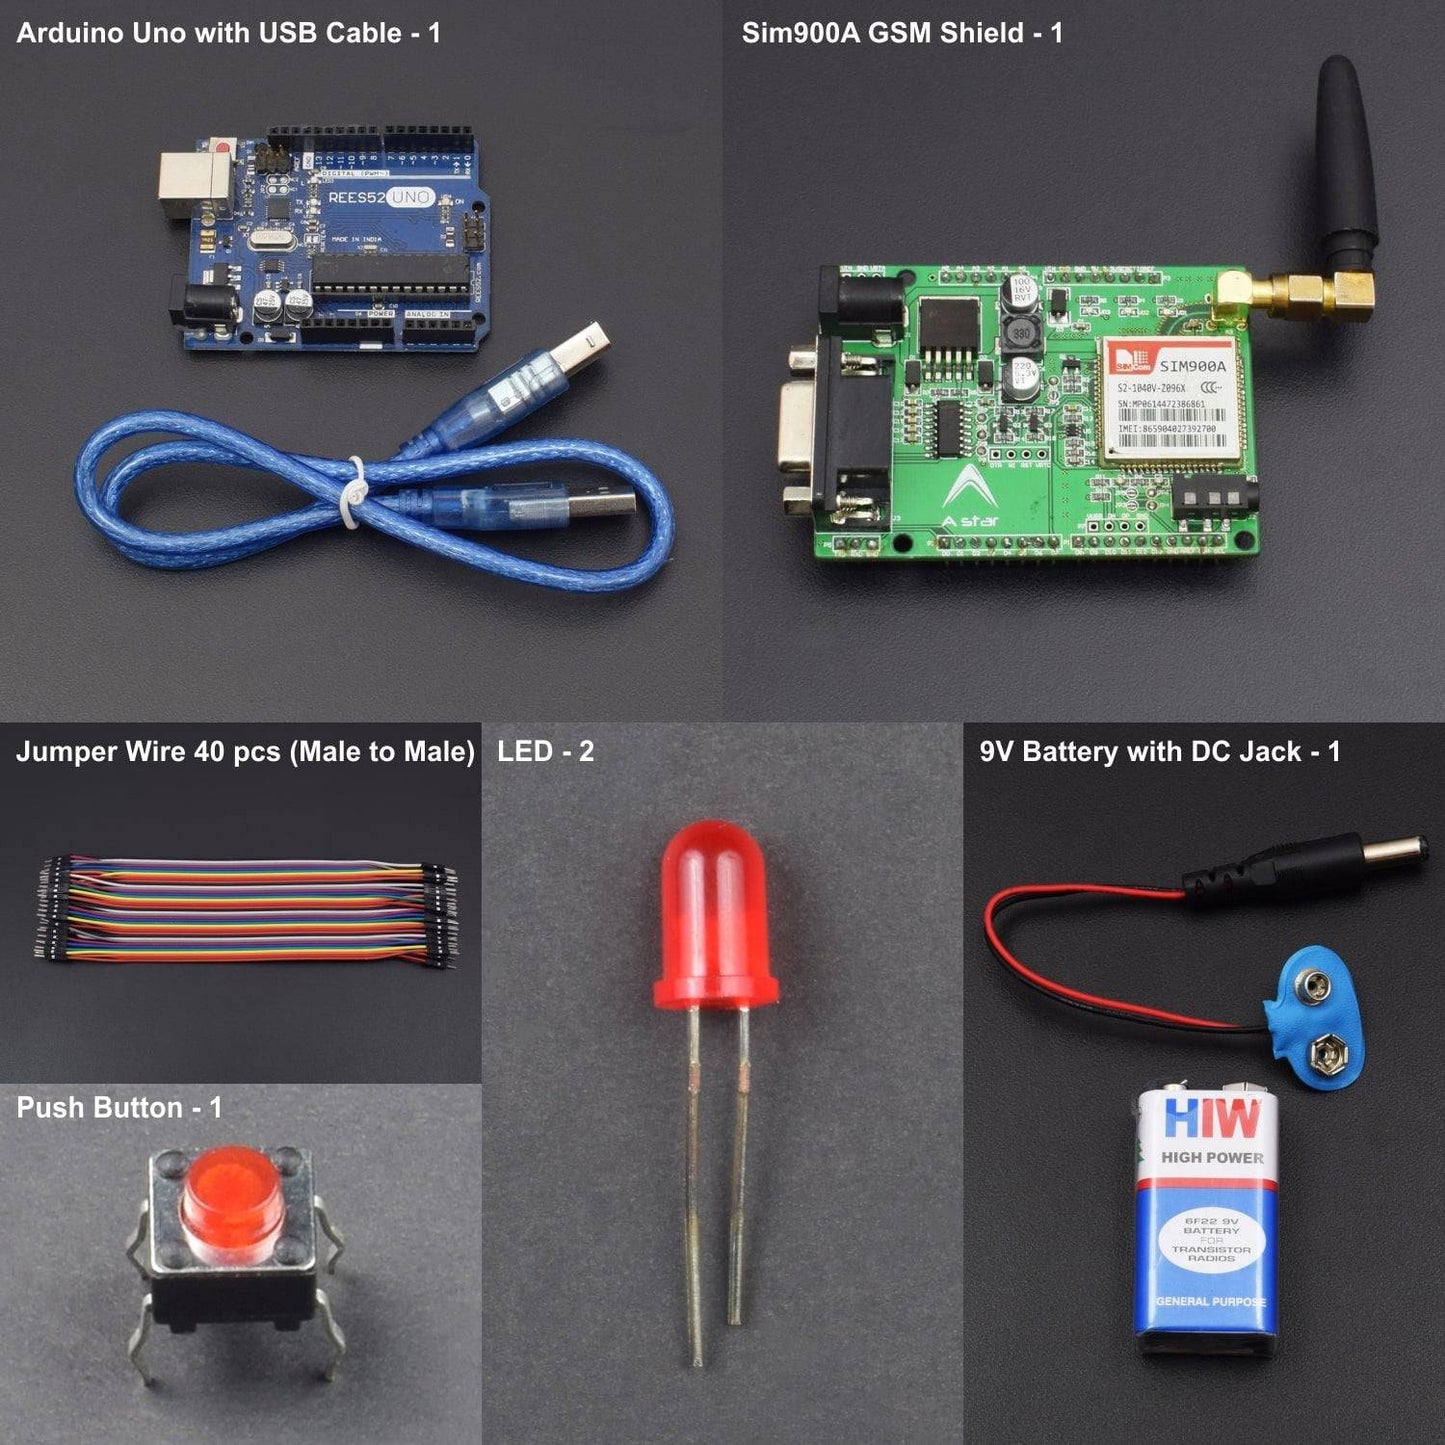
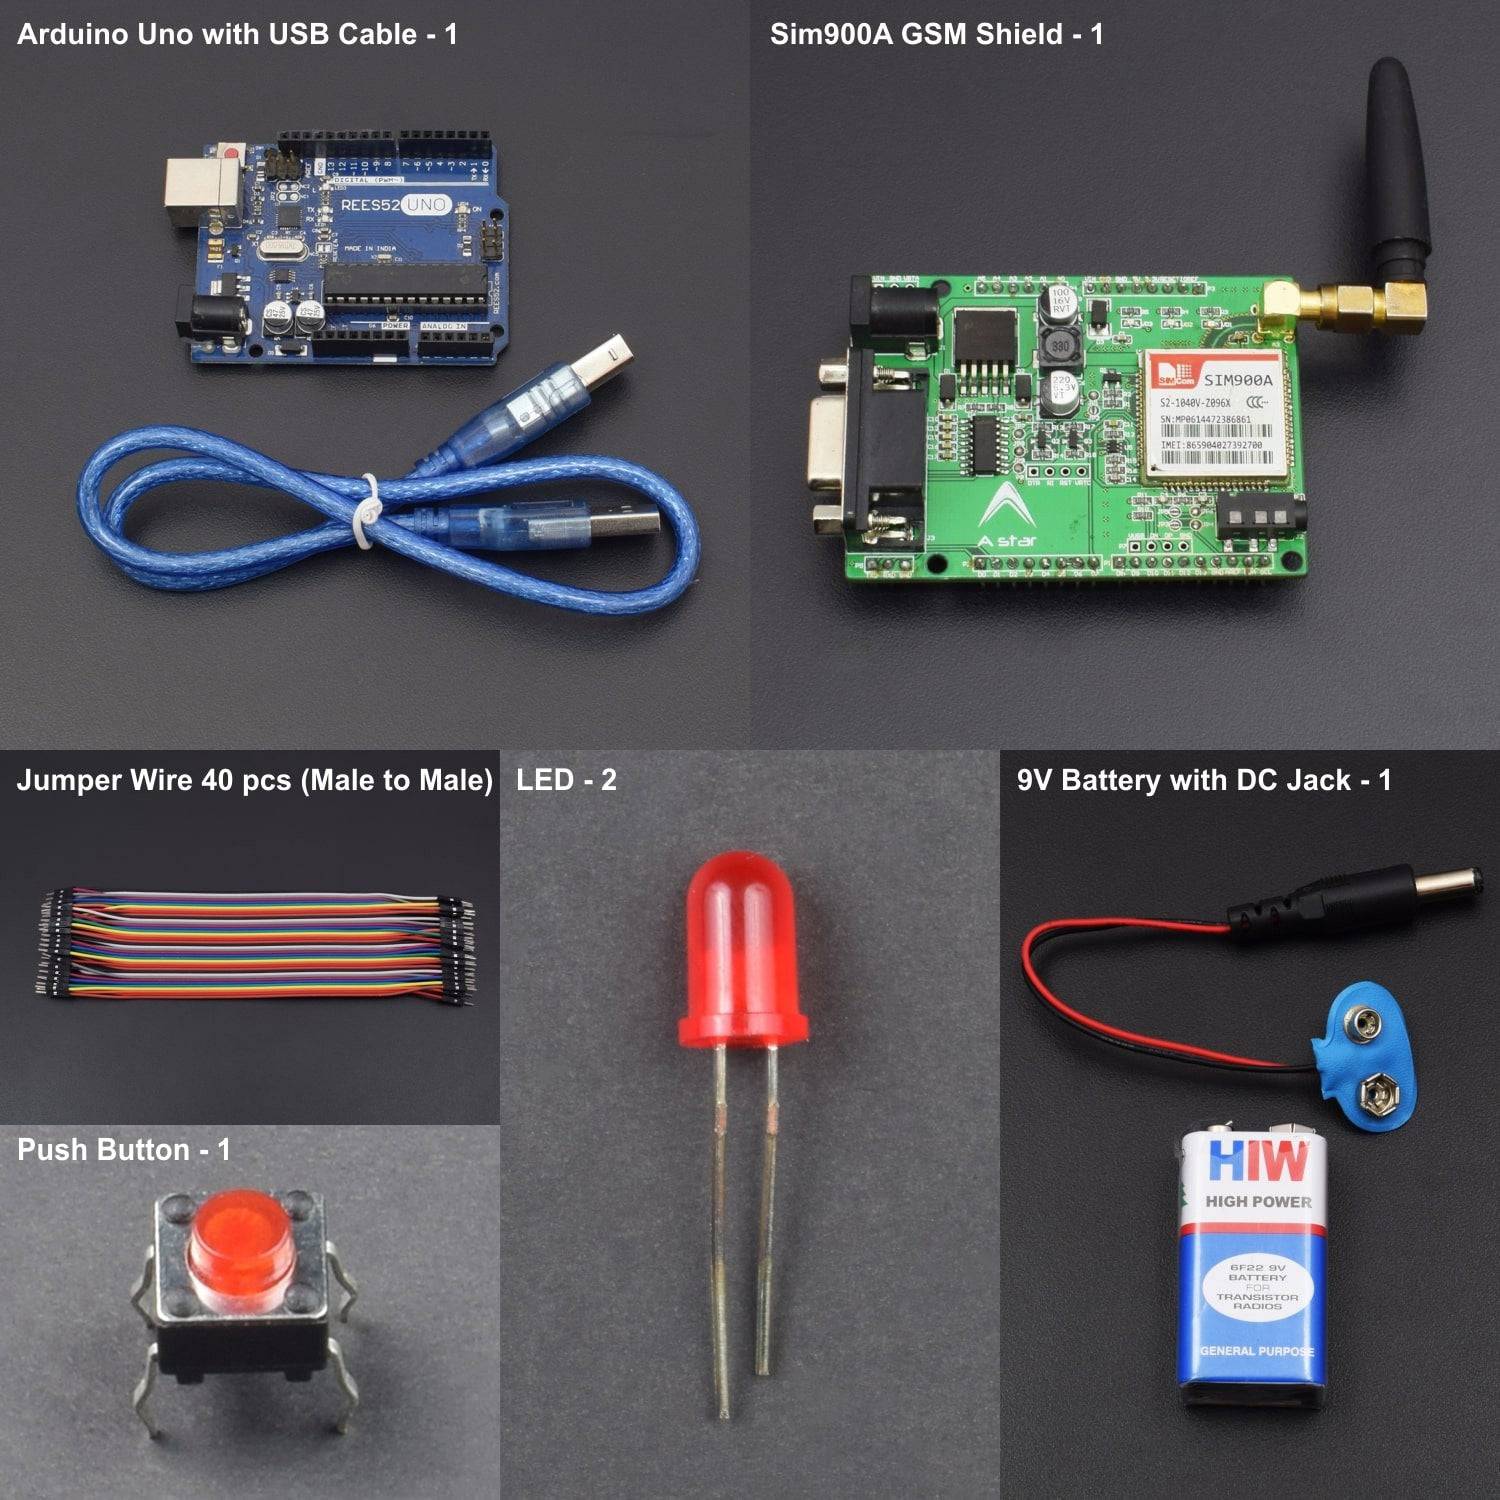
KIT INCLUDES:
- Arduino GSM shield SIM900- 1
- 5mm LED (red) - 2
- Push button - 1
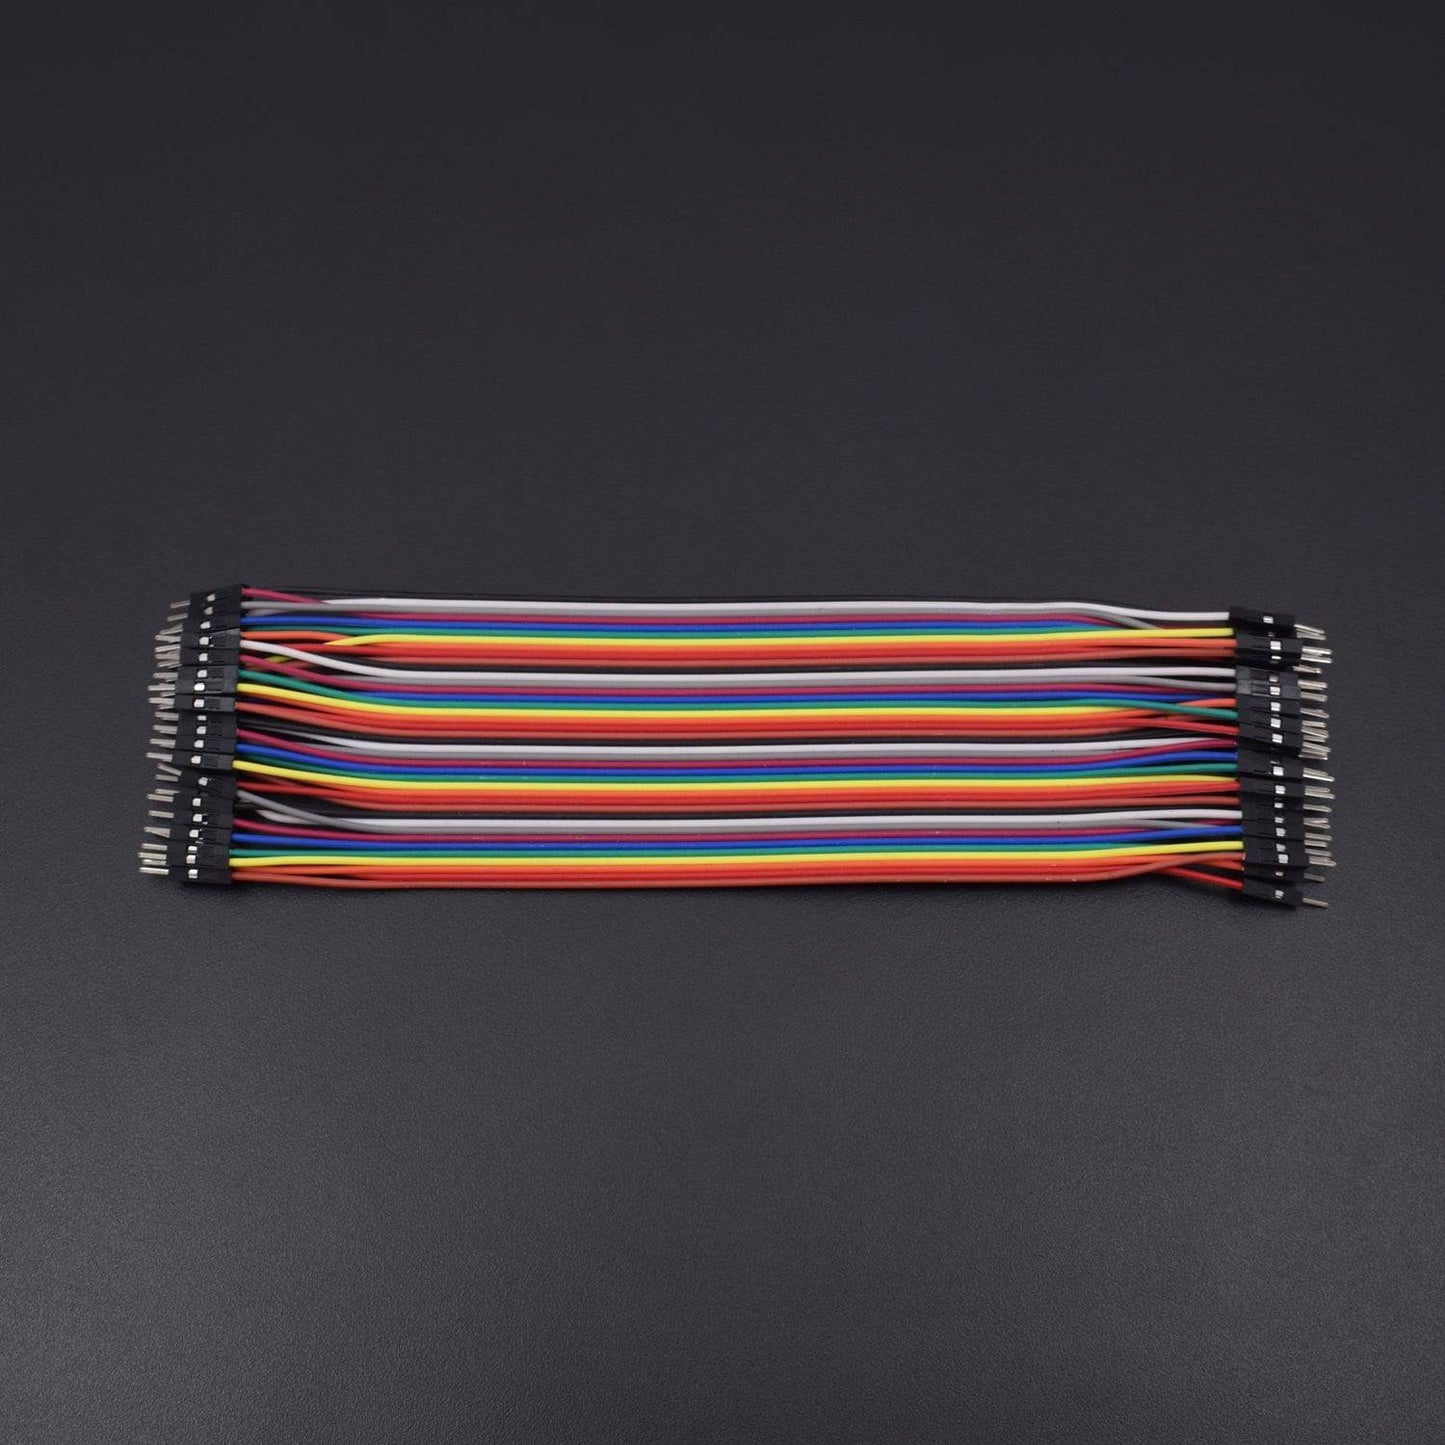
- Jumper wires(male to male) – 40 pieces
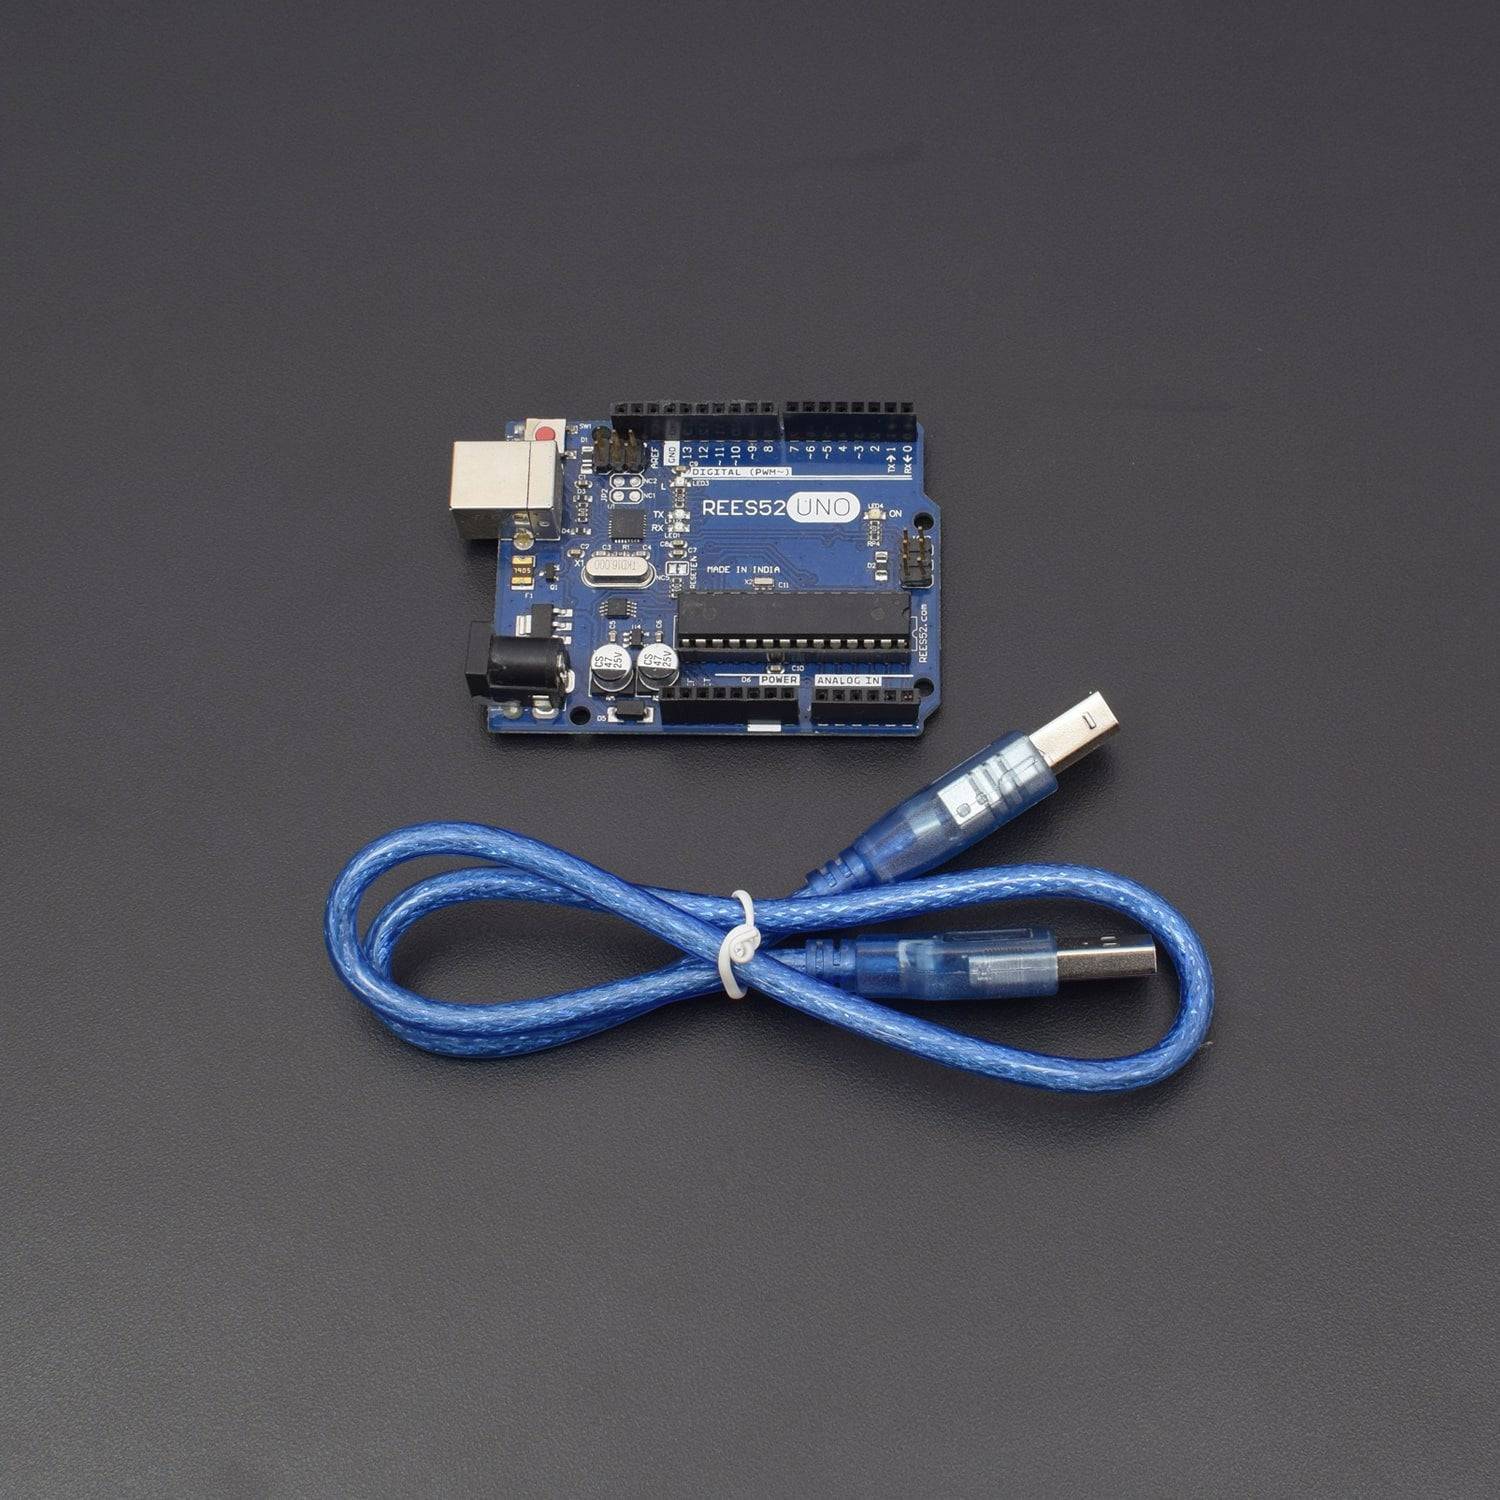
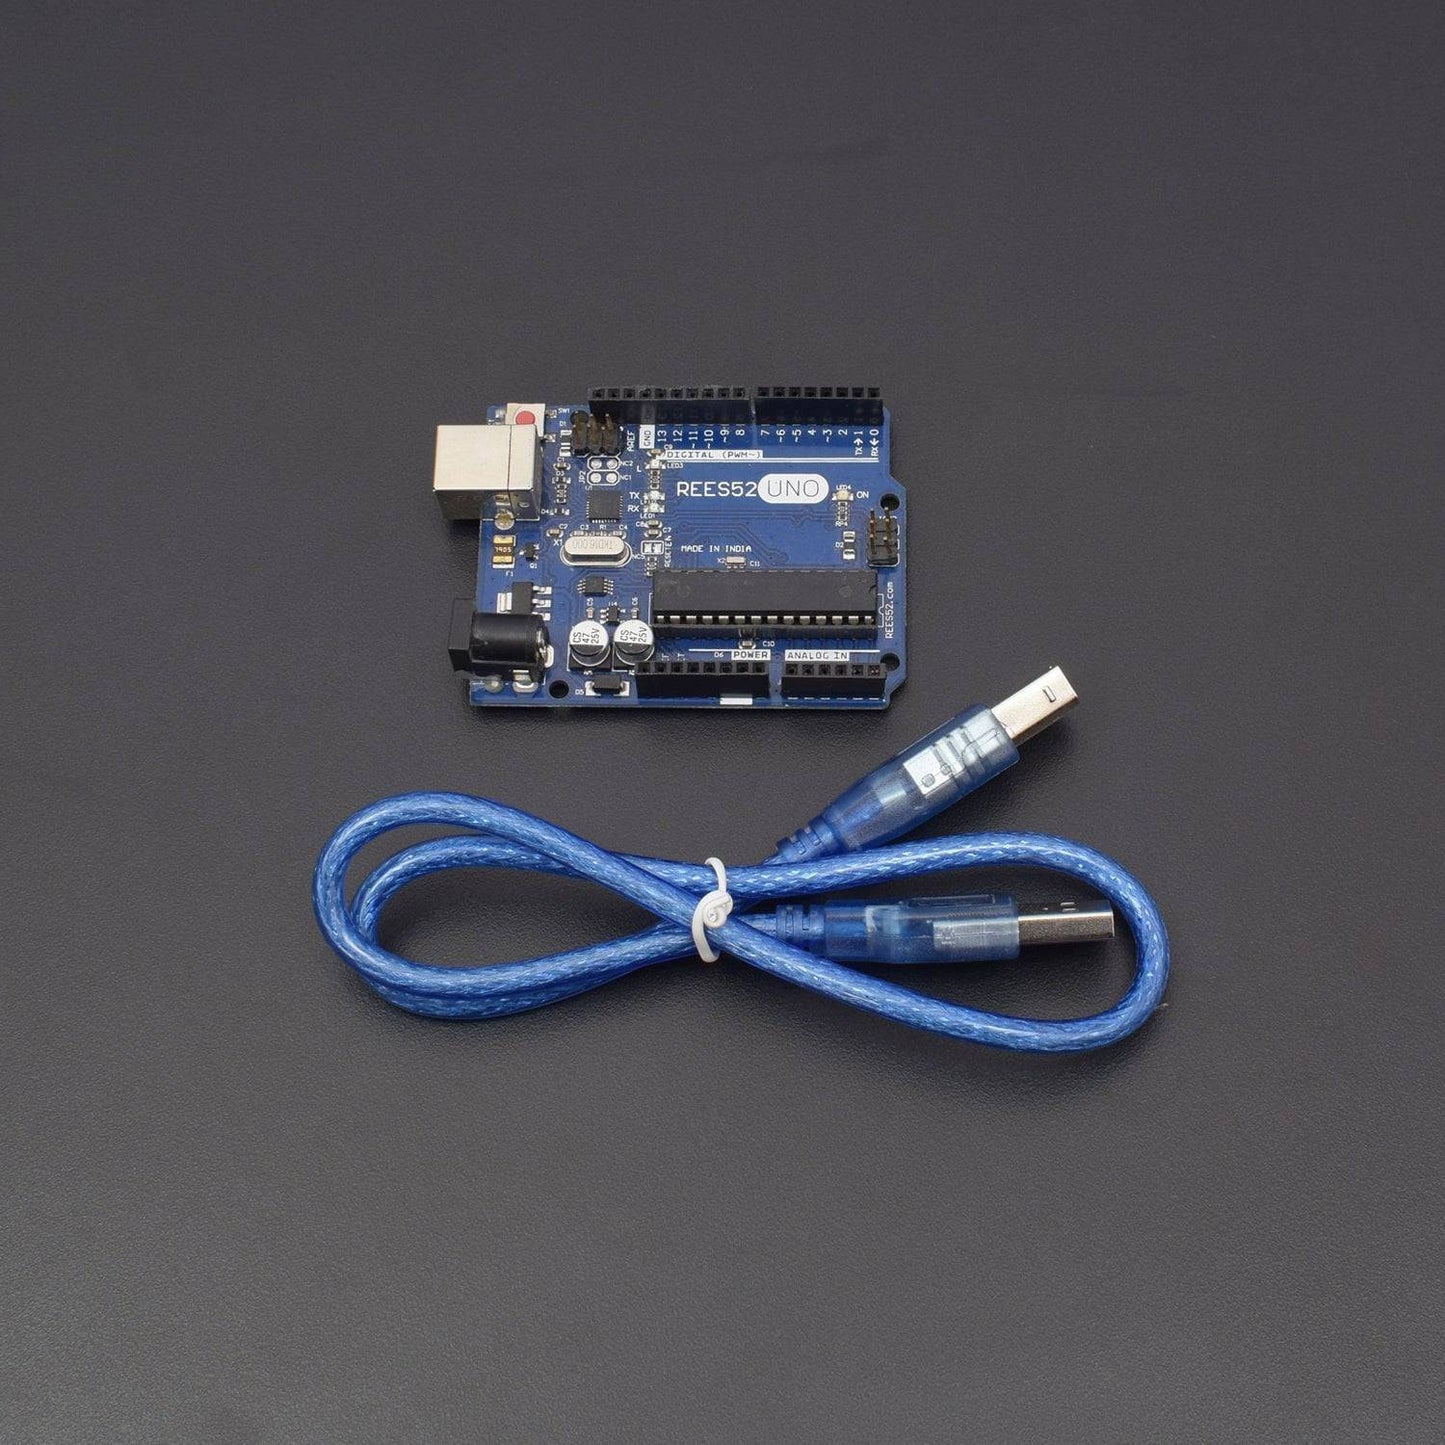
- Arduino uno with USB cable - 1
- Single stand wire 2m -1
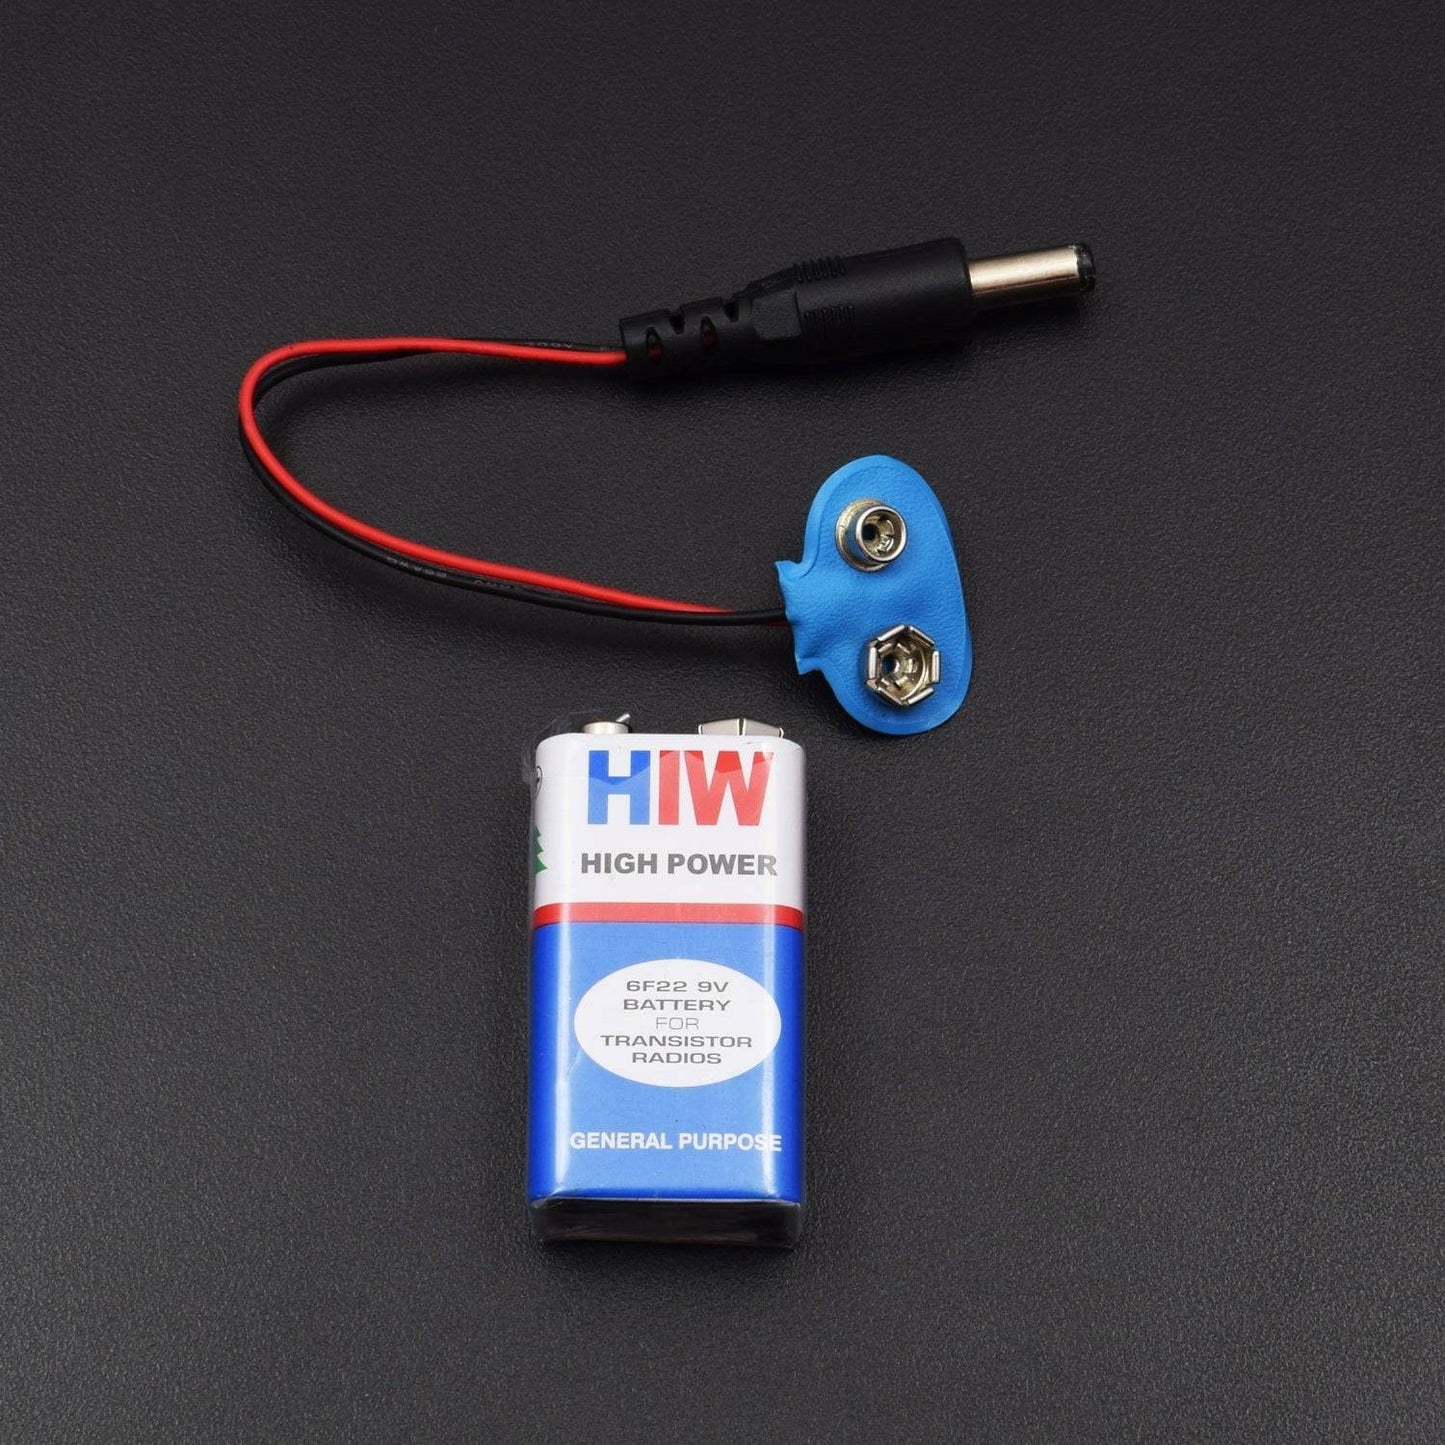
- 9v Battery with DC Jack - 1
HARDWARE REQUIRED
- Arduino GSM shield SIM900- 1
- 5mm LED (red) - 2
- Push button - 1
- Jumper wires(male to male) – 40 pieces
- Arduino uno with USB cable - 1
- Single stand wire 2m -1
- 9v Battery with DC Jack - 1
SOFTWARE REQUIRED
Arduino IDE 1.8.5 (programmable platform for Arduino)
Click To Download :https://www.arduino.cc/en/Main/Software

SPECIFICATIONS
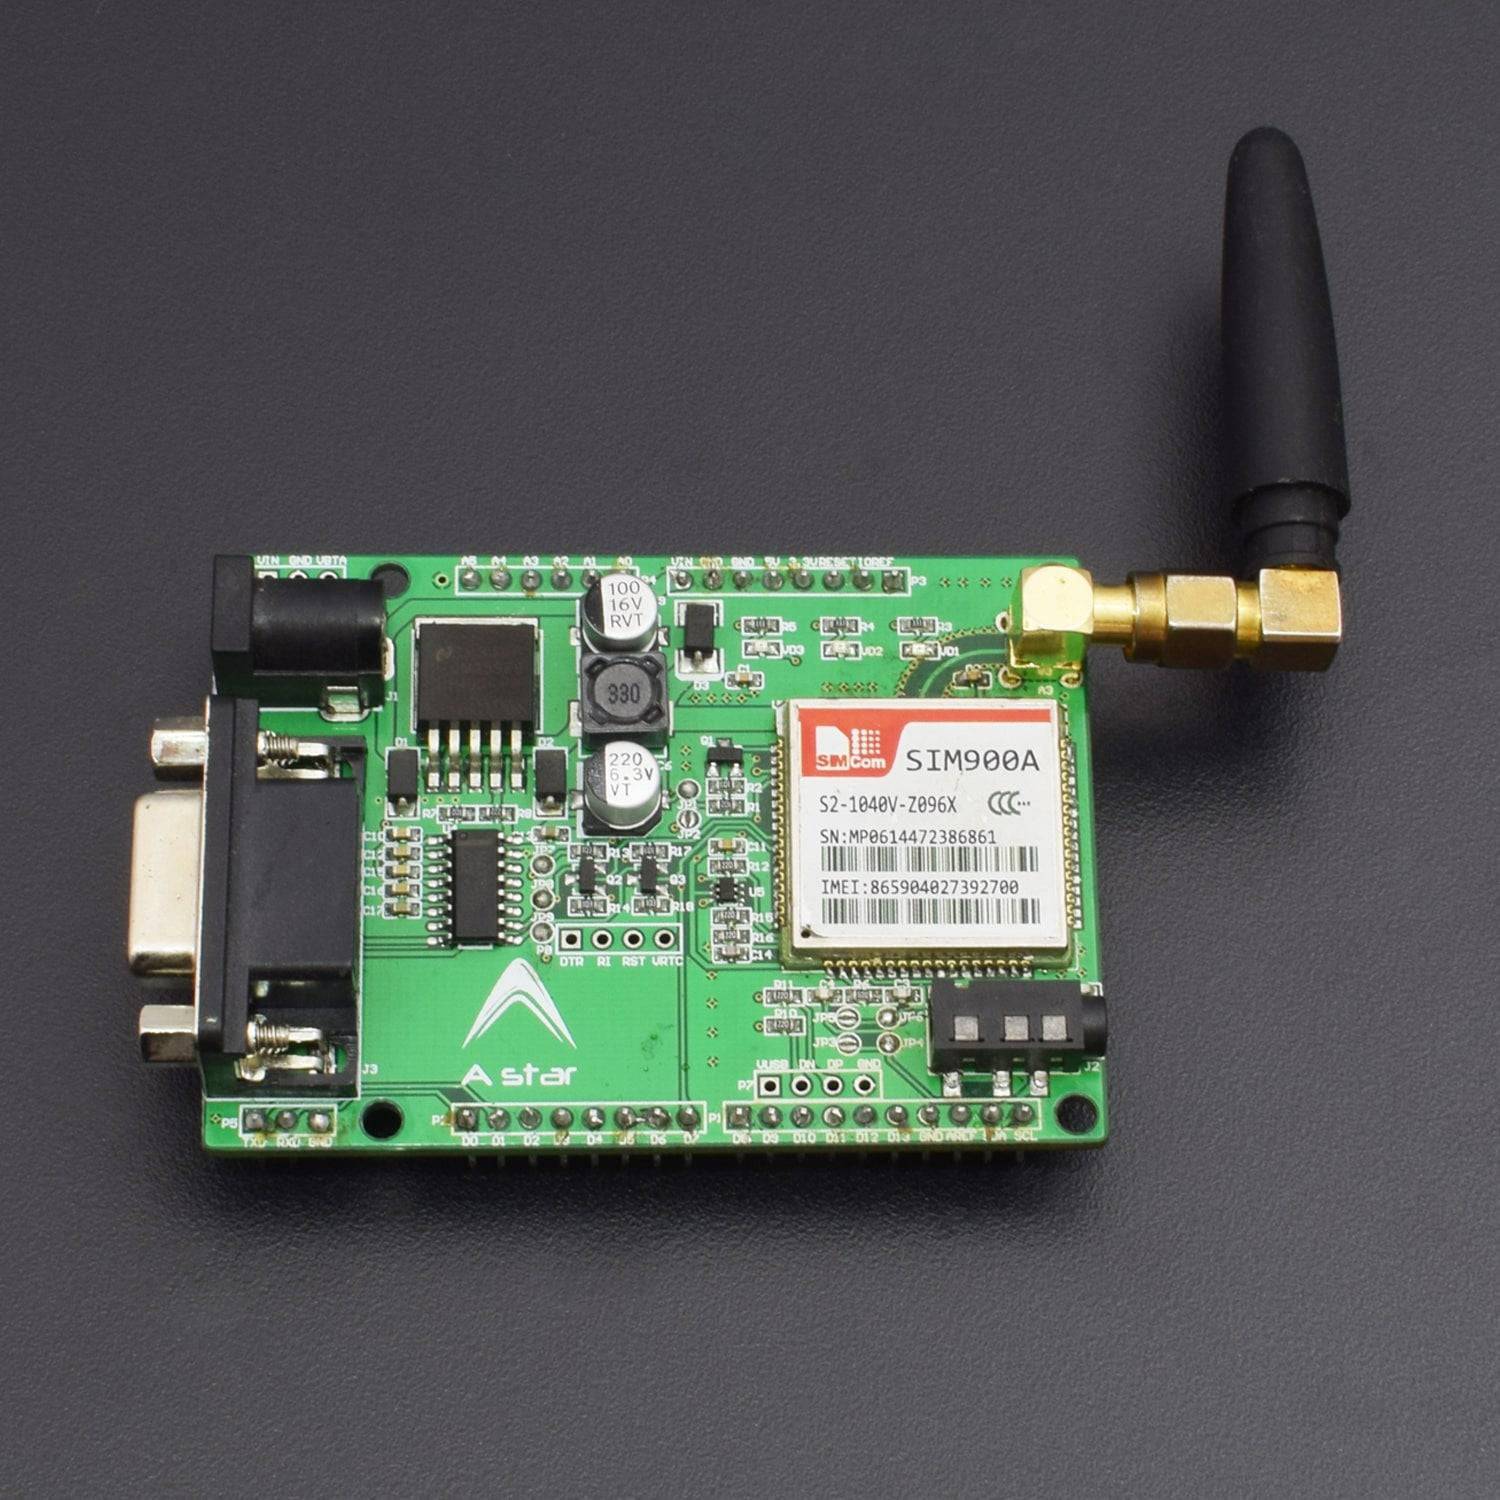
GSM/GPRS 900 Module
The SIM900A delivers GSM/GPRS 900/1800MHz performance for voice, SMS, Data, and Fax in a small form factor and with low power consumption. With Board size of 75x54mm, and interfacing ports of Serial UART DB9 Female, TTL, Mic, Speaker, I2C, ADC, PWM (Floating Points). With Power Button (press and hold for 3 seconds to power on the module), Reset button and within built regulated power supply, can operate from 9v to 12v AC/DC. Has an option for SMA Antenna.
-Dual-Band 900/ 1800 MHz
• GPRS multi-slot class 10/8
• GPRS mobile station class B
• Compliant to GSM phase 2/2+
– Class 4 (2 W @900 MHz)
– Class 1 (1 W @ 1800MHz)
• SAIC (Single Antenna Interference Cancellation) support
• Control via AT commands (GSM 07.07 ,07.05 and SIMCOM enhanced AT Commands)
• SIM application toolkit
• internal Supply voltage range : 3.2 ... 4.8V
• External Supply voltage range : 9 ... 12V DC
• Low power consumption: 1.0mA(sleep mode&BS-PA- MFRMS=9 )
• Operation temperature: -40°C to +85 °C
Interfaces
• Serial and TTL (3.3v)
• Simcard holder
• Analog audio interface
• SPI interface
• TTL interface
• Antenna SMA Connector
• I2C
• GPIO
• PWM
• ADC
• Reset Button
• Power Button
• LED for Power
• LED for Network
• LED for Ring
Compatibility
• AT cellular command interface
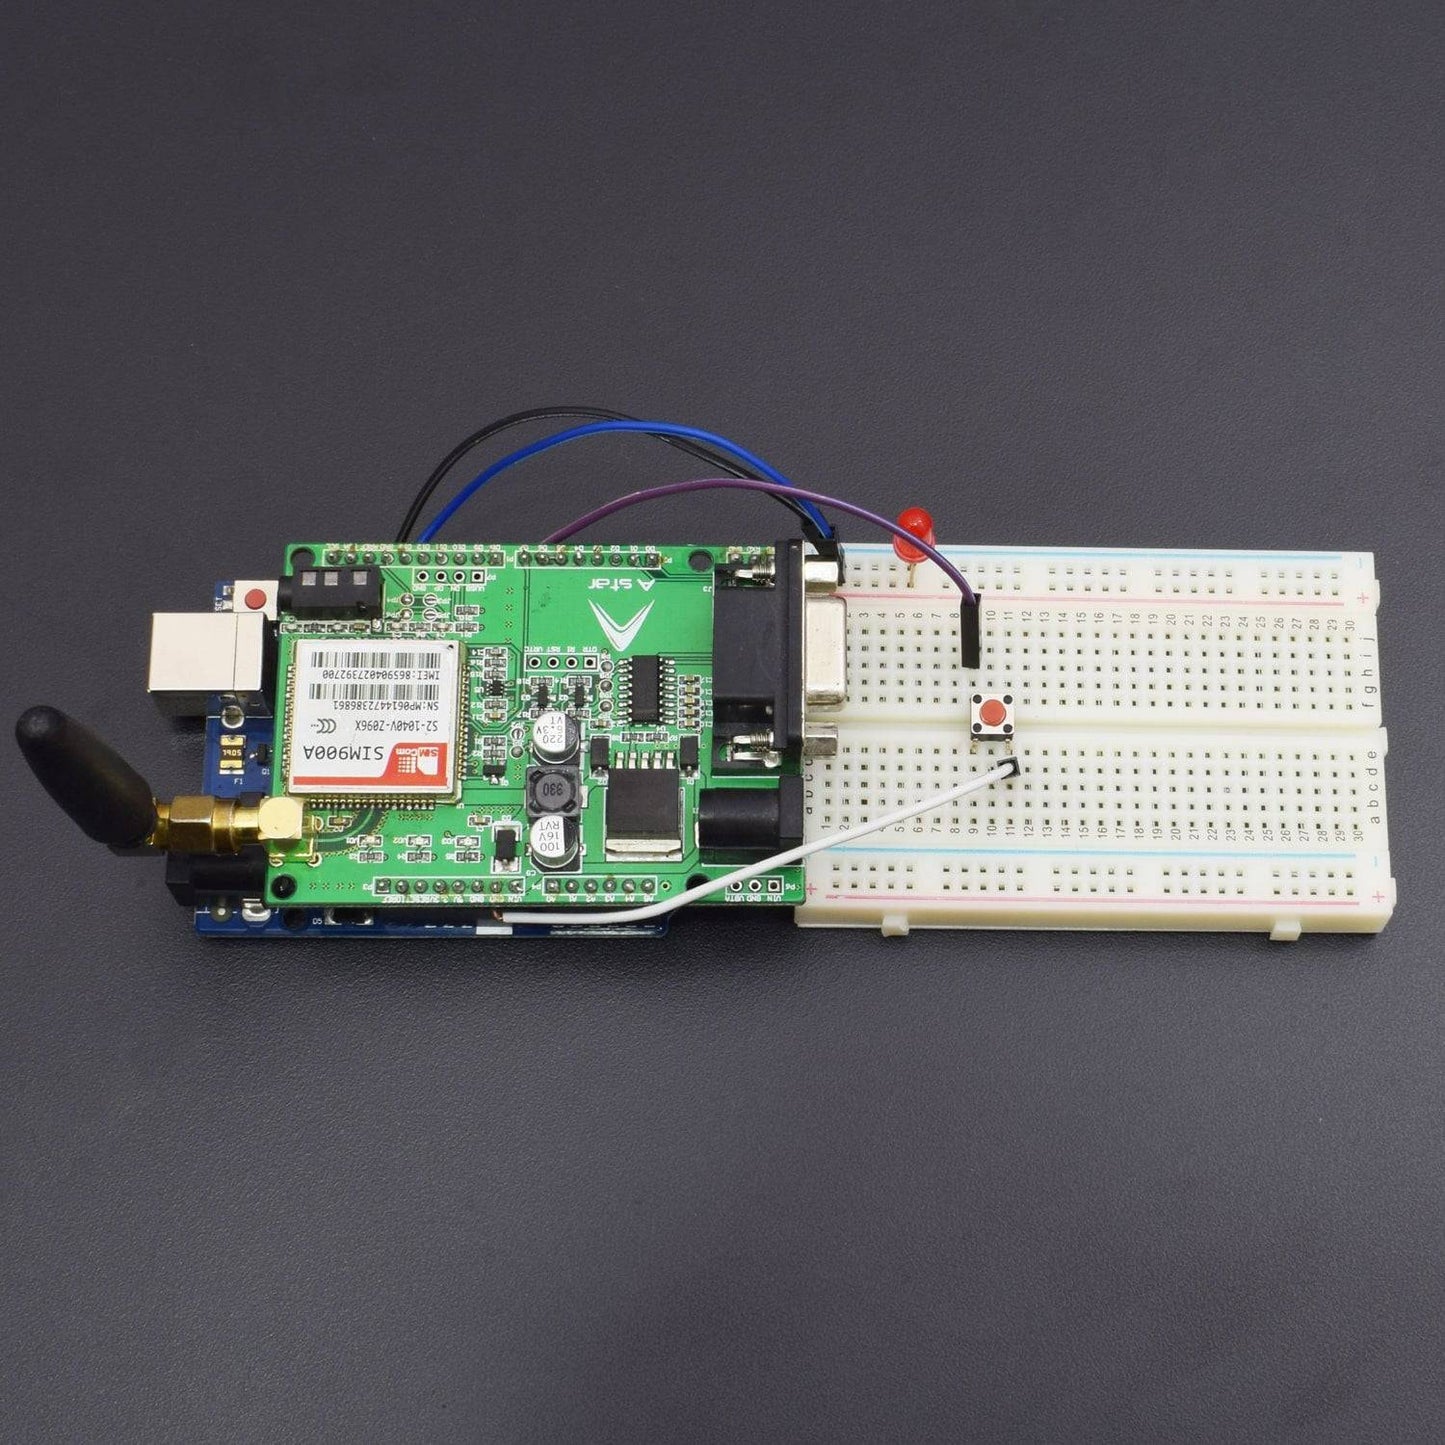
CIRCUIT CONNECTION
- Arduino pin 13 to LED positive and ground to LED negative
- Arduino D7 to push button one point and ground to another point
CODE
WORKING
We are going to build a project where, when the button is pressed, Arduino calls a predefined telephone number. When we have pressed the button the LED lights up. Now, Arduino is calling cell phone. If I press the button once more Arduino hangs up the call. That’s it. .
The parts needed in order to build this project are these: we need an Arduino Uno, the TinySine GSM shield, a SIM card in order to use a GSM network, a LED and a button
We have to wait for around 30 sec, in order for the SIM to connect to the GSM network. If we press the button now, the LED will turn on and it will call cell phone. If i press it again, it will turn off and hang up the call.