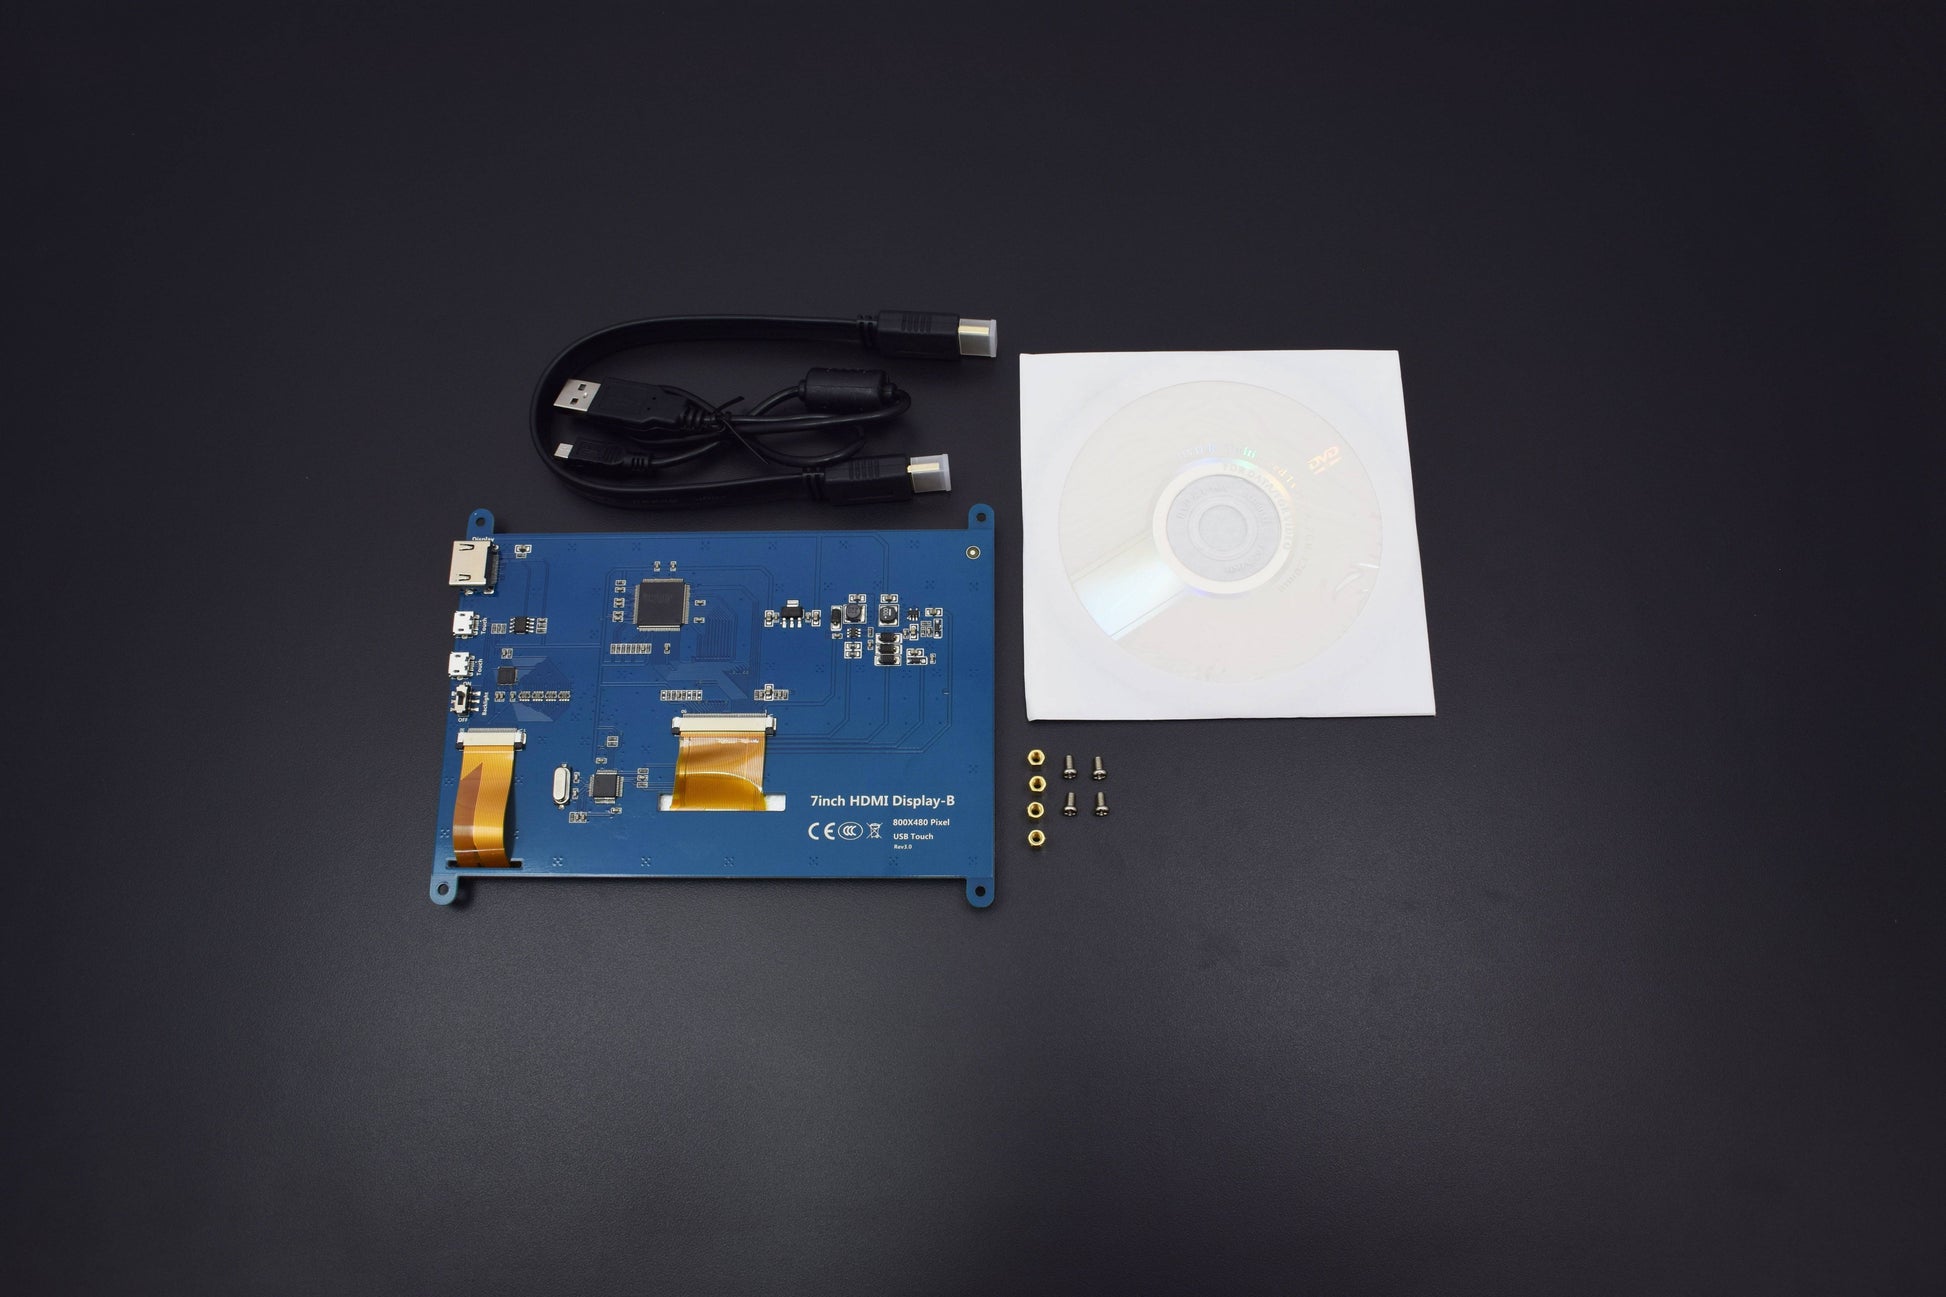
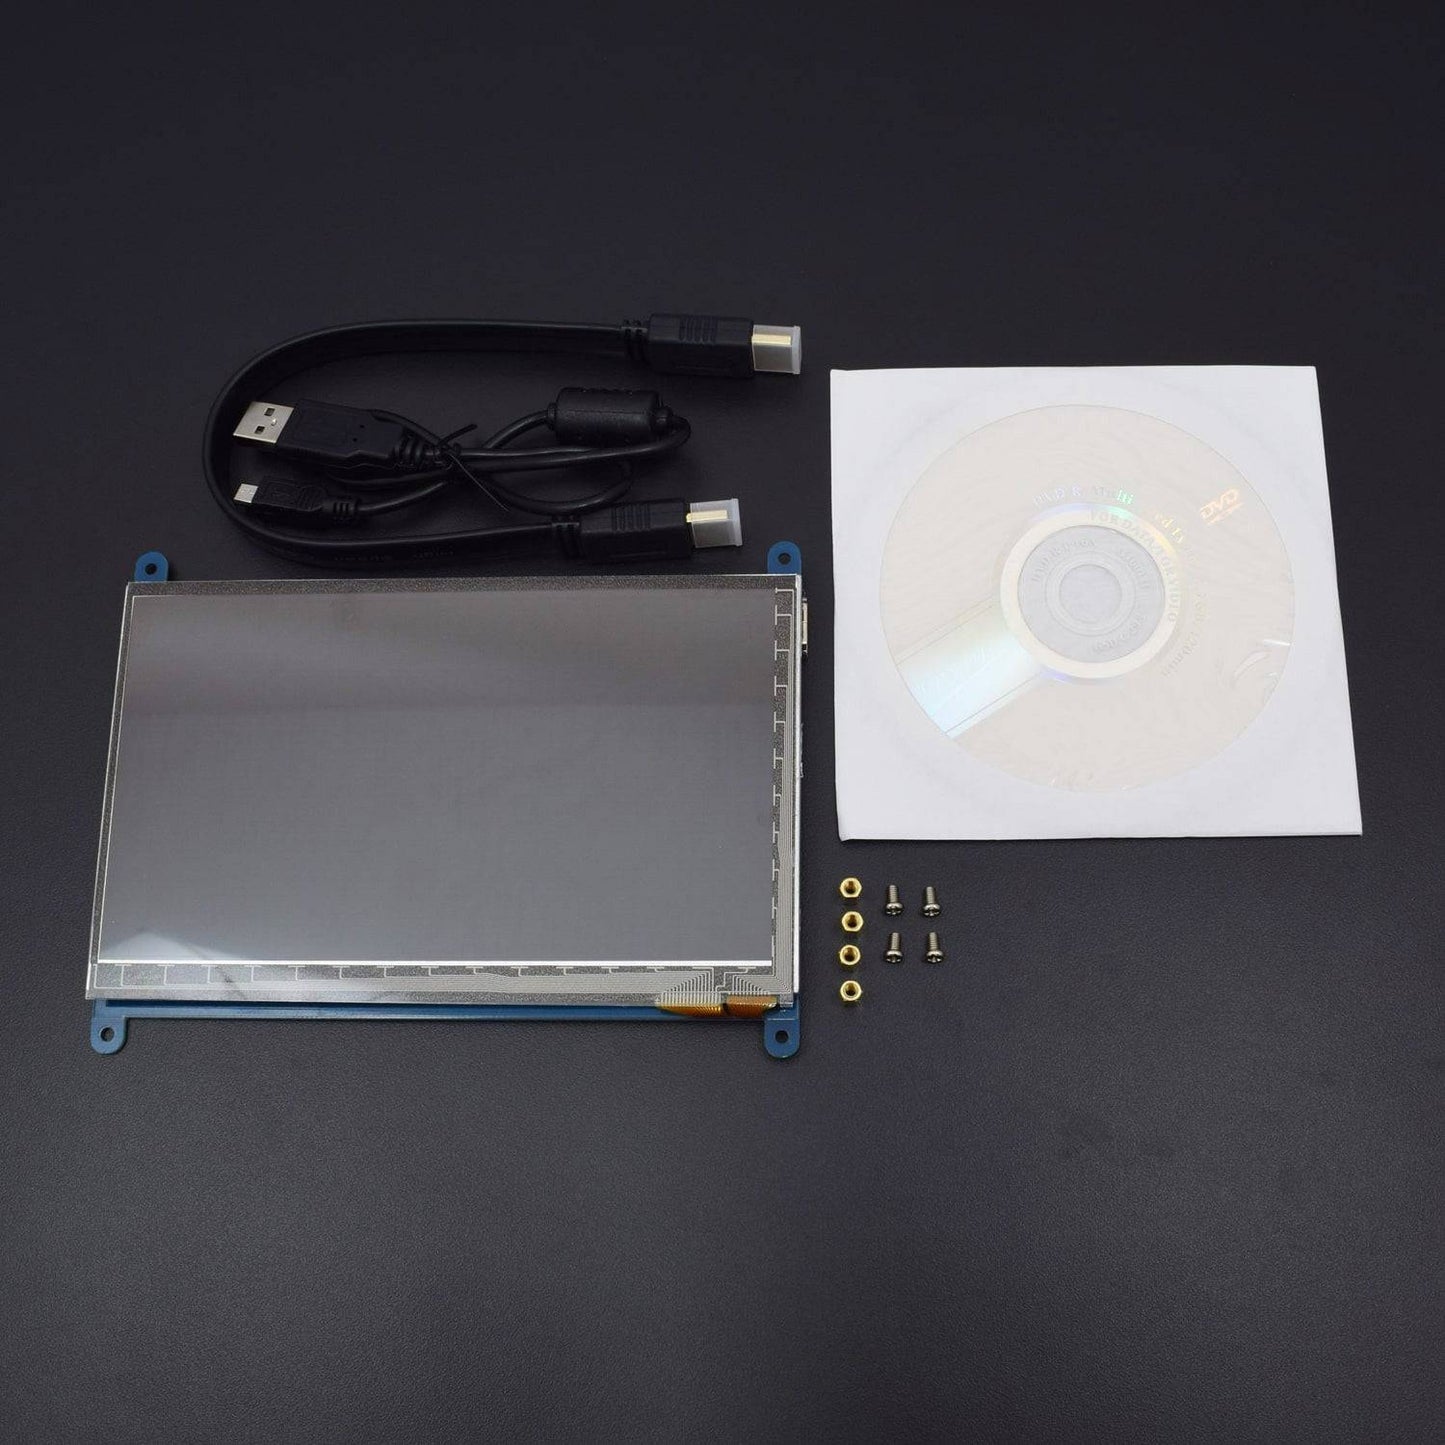
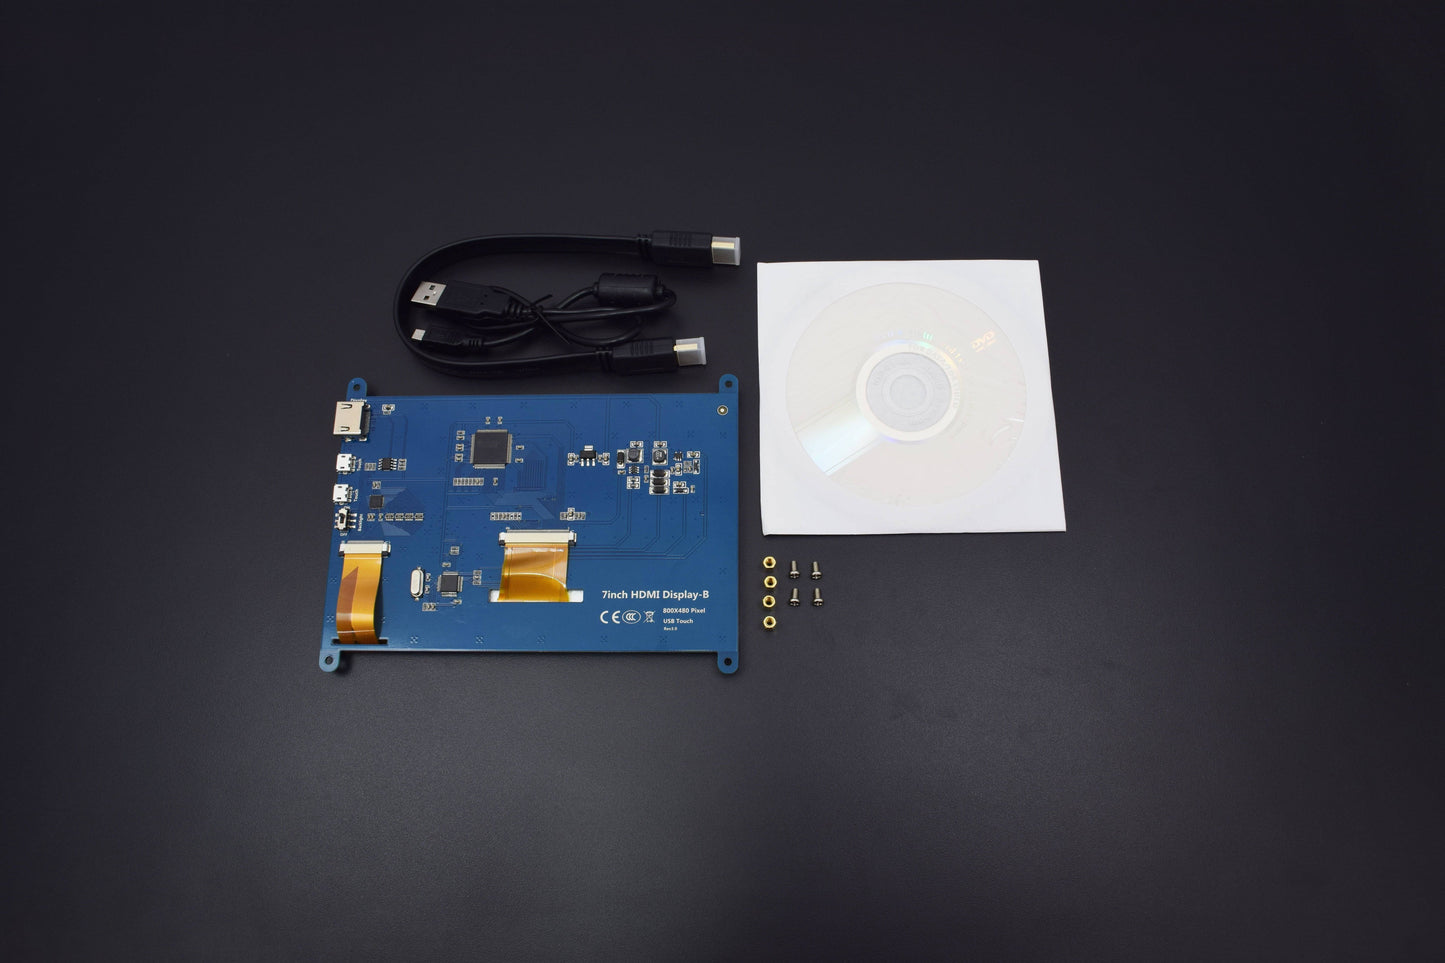
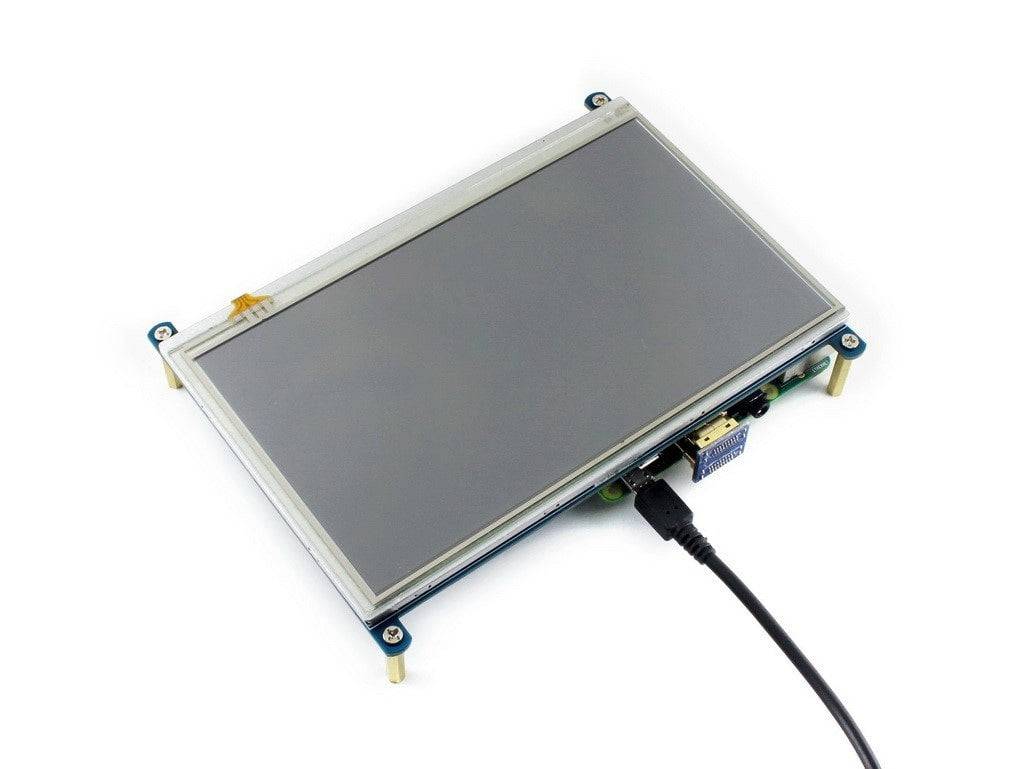
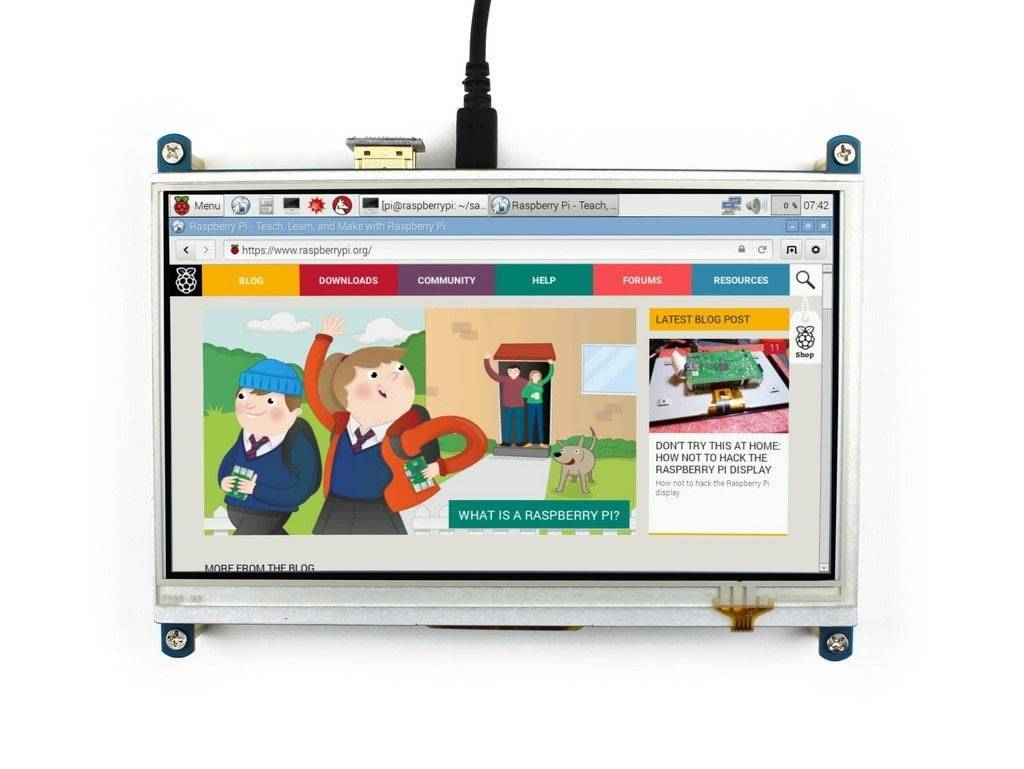
- 1024×600 high resolution
- Resistive touch control
- Compatible and Direct-connect with any revision of Raspberry Pi (except the Pi 1 model B or Pi Zero, which requires an HDMI cable)
- Drivers provided (works with your own Raspbian/Ubuntu directly)
- Also works as a computer monitor, in this case, touch panel is unavailable and HDMI cable is required
FEATURES
- 1024×600 high resolution
- Resistive touch control
- Compatible and Direct-connect with any revision of Raspberry Pi (except the Pi 1 model B or Pi Zero, which requires an HDMI cable)
- Drivers provided (works with your own Raspbian/Ubuntu directly)
- Also works as a computer monitor, in this case, touch panel is unavailable and HDMI cable is required
- HDMI interface for displaying, no I/Os required (however, the touch panel still needs I/Os)
- Multi-languages OSD menu, for power management, brightness adjustment, contrast adjustment, etc.
- Supports 100-level backlight adjustment
SOFTWARE REQUIRED
Drivers for LCD (included with Screen )
PIN DESCRIPTION
7 INCH TOUCH SCREEN

Power: Turn on or turn off the LCD screen.
Menu: Open the OSD menu (when using the menu, this button can be served as Confirm)
Up/Left: Direction button.
Down/Right: Direction button.
Return: Close the OSD menu.
If the LCD is not in use for a long time,
- You can press the Power button to turn off the LCD and lower the power consumption.
- You can press the Menu button to open the OSD menu as the figure shown, then press the direction button to select. Some of the options are reserved and without any effect, e.g. in fact the Volume option won't affect the volume.


FAQ
- Why the LCD doesn't work with my Raspbian?
To use the LCD with the Raspberry Pi official image, driver should be installed first. Please refer to the user manual.
However, for the first testing, you may want to use our provided image directly.
Why the LCD still doesn't work with the Waveshare provided image?
Make sure the hardware connection is correct and connects fine.
Make sure the image in TF card is burnt correctly.
The PWR will keep on and the ACT will keep blinking when the Raspberry Pi starts up successfully, in case both of the two LEDs keep on, it is possible that the image was burnt incorrectly OR the TF card was in bad contact.
Which power supply should I use?
It is strongly recommended to use a stand-alone 5V/2A power adapter, because the PC's USB port might have not enough power to support the Pi and LCD.
SOFTWARE REQUIRED
Drivers for LCD (included with Screen )
HARDWARE CONNECTION

- Plug the LCD to your Raspberry Pi:
- There are 40 pins on Raspberry Pi Model A+/B+/2 B/3 B but only 26 pins on the LCD, so you should pay attention to connecting the pins to your Pi accordingly.
- Connect the HDMI Connector to both the HDMI interfaces on the LCD and the Pi.
- You should connect the LCD to Raspberry Pi Model B or Raspberry Pi Zero with an HDMI cable rather than an HDMI Connector.
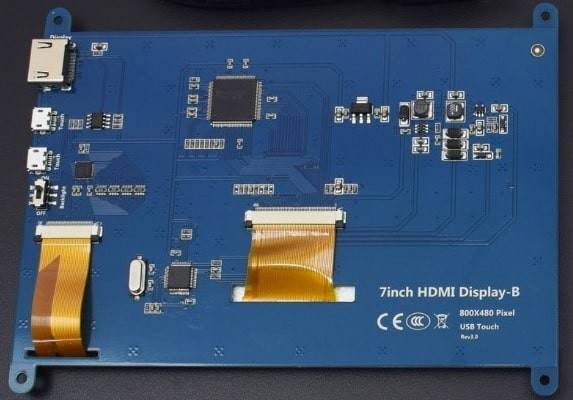
- Turn on the "backlight" switch on the back of the LCD.
You can enable the touch in two ways: Method 1. install driver to your Raspbian/Ubuntu Mate OS. Method 2. use the Ready-to-use image file of which LCD driver was pre-installed.
METHOD 1: DRIVER INSTALLATION
-
Description: If the touch screen doesn't work properly, please install the driver: LCD-show-170703.tar.gz, but not LCD-show-161112.tar.gz.
1) Download the Raspbian / Ubuntu Mate image from Raspberry Pi website and extract it on a PC.2) Connect your micro SD card to the PC and write the image to the card using Win32DiskImager. How to write an image to a micro SD card for your Pi? See RPi Image Installation Guides for more details)
3) Copy the LCD driver to the micro SD card (or copy the driver to the system of Pi using a USB drive).
4) Append the following lines to the config.txt file which is located in the root of the card:
max_usb_current=1 hdmi_group=2
hdmi_mode=87
hdmi_cvt 1024 600 60 6 0 0 0
5) The LCD will display after booting up. Then open a terminal to install the touch driver which can be found in the /boot/ directory.
Touch function will work after restart. For ease of use, you can set the screen orientation
tar xzvf /boot/LCD-show-*.tar.gz cd LCD-show/
chmod +x LCD7-1024x600-show
./LCD7-1024x600-show
METHOD- 2 USING READY TO USE IMAGE
The image file with pre-installed driver is located in the IMAGE directory of the CD.Extract the .7z file and you will get an .img file. Write the image to your micro SD
SCREEN ORIENTATION SETTING IMAGE
After touch driver installed, the screen orientation can be set by these commands
0 degree rotation
cd LCD-show/
./LCD7-1024x600-show 0
90 degree rotation
cd LCD-show/
./LCD7-1024x600-show 90
180 degree rotation
cd LCD-show/
./LCD7-1024x600-show 180
270 degree rotation
cd LCD-show/
./LCD7-1024x600-show 270
This LCD can be calibrated using a program called xinput_calibrator which can be downloaded from Xinput-calibrator_0.7.5-1_armhf
Extract and copy the software Xinput-calibrator_0.7.5-1_armhf.deb to the Raspbian of your Pi.
- Install it with the commands:
sudo dpkg -i -B xinput-calibrator_0.7.5-1_armhf.deb
- Click the "Menu" button on the task bar, choose "Preference" -> "Calibrate Touchscreen".
- Finish the touch calibration following the prompts. Maybe rebooting is required to make calibration active.
- You can create a 99-calibration.conf file to save the touch parameters (not necessary if file exists).
/ect/X11/xorg.conf.d/99-calibration.conf
- Save the touch parameters (may differ depending on LCD) to 99-calibration.conf, as shown in the picture:

RIGHT CLICK EMULATION
- Edit the 99-calibration.conf file.
sudo nano /etc/X11/xorg.conf.d/99-calibration.conf
- Append the following lines between "Section" and "EndSection":
Option "EmulateThirdButton" "1"
Option "EmulateThirdButtonTimeout" "750"
Option "EmulateThirdButtonMoveThreshold" "100"

- Exit with save and reboot the system.
reboot
DISPLAY IMAGES ON LINUX CONSOLE
- Install the fbi software.
sudo apt-get install fbi
- Save image files to a specified direction (/dev/fb0 for example) and display them with:
fbi -T 2 -d /dev/fb0 -noverbose -a XXX.jpg
PLAY VIDEOS
- Install the mplayer software.
sudo apt-get install mplayer
- Save video files to the current directory and you can play them with:
mplayer XXX.mp4


