

vendor-unknown
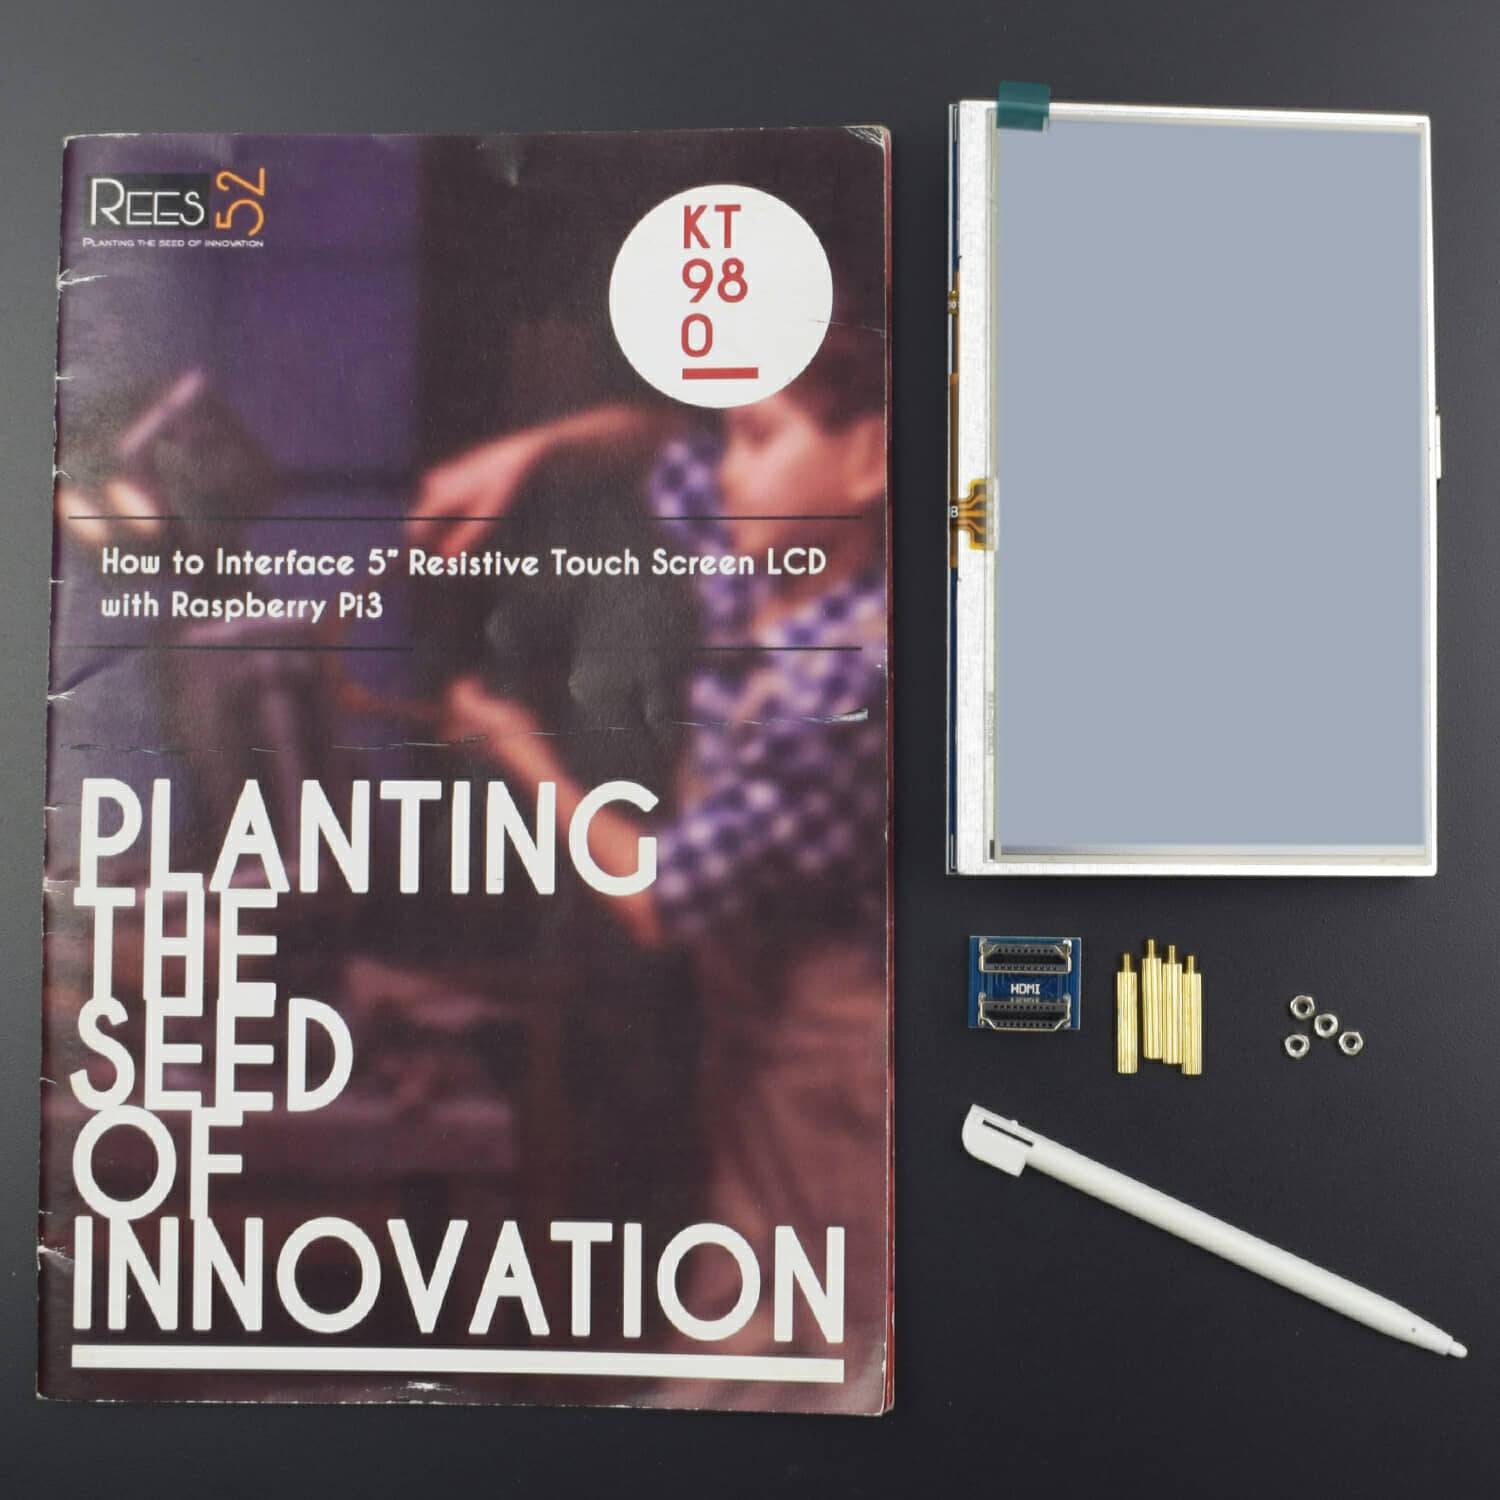
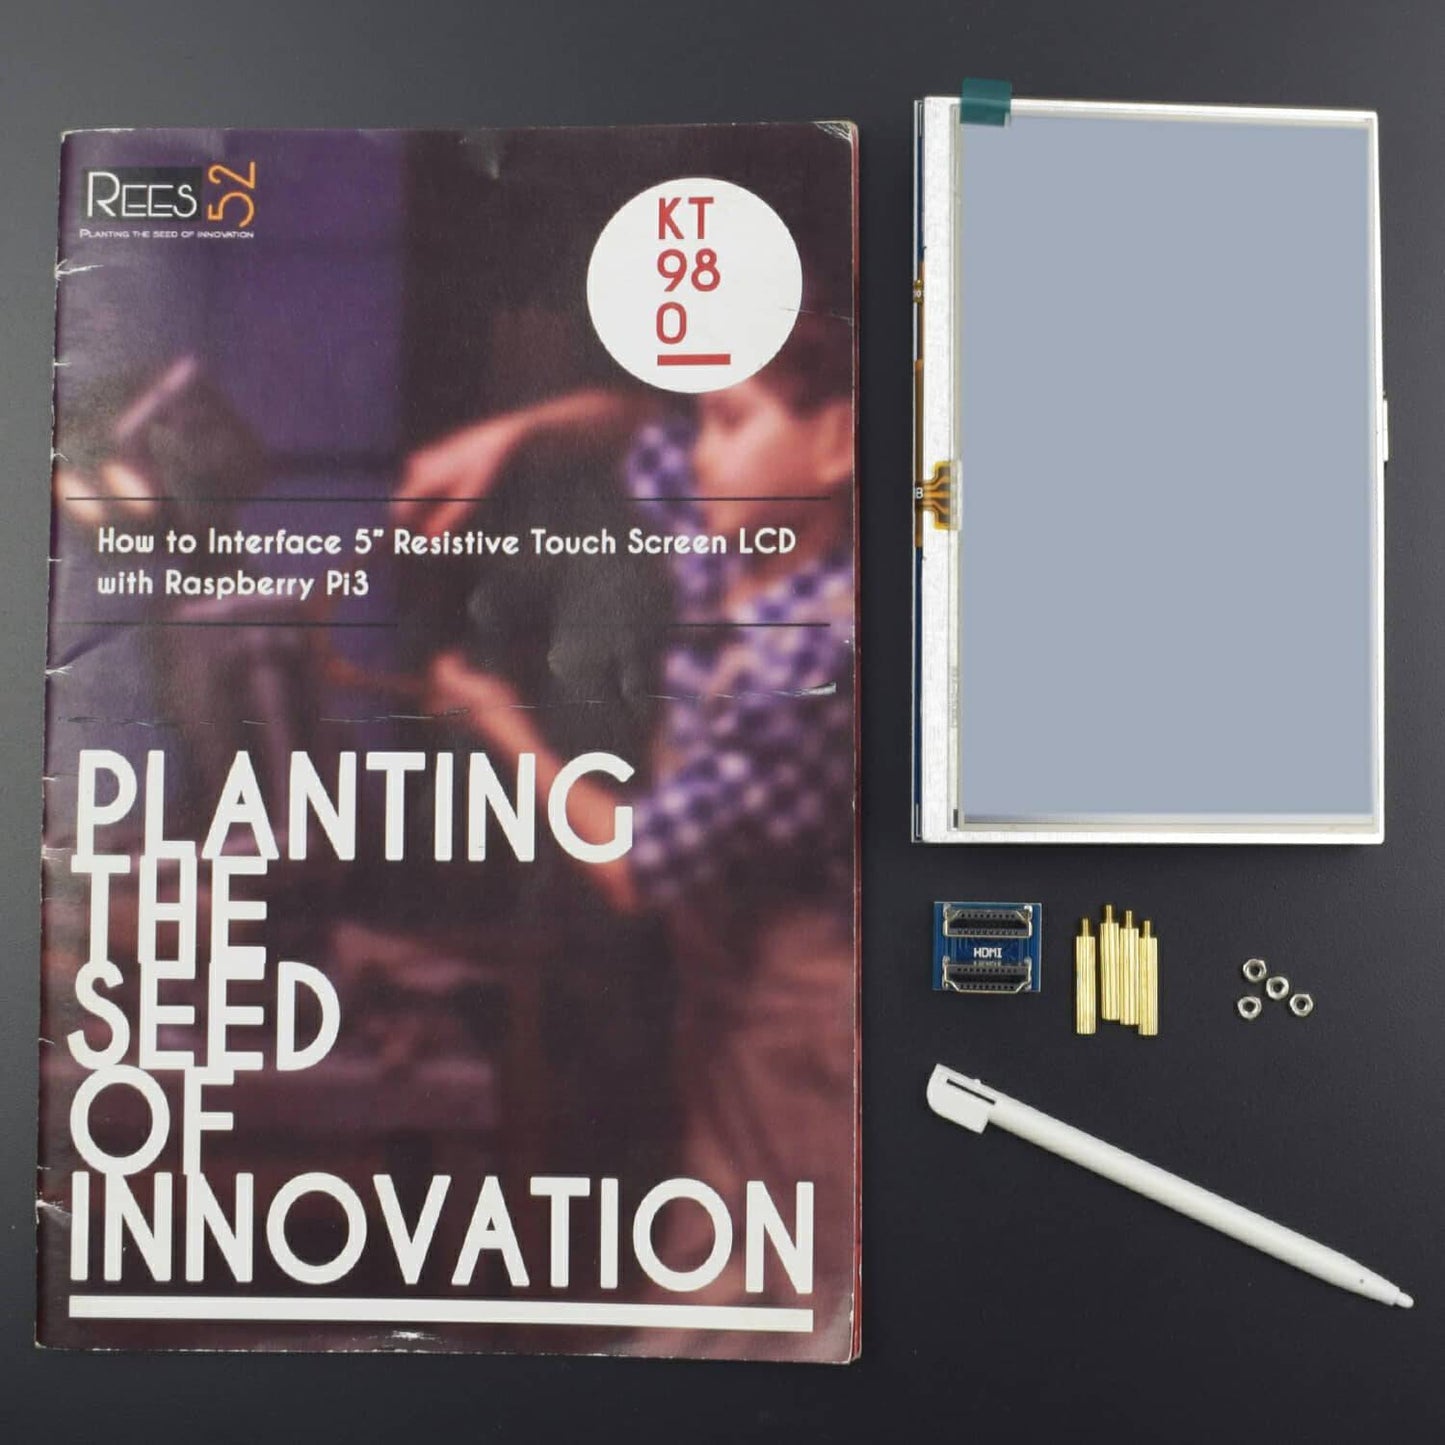
How to interface 5 inch Resistive Touch Screen LCD with Raspberry pi 3 - KT980
How to interface 5 inch Resistive Touch Screen LCD with Raspberry pi 3 - KT980
SKU:KT980
1000 in stock
Couldn't load pickup availability
- For Bulk Order Click Here
- Need Customer Support?
- Free Delivery Above 999/-
Note: In case you receive a damaged or faulty product, please return it in the original box with all foam and packaging. Returns will not be accepted if further damage occurs due to improper packing.
If you order a product that is currently in Preorder, and the price of that item increases in the future, you will be required to pay the difference in price.
For refund/return/replacement, call us at +91 95995 94520 or email us at support@rees52.com
Delivery Time
Delivery Time
- Delivery time with the Express Shipping option is 2-3 working days, and with the Standard Shipping option is 5-6 working days. It varies based on location, reliant on courier services.
- Delivery time if the order item is on Preorder Status is 15-20 working days.
COD (Cash on Delivery)
COD (Cash on Delivery)
- For COD you have to pay extra charges of Rs 350/- before the shipment. (We will share the company QR Code, UPI ID or Account details for the same)
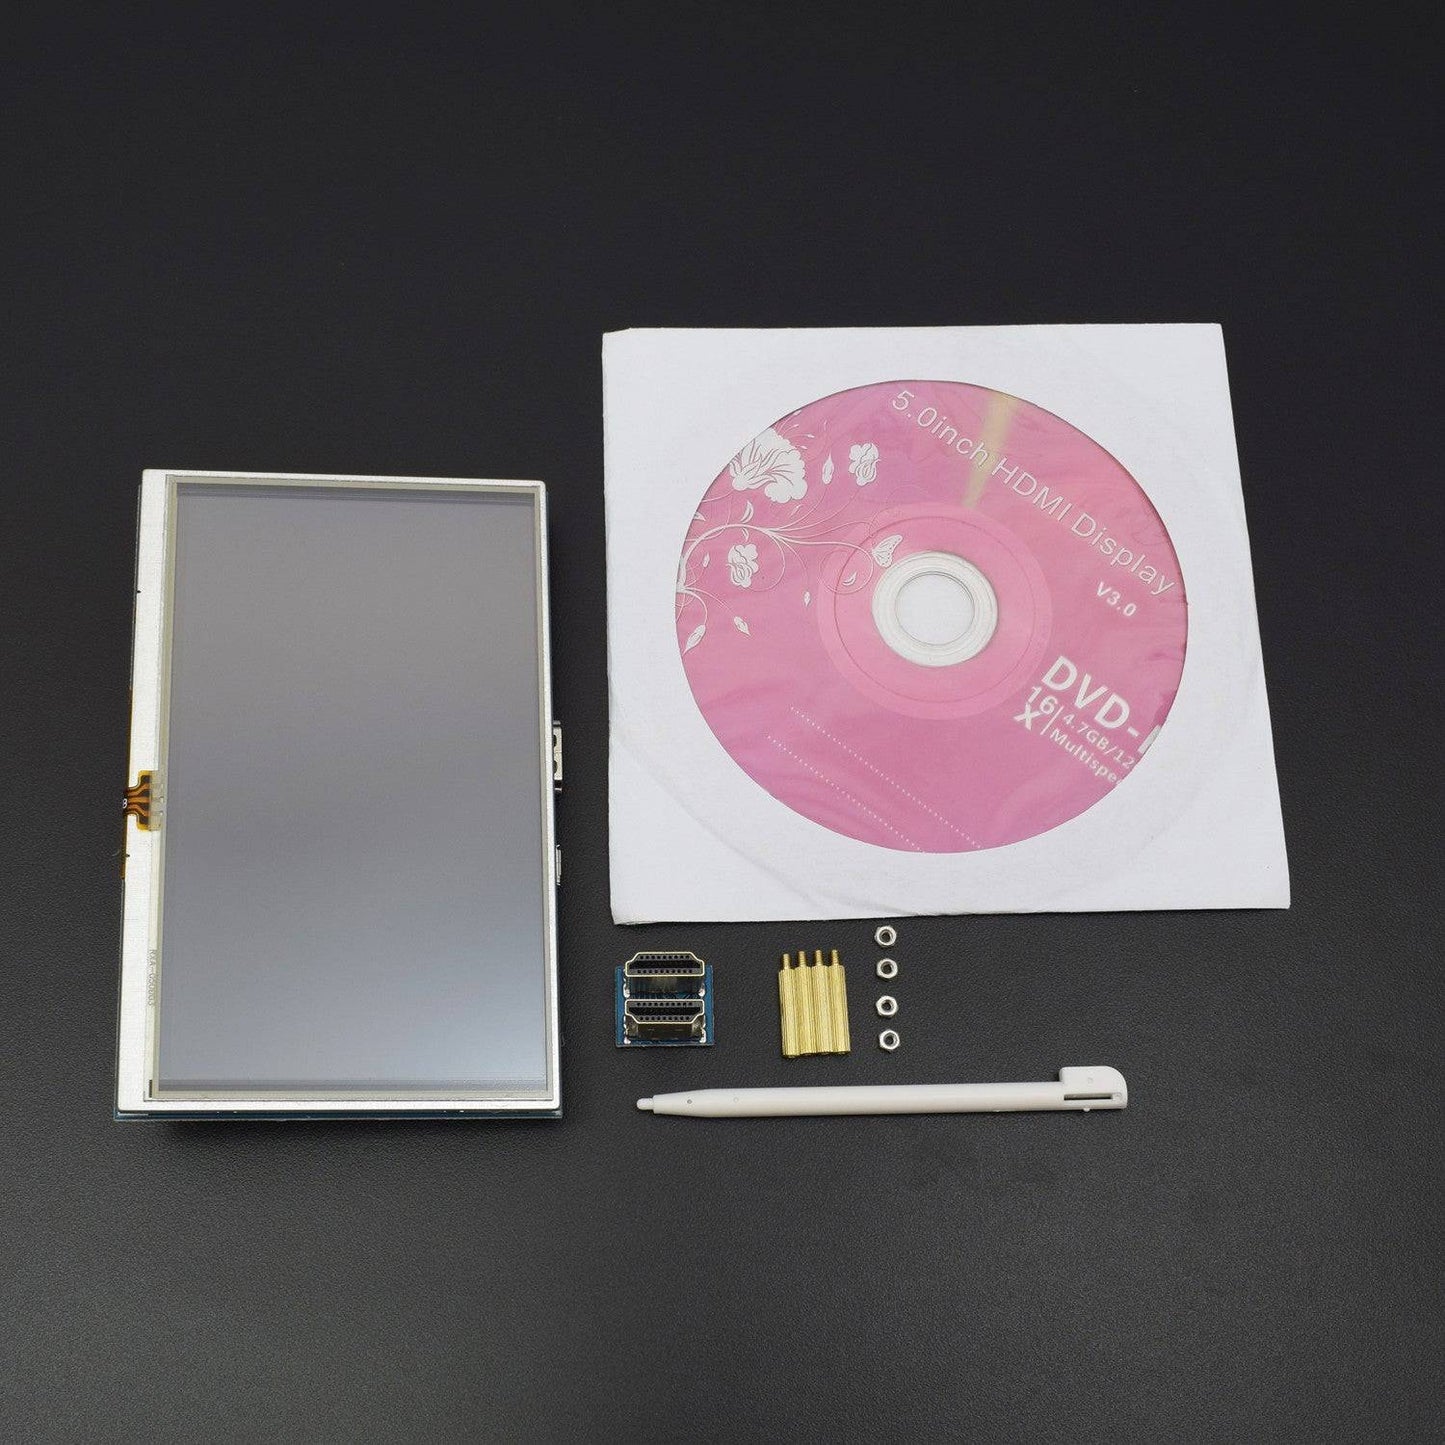


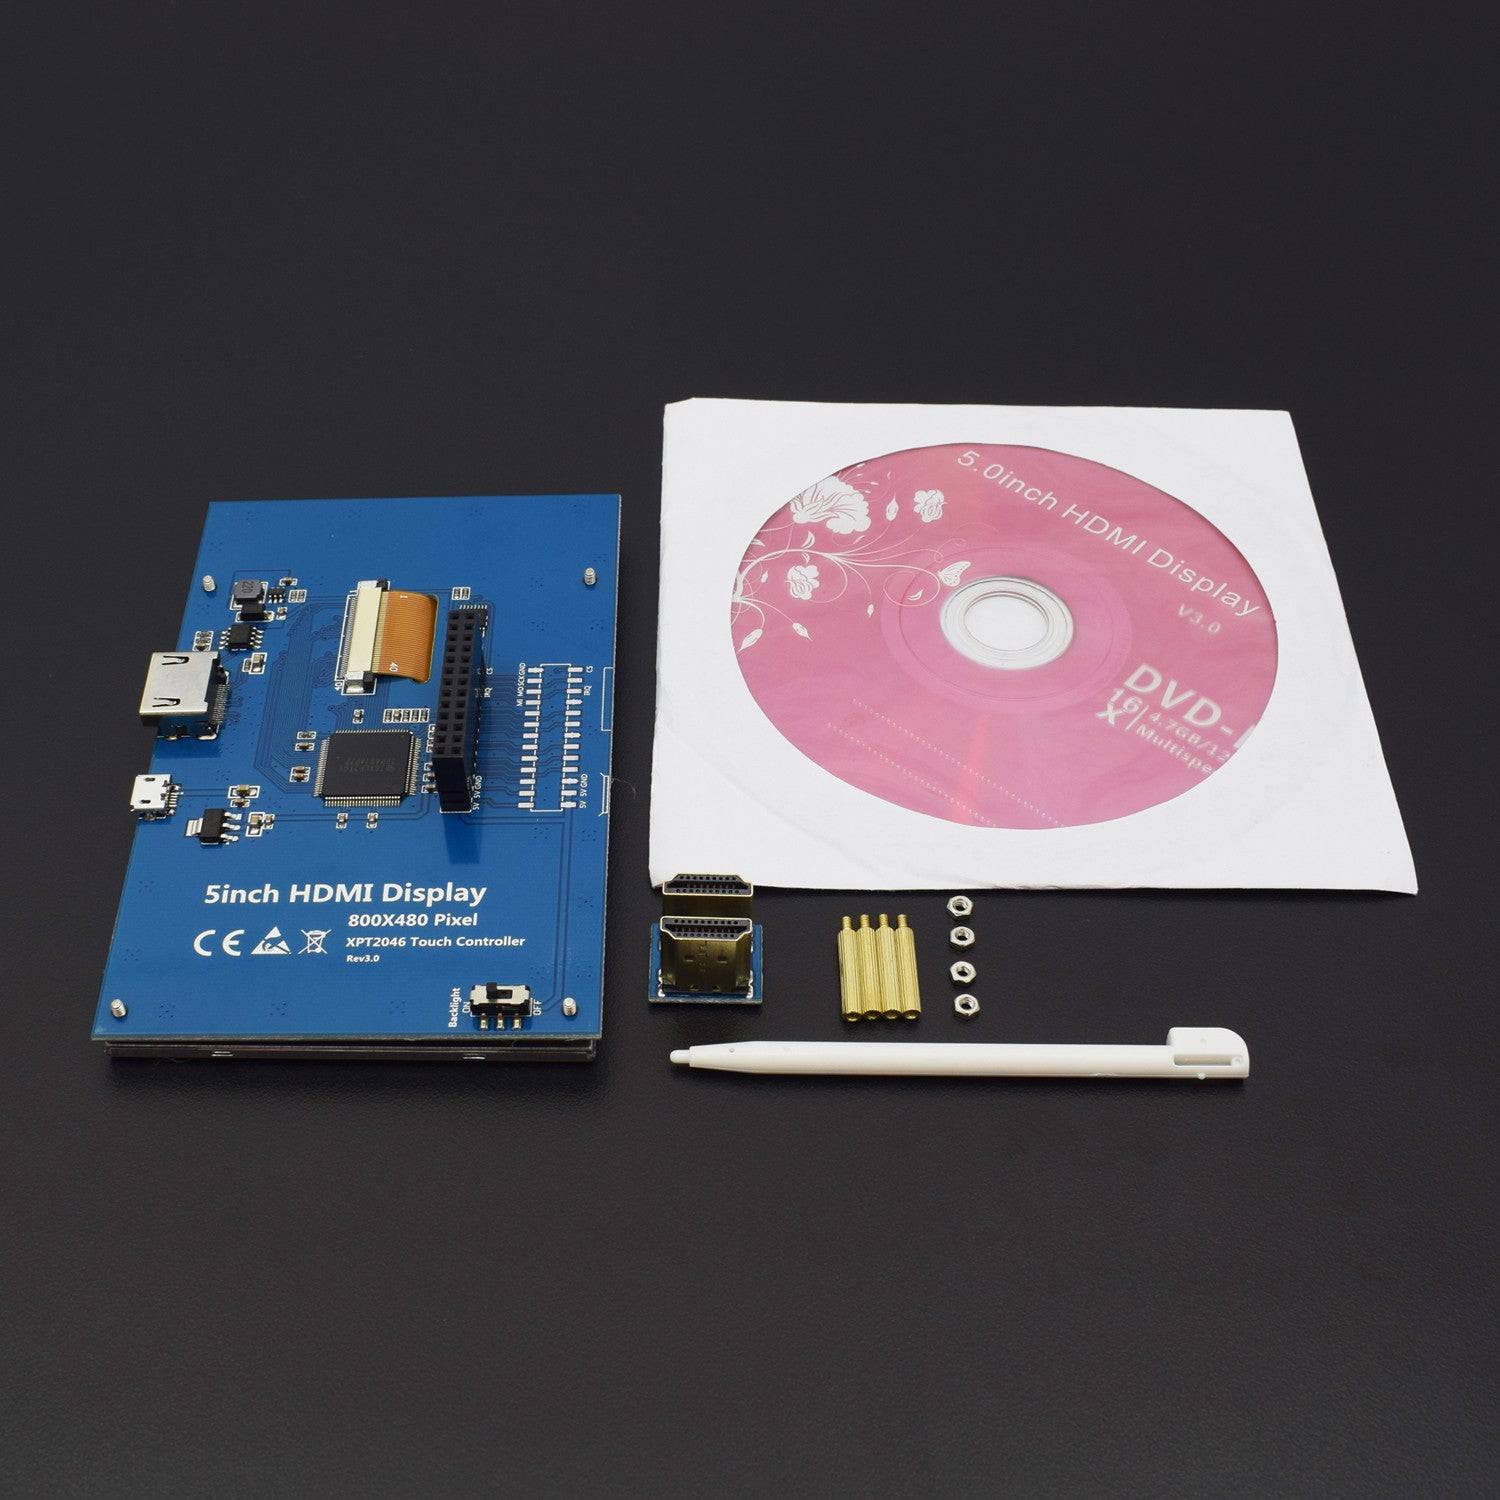
- 800×480 high resolution, touch control
- Compatible and Direct-connect with any revision of Raspberry Pi (except the Pi 1 model B or Pi Zero, which requires an HDMI cable)
- Drivers provided (works with your own Raspbian/Ubuntu directly)
- HDMI interface for displaying, no I/OS required (however, the touch panel still needs I/OS)
FEATURES
- 800×480 high resolution, touch control
- Compatible and Direct-connect with any revision of Raspberry Pi (except the Pi 1 model B or Pi Zero, which requires an HDMI cable)
- Drivers provided (works with your own Raspbian/Ubuntu directly)
- HDMI interface for displaying, no I/OS required (however, the touch panel still needs I/OS)
- Backlight can be turned off to lower power consumption
- High quality immersion gold surface plating
PIN DESCRIPTION
5 INCH TOUCH SCREEN
PIN NO. |
SYMBOL |
DESCRIPTION |
1, 17 |
3.3V |
Power positive (3.3V power input) |
2, 4 |
5V |
Power positive (5V power input) |
3, 5, 7, 8, 10, 11, 12, 13, 15, 16, 18, 24 |
NC |
NC |
6, 9, 14, 20, 25 |
GND |
Ground |
19 |
TP_SI |
SPI data input of Touch Panel |
21 |
TP_SO |
SPI data output of Touch Panel |
22 |
TP_IRQ |
Touch Panel interrupt, low level while the Touch Panel detects touching |
23 |
TP_SCK |
SPI clock of Touch Panel |
26 |
TP_CS |
Touch Panel chip selection, low active |
HARDWARE CONNECTION
- Plug the LCD to your Raspberry Pi:
- There are 40 pins on Raspberry Pi Model A+/B+/2 B/3 B but only 26 pins on the LCD, so you should pay attention to connecting the pins to your Pi accordingly.
- Connect the HDMI Connector to both the HDMI interfaces on the LCD and the Pi.
- You should connect the LCD to Raspberry Pi Model B or Raspberry Pi Zero with an HDMI cable rather than an HDMI Connector.
- Turn on the "backlight" switch on the back of the LCD.
Note: This product can only work on a Raspberry Pi but not work on a PC. That is, if the HDMI of the LCD is connected to the HDMI on a PC, the LCD doesn't display anything.
You can enable the touch in two ways: Method 1. install driver to your Raspbian/Ubuntu Mate OS. Method 2. use the Ready-to-use image file of which LCD driver was pre-installed.
SOFTWARE REQUIRED
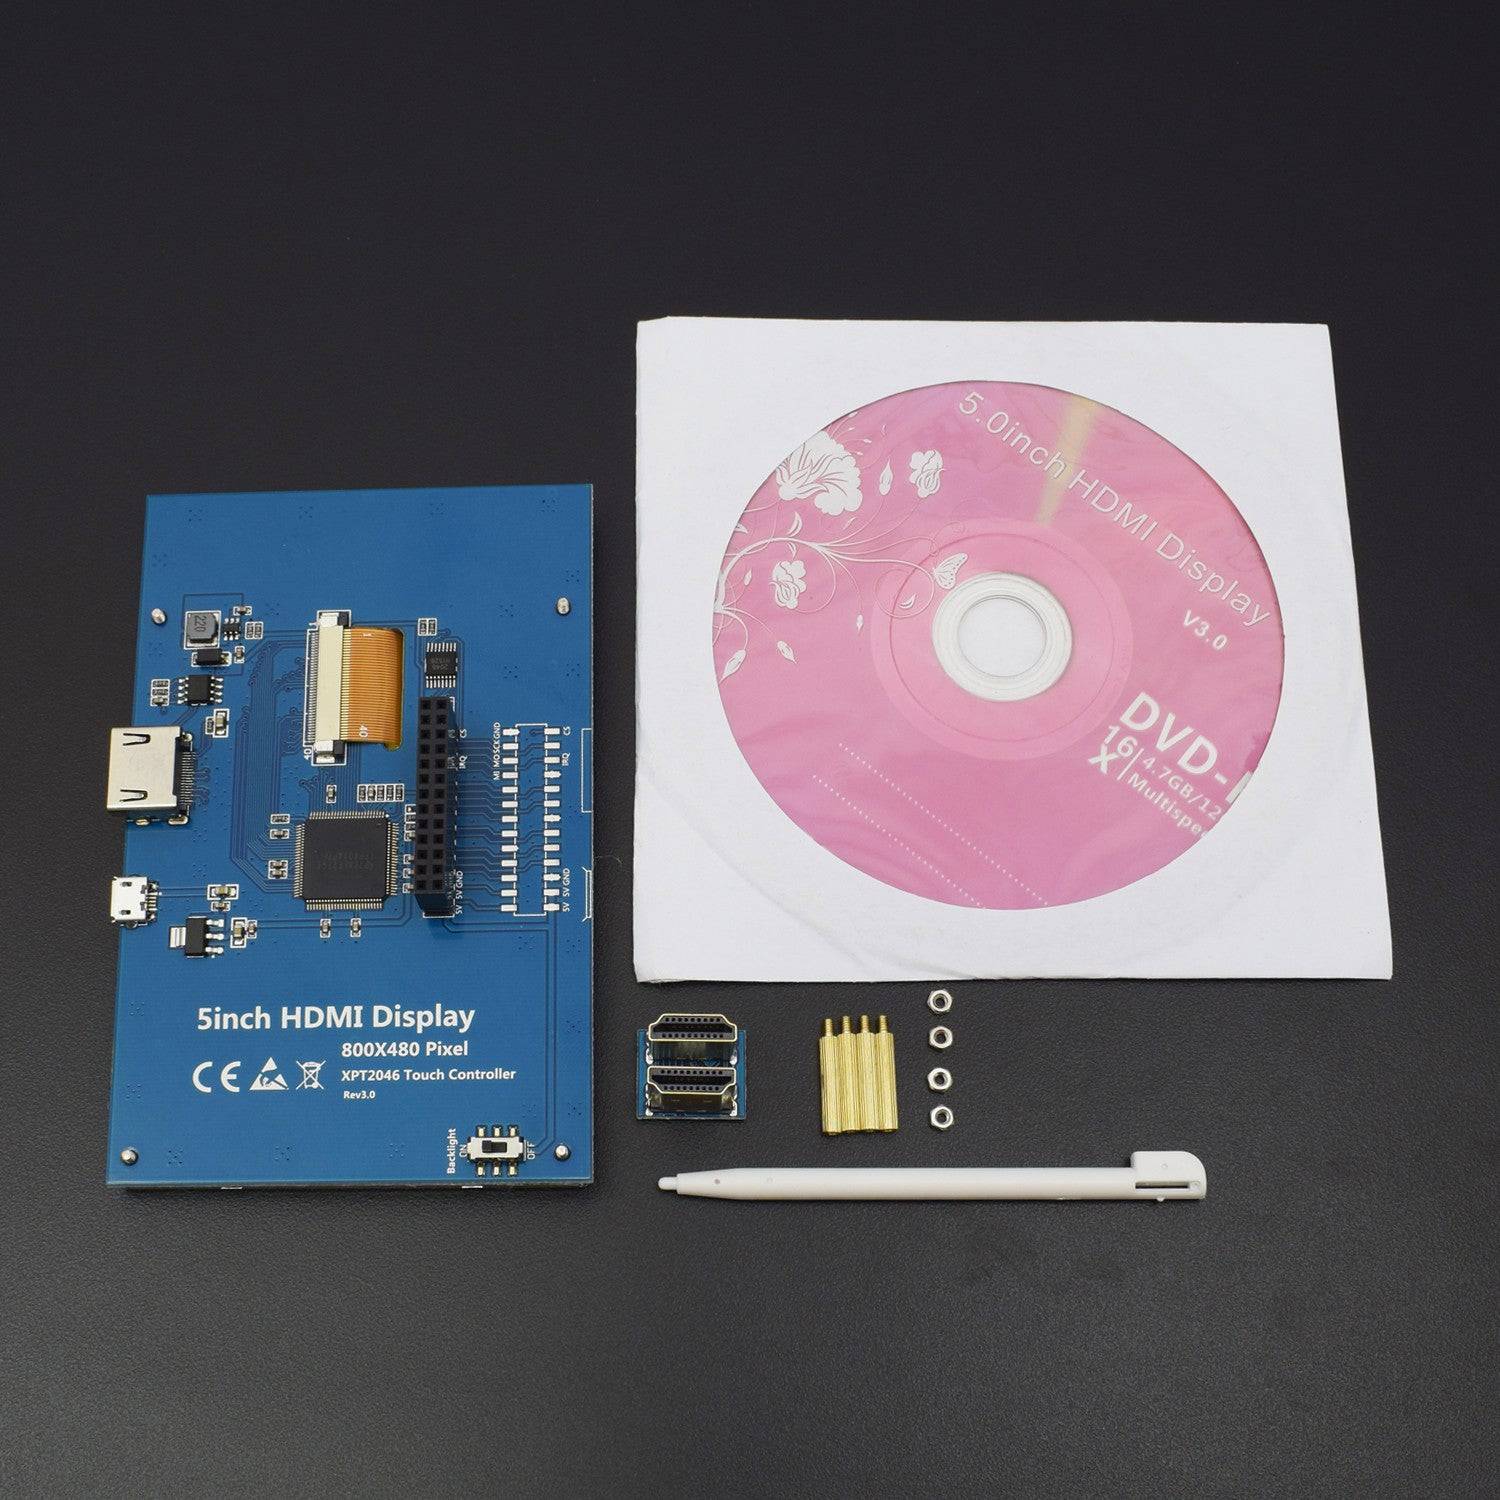
Drivers for LCD (included with Screen )
EXTERNAL DIMENSIO
FAQ
- Why the LCD doesn't work with my Raspbian?
To use the LCD with the Raspberry Pi official image, driver should be installed first. Please refer to the user manual.
However, for the first testing, you may want to use our provided image directly.
- Why the LCD still doesn't work with the Wave share provided image?
Make sure the hardware connection is correct and connects fine.
Make sure the image in TF card is burnt correctly.
The PWR will keep on and the ACT will keep blinking when the Raspberry Pi starts up successfully, in case both of the two LEDs keep on, it is possible that the image was burnt incorrectly OR the TF card was in bad contact.
- Which power supply should I use?
It is strongly recommended to use a stand-alone 5V/2A power adapter, because the PC's USB port might have not enough power to support the Pi and LCD.
PLUGGING IN THE RASPBERRY PI

The HDMI daughter-card slips into the HDMI slots on both the display and the Pi, making the video connection.

After assembly, the entire unit is pretty solid; though due to all the exposed leads, I'd still recommend at least using something static-free and non-conductive to house the unit
The way the hardware is laid out, you seat the Raspberry Pi directly onto a GPIO socket (it takes up the first 13 sets of GPIO pins—pins 1-26), and then there's an included HDMI male-to-male daughter card that slots in nicely to connect the HDMI output of the Pi to the HDMI input on the display.
There's an extra OTG USB plug on the display if you want to give it a separate power source, but if you plug it straight into the Pi's GPIO, it will leech off the 5V connection. As long as you have a good 2A power supply for your Pi, though, you shouldn't have to worry about supplying independent power to the display. In my usage, I only saw the overvault indicator every now and then (just like I do in normal usage of the Pi 3, since it uses a bit more power than a 2!).
GETTING FULL RESOLUTION OVER HDMI
When first booted the Pi attached to the display, there was a large white area on the right, and only the left portion of the screen was being used by the Pi (it was only using 640x480 of the 800x480 display). To fix this, you have to set a few display options in the configuration file the Raspberry Pi reads during startup to switch certain hardware settings.
Edit /boot/config.txt (either while booted into Raspbian, or on another computer directly on the microSD card), making sure the following values are set:
# uncomment if you get no picture on HDMI for a default "safe" mode
#hdmi_safe=1
# uncomment this if your display has a black border of unused pixels visible
# and your display can output without overscan
disable_overscan=0
# uncomment if hdmi display is not detected and composite is being output
#hdmi_force_hotplug=1
# uncomment to force a specific HDMI mode (this will force VGA)
hdmi_group=2
hdmi_mode=1
hdmi_mode=87
hdmi_cvt=800 480 60 6 0 0 0
Reboot the Pi either via the UI or by entering sudo reboot in the Terminal. Once rebooted, the Pi should fill up the full 800x480 display.
Note: If the Pi boots up to a funny-looking screen and you can't see anything, you can either reformat the microSD card, or pull it, edit the /boot/config.txt file from another computer to fix it, and put it back in the Pi.
GETTING THE TOUCHSCREEN WORKING
Besides being a 800x480 HDMI display, the Elecrow also has a touchscreen overlay that allows simple one-point resistive touch detection on the screen. Note that at best, resistive touch is not nearly as responsive and intuitive as capacitive touch detection, which you're likely used to on any recent smartphone or tablet screen. But something is better than nothing, when it comes to building simple UIs for 'Internet of Things' devices or other fun things.
I tried to find some kind of downloadable driver for the XPT2046 touch controller, but didn't find a lot of helpful information. Elecrow's Wiki has some helpful information, a link to a setup PDF, a link to some configuration examples... but some of this seemed to be formatted incorrectly (likely due to bad copy/pasting or PDF formatting), so ignore that info and use this process instead (all commands run from the Terminal app):
- sudo apt-get update
- sudo apt-get -y install xinput-calibrator
- Edit /boot/config.txt again, this time adding the following lines below the rest of the config you changed earlier:
# Enable touchscreen on Elecrow HDMI interface.
dtparam=spi=on
dtparam=i2c_arm=on
dtoverlay=ads7846,cs=1,penirq=25,penirq_pull=2,speed=50000,keep_vref_on=0,swapxy=0,pmax=255,xohms=150,xmin=200,xmax=3900,ymin=200,ymax=3900
dtoverlay=w1-gpio-pullup,gpiopin=4,extpullup=1
These commands first install the touchscreen calibration utility, then configure the Pi to use the correct GPIO settings so touches can be interpreted as mouse moves/clicks by the Pi.
After you make those changes, reboot the Pi via the UI or in the Terminal with sudo reboot. Once it reboots, you need to calibrate the touchscreen. To do that, go to Menu > Preferences > Calibrate Touchscreen (see image below):

Once calibrated, the accuracy is pretty good, using either the included stylus or your fingernail. Note that the default Raspberry Pi UI is totally unoptimized for small (or even large) touchscreen use. You should probably get to work building your own touchscreen UI now :)
HOW TO USE THIS LCD
There are two methods:
- Down the image file from Microsoft Onedrive net disk or http://www.raspberrypiwiki.com/download/RPI-5-INCH-HDMI-GPIO-TOUCH-TFT/;
- Write the firmware to micro SD card: How to install the image to your pi
- After installing the system image to your SD card . wait for a minutes, the LCD can display and touch
- If you want want to use your computer monitor via HDMI to VAG cable (after you install our 5 inch LCD Screen image), On the LXTerminal, enter
sudo su
HDMI-SYS-SHOW
Or after you go to HDMI display ,you want to display the LCD again.
If your LCD is the Raspberry Pi 2.4inch LCD or Raspberry Pi 3.2inch LCD(the 2.4inch is the same LCD port and control chip 9341).On the LXTerminal, enter
LCD32-SYS-SHOW
If your LCD is the Raspberry Pi 3.5inch LCD.On the LXTerminal, enter
LCD35-SYS-SHOW
If your LCD is the Raspberry Pi 4inch LCD.On the LXTerminal, enter
LCD4-SYS-SHOW
If your LCD is the Raspberry Pi 5inch LCD.On the LXTerminal, enter
LCD5-SYS-SHOW
SETUP THE DRIVER TO USE THIS LCD
You can use the last Raspbian firmware, then install our driver to use it;
CONNECTION
- First connect the power supply to lcd adaptor 5v and connect hdmi to raspberry pie3 board.
- Connect the usb cable to port on board other end to lcd .
- Connect one more point to usb to board.
- Switch on the backlight of lcd .
- Drivers of lcd is included with the box you write the img file on sd card using win32disk imager.
- Now your setup is ready and your touch is working fine.