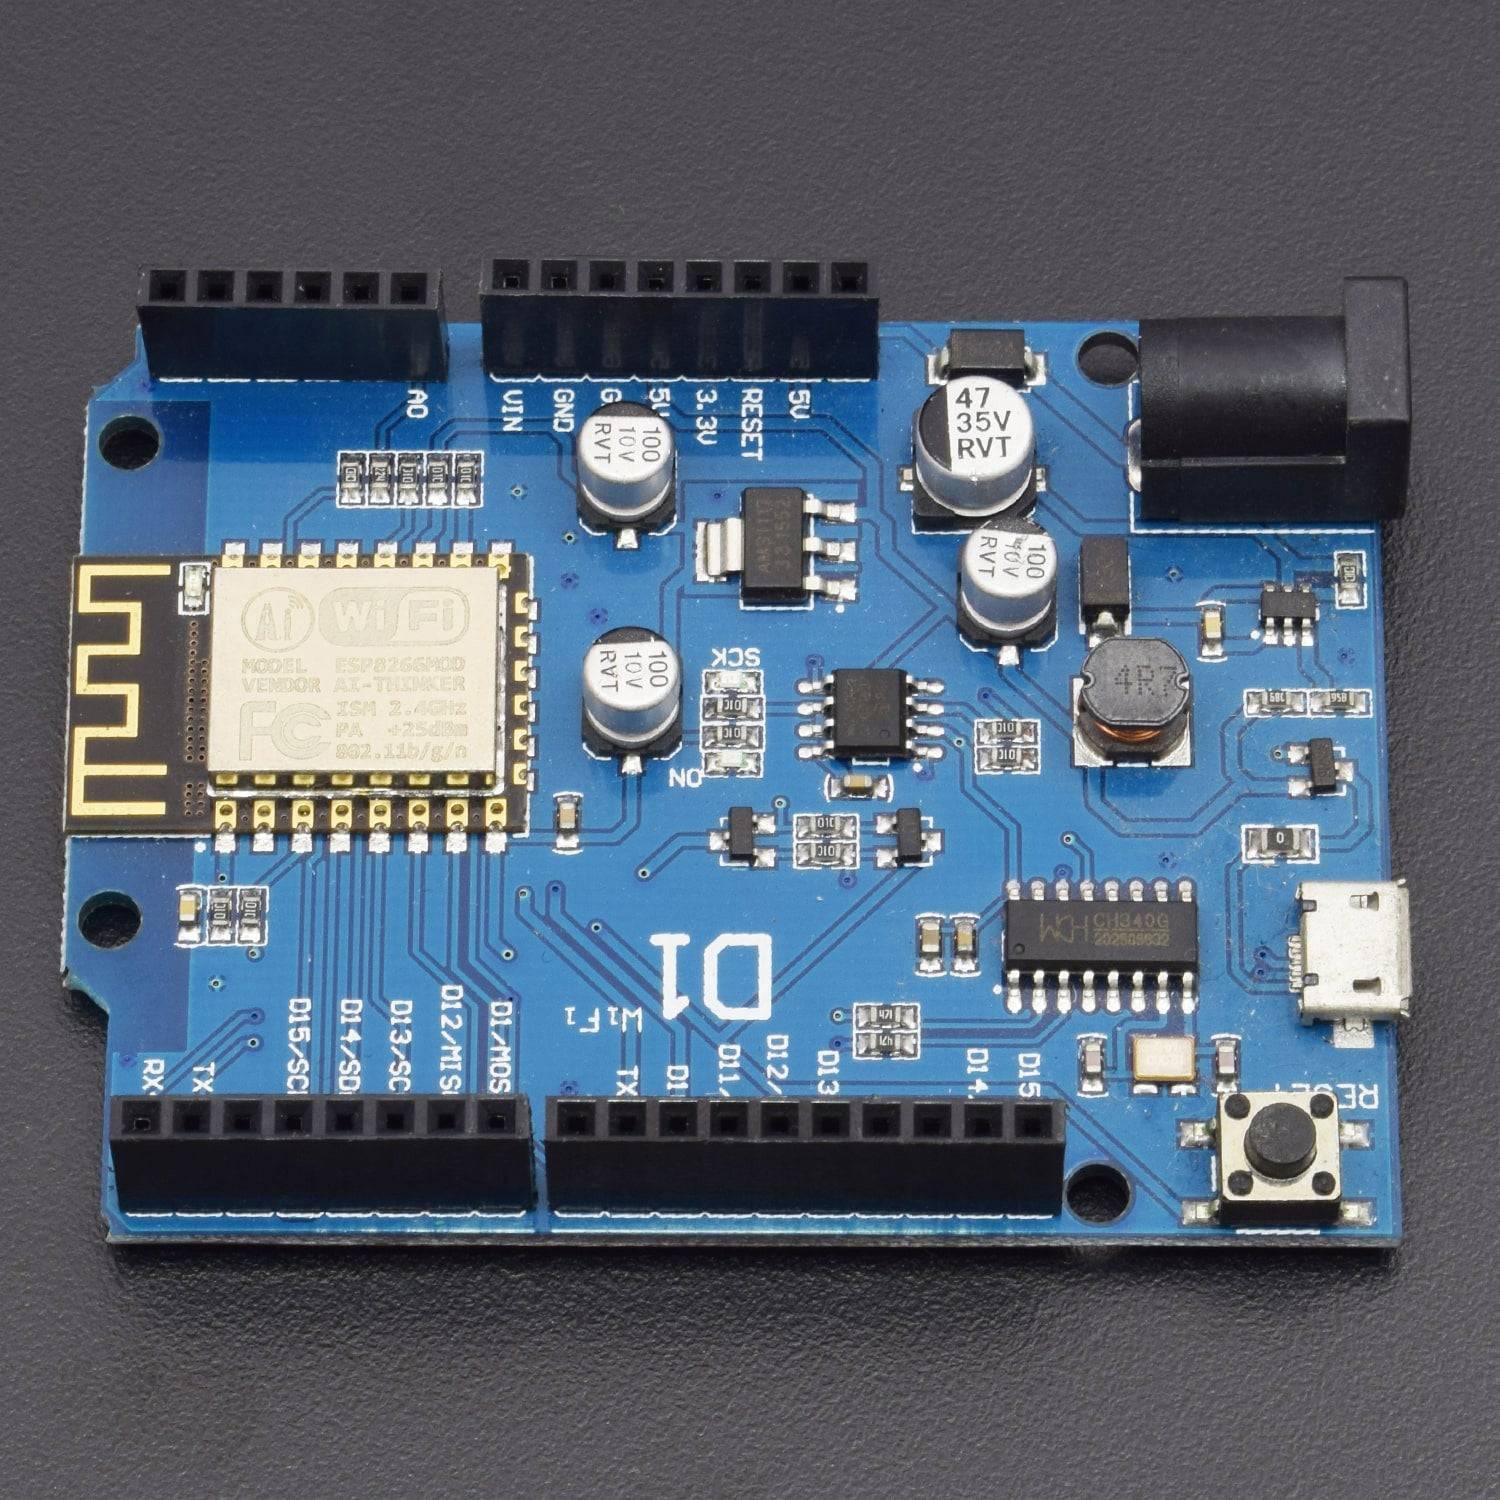
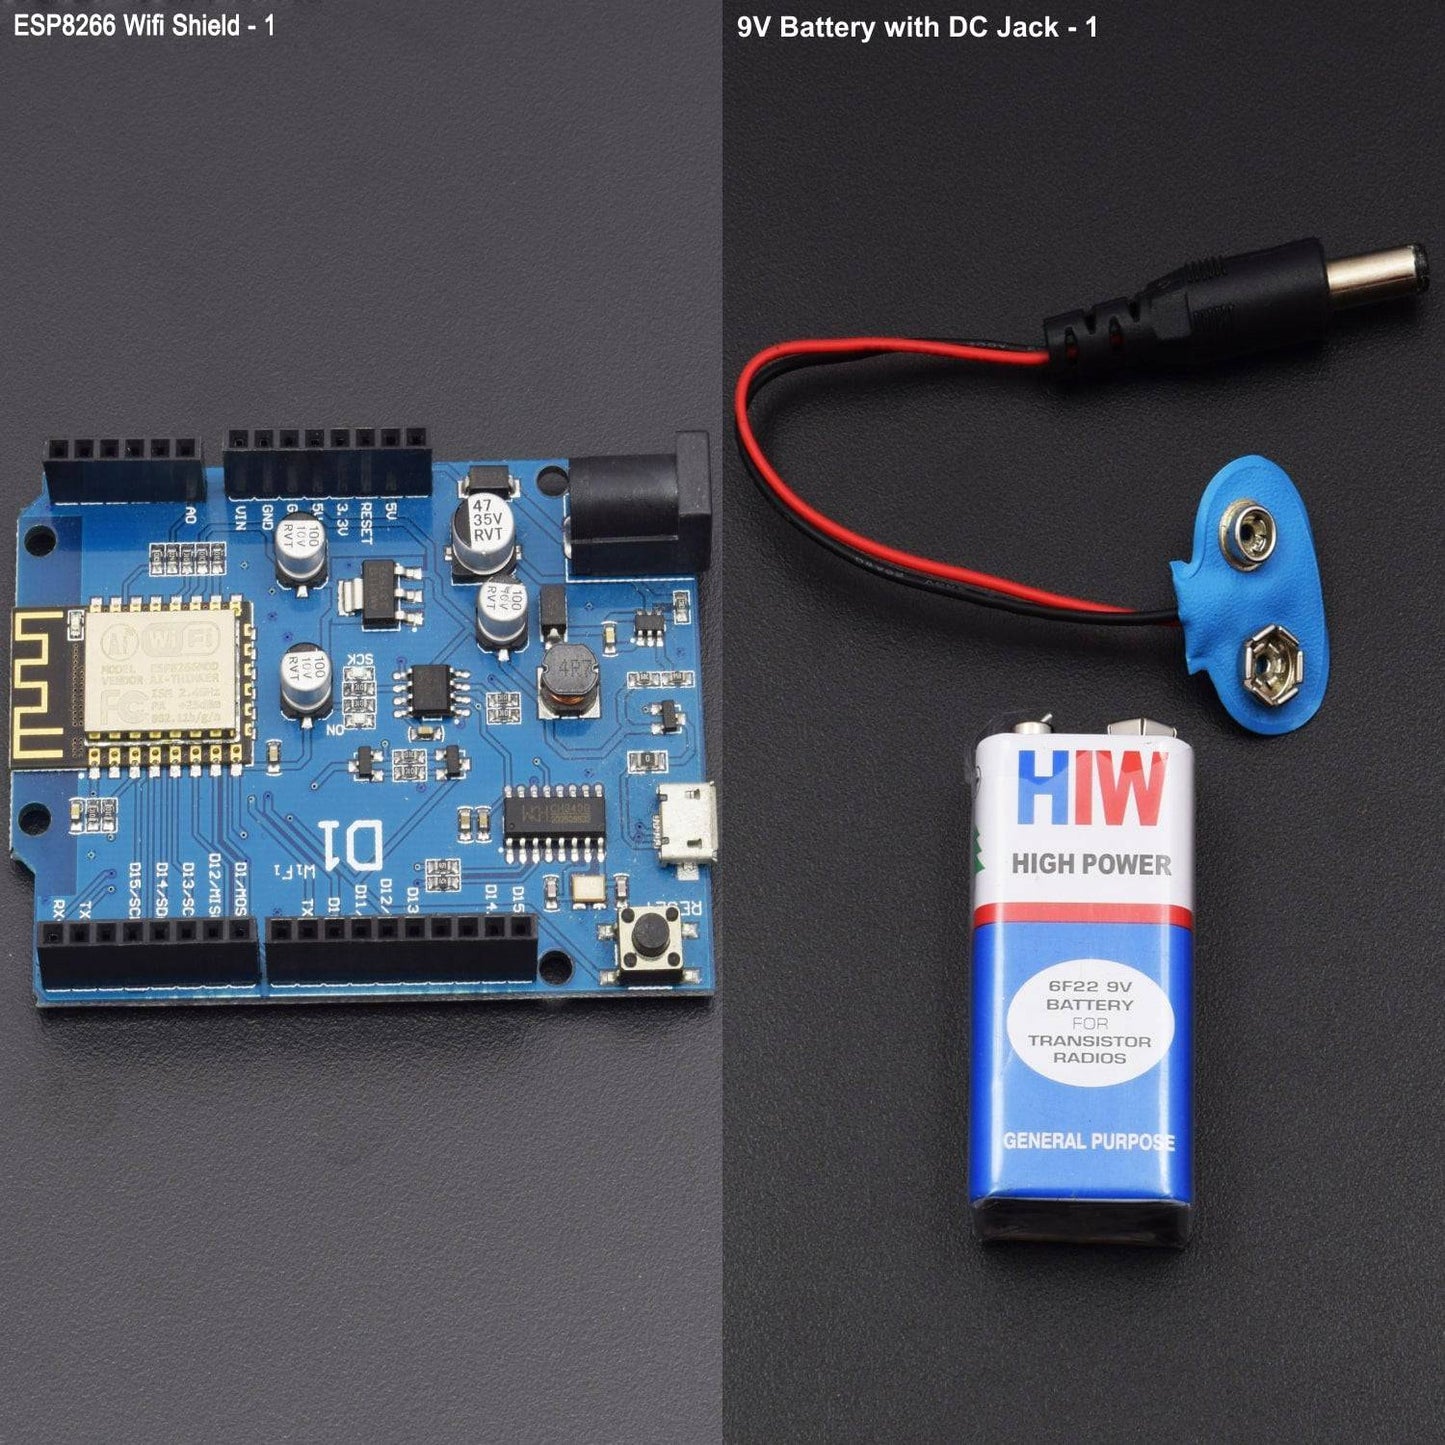


KIT INCLUDES:
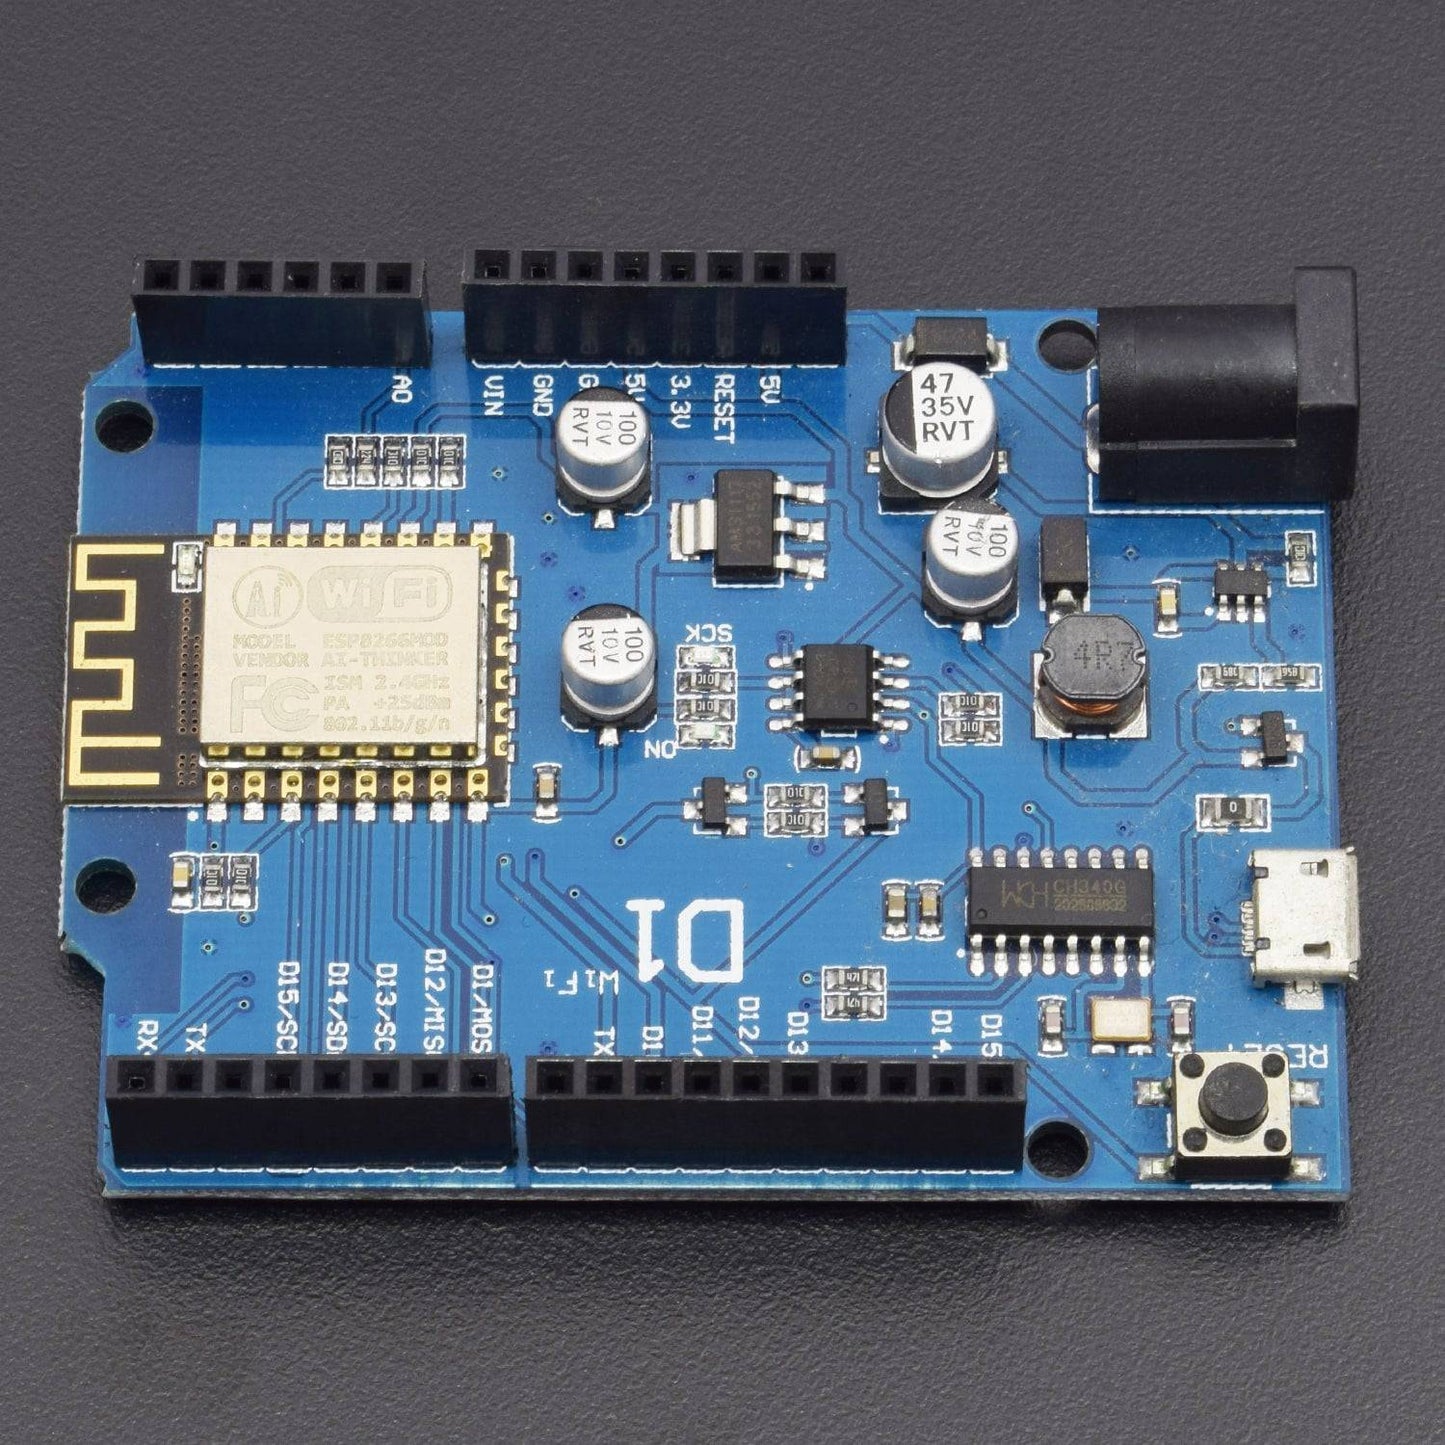
- Esp8266 Wi-Fi board with USB cable
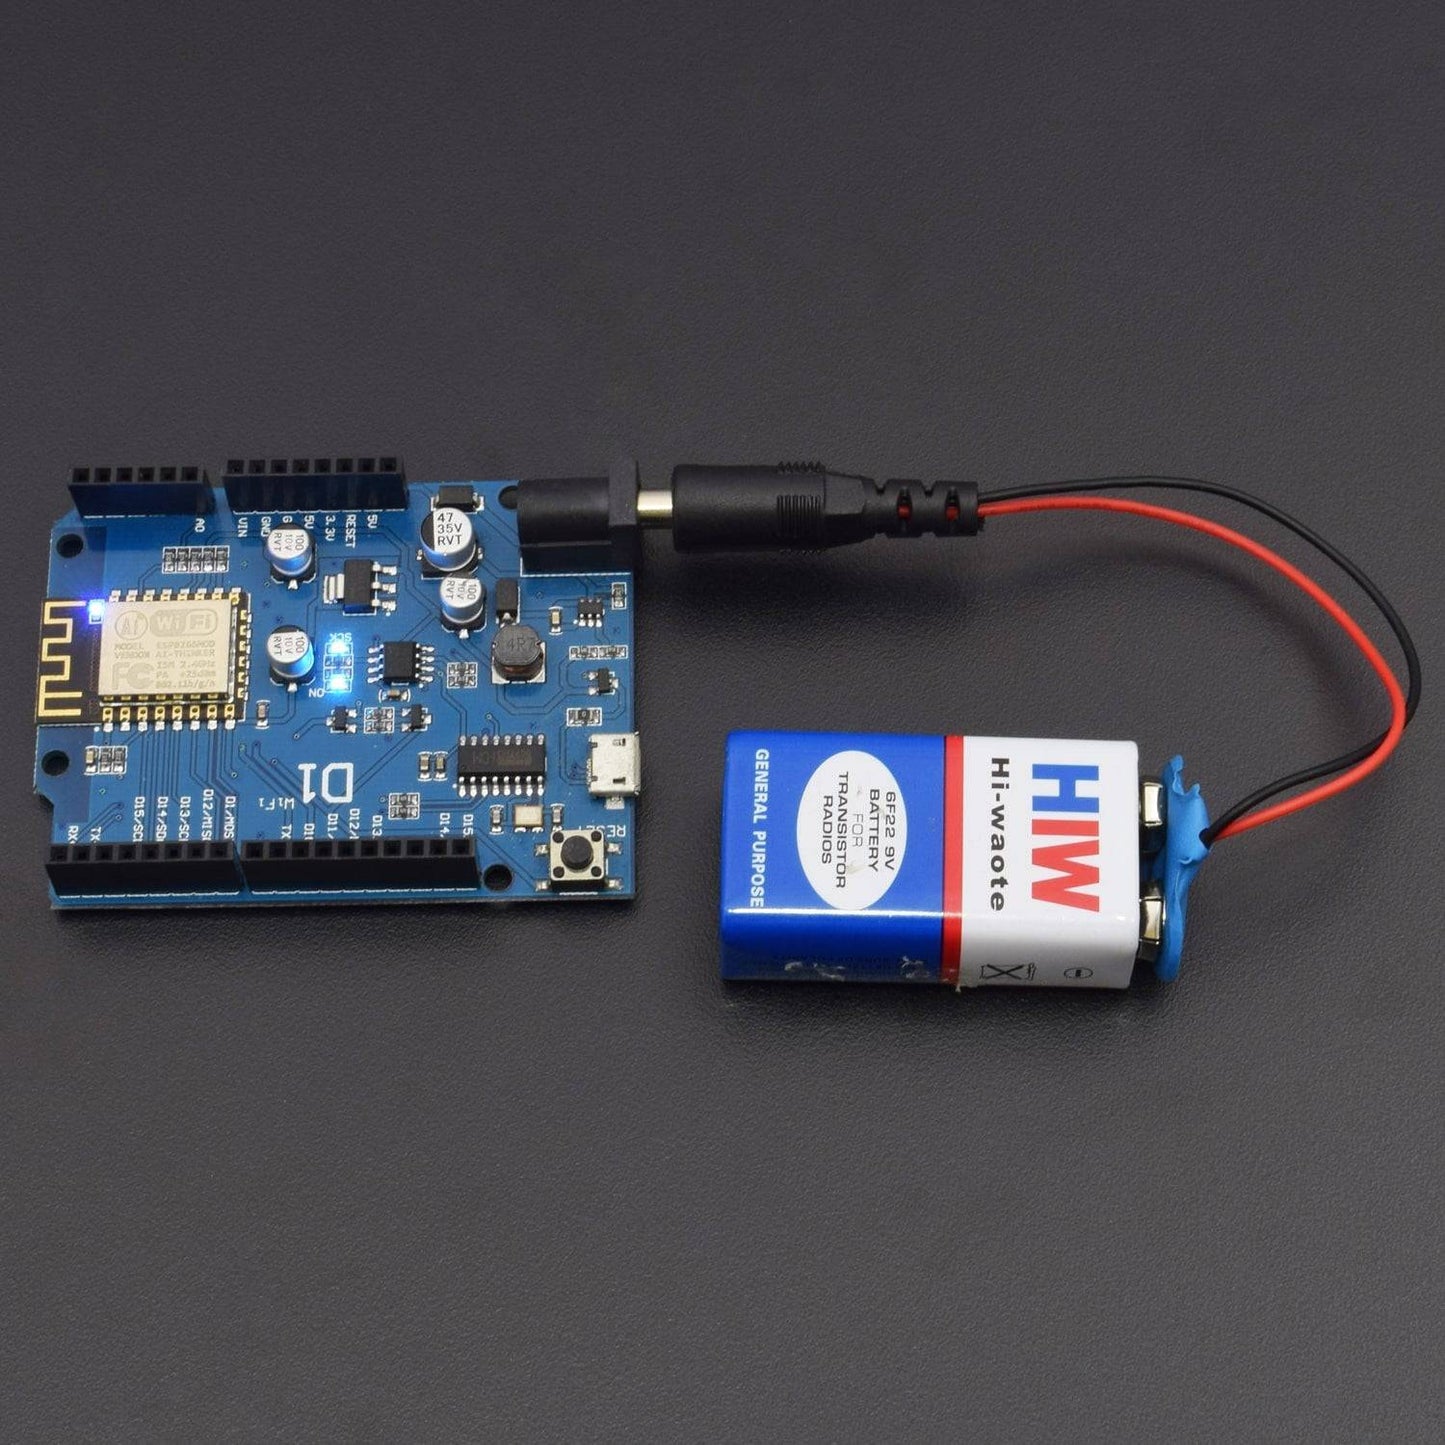
- 9v Battery with Battery snapper - 1
Here we define the process of how to install the WE MOS D1 Wi-Fi ESP8266 shield and interfacing other modules.
HARDWARE REQUIRED
- Esp8266 Wi-Fi board with USB cable
- 9v Battery with Battery snapper - 1
SOFTWARE REQUIRED
Arduino IDE 1.8.5 (programmable platform for Arduino)
Click To Download: https://www.arduino.cc/en/Main/Software
SPECIFICATIONS
ESP8266 Wi-Fi Shield
- Based on ESP-8266EX.
- Arduino compatible, using Arduino IDE to program.
- 11 x I / O pins.
- 1 x ADC pin (input range of 0-3.3V).
- Support OTA wireless upload.
- Onboard 5V 1A Switching Power Supply (highest input voltage 24V).
- After installing the hardware package.
- The direct use of Arduino IDE development, the same operation with Arduino UNO.
INSTRUCTIONS
First, we go to the tools and then click on board’s board manager here we first install the board software and then follow further instructions.

- Here you install the following esp8266 community for board click on install

- Now you select the wemos d1 board here esp8266.

- Now select the port showing on the serial ports.

- Here you select the example code and blink select and upload the code in the wemos d1 and you see the result.

- Here is the complete instruction that how to install and communicate with and install the board that performs the following task.


