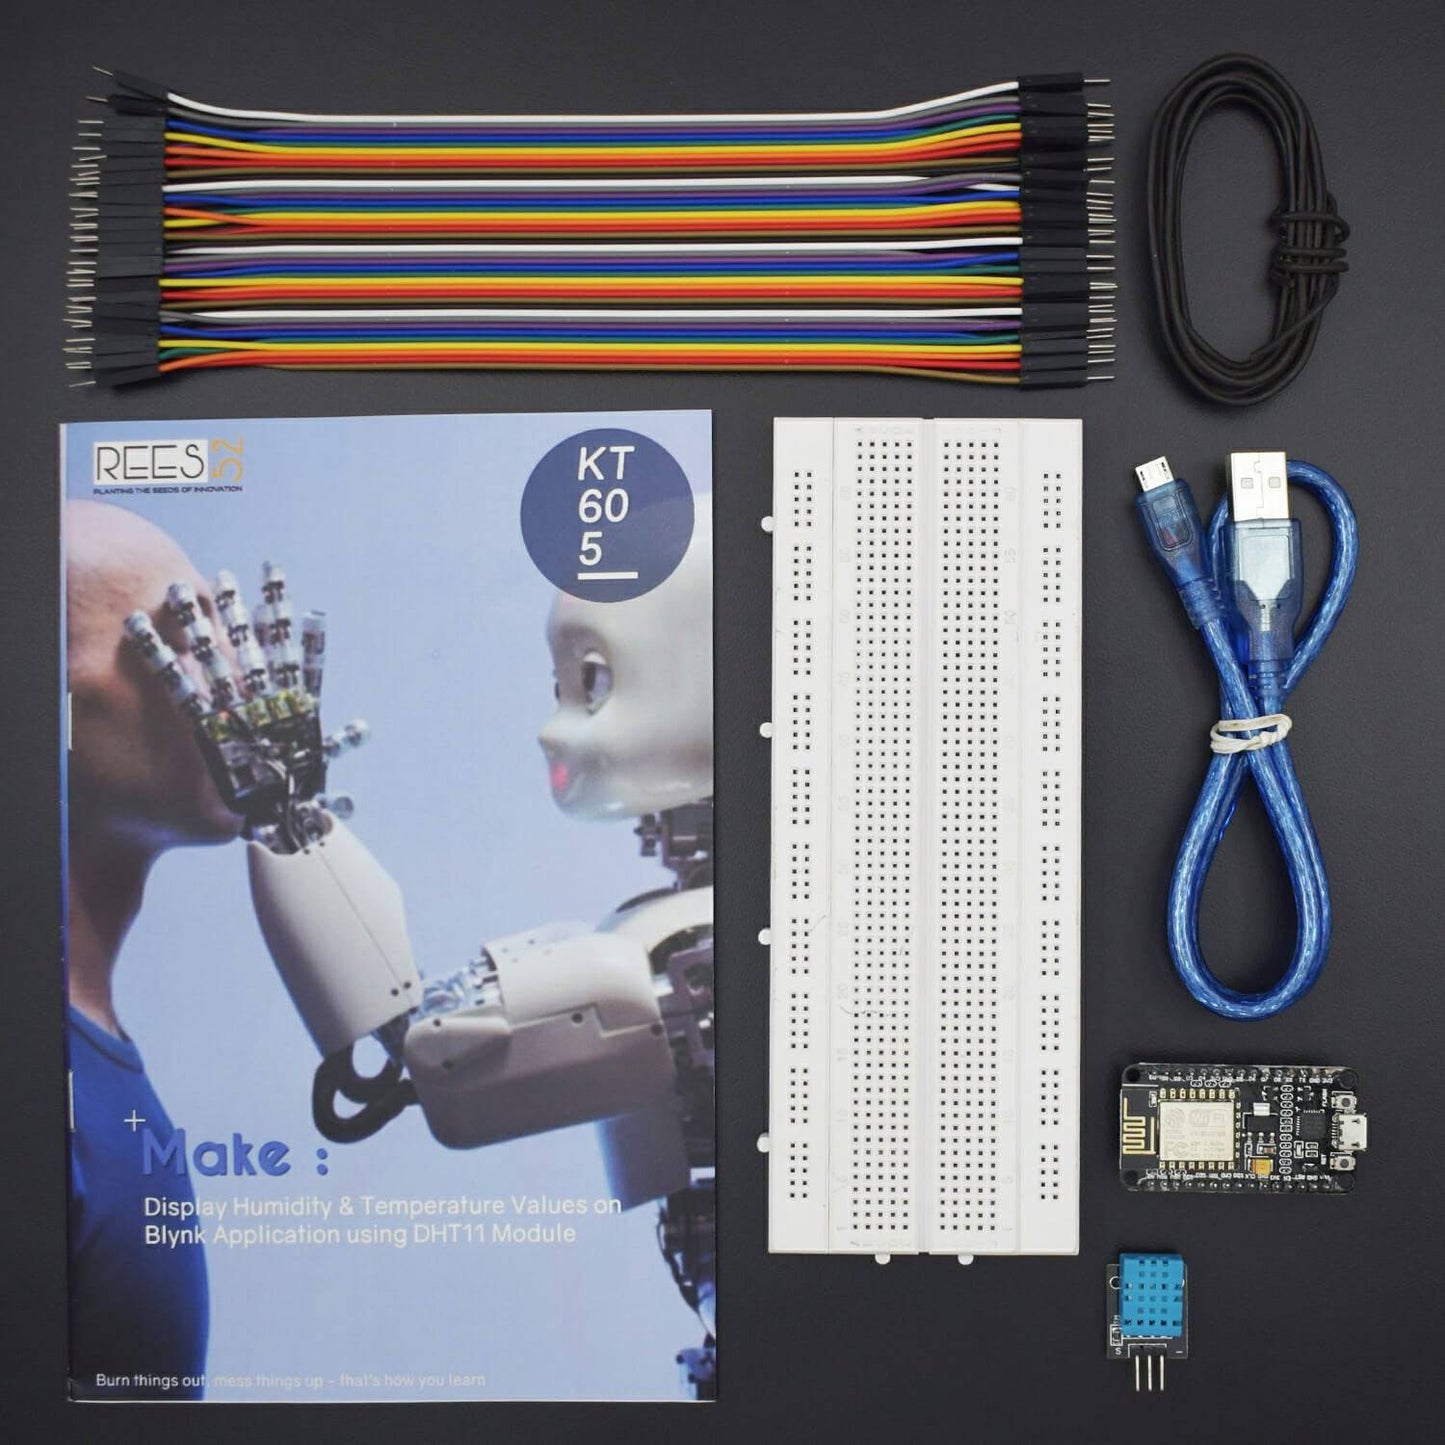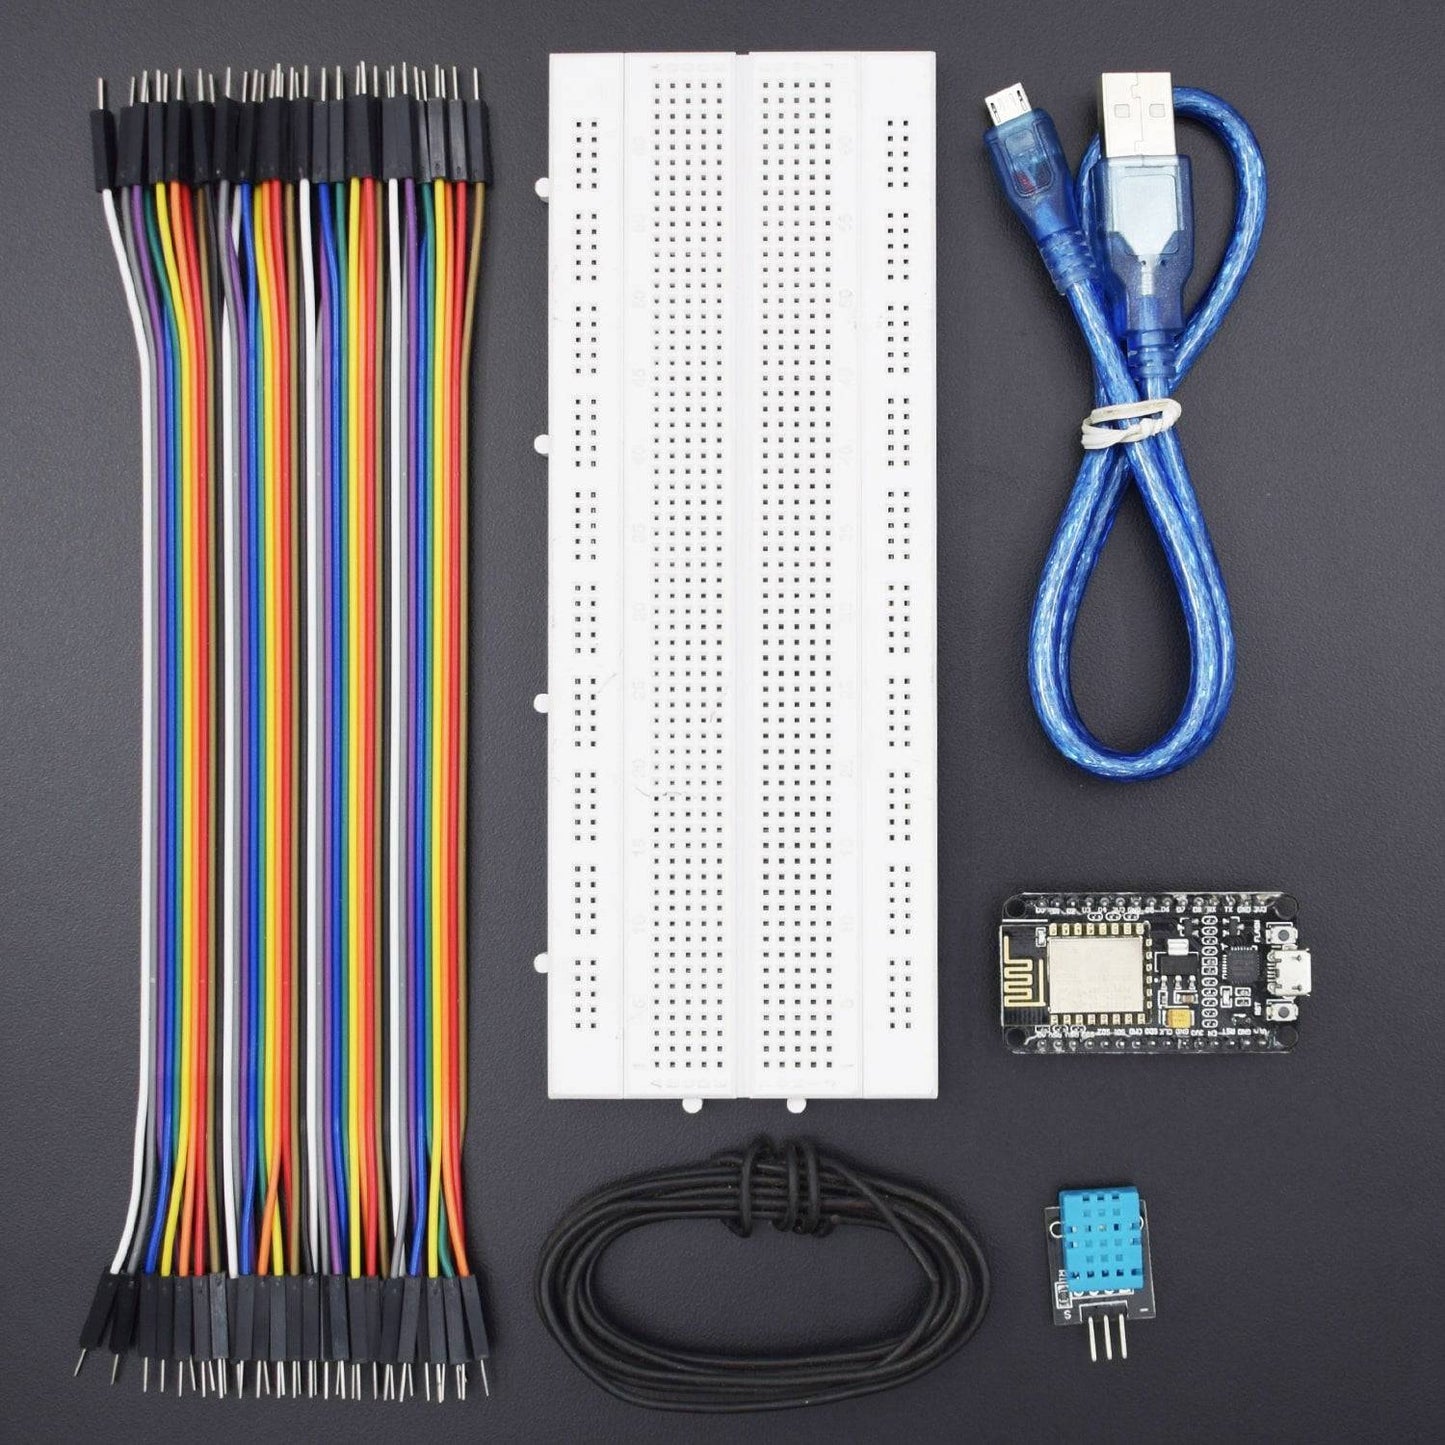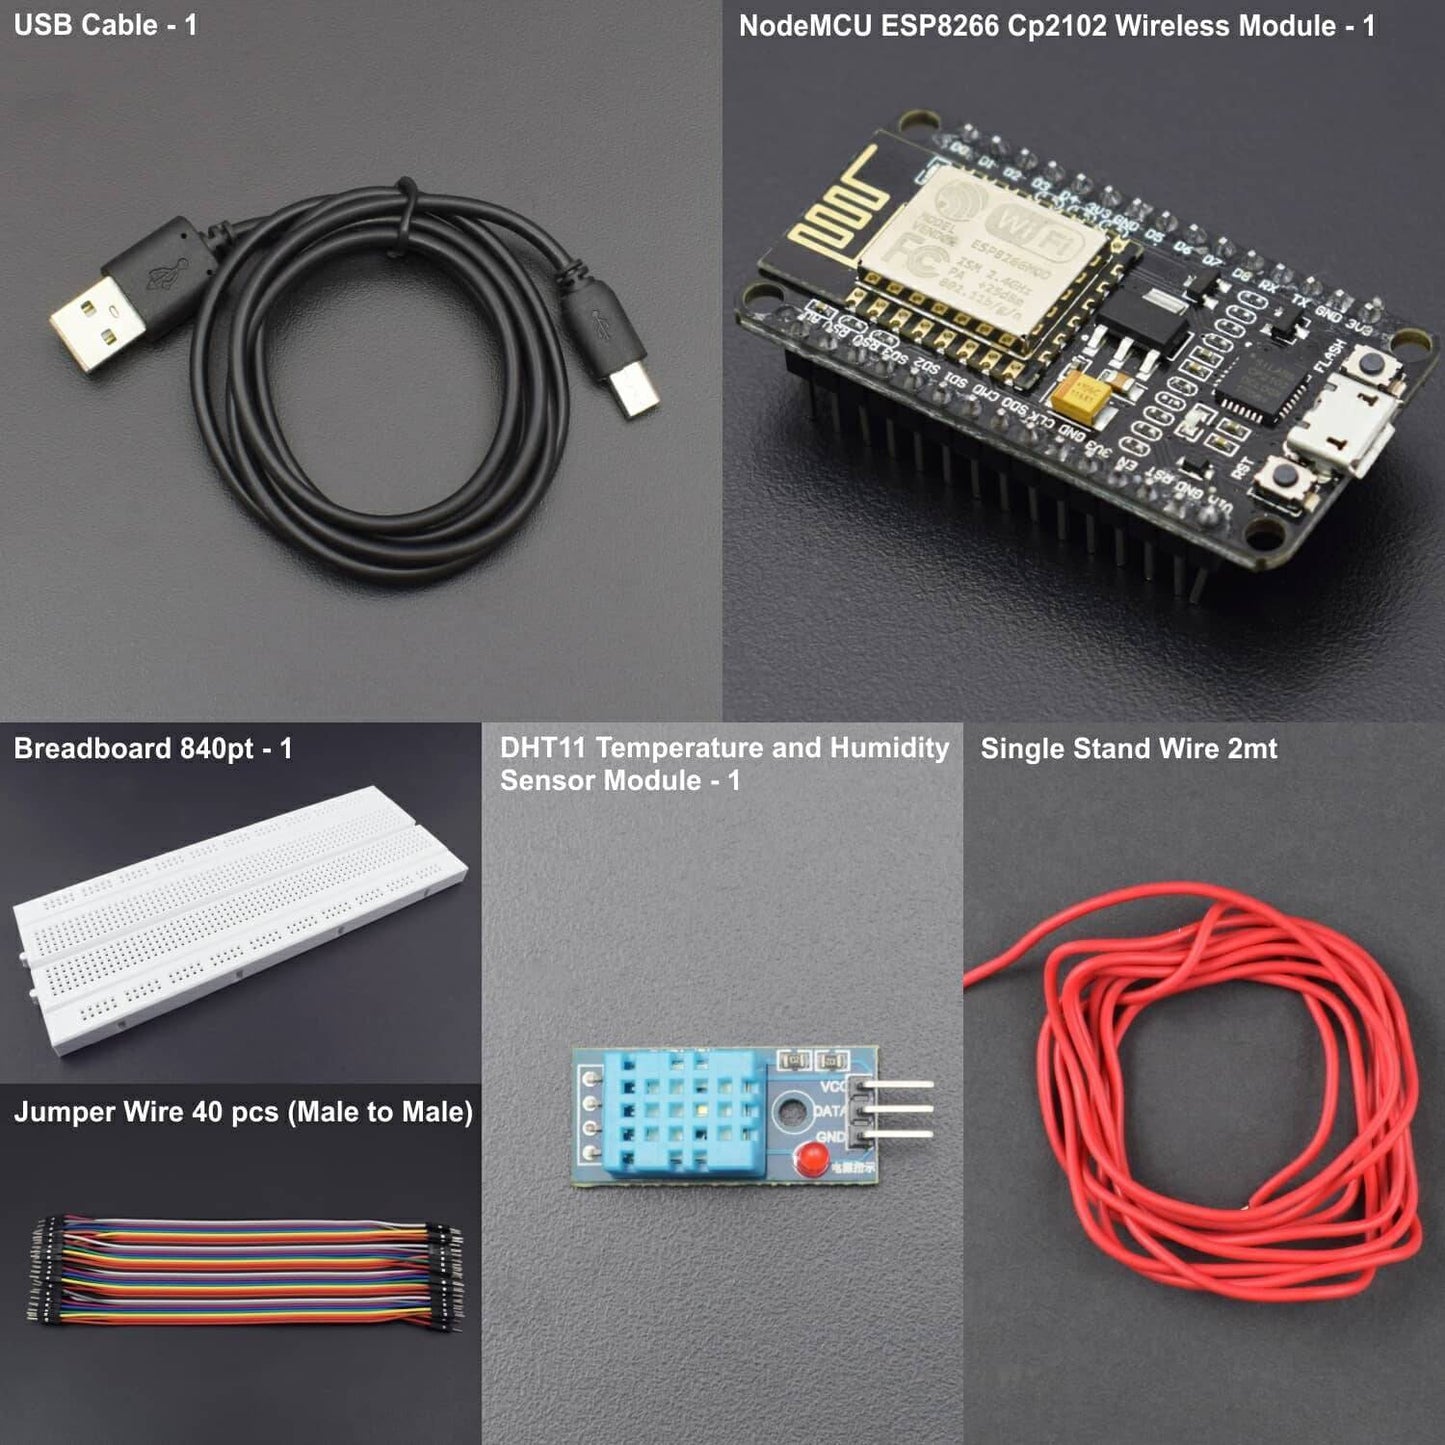


Hardware Required
- USB Cable - 1
- NodeMCU ESP8266 Cp2102 Wireless Module - 1
- DHT 11 Temperature & Humidity Sensor Module - 1
- Bread Board 840 Point - 1
- Jumper Wire (male to male) - 40 pcs
- Single Stand Wire - 1
Introduction
In this project, we will measure the Temperature and Humidity using DHT11 Sensor Module. We have used Blynk App for displaying values of Humidity and Temperature.
HARDWARE REQUIRED
- USB Cable - 1
- NodeMCU ESP8266 Cp2102 Wireless Module - 1
- DHT 11 Temperature & Humidity Sensor Module - 1
- Bread Board 840 Point - 1
- Jumper Wire (male to male) - 40 pcs
- Single Stand Wire - 1
SOFTWARE REQUIRED
Arduino IDE 1.8.5 (programmable platform for Arduino)
Click To Download :https://www.arduino.cc/en/Main/Software
SPECIFICATIONS
Temperature & Humidity Sensor Module
This DHT11 Temperature and Humidity Sensor features a calibrated digital signal output with the temperature and humidity sensor capability. It is integrated with a high-performance 8-bit microcontroller. Its technology ensures the high reliability and excellent long-term stability. This sensor includes a resistive element and a sensor for wet NTC temperature measuring devices. It has excellent quality, fast response, anti-interference ability and high performance.
- Supply Voltage: +5V
- Temperature range :0-50 °C error of ± 2 °C
- Humidity :20-90% RH ± 5% RH error
- Interface: Digital

NodeMCU ESP8266 Cp2102 Wireless Module
ESP8266EX offers a complete and self-contained Wi-Fi networking solution; it can be used to host the application or to offload Wi-Fi networking functions from another application processor. When ESP8266EX hosts the application, it boots up directly from an external flash. In has integrated cache to improve the performance of the system in such applications.
- NodeMCU ESP-12E dev board can be connected to 5Vusing micro USB connector or VIN pin available on board.
- The I/O pins of ESP8266 communicate or input/output max 3.3V only. I.e. the pins are NOT 5V tolerant inputs.
- In case you have to interface with 5V I/O pins, you need to use level conversion system (either built yourself using resistor voltage divider or using ready to use level converters.

ESP8266 NodeMcu Installation
STEP- 1 Installing Arduino Core for NodeMCU ESP-12E Using Arduino Boards Manager

As shown in the image, Copy the .json link with latest stable release of NodeMCU package from
https://github.com/esp8266/Arduino#installing-with-boards-manager
The link should look something like this-
http://arduino.esp8266.com/stable/package_esp8266com_index.json

Step 2: Insert Link for .json NodeMCU Package Files into Arduino IDE
Paste the copied link and insert it in Arduino IDE using following sequence-
File -> Menu -> Preferences
Paste copied link into the area shown in black box in above image. Close and restart the Arduino IDE.

Step 3: Tools - Boards Manager

Tools -> Boards manager and search for ESP8266 and install the libraries/files given under heading ESP8266 by ESP community.
Restart the Arduino IDE once again.

Troubleshooting:
If you get an error as shown in image below:

Just go back to Preferences, as shown in step-2 image.
- Here, you can see the location (Marked with red box) C:UsersREES52.COMAppDataLocalArduino15preferences.txt
- Go to this location and delete all JSON Packages from Arduino15 folder. Now, Back to Board Manager and search for ESP8266 you will surely find.
Step 4: Selecting NodeMCU Board in Arduino IDE

Go to Tools -> Boards (scroll down the list of boards) - Select NodeMCU 1.0 (ESP-12EModule).
Select the Port number at which you have connected NodeMCU. Rest of the settings can be left to default values.


CIRCUIT CONNECTION
- Connect VCC of DHT11 Module with Pin 3.3V of NodeMCU.
- Connect GND of DHT11 Module with GND of NodeMCU
- Connect Pin Signal of DHT11 with Pin D3 (GPIO 0) of NodeMCU

CODE
https://drive.google.com/open?id=1KuYLr8xB6wRCDIHdpcG2QBDzDzLU-OuZ
WORKING
Welcome to the NodeMCU Based Project which consists of DHT11 Temeprature and Humidity Sensor Module. The basic working principle of circuit is being described here. After all connections are done appropriately, then download the Blynk App and follow further steps given below:
- After creating a new project in Blynk, click on the button labeled “+” to open the Widget Box. Scroll down and you will find a Gauge widget. Add it

- Set the name Temperature .Change the Gauge Settings as shown below, with range from 0 to 50 and V5 as the virtual pin for the Temperature gauge.

- Add Gauge again, set the name Humidity. Do the same for your Humidity Gauge, with range from 20 to 80 and V6 as the virtual pin.

- Copy the code above in your Arduino sketch, remember to replace the auth token, Wi-Fi name and password.
- Choose the appropriate board (NodeMCU 1.0 in case of IoT Starter Kit) and port from Tools, and upload the code.
- After uploading, press the play button in your Blynk app, and your gauge will start showing sensor values.


