


REES52
Control LED Bulb using Mini Reed Switch Module Compatible with Arduino Uno Beginner Project - KT656
Control LED Bulb using Mini Reed Switch Module Compatible with Arduino Uno Beginner Project - KT656
SKU:KT656
100 in stock
Couldn't load pickup availability
- For Bulk Order Click Here
- Need Customer Support?
- Free Delivery Above 999/-
For refund/return/replacement, call us at +91 95995 94520 , +91 95991 22209 or mail us at support@rees52.com
Delivery Time
Delivery Time
- Delivery time with the Express Shipping option is 2-3 working days, and with the Standard Shipping option is 5-6 working days. It varies based on location, reliant on courier services.
- Delivery time if the order item is on Preorder Status is 15-20 working days.
COD (Cash on Delivery)
COD (Cash on Delivery)
- For COD you have to pay extra charges of Rs 350/- before the shipment. (We will share the company QR Code, UPI ID or Account details for the same)

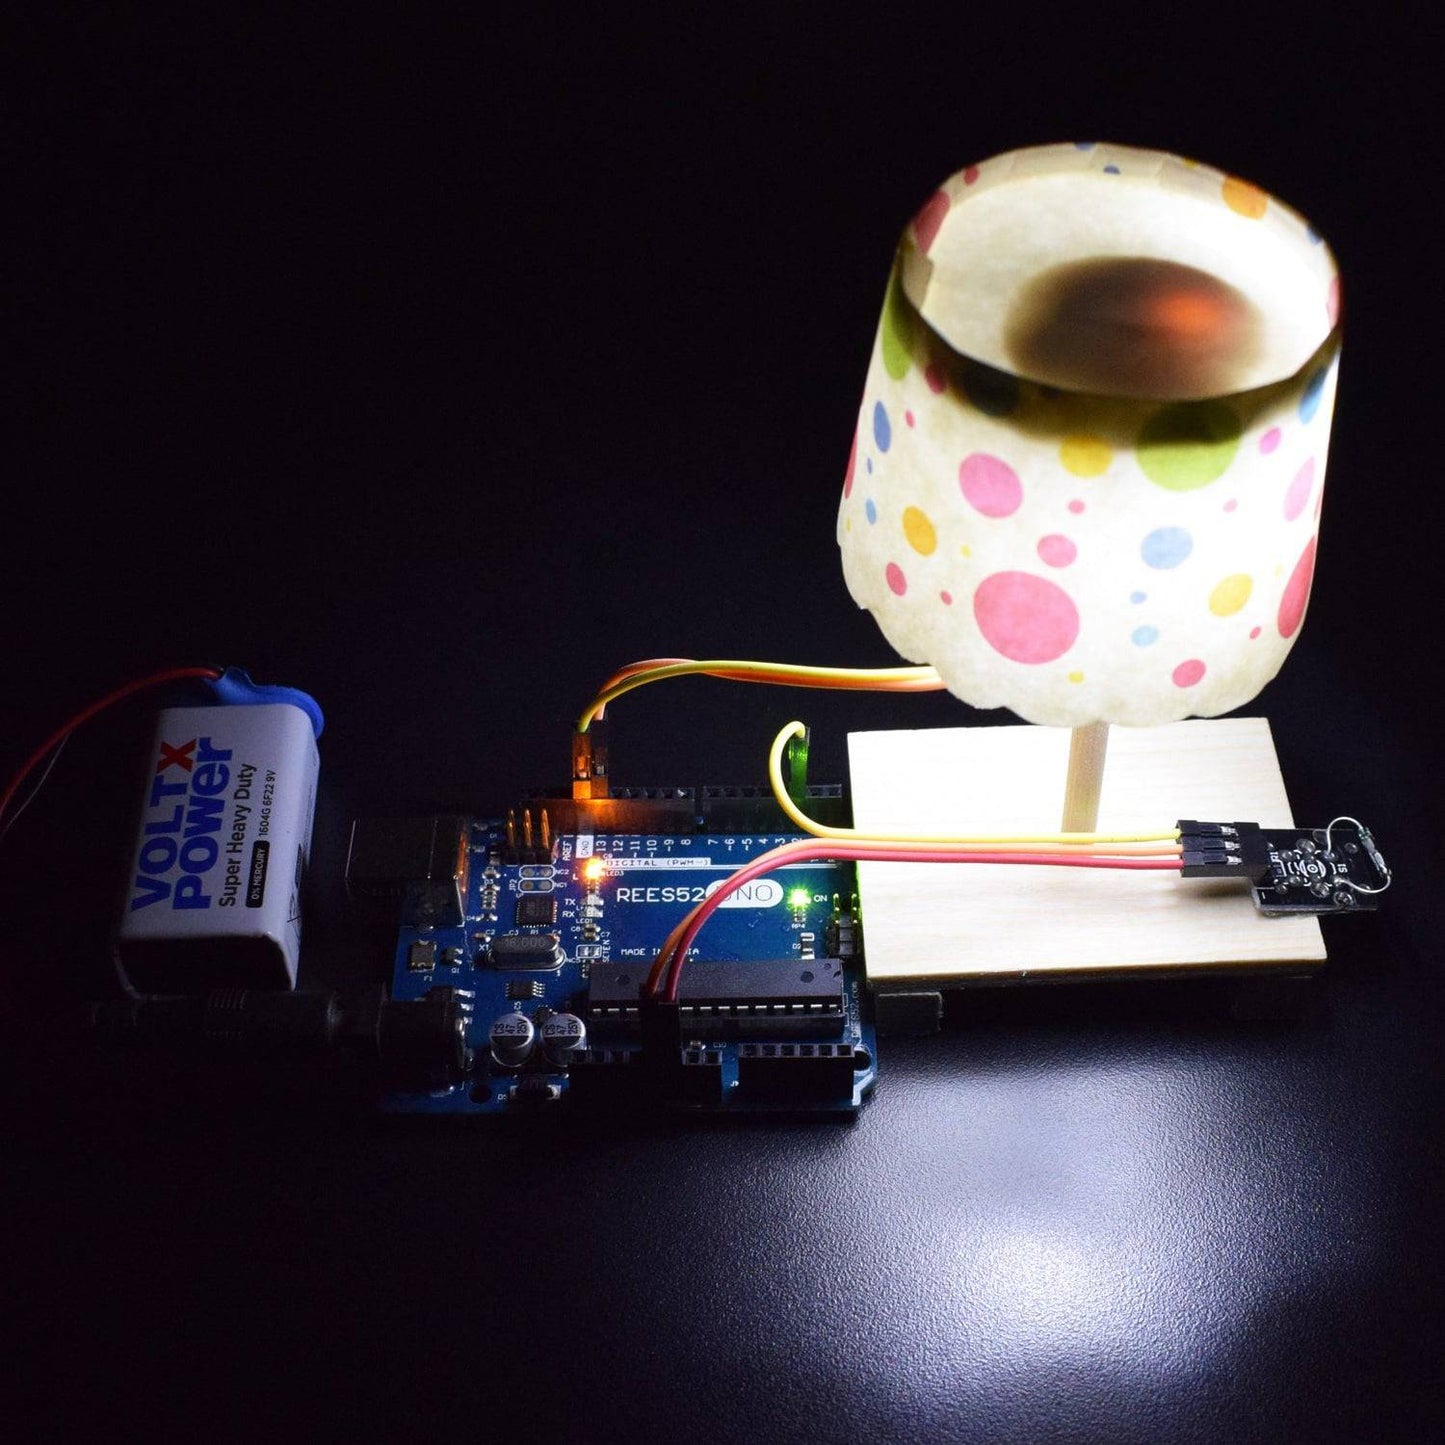
INTRODUCTION
Here, we will be controlling the LED, which acts as a Light Bulb, using a Mini Reed Switch.
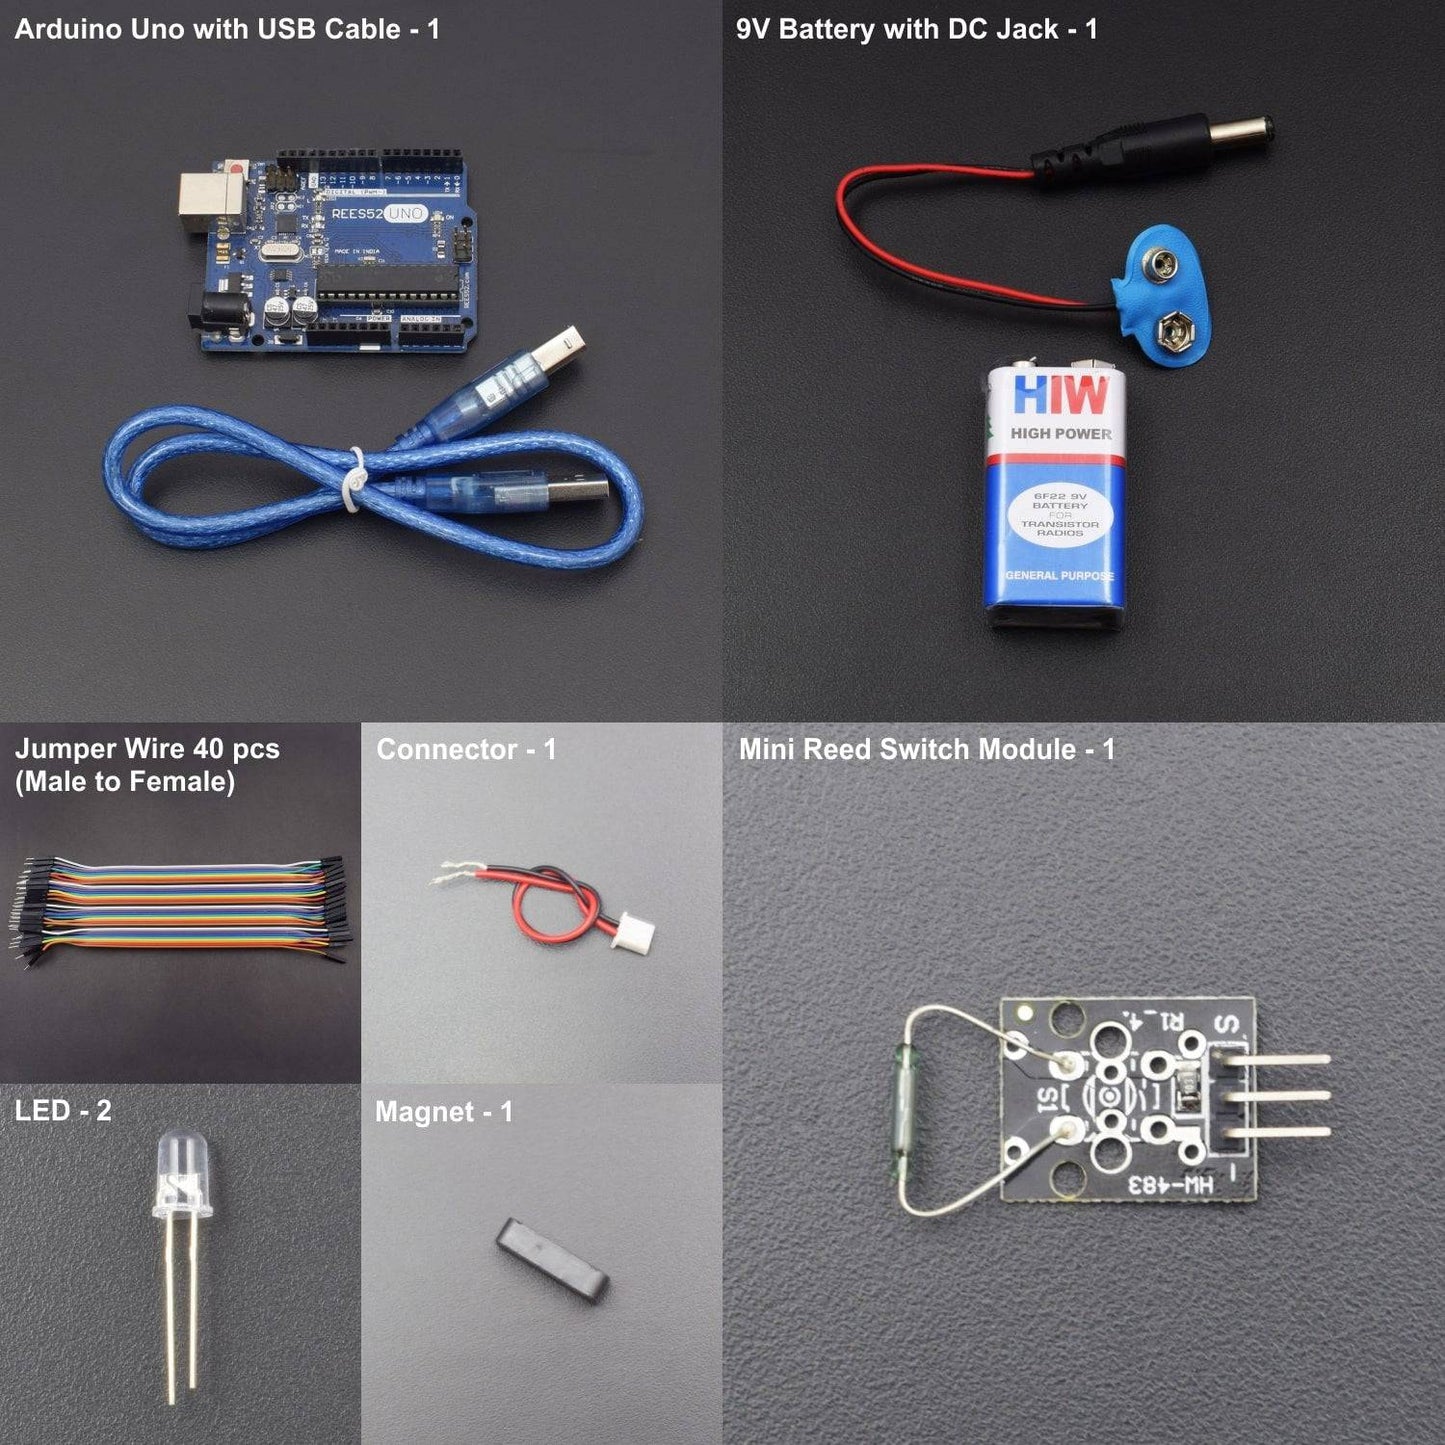
HARDWARE REQUIRED
- Arduino Uno - 1pc
- USB Cable - 1pc
- Mini Reed Switch Module - 1pc
- Led - 2pcs
- Connector - 1pc
- Magnet - 1pc
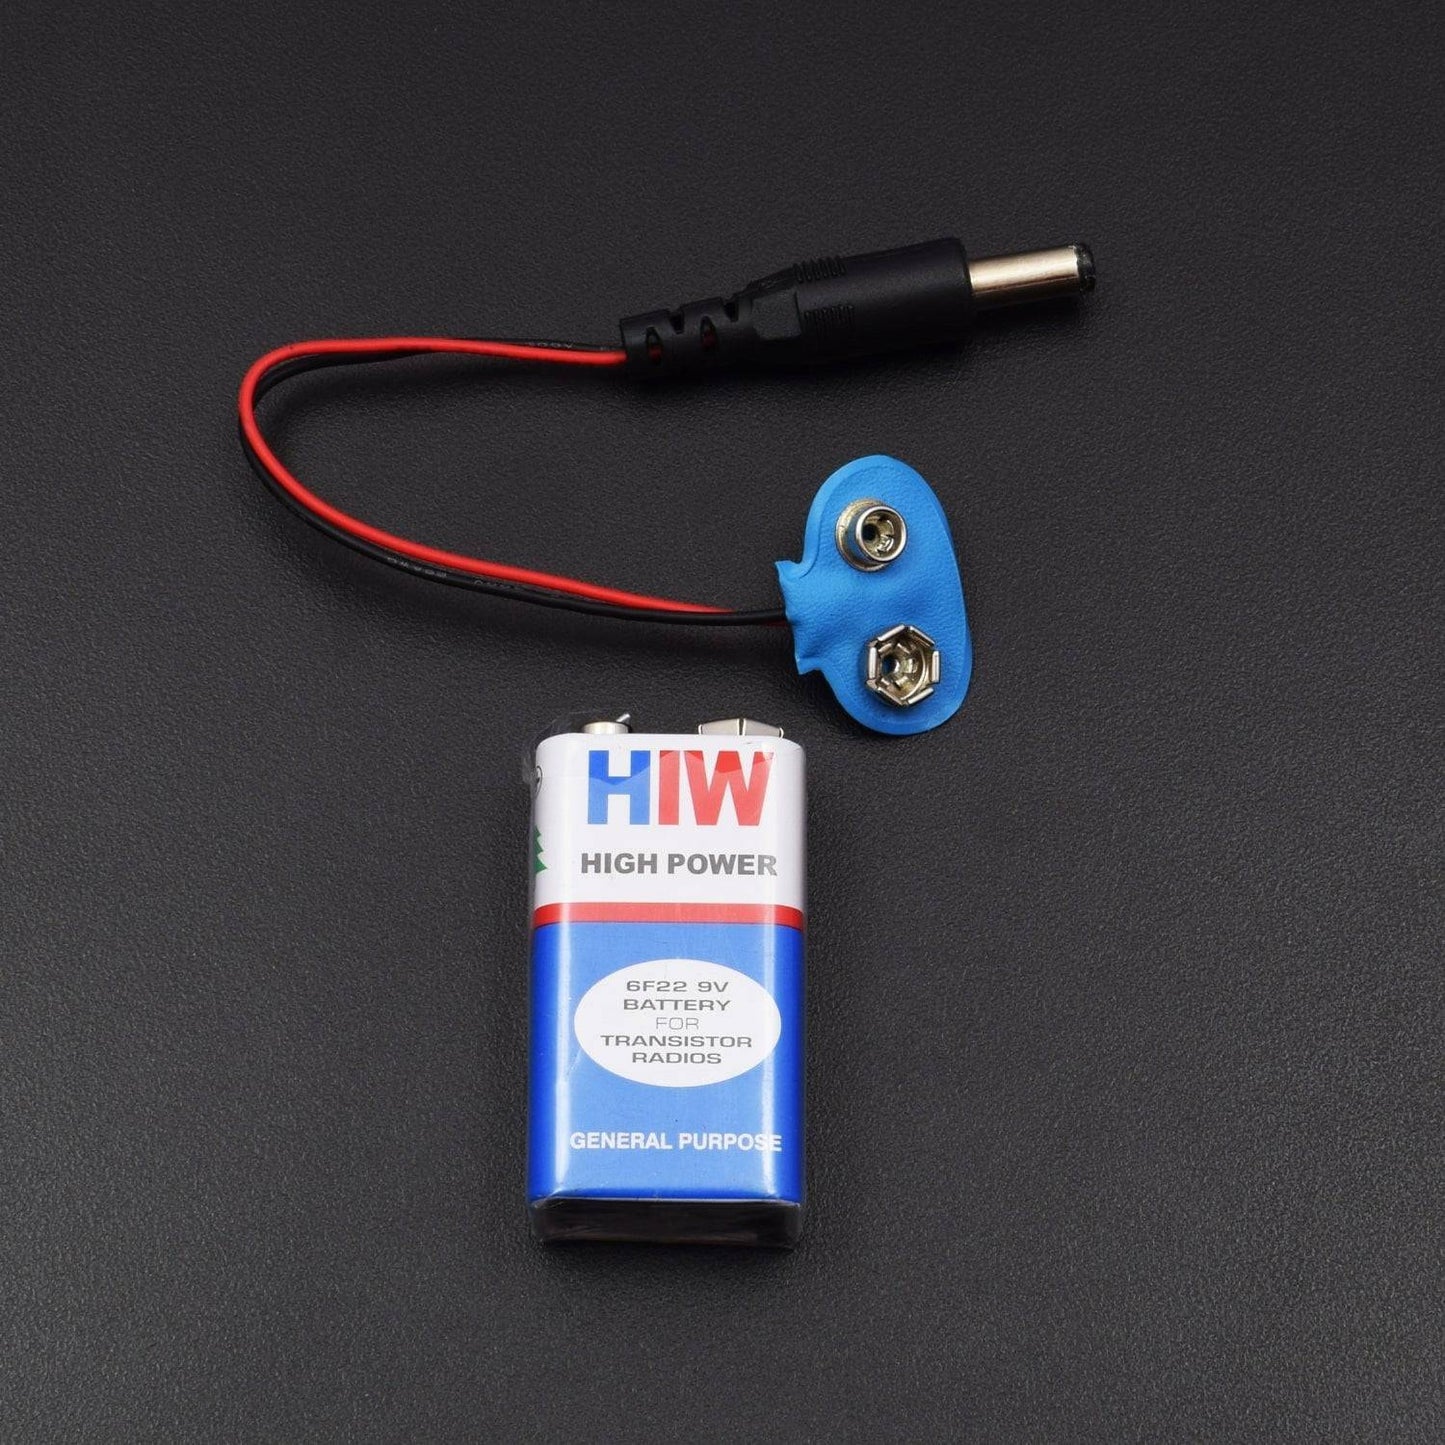
- 9V Battery - 1pc
- Snapper With DC Jack - 1pc
- Jumper Wire (male to female) - 40 pcs
SOFTWARE REQUIRED
Arduino IDE 1.8.5 (programmable platform for Arduino)
Click here to download the software
SPECIFICATIONS
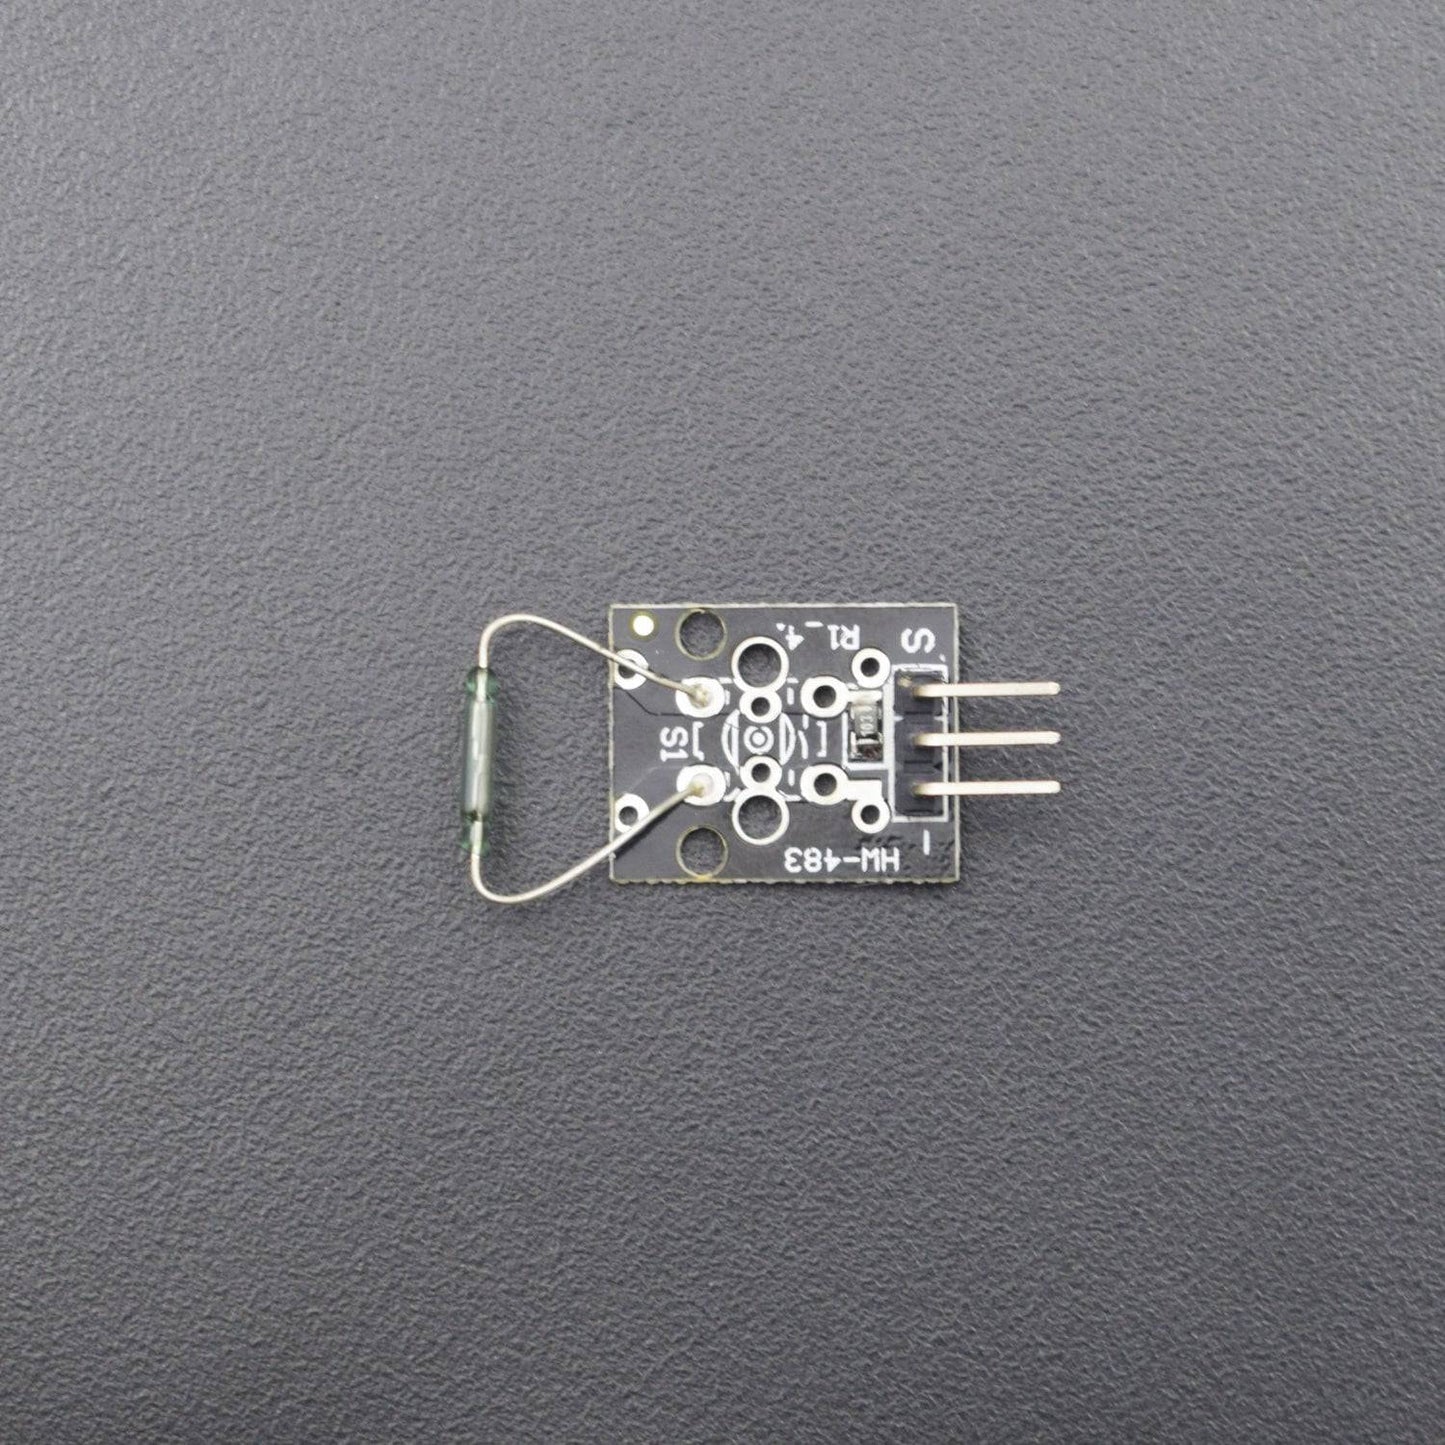
Mini Reed Switch Module:
A Reed Switch Module is a magnetic sensor that is normally open and gets closed when exposed to a magnetic field. It consists of a 10kΩ resistor and a small reed switch actuated by a magnetic field, commonly used in mechanical systems as proximity sensors. Compatible with popular electronic platforms like Arduino, Teensy and ESP8266.
- Operating Voltage: 3.3v to 5v
- Output Type: Digital

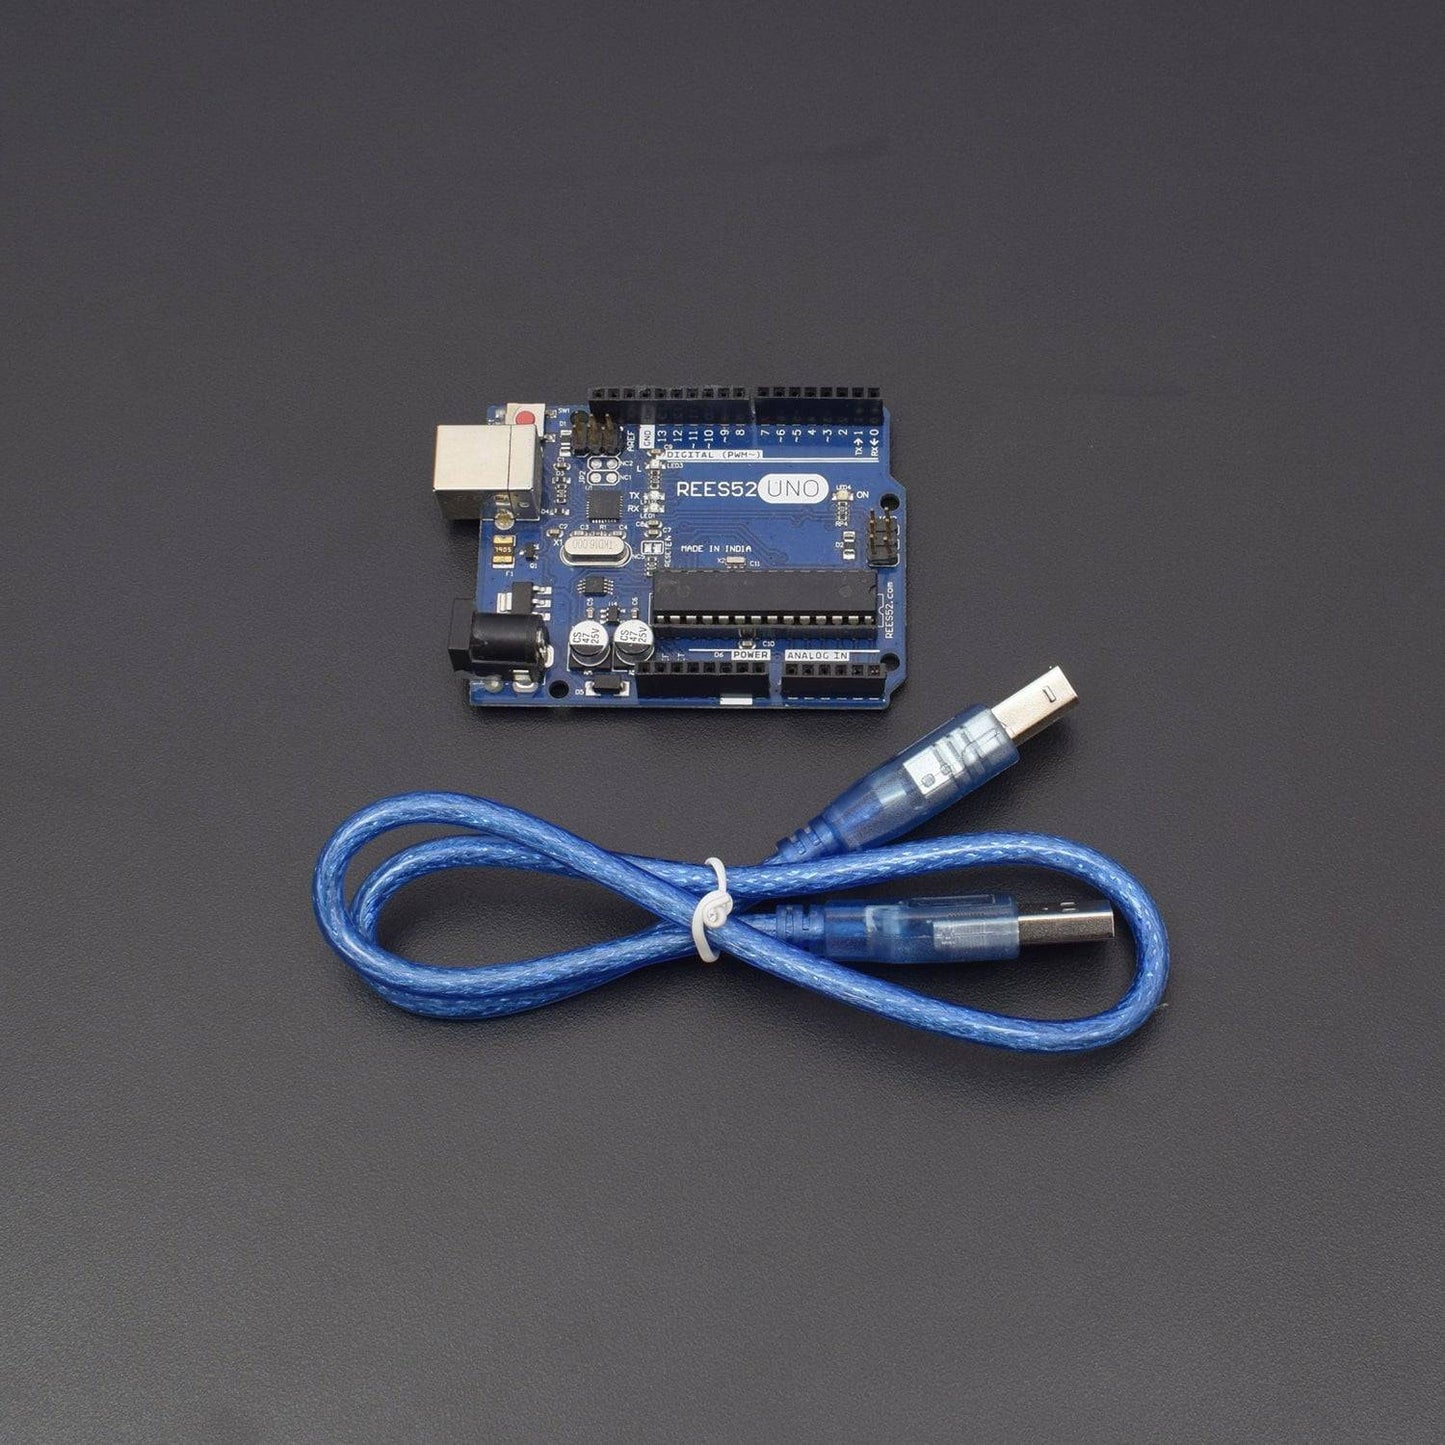
Arduino Uno:
Featuring the ATmega328P chip in a DIP package for easy replacement, and the reliable CH340 USB-to-serial converter for seamless programming, this board is a powerful yet affordable option.
- Input Voltage(Recommended): 7~12V
- Input Voltage(Limit): 6~20V
- Analogue I/O Pins: 6
- Digital I/O Pins: 14
- PWM Digital I/O Pins: 6a
- DC Current Per I/O Pin: 40mA
- Clock Speed: 16MHz
- SRAM: 2KB
- Flash Memory: 32KB
- EEPROM: 1KB

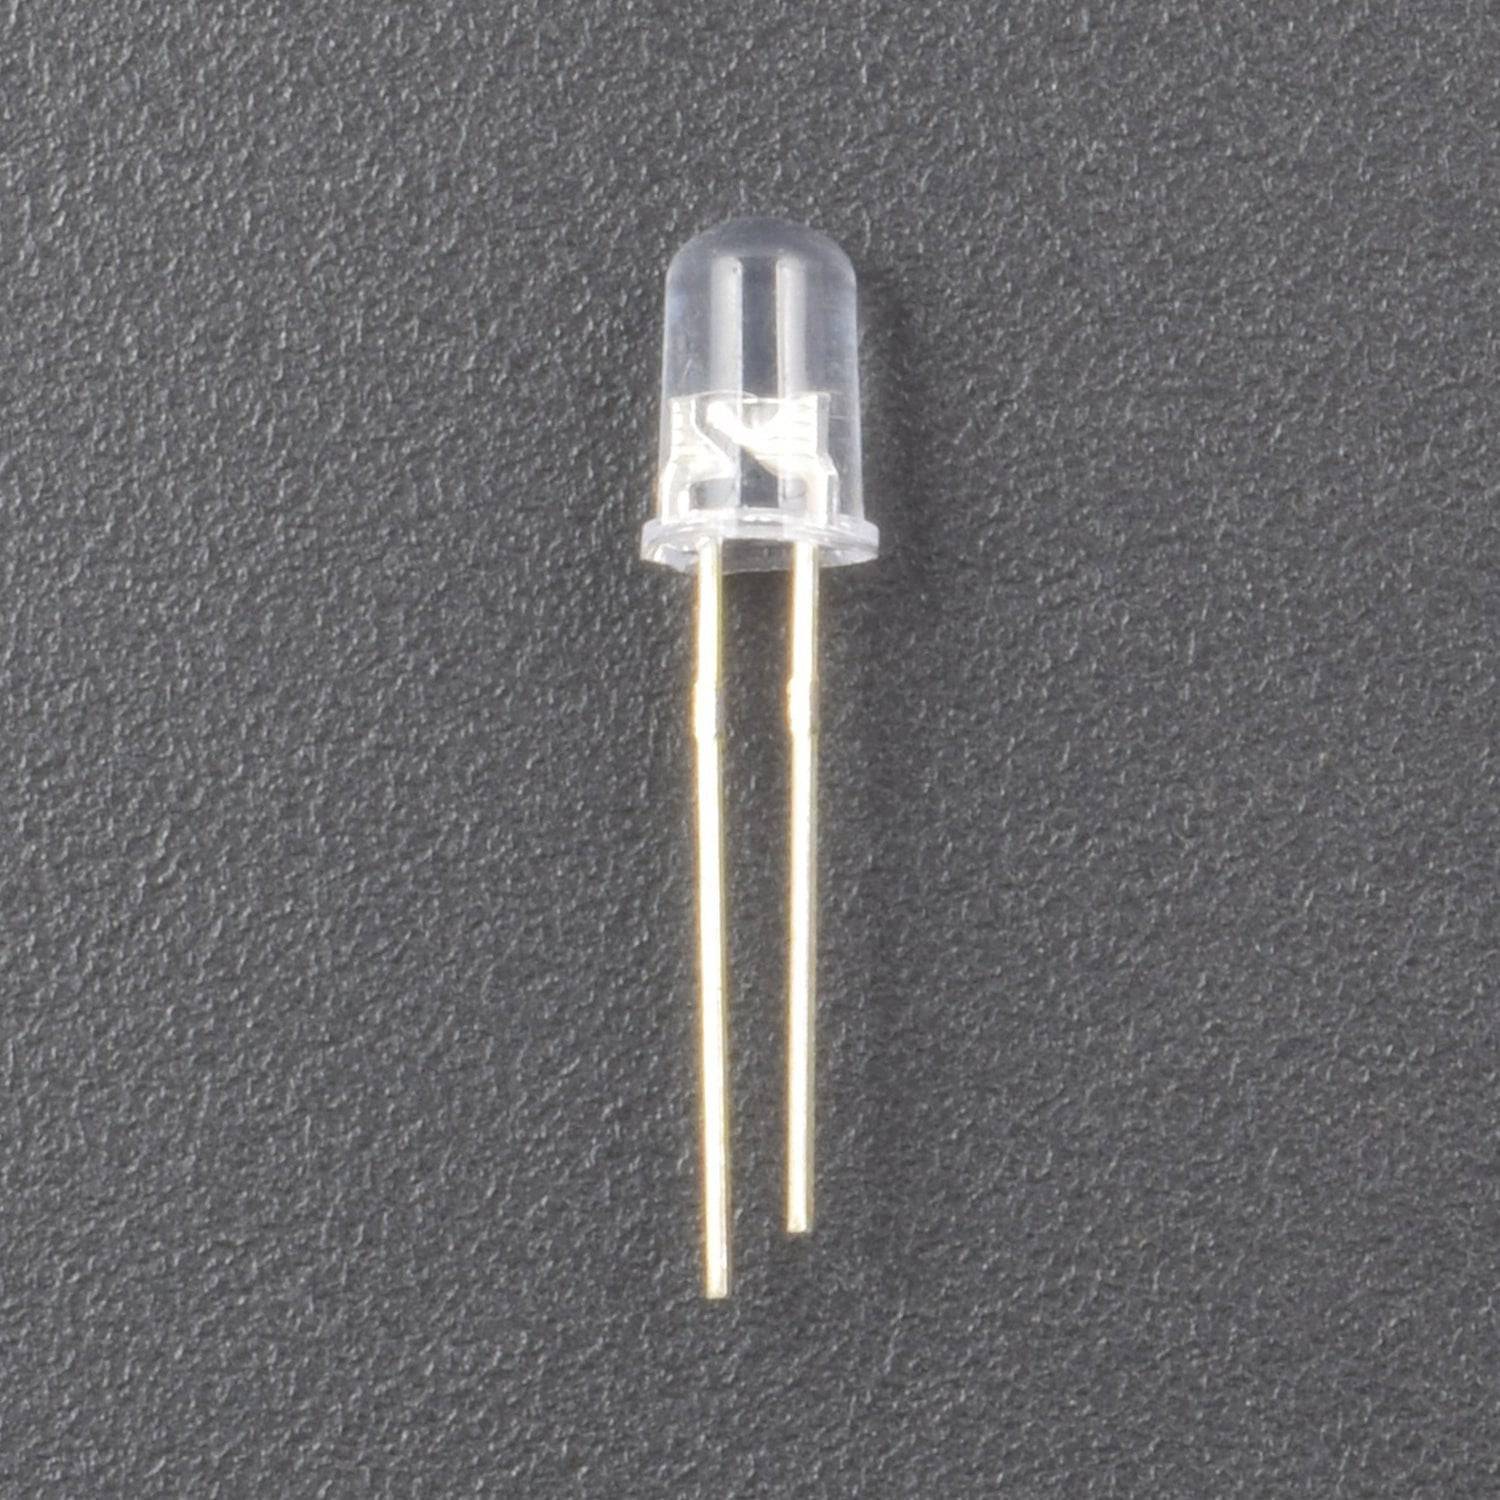
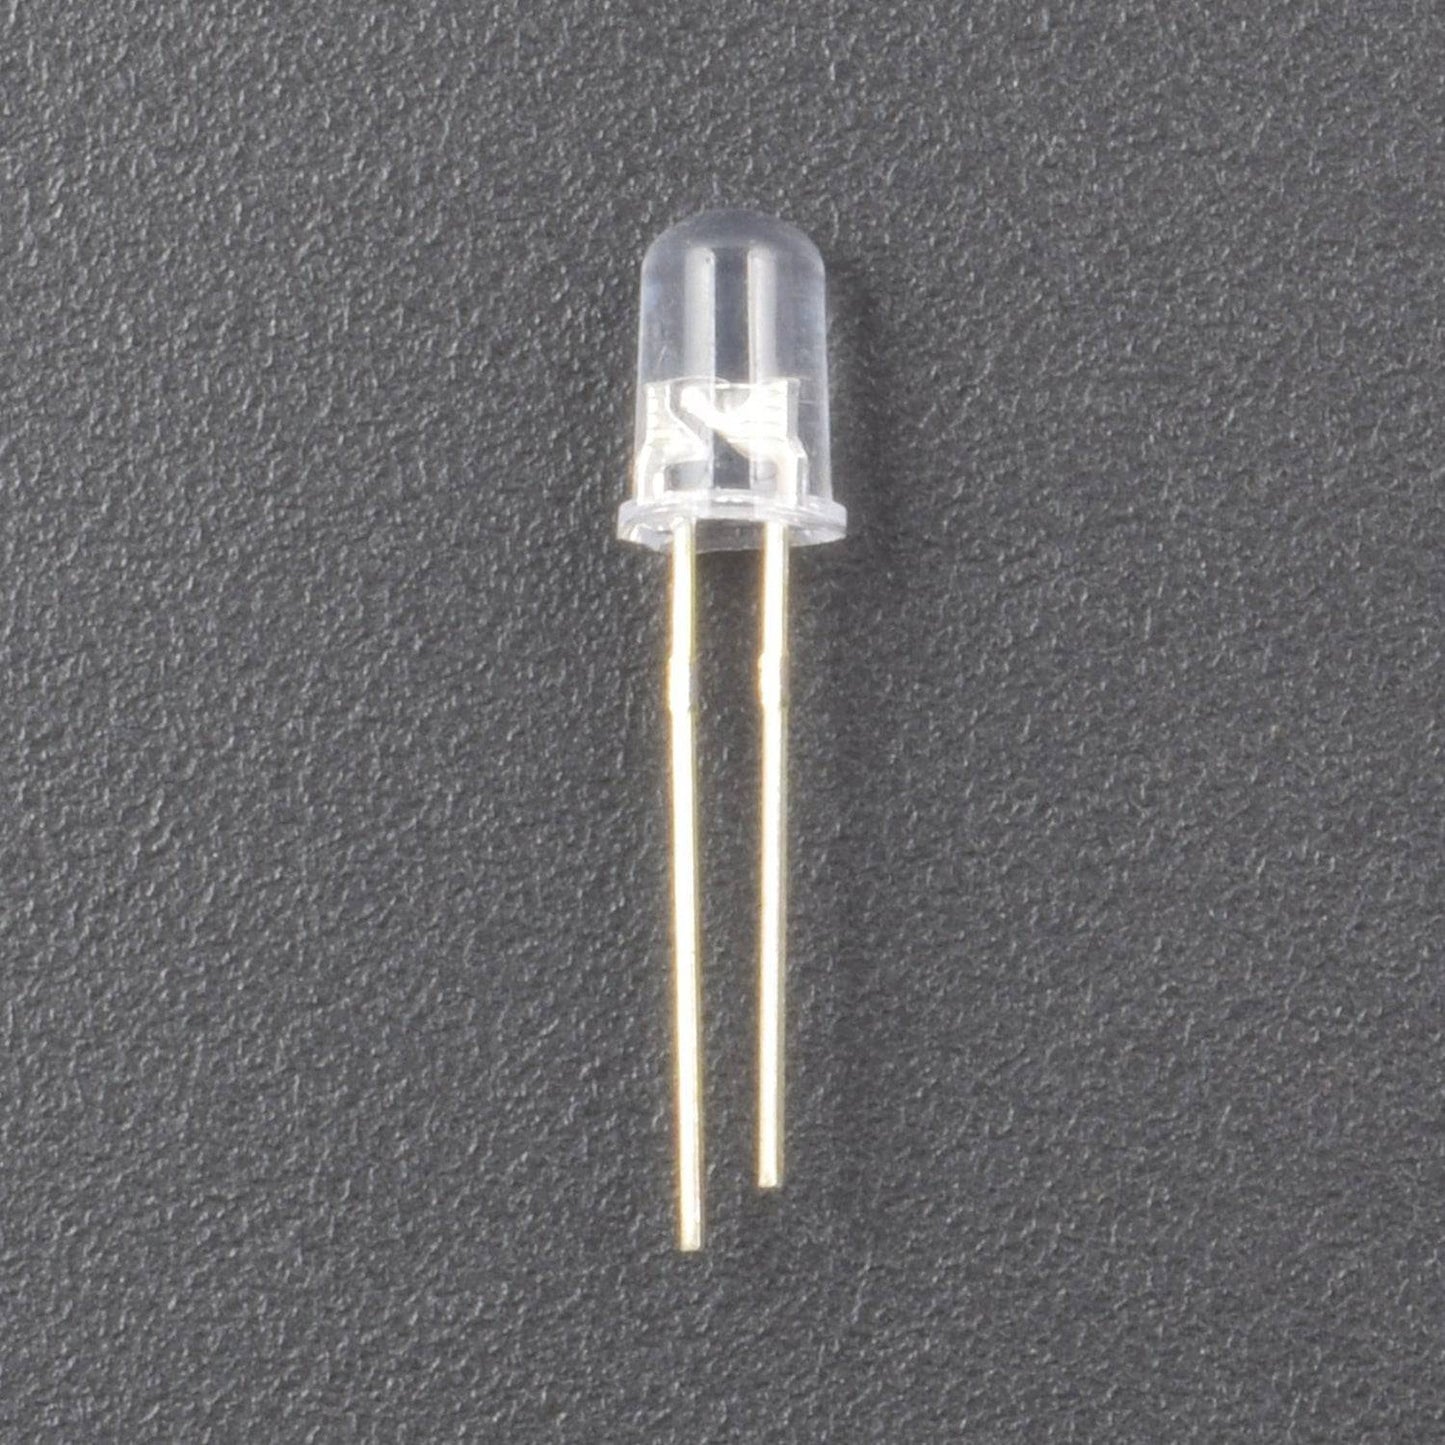
Led:
A super-bright 5mm White LED is exceptionally bright with a wide beam angle, so they’re suitable for use in your projects, illuminations, headlamps, spotlights, car lighting, and models.
- Lens Colour: White
- Emitting Colour: White
- Operating Voltage: 1.9-2.1v
- Current: 20mA
- Luminous Intensity: 1000-2000mcd

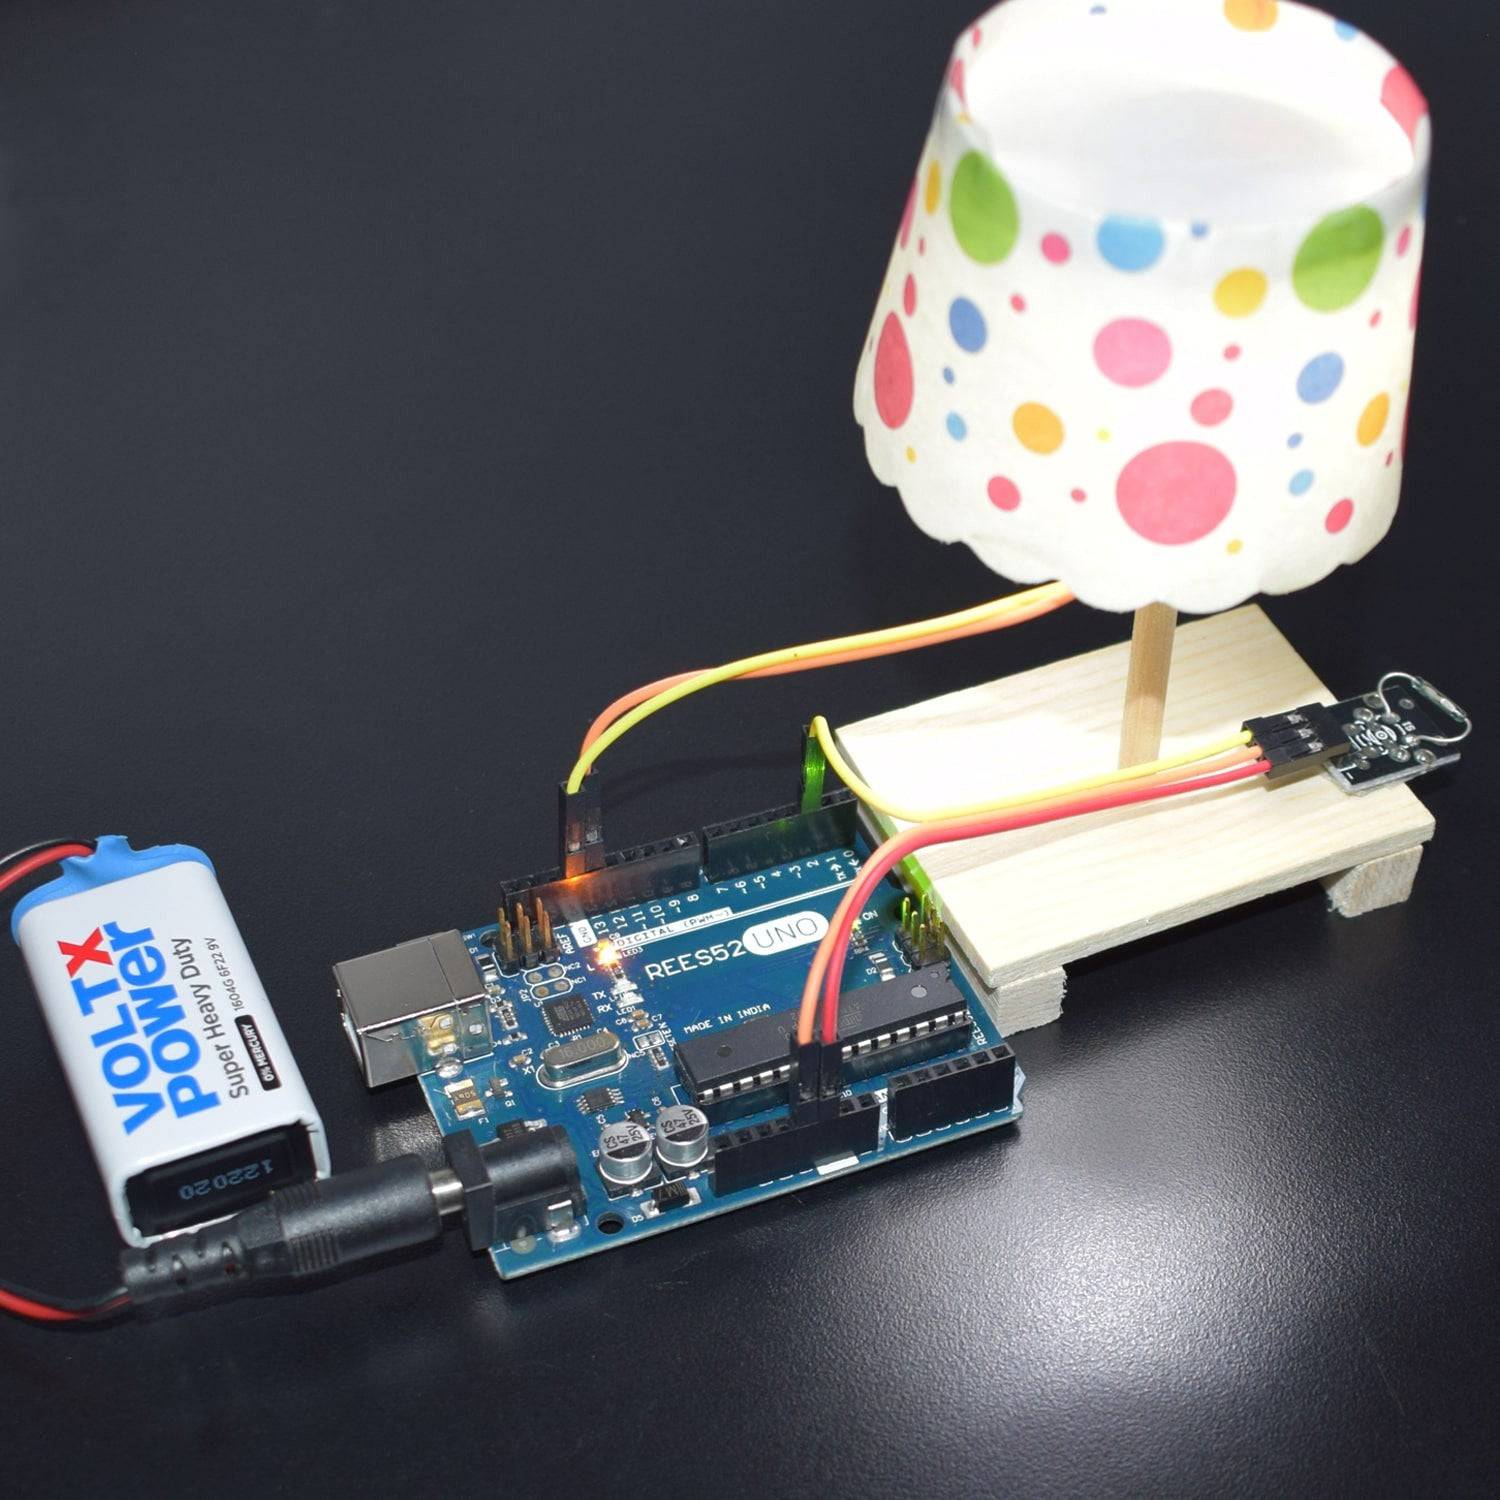
CIRCUIT CONNECTION
- Connect the GND of the Mini Reed Switch with the GND of Arduino Uno.
- Connect the VCC of the Mini Reed Switch with Pin 5v of Arduino Uno.
- Connect the Pin Signal of the Mini Reed Switch with Digital Pin 2 of Arduino
- Connect the positive terminal of the LED with Digital Pin 13 of Arduino Uno.
- Connect the negative terminal of the LED to the GND of Arduino Uno.

CODE
WORKING
Welcome to the Arduino-based project, which consists of a Mini reed switch. The basic functionality of this module is described here. A reed switch is an electromagnetic switch used to control the flow of electricity in a circuit. They are made from two or more ferrous reeds encased within a small glass tube-like envelope, which become magnetised and move together or separate when a magnetic field is moved towards the switch.