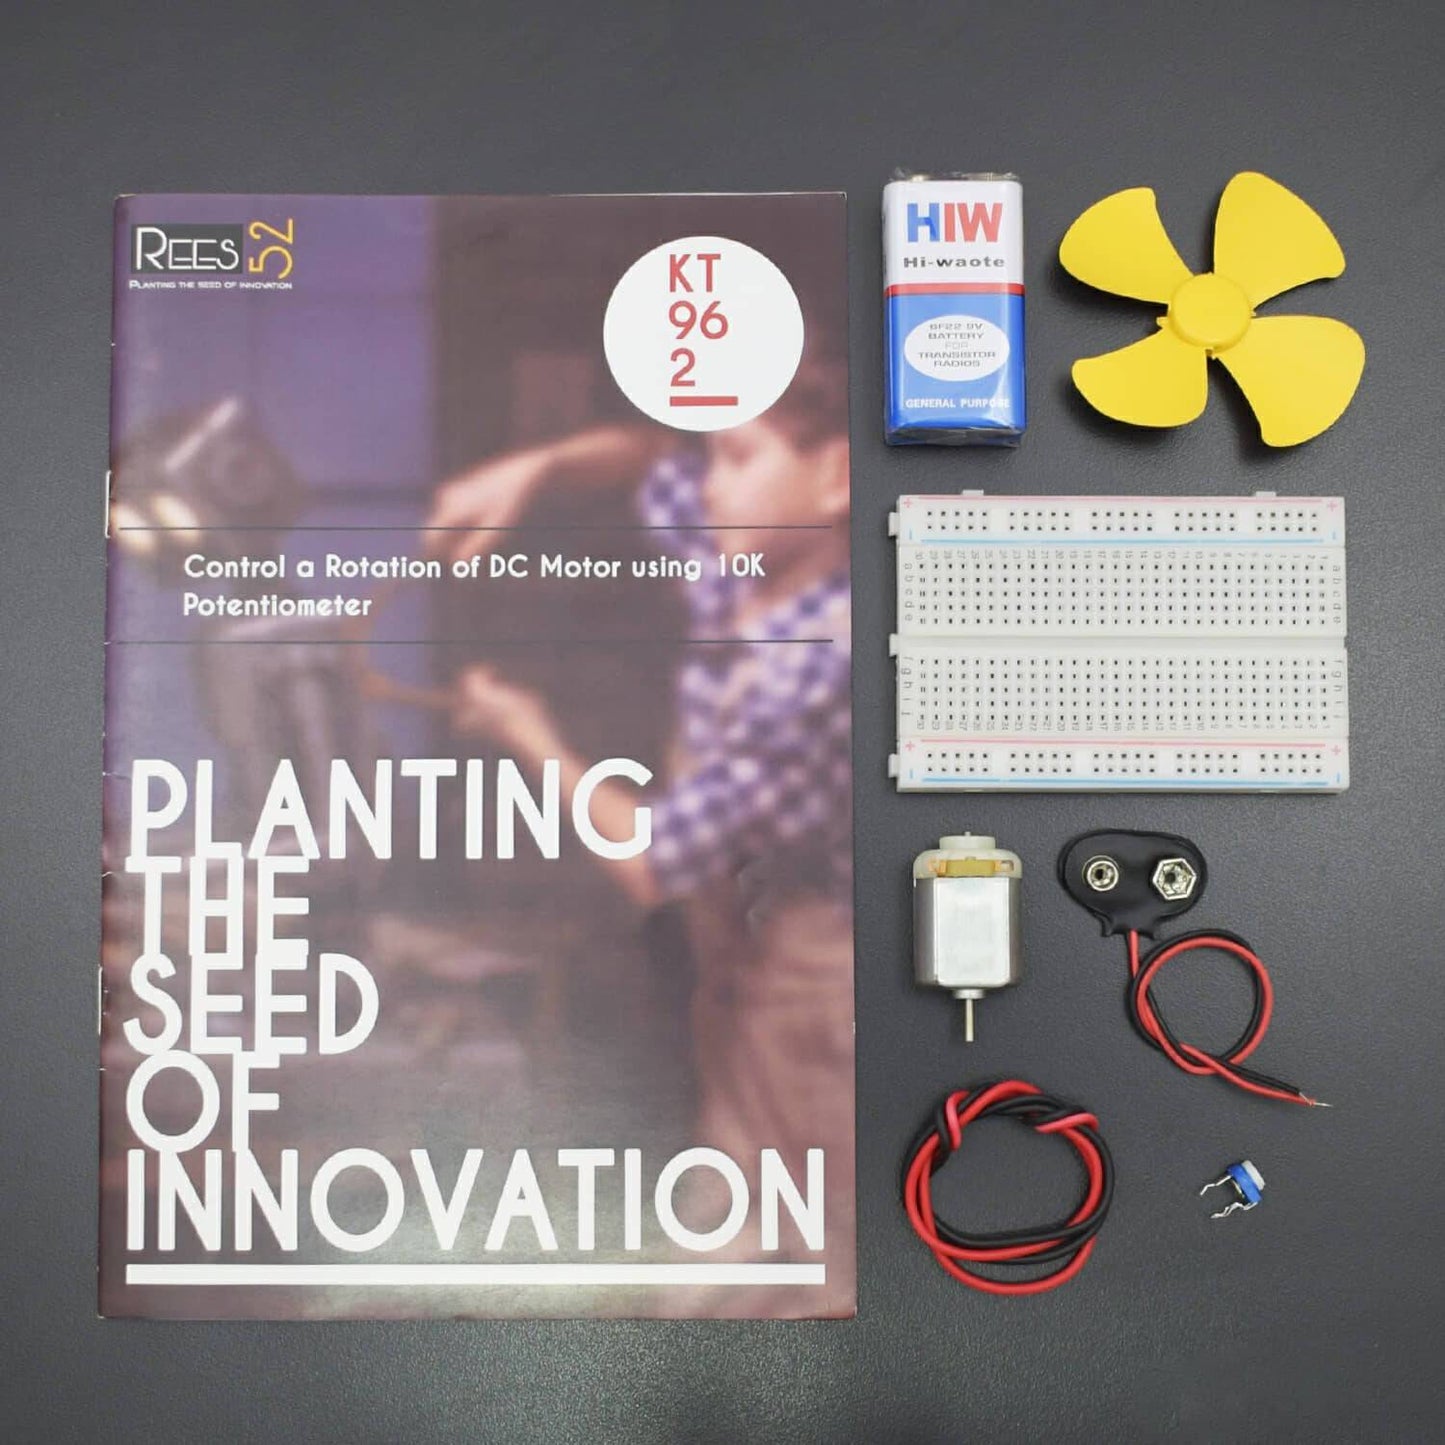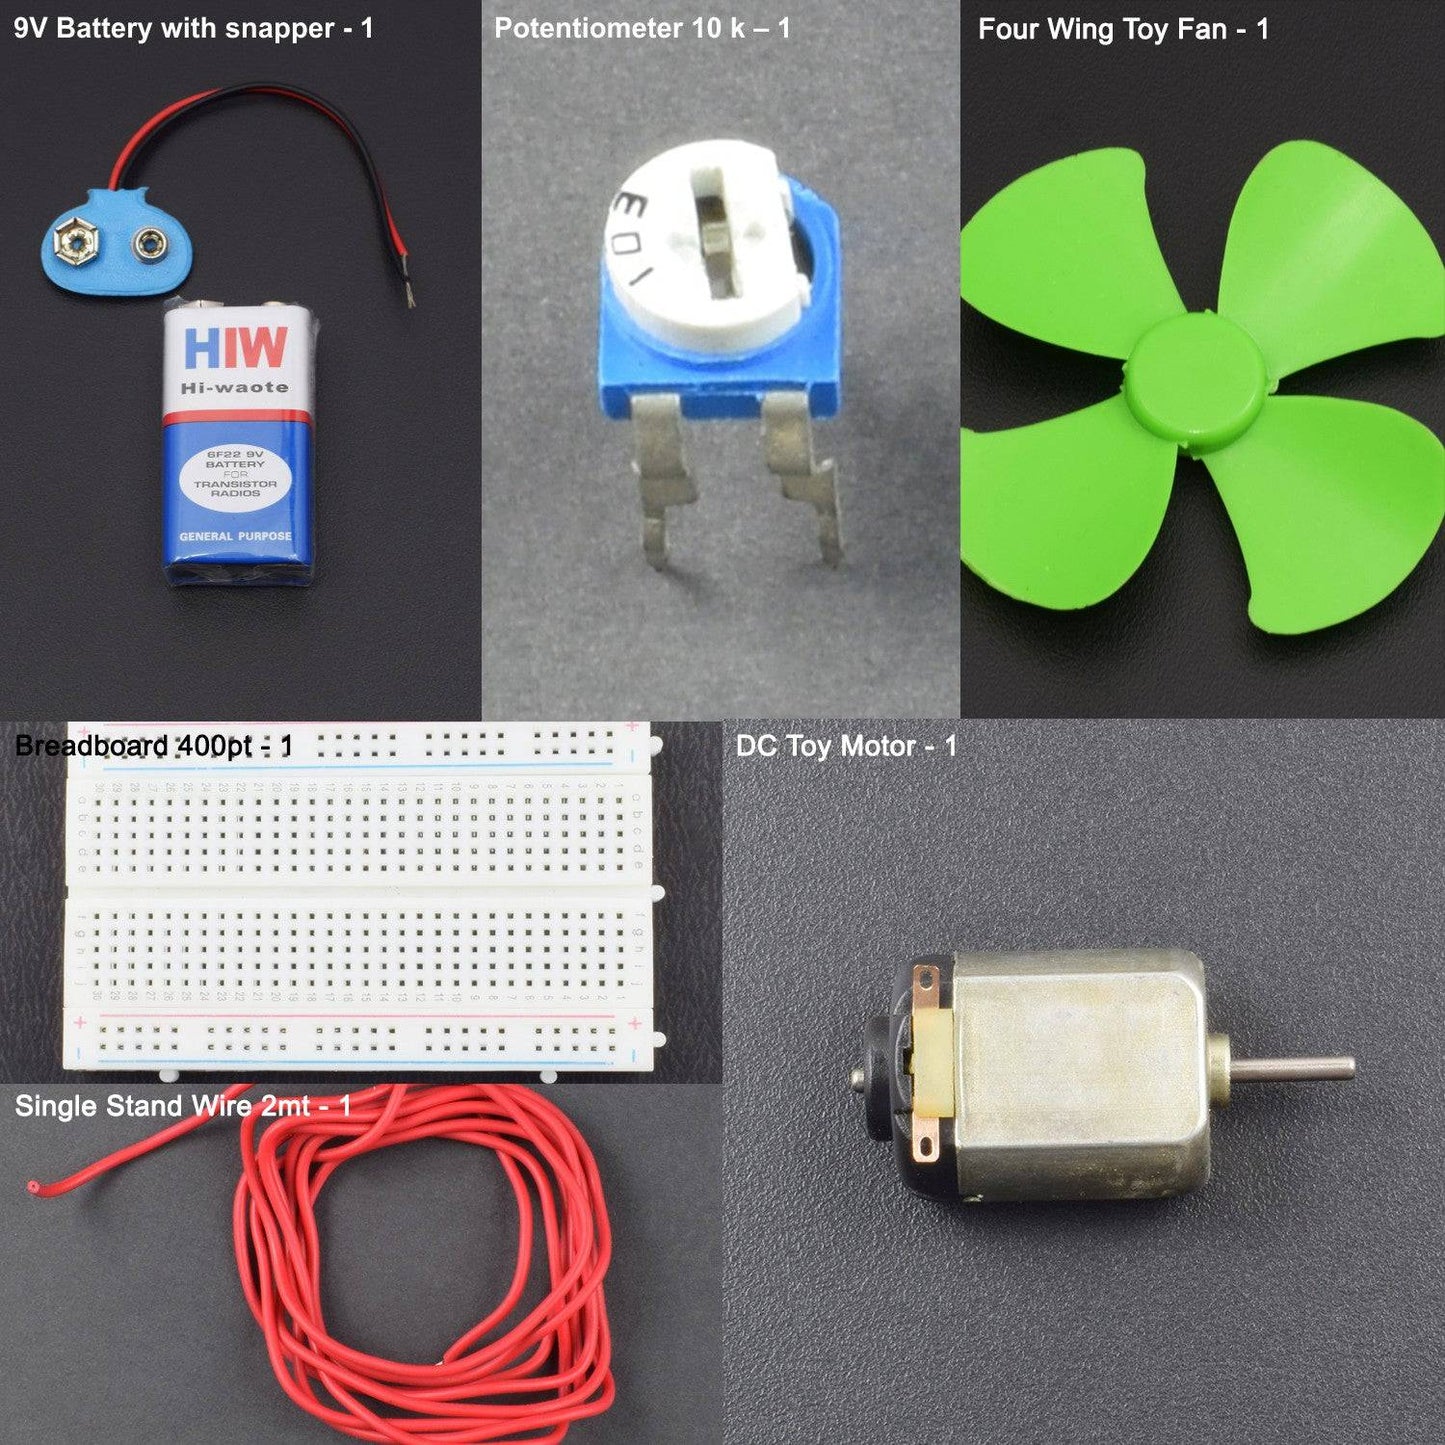


KIT INCLUDES:
- Breadboard 400 points – 1
- 9V Battery - 1
- Snapper – 1
- Fan/Blade - 1
- DC Toy motor - 1
- Potentiometer 10 k – 1
- Single stand wire 1mt - 1
NOTE: In this project, we are using different motor and fan but in the kit, you will get 4 wing fan and DC Toy Motor.
INTRODUCTION
In this particular project we will be controlling the rotation of the DC Motor along with the 10k Potentiometer as well as Battery. It is a very simple circuit to implement and can be altered and enhanced in many ways to make a complete embedded module.
HARDWARE REQUIRED
- Breadboard 400 points – 1
- 9V Battery - 1
- Snapper – 1
- Fan/Blade - 1
- DC Toy motor - 1
- Potentiometer 10 k – 1
- Single stand wire 1mt - 1
NOTE: In this project, we are using different motor and fan but in the kit, you will get 4 wing fan and DC Toy Motor.
PIN DESCRIPTION
10 K POTENTIOMETER

CIRCUIT DESCRIPTION


- Connect a 10 k potentiometer on breadboard
- Connect battery’s positive wire to potentiometer’s third leg (VCC)
- Connect a dc motor’s one terminal on the middle leg of potentiometer
- Another terminal of DC motor connected to negative rail on breadboard by battery.
WORKING
Welcome to the Arduino Based Project to connect Rotation of DC Motor using 10k Potentiometer. Here, in this project we have connected 9V Battery with Snapper to provide power supply to the connections. Now, rotate the screw on potentiometer using screw driver and check, the speed of rotation of servo motor will vary or differ within given time frames. It can be used for many embedded applications for different purposes. You can also alter and enhance this given project by adding various other components for the given circuit.


