

Hardware Required
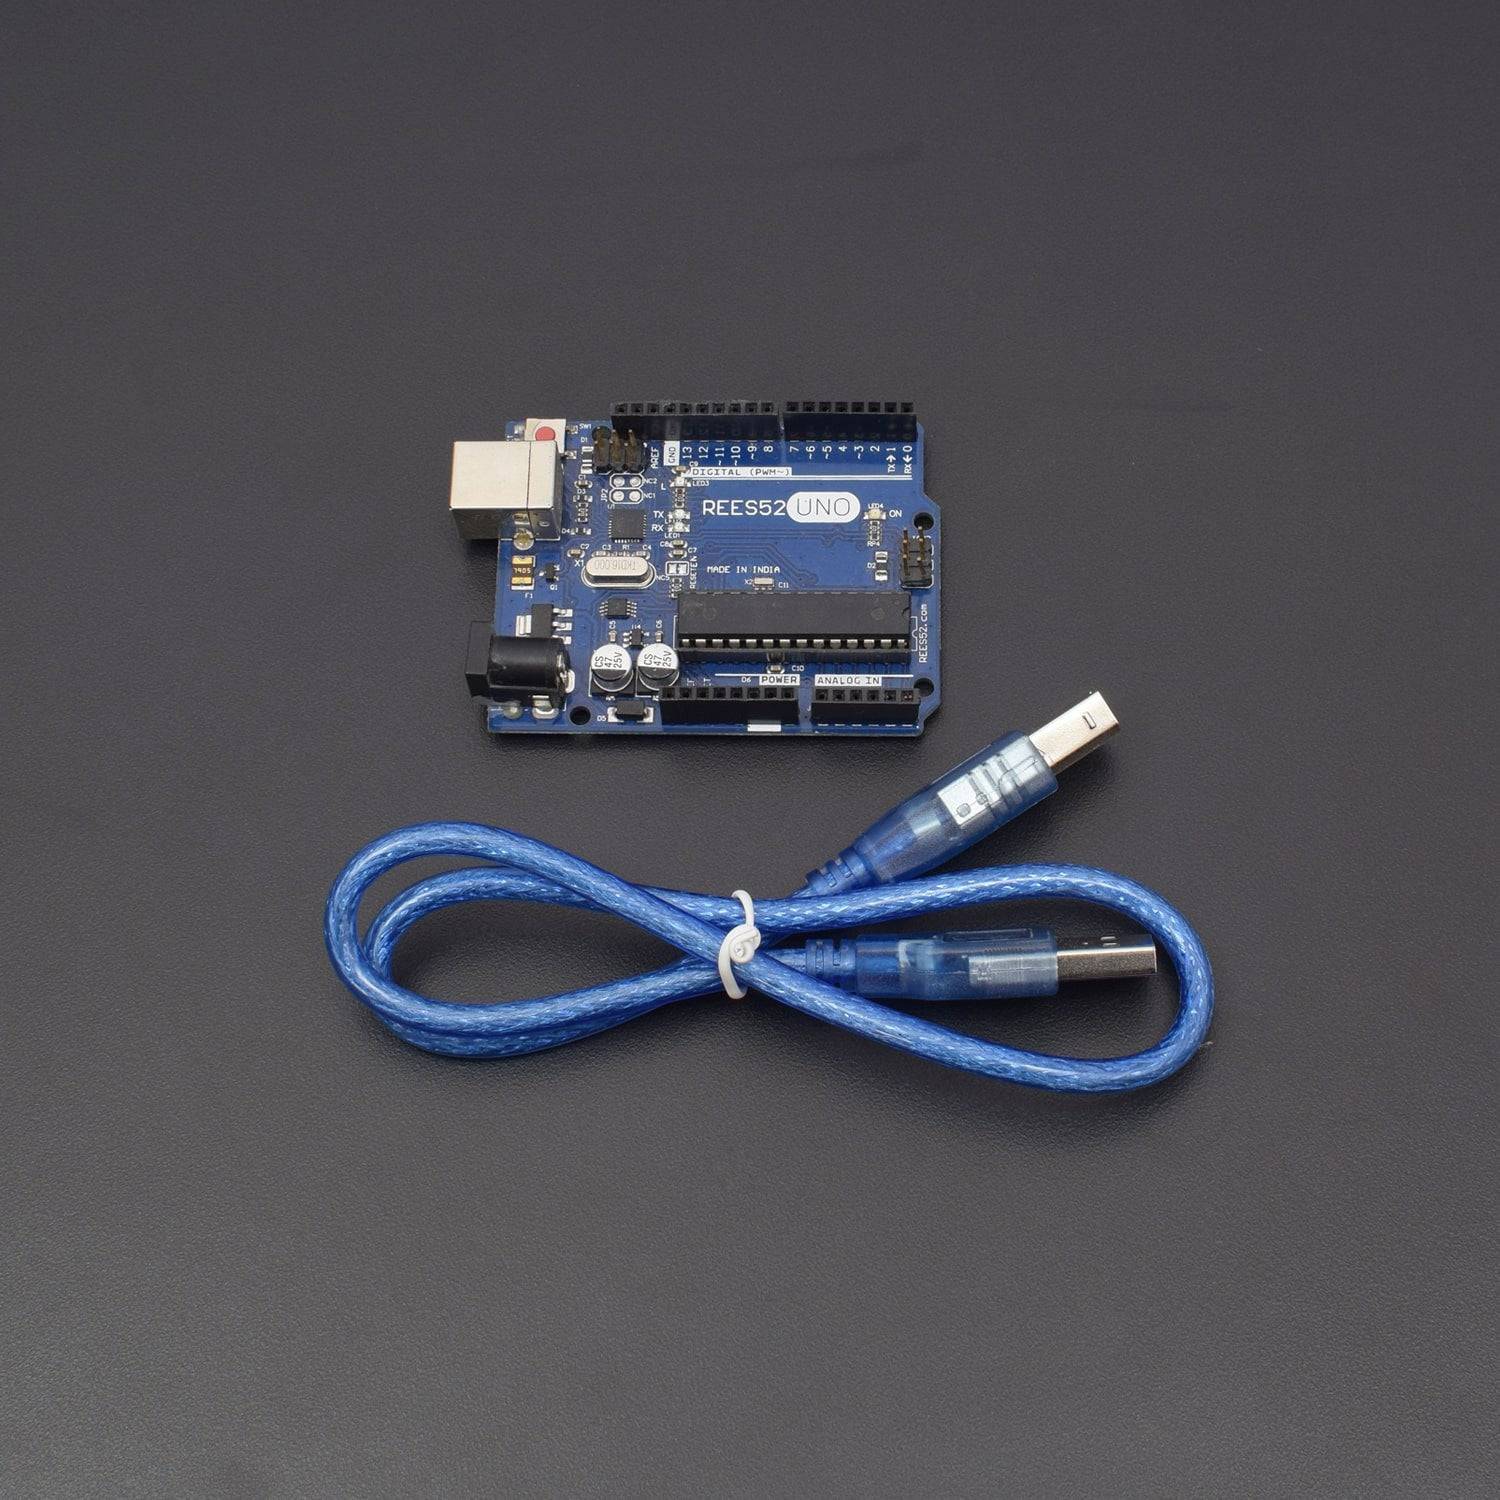
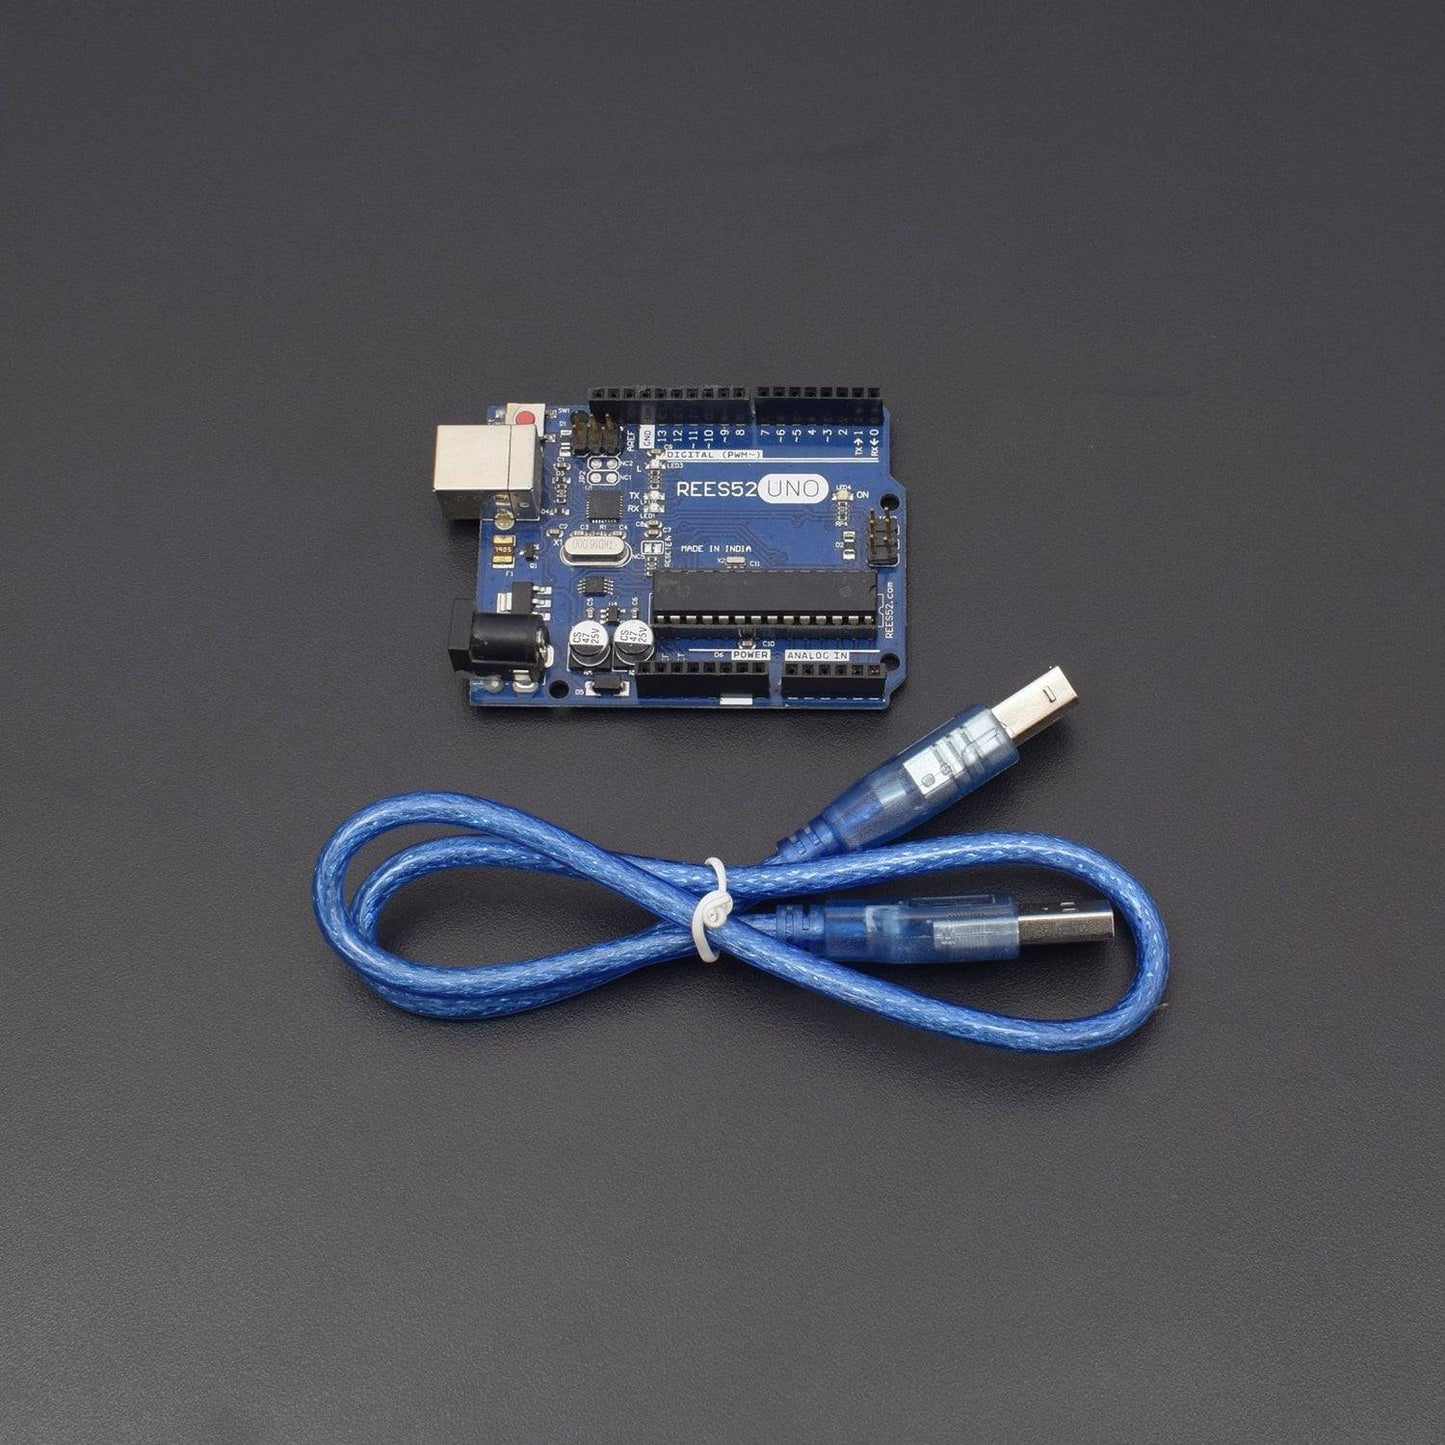
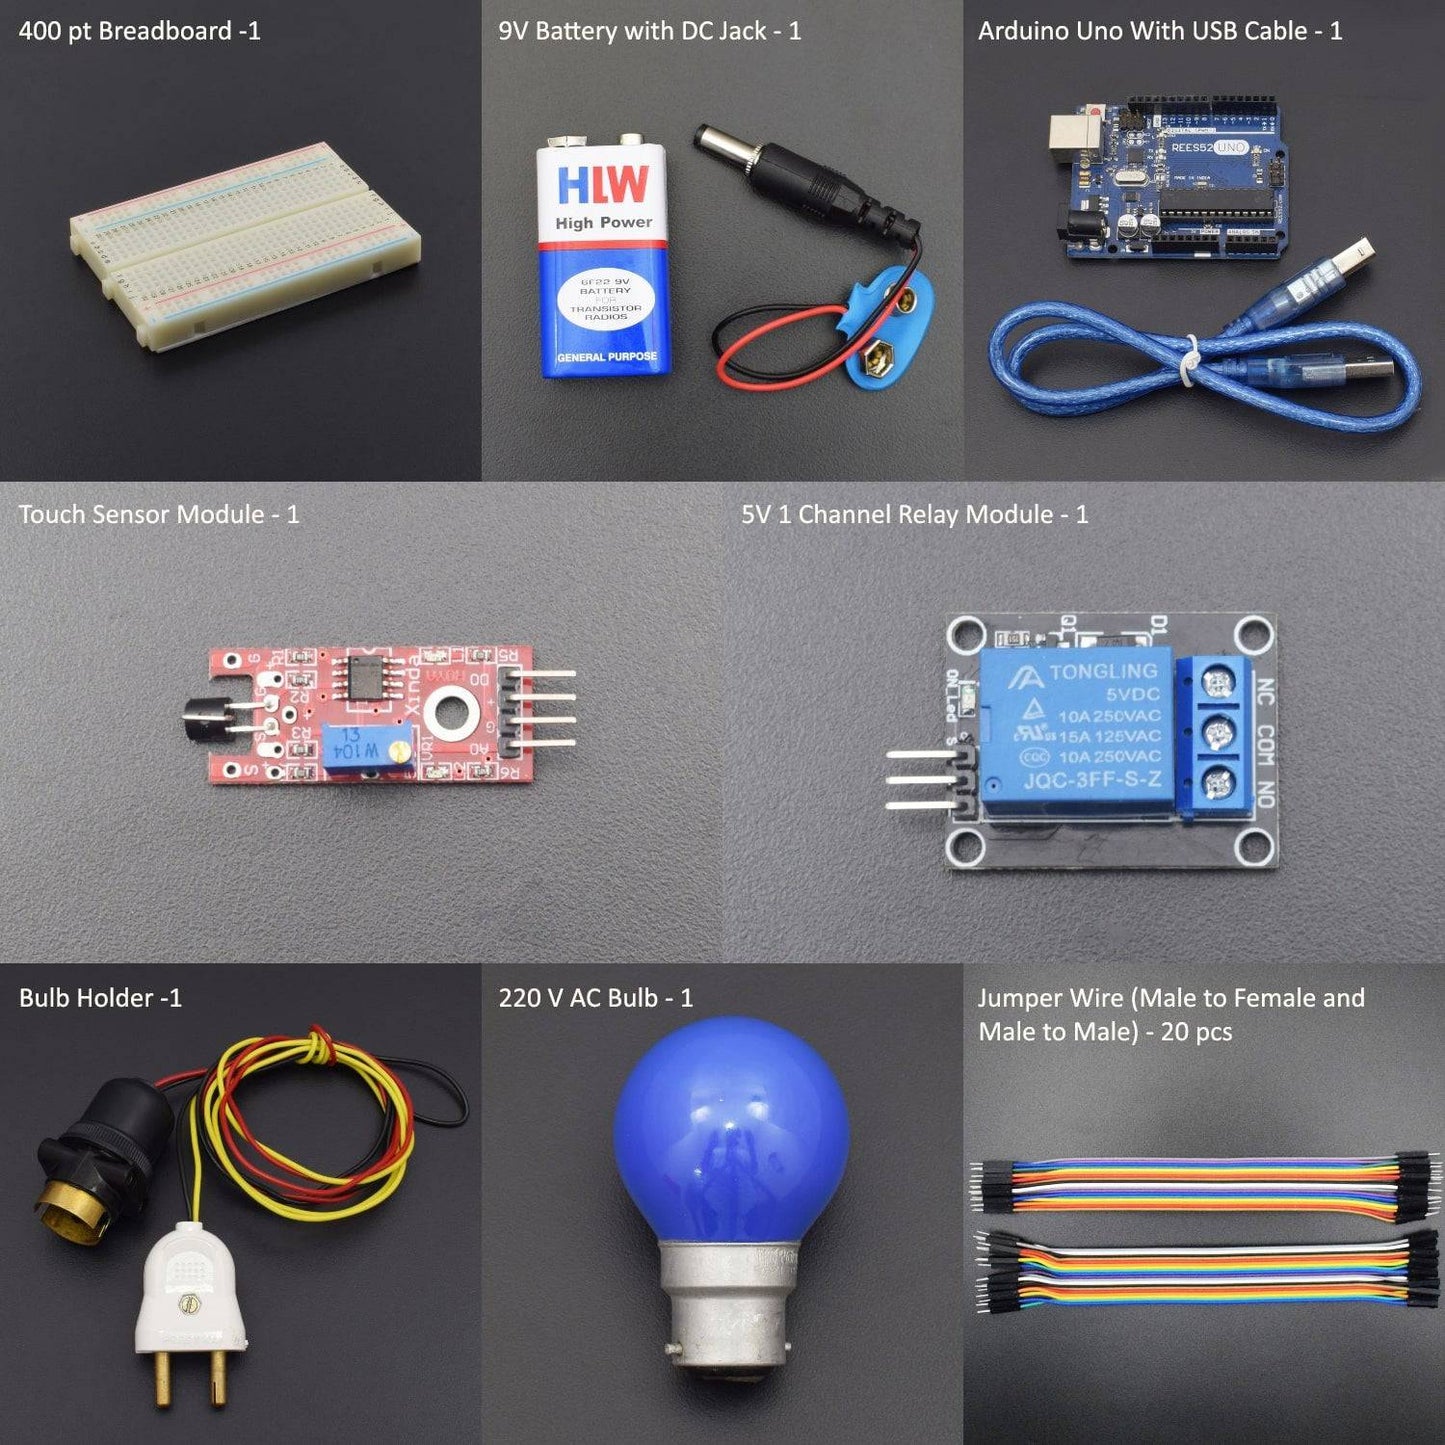
- Arduino Uno With USB Cable - 1
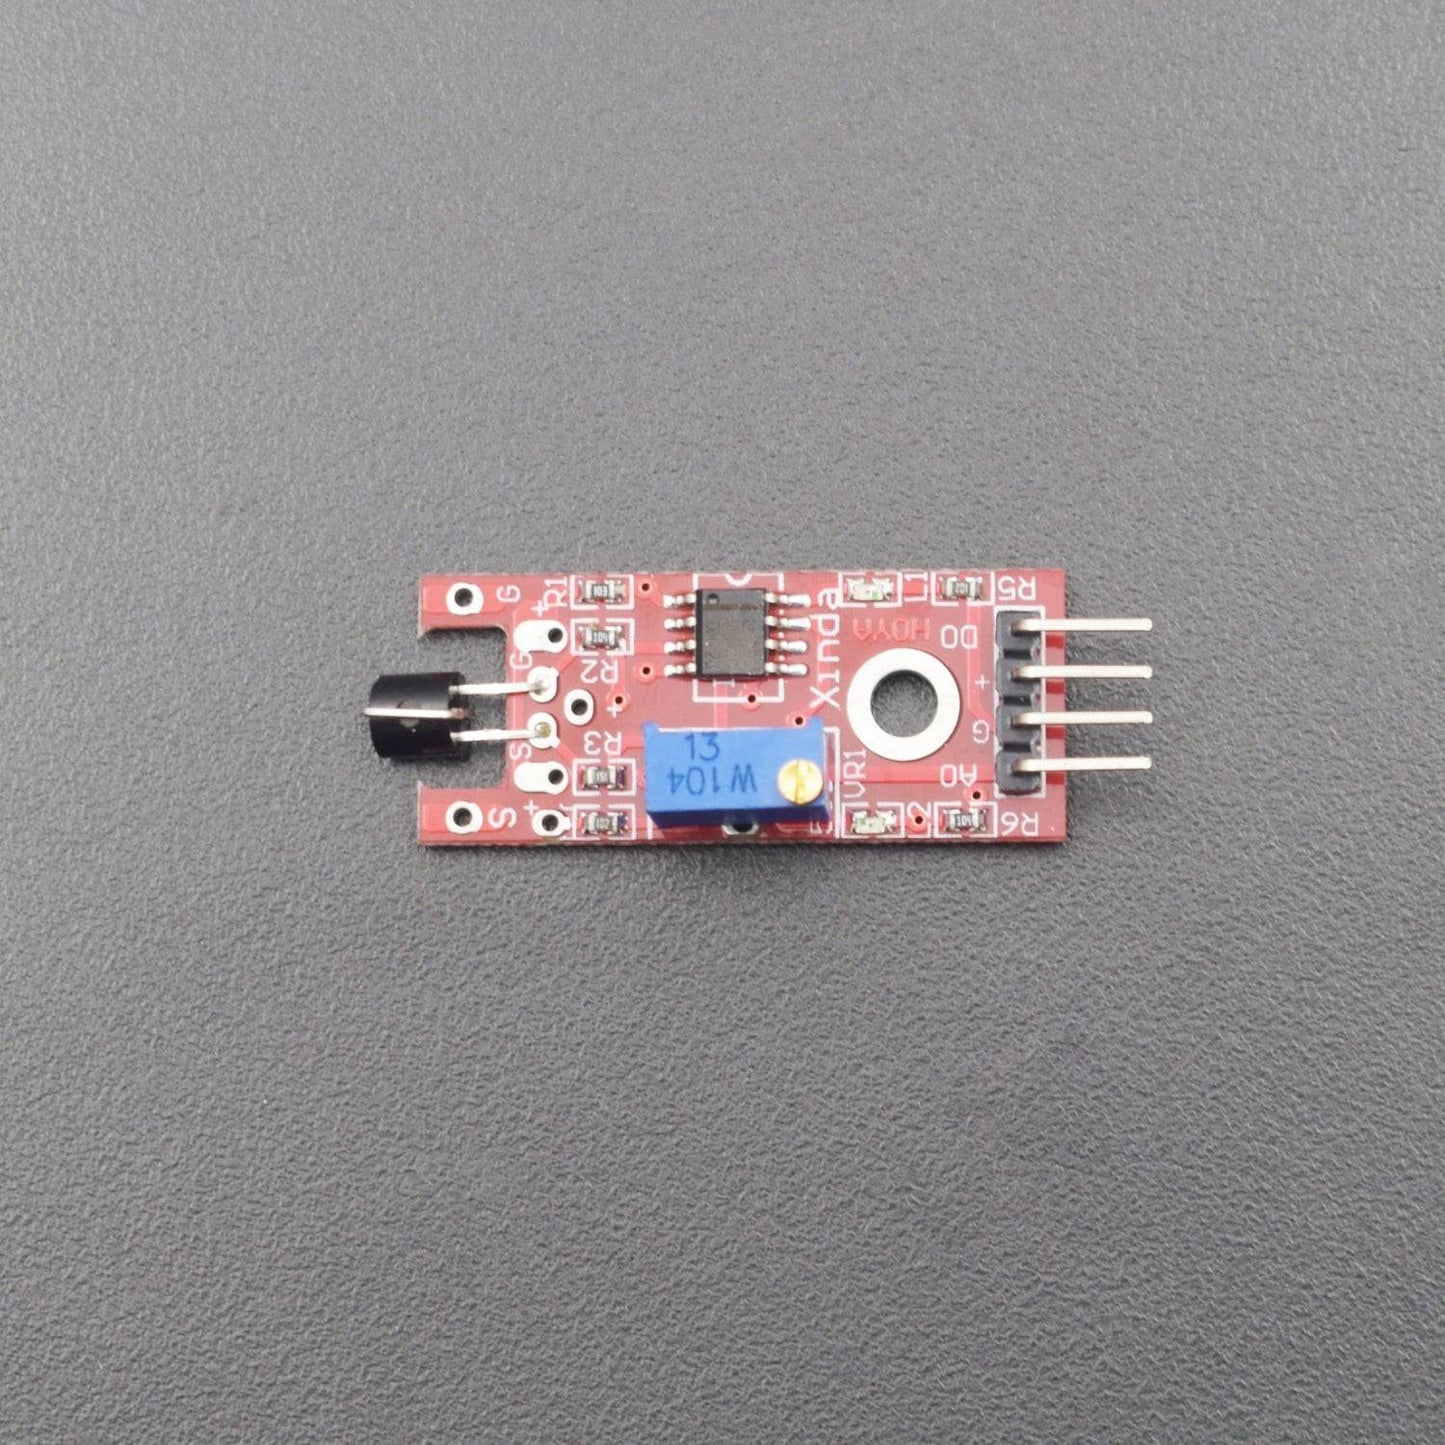
- Touch Sensor Module - 1
- 5V 1 Channel Relay Module - 1
- 220 V AC Bulb - 1
- 9V Battery - 1
- Snapper With DC Jack - 1
- Jumper Wire (male to female) - 20 pcs
- Jumper Wire (male to male) - 20 pcs
- Bulb holder -1
- 400 pt. Breadboard -1
Introduction
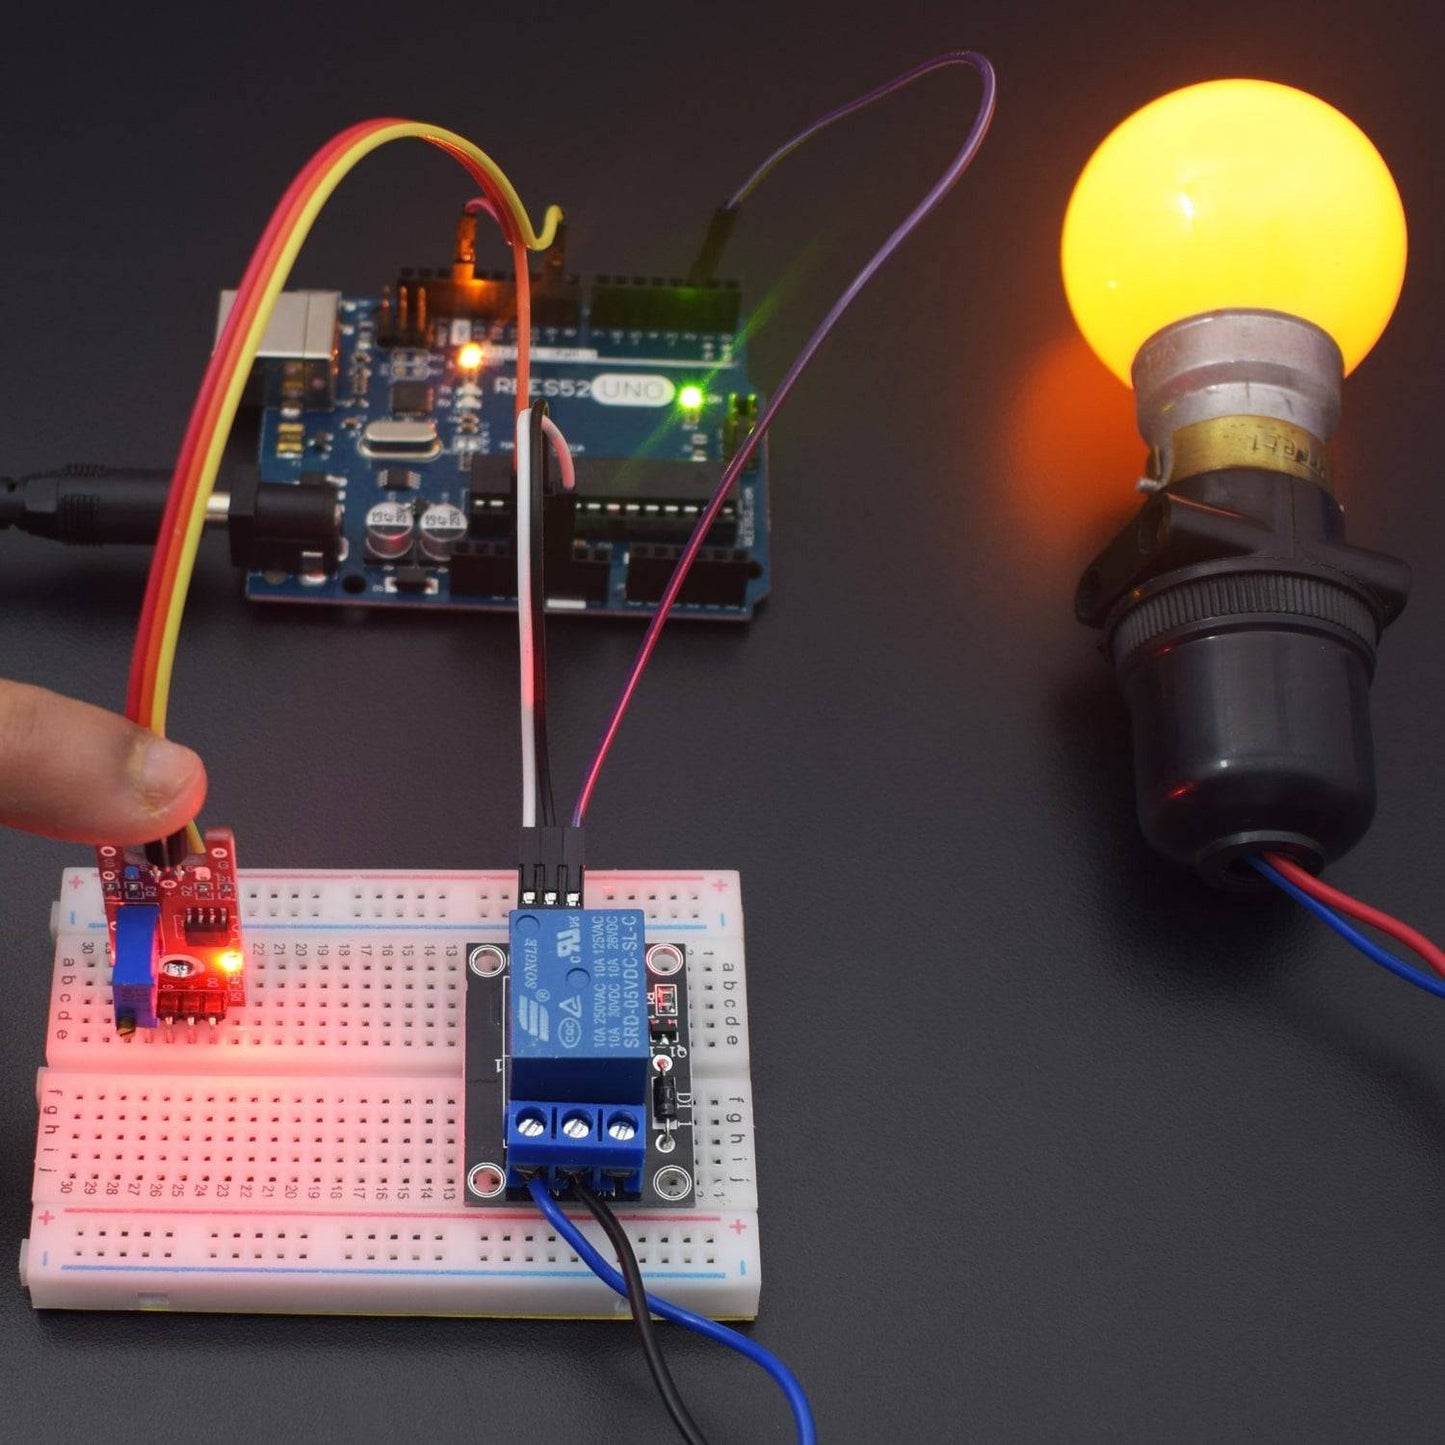
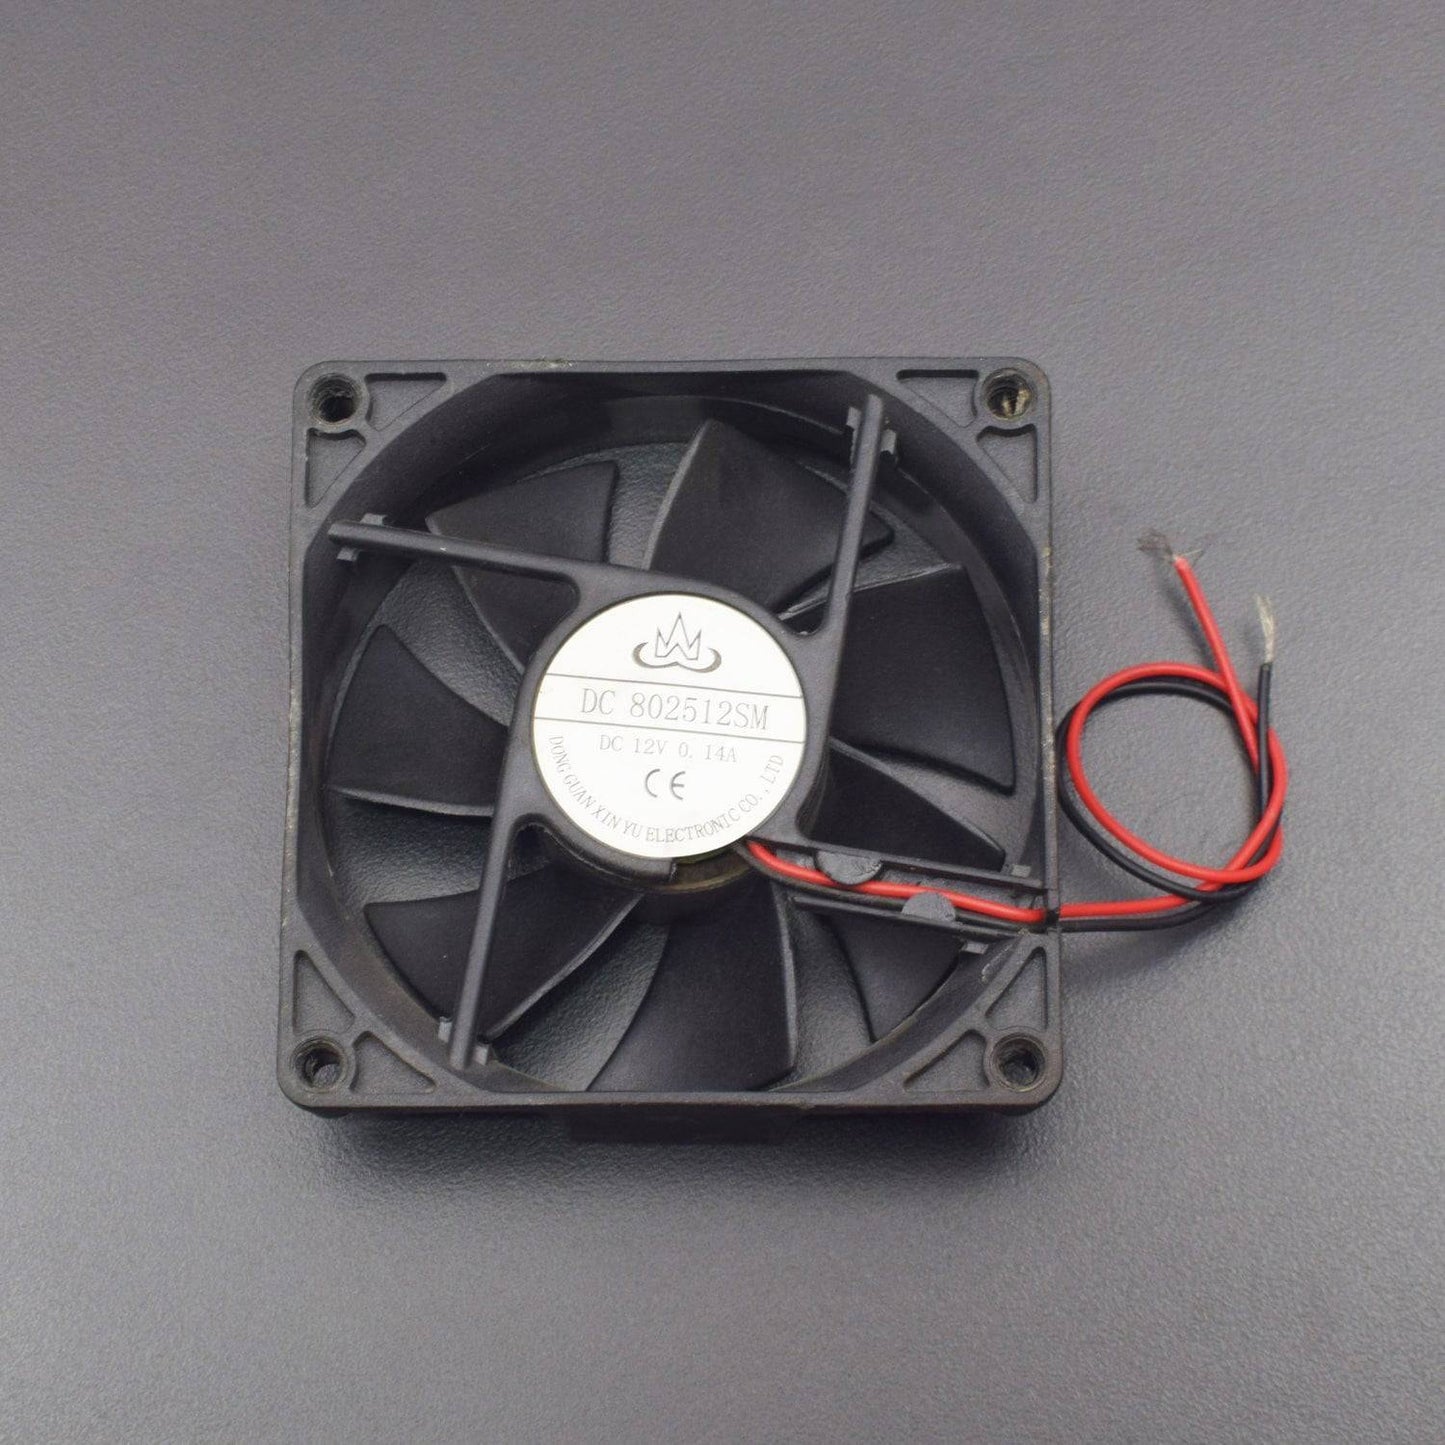
In this project, we will learn about advanced functionality of Touch sensor to control Fan using Relay Module.
HARDWARE REQUIRED
- Arduino Uno With USB Cable - 1
- Touch Sensor Module - 1
- 5V 1 Channel Relay Module - 1
- 220 V AC Bulb - 1
- 9V Battery - 1
- Snapper With DC Jack - 1
- Jumper Wire (male to female) - 20 pcs
- Jumper Wire (male to male) - 20 pcs
- Bulb holder -1
- 400 pt. Breadboard -1
SOFTWARE REQUIRED
Arduino IDE 1.8.5 (programmable platform for Arduino)
Click To Download :https://www.arduino.cc/en/Main/Software
SPECIFICATIONS
Touch Sensor Module
It outputs a signal if the metal pike of the Sensor was touched. You can adjust the sensitivity of the sensor with the controller.
- Digital Out: During, contact detection, signal will be outputted.
- Analog Out: Direct measuring value of the sensor unit.
- LED1: Shows that the sensor is supplied with voltage
- LED2: Shows that the sensor detects a magnetic field
The sensor has 3 main components on its circuit board. First, the sensor unit at the front of the module which measures the area physically and sends an analog signal to the second unit, the amplifier. The amplifier amplifies the signal, according to the resistant value of the potentiometer, and sends the signal to the analog output of the module. The third component is a comparator which switches the digital out and the LED if the signal falls under a specific value. You can control the sensitivity by adjusting the potentiometer.

1 Channel 5V Relay Module
- Number of I/O Channels: 1
- Type: Digital
- Control signal: TTL level
- Max. Allowable Voltage: 250VAC/110VDC
- Max. Allowable Power Force: From C(800VAC/240W), From A(1200VA/300W)


CIRCUIT CONNECTION
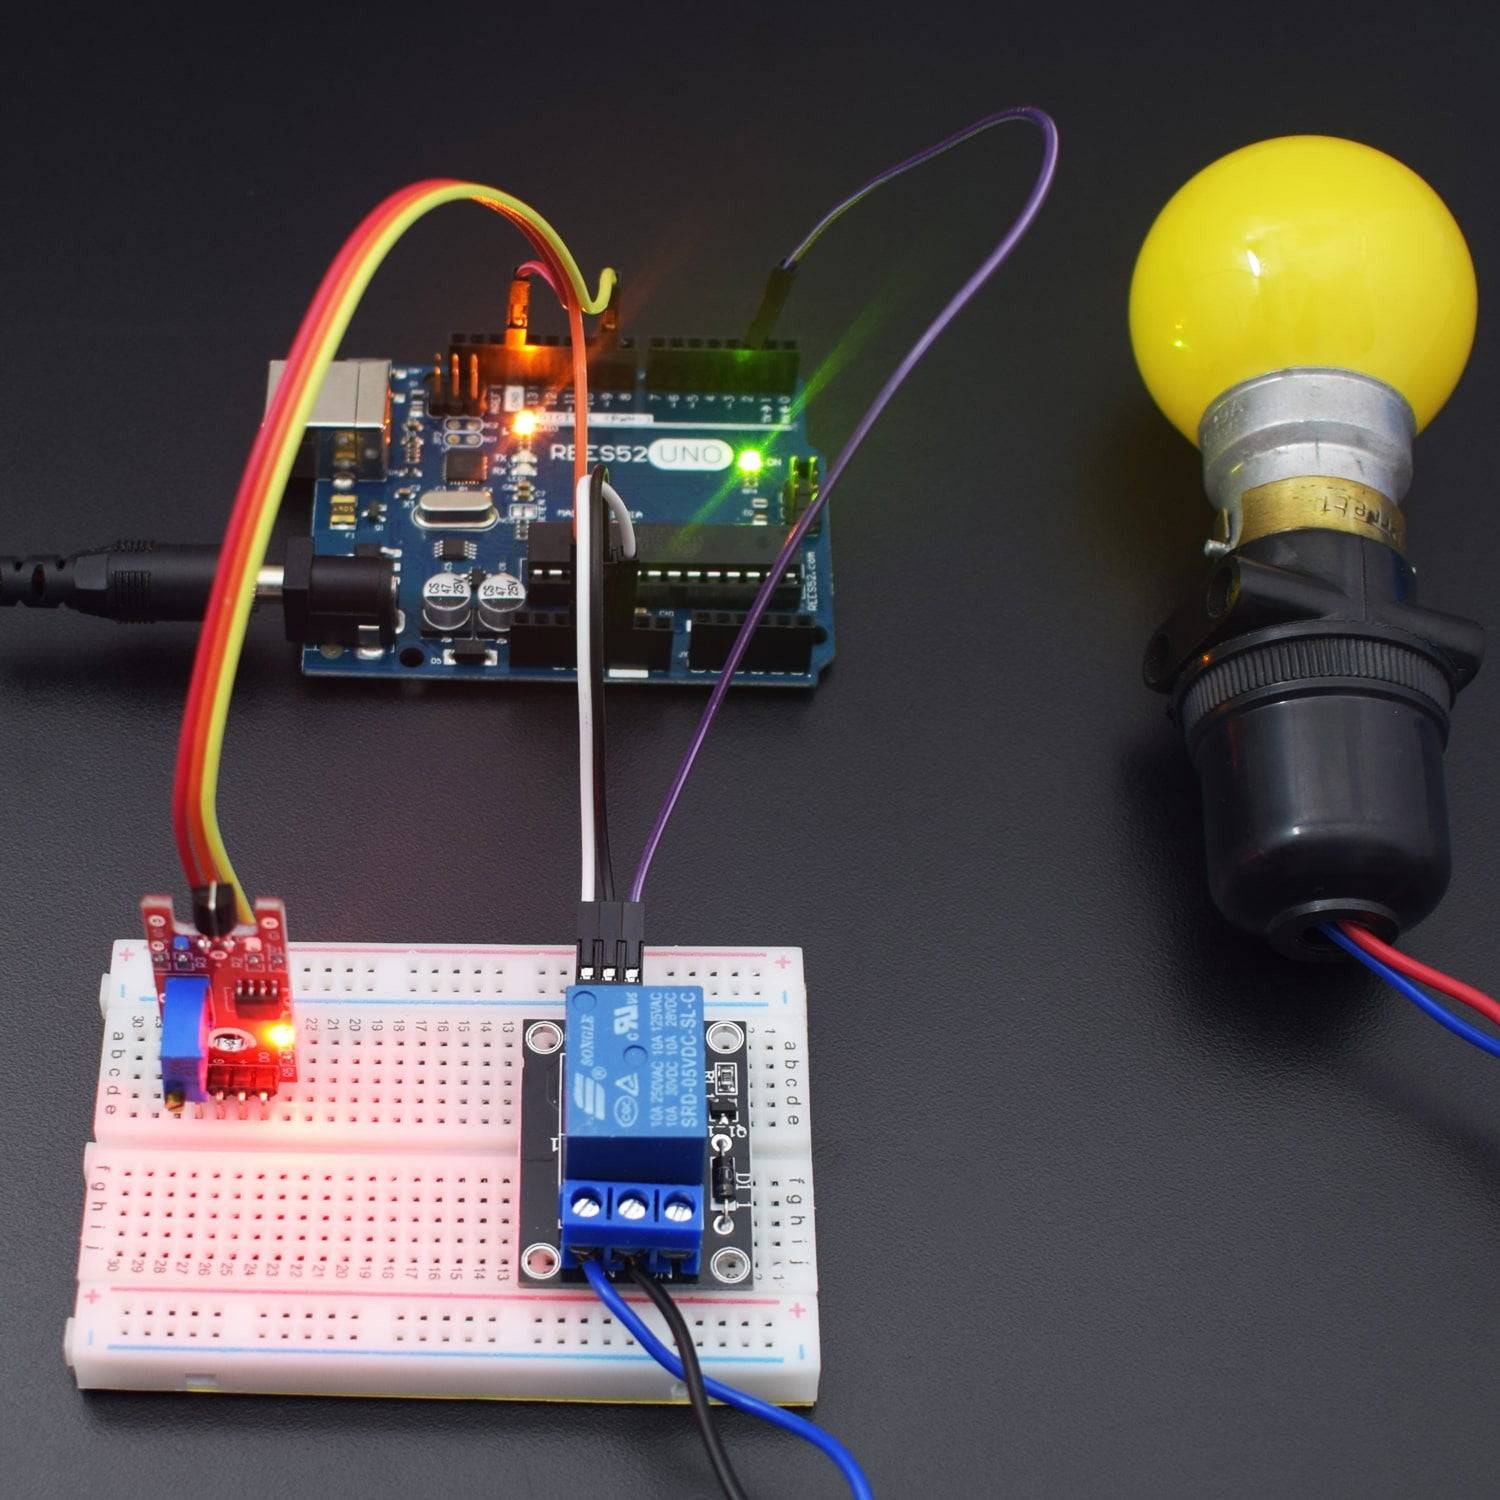
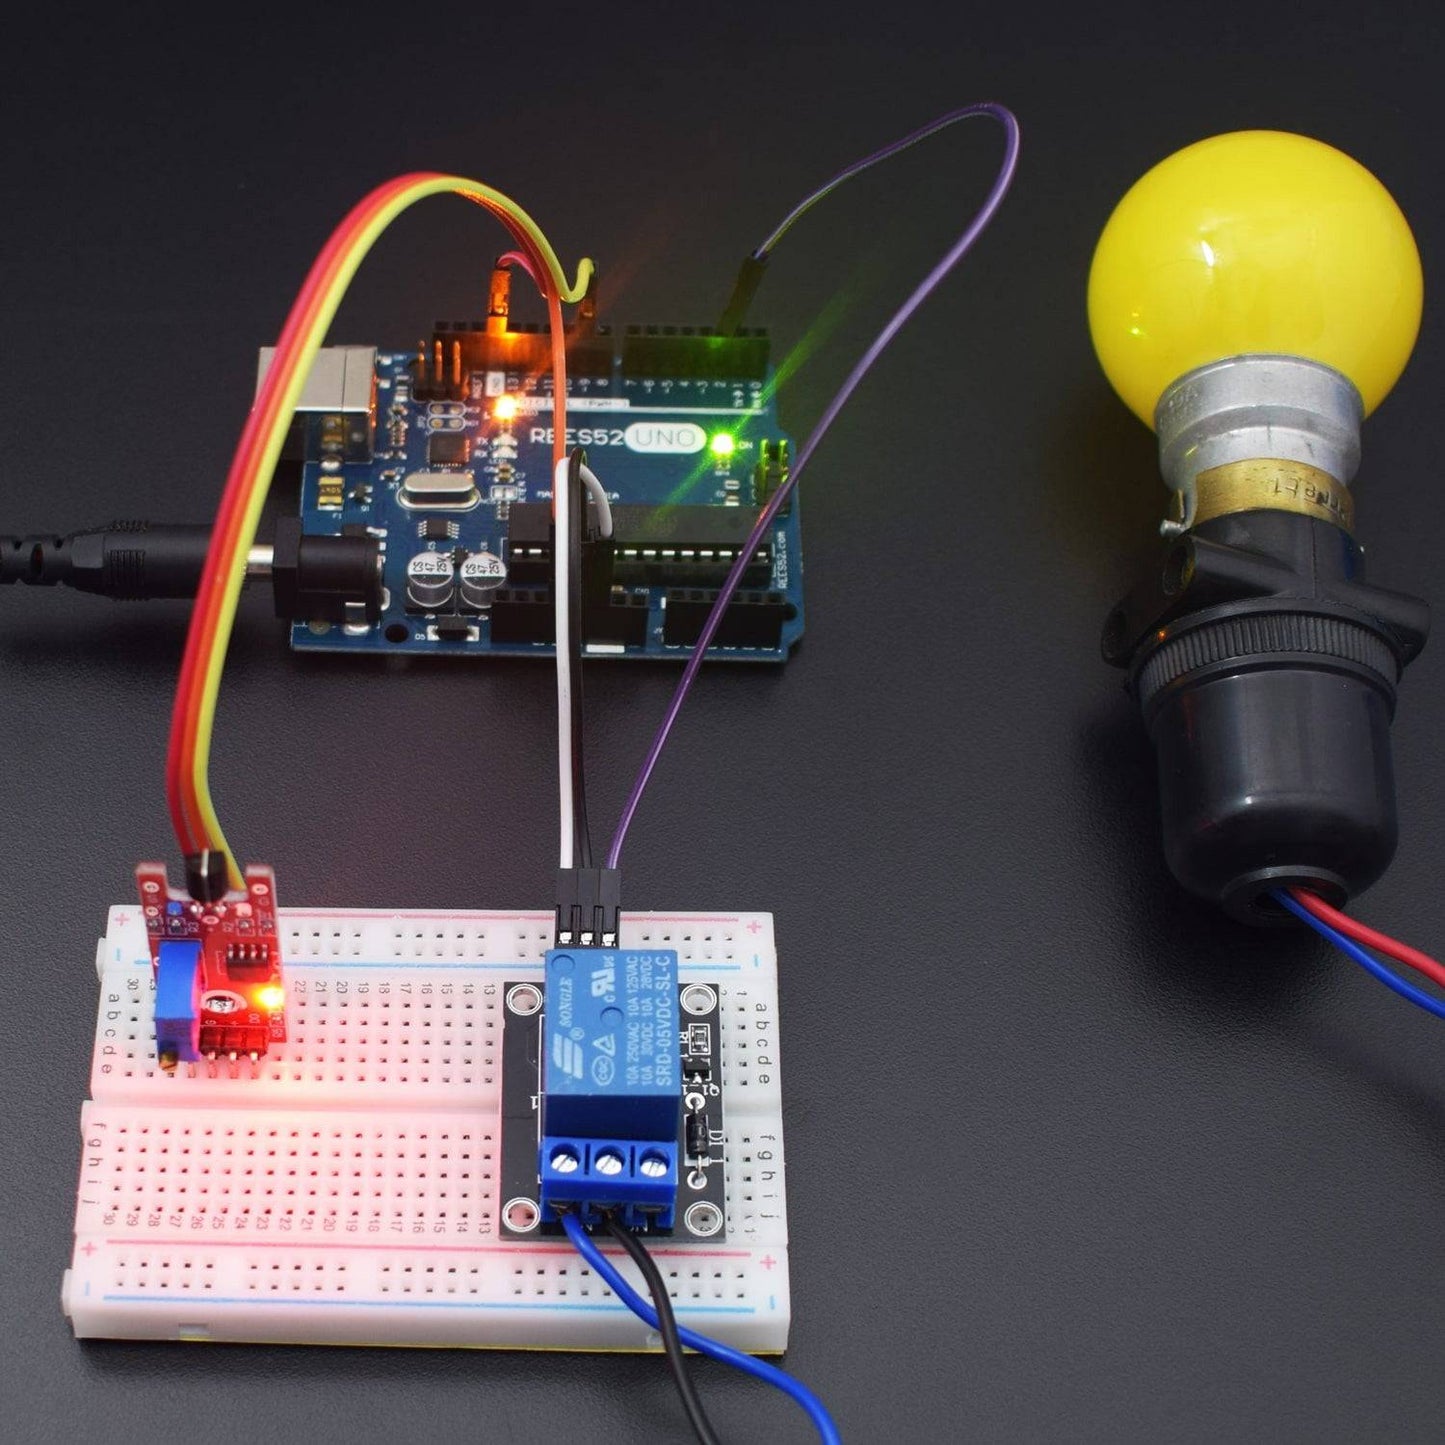
- Connect Pin D0 of Touch Sensor with Digital Pin 9 of Arduino Uno
- Connect VCC of Touch Sensor with Pin 3.3V of Arduino Uno.
- Connect GND of Touch Sensor with GND of Arduino Uno.
- Connect Pin Signal of Relay with Digital Pin 2 of Arduino Uno.
- Connect VCC of Relay with Pin 5V of Arduino Uno.
- Connect GND of Relay with GND of Arduino Uno.
- Connect negative terminal of Fan with Pin NC (Normally Closed) of Relay.
- Connect one terminal of Adapter with Pin C (Common) of Relay.
- Connect positive terminal of Fan with other terminal of Adapter.

CODE
Code for Touch Sensor with Relay:
https://drive.google.com/open?id=1p_F067IJr9SnYlY_YmMyal2IY1Z-fluO
WORKING
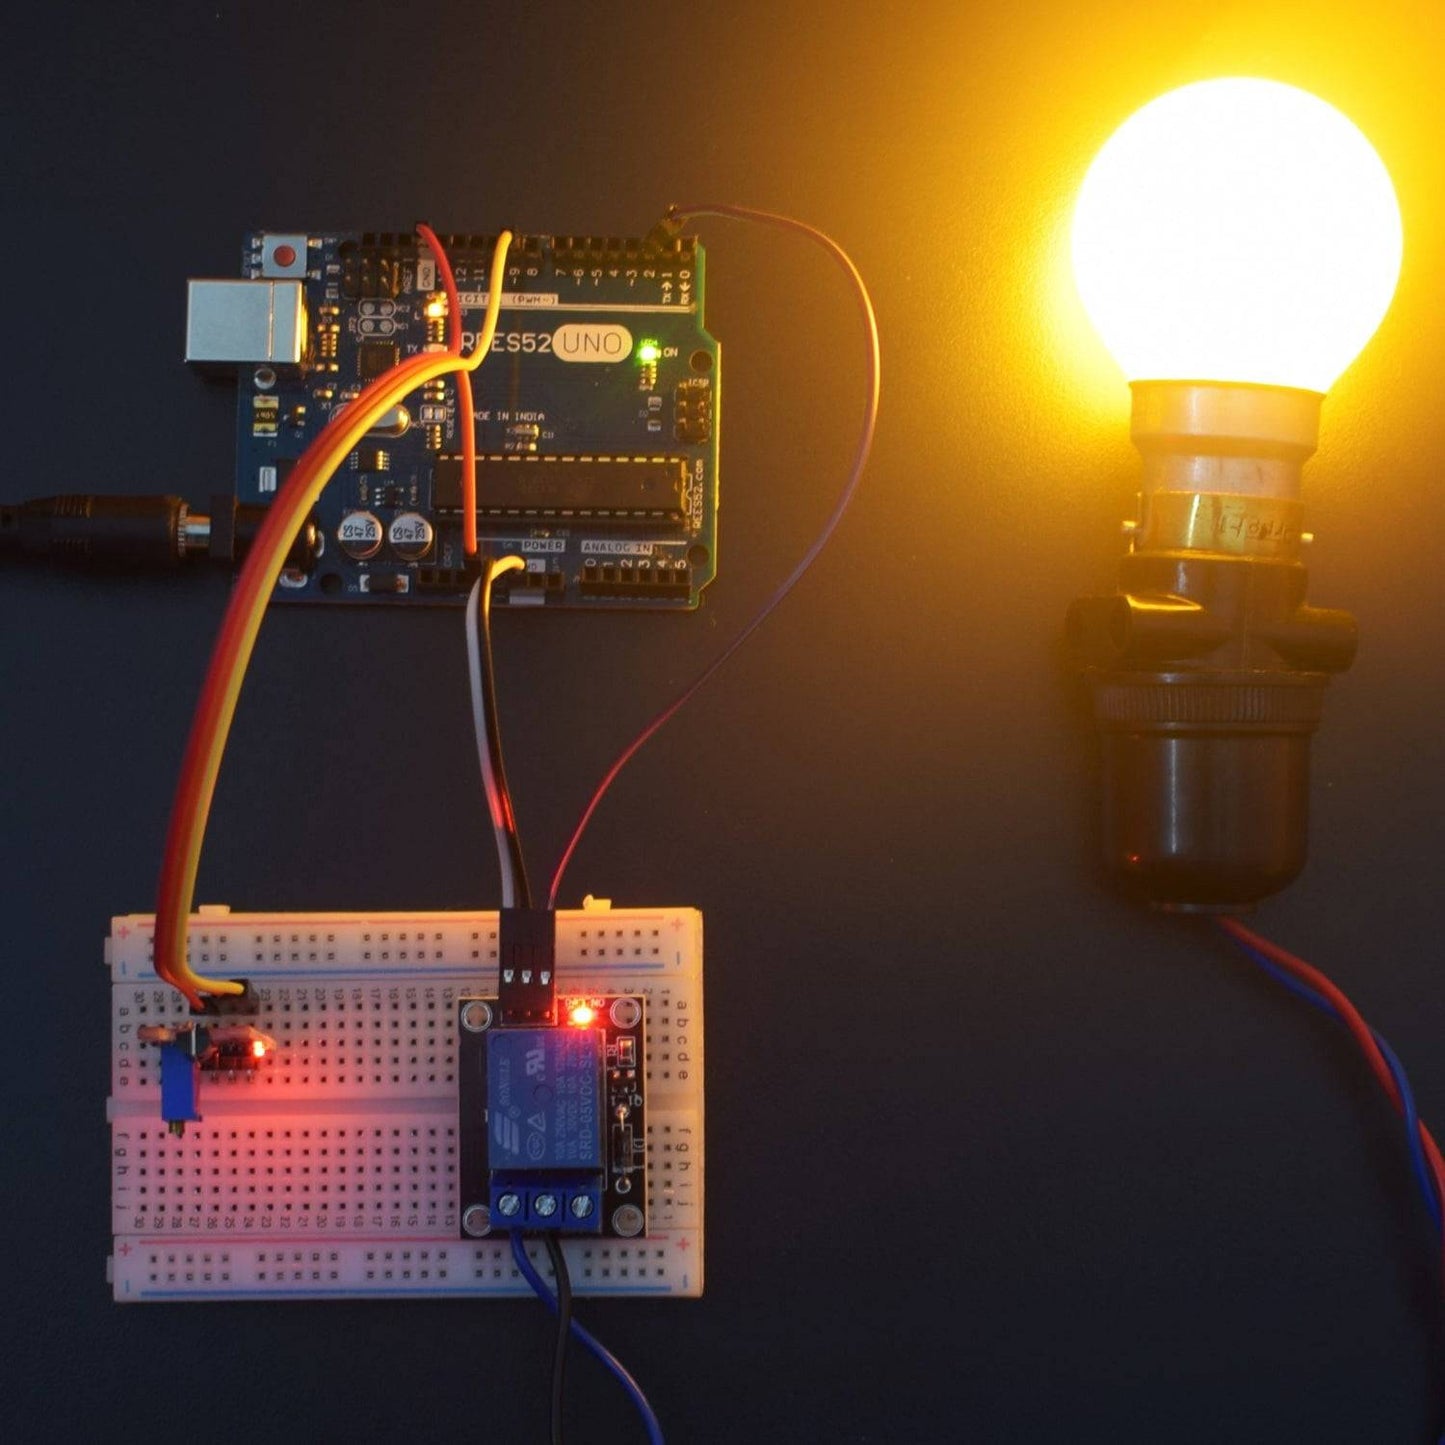
Welcome to the Arduino Based Project which consists of Touch Sensor. The basic functionality of sensor is that it detects near proximity (also known as touch) without depending on physical contact. In simple words, you can understand that its working is same as a simple switch or circuit. When any physical medium comes in contact with the touch surface. The internal circuit will be closed inside the sensor and current starts flowing. On the other hand, when this physical contact is broken or released, circuit will be opened. Here, we are controlling a fan using Relay and Touch Sensor. When we touch the Sensor, then the Fan turns on or else it stays off.


