


Generic
3 Pin Infrared Flame Sensor Module Fire Detection Sensor Compatible With Arduino, Raspberry Pi & Robotics Projects - SR017
3 Pin Infrared Flame Sensor Module Fire Detection Sensor Compatible With Arduino, Raspberry Pi & Robotics Projects - SR017
SKU:SR017
406 in stock
Couldn't load pickup availability
- For Bulk Order Click Here
- Need Customer Support?
- Free Delivery Above 999/-
Note: In case you receive a damaged or faulty product, please return it in the original box with all foam and packaging. Returns will not be accepted if further damage occurs due to improper packing.
If you order a product that is currently in Preorder, and the price of that item increases in the future, you will be required to pay the difference in price.
For refund/return/replacement, call us at +91 95995 94520 or email us at support@rees52.com
Delivery Time
Delivery Time
- Delivery time with the Express Shipping option is 2-3 working days, and with the Standard Shipping option is 5-6 working days. It varies based on location, reliant on courier services.
- Delivery time if the order item is on Preorder Status is 15-20 working days.
COD (Cash on Delivery)
COD (Cash on Delivery)
- For COD you have to pay extra charges of Rs 350/- before the shipment. (We will share the company QR Code, UPI ID or Account details for the same)


Description:
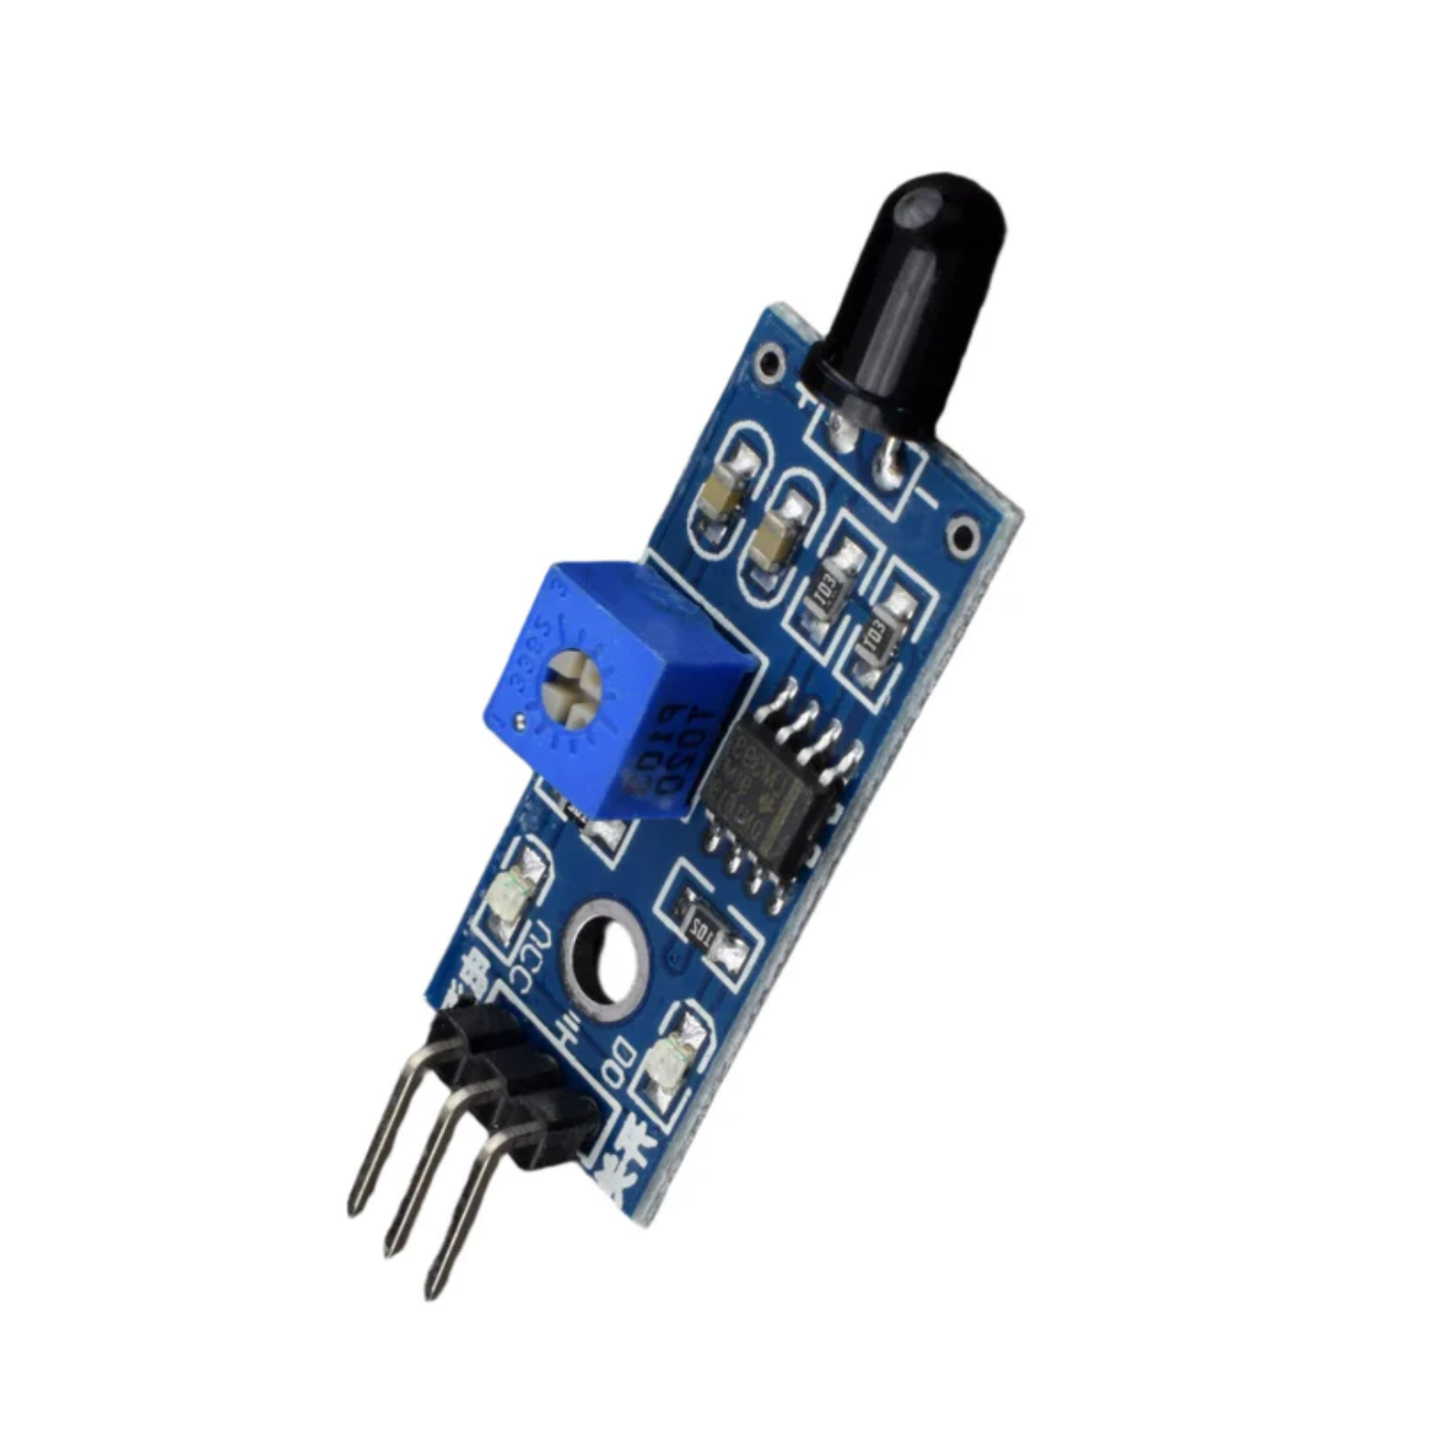
The 3-Pin Flame Sensor Module is a compact and reliable infrared flame detection sensor designed for fire detection, safety monitoring, and automation projects. It can detect flame sources or infrared light emitted by fire within a specific wavelength range, making it ideal for Arduino, Raspberry Pi, ESP32, and other microcontroller-based applications.
This module features a high-sensitivity infrared receiver that quickly responds to the presence of flames and provides a digital output signal for easy interfacing with development boards. Its simple 3-pin design (VCC, GND, OUT) allows for fast installation and integration into robotics, industrial safety systems, smart home projects, and educational electronics experiments.
Specifications:
- Item Type: Sensor Module
- Model: Flame Sensor Module
- Operating Voltage: 3.3V to 5VDC
- Detect Range: 60 degrees
Features:
- High-sensitivity infrared flame detection
- Simple 3-pin interface (VCC, GND, OUT)
- Fast response to fire and flame sources
- Compatible with Arduino, ESP32, Raspberry Pi, and other microcontrollers
- Compact size for easy integration into projects
- Low power consumption
- Suitable for indoor fire detection applications
- Easy to connect and program
Package Included:
1 x 3 Pin Infrared Flame Sensor Module