Description:
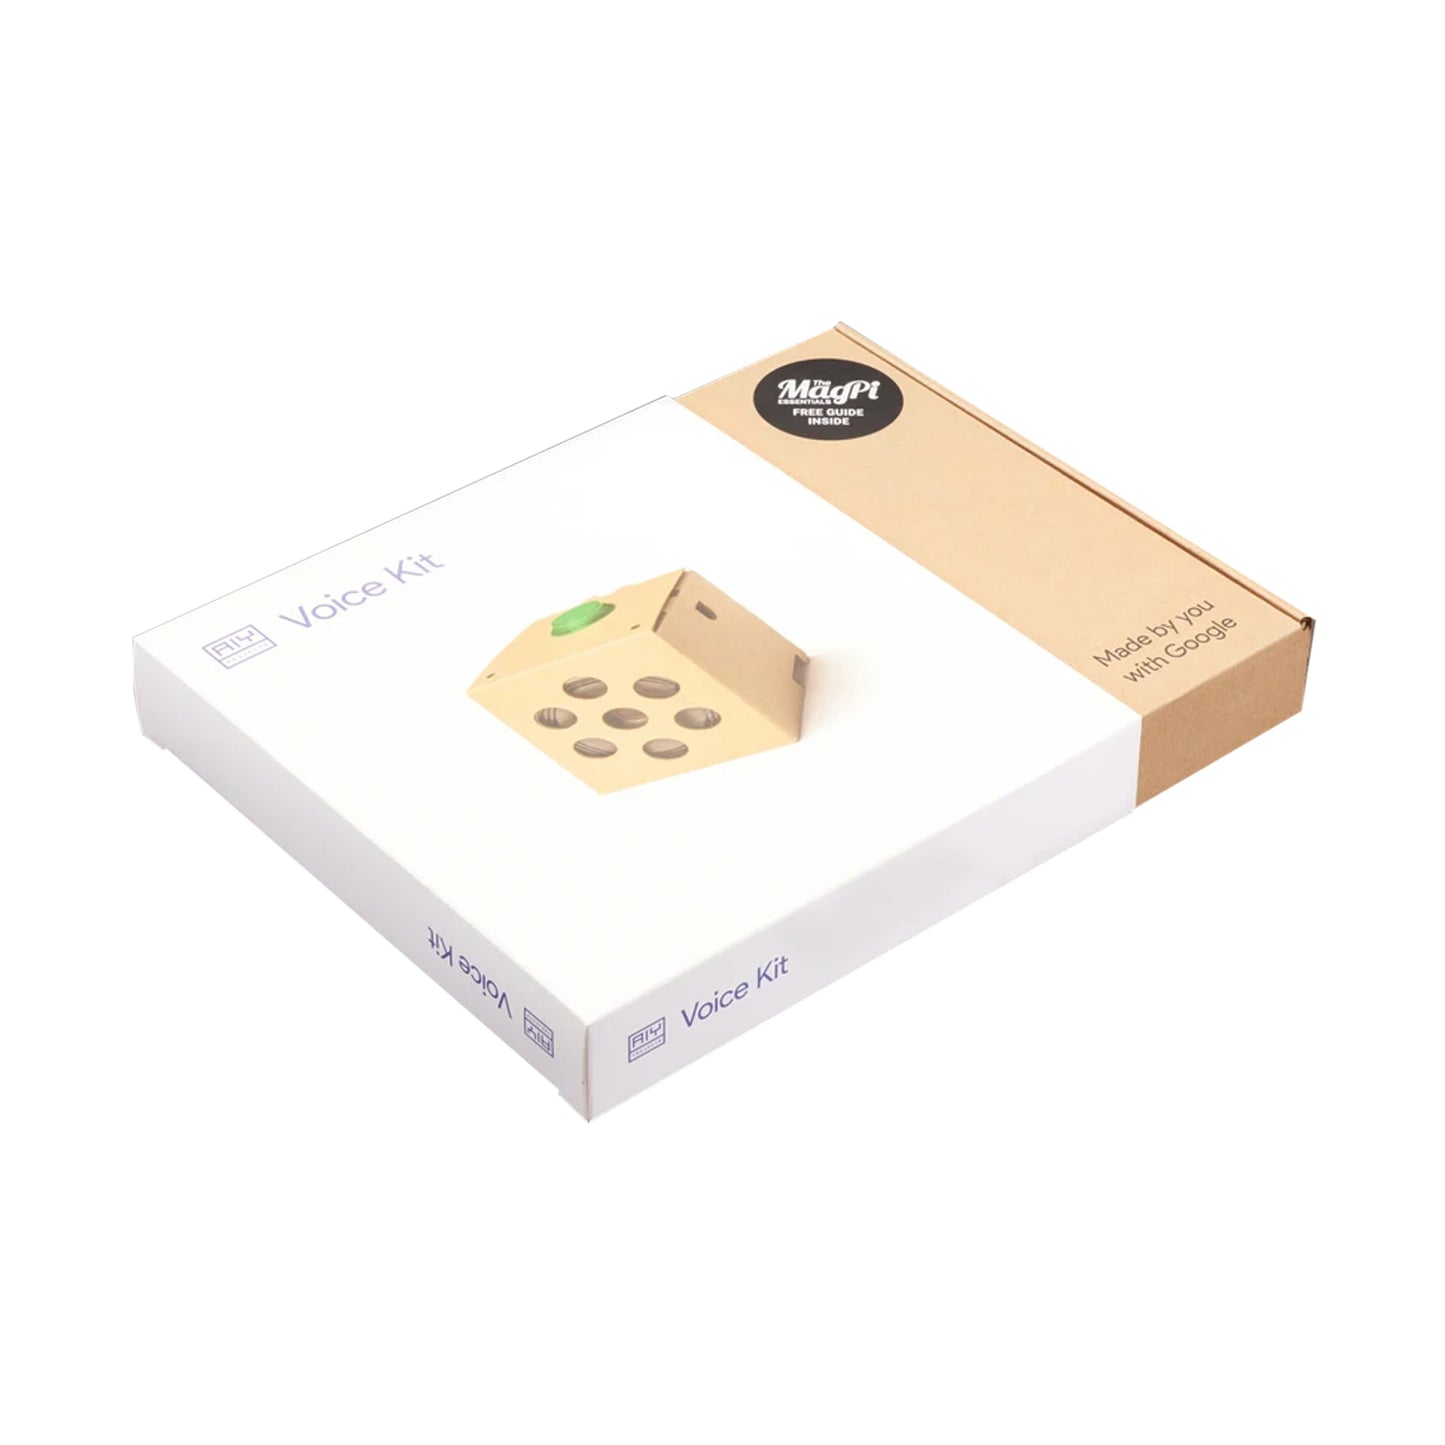
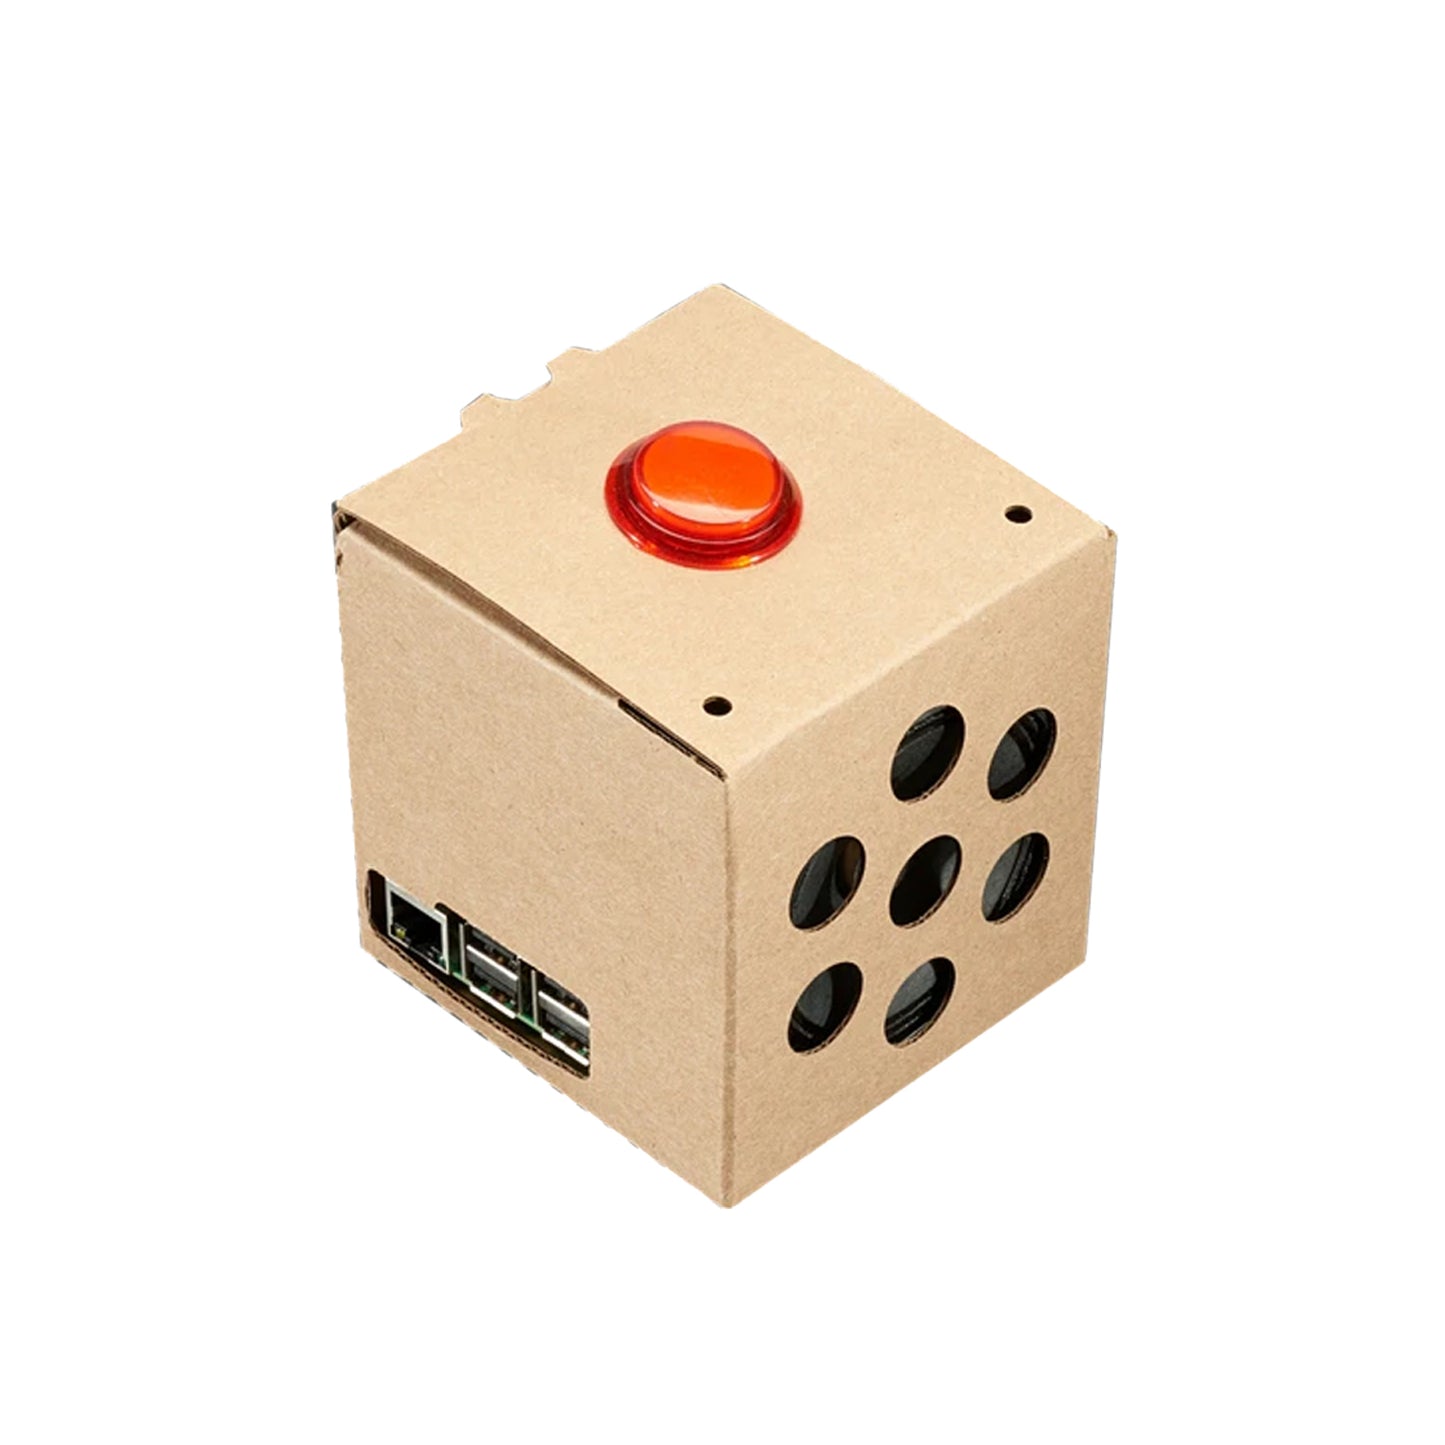
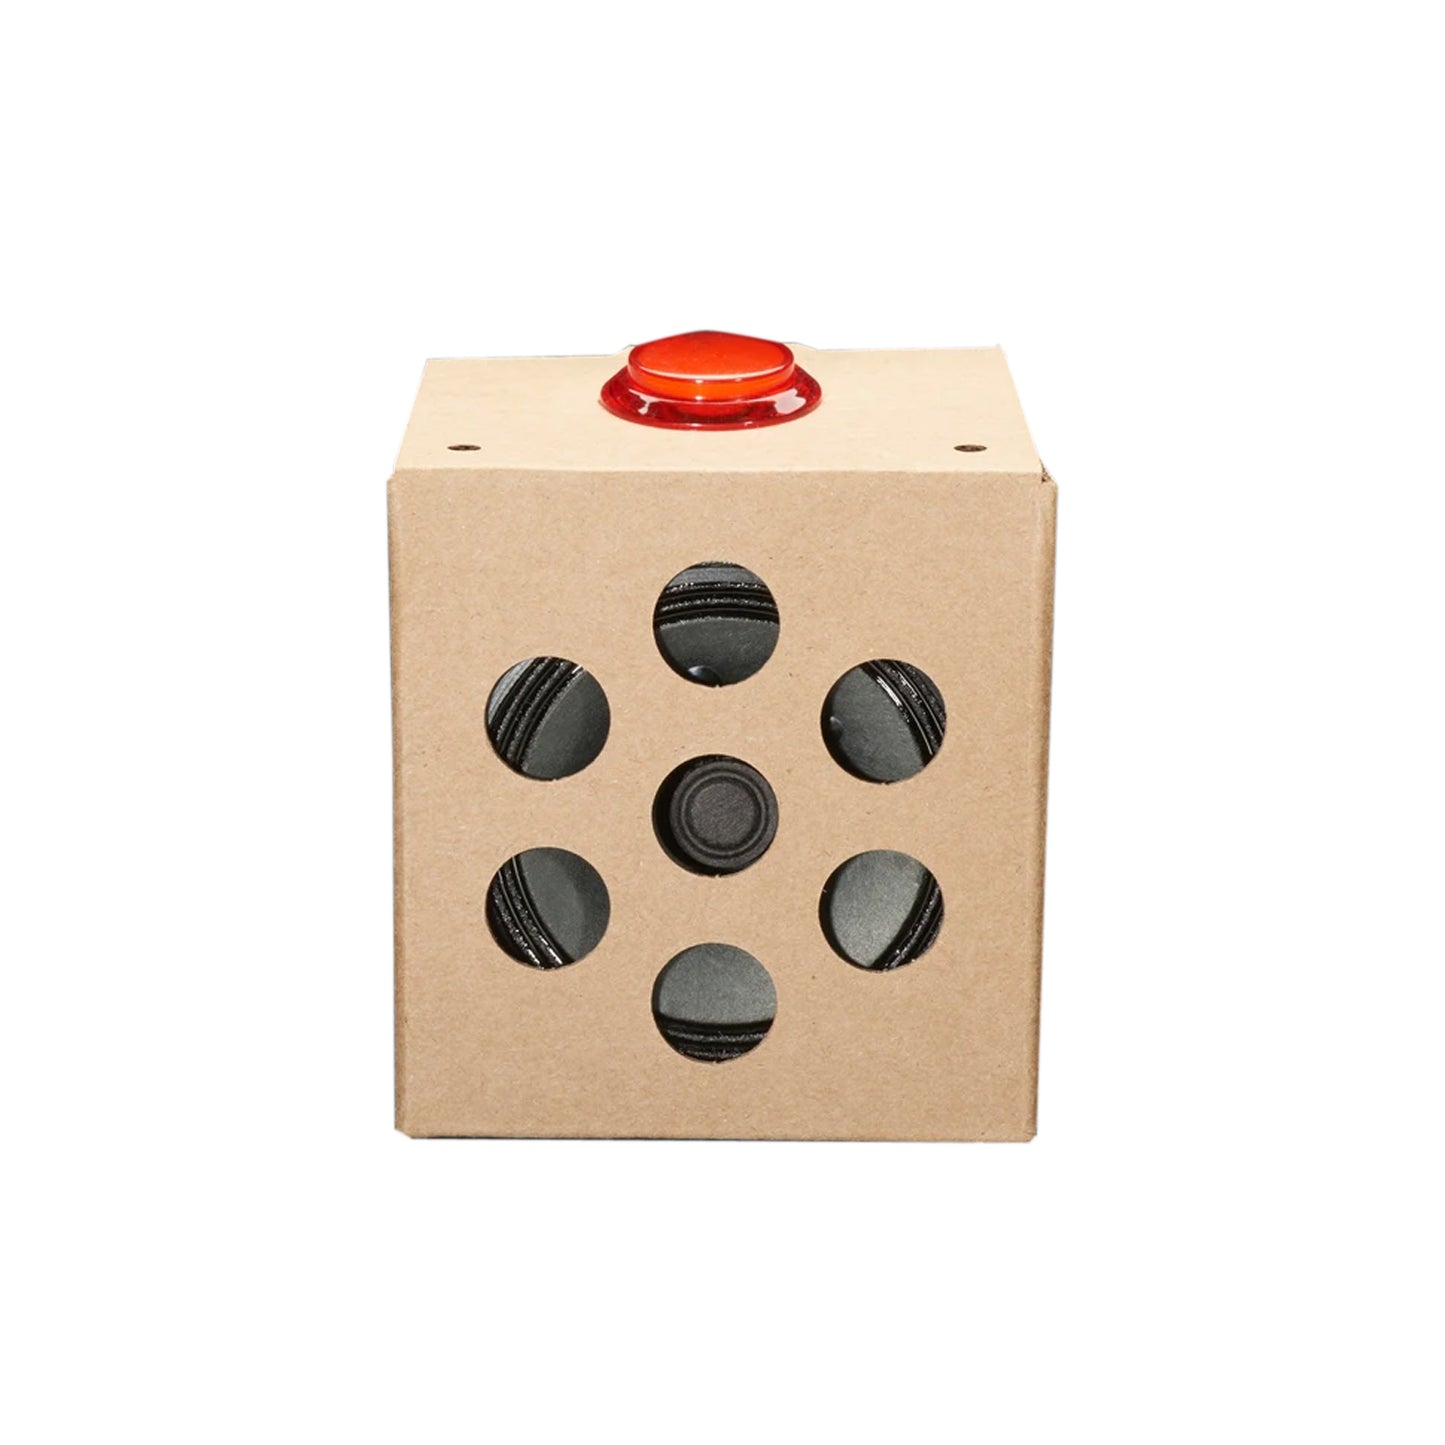
This project demonstrates how to get a natural language recognizer up and running and connect it to the Google Assistant, using your AIY Voice Kit. Along with everything the Google Assistant already does, you can add your question and answer pairs. All in a handy little cardboard cube, powered by a Raspberry Pi.
What you will get?
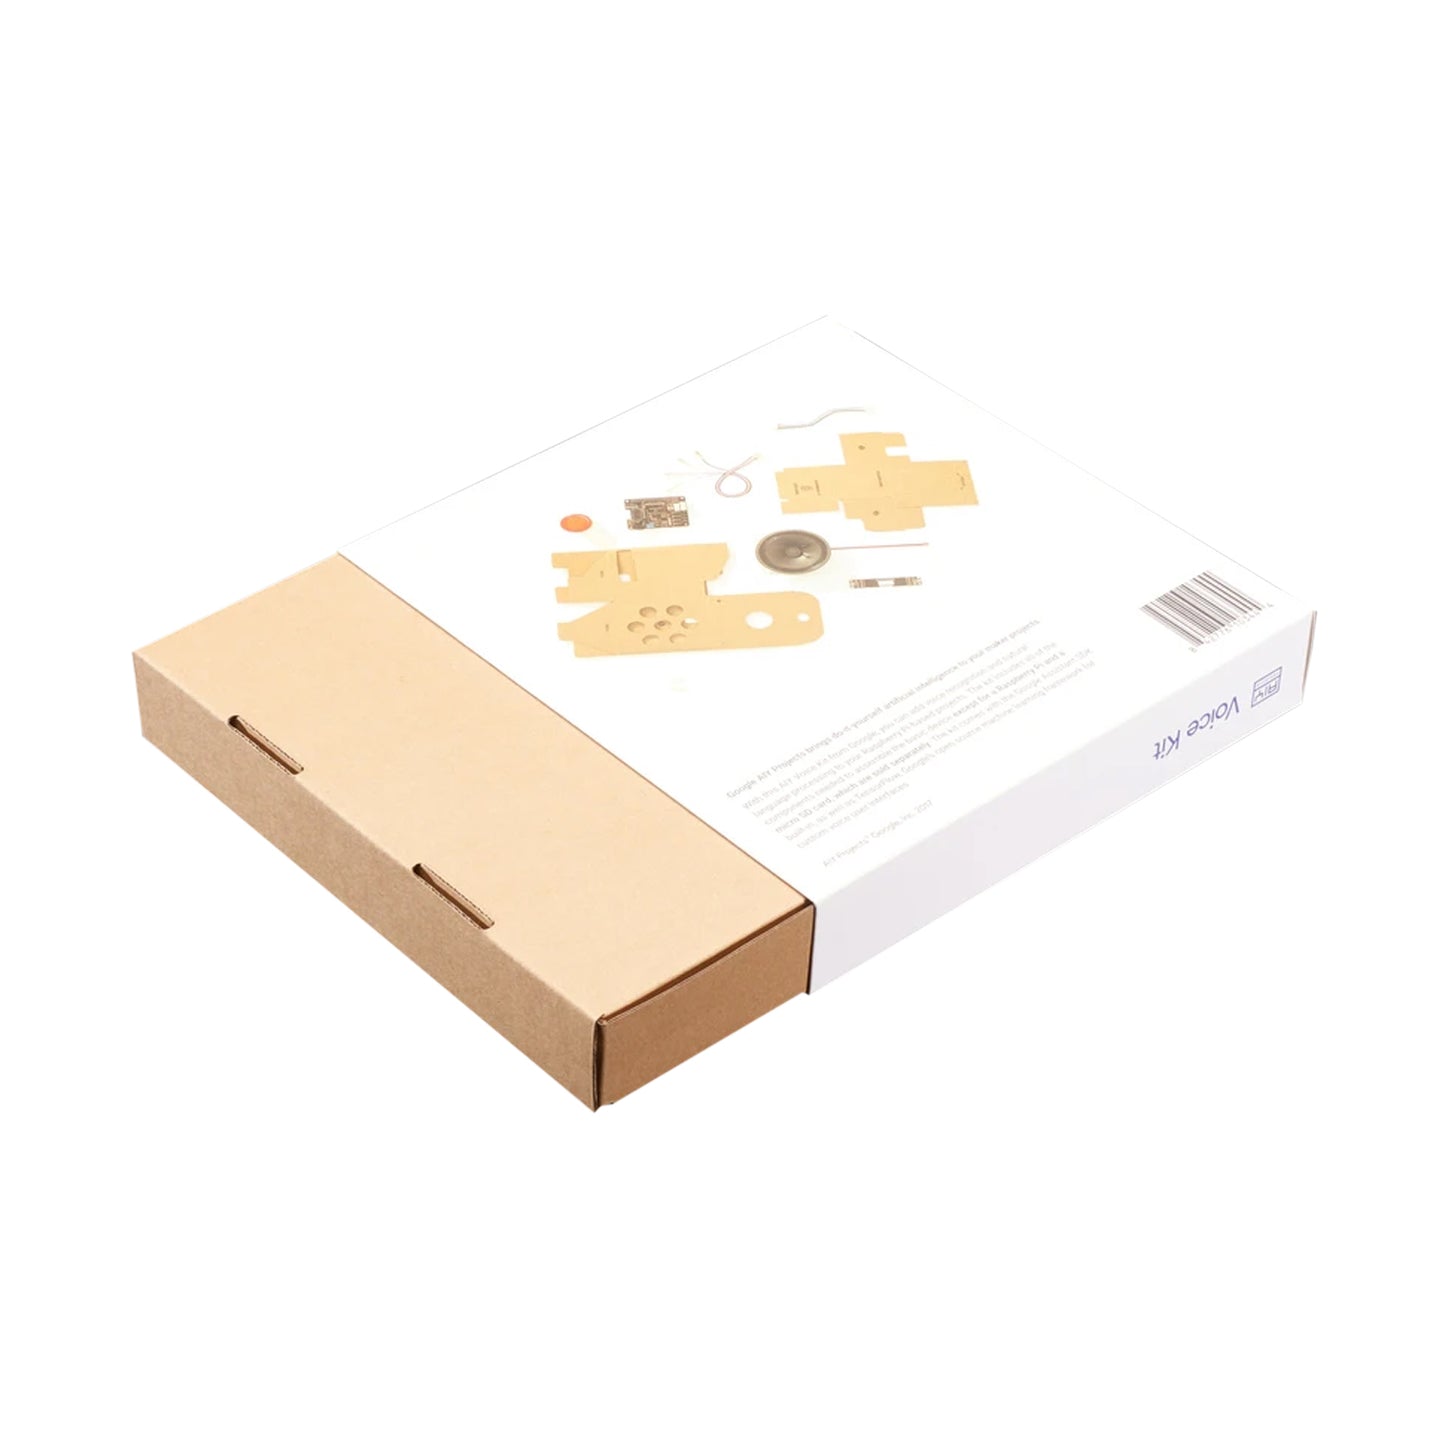
Open the box and verify you have all of the necessary components in your kit. You’ll also need a couple of tools for assembly.

- 1 x Voice HAT Accessory Board
- 1 x Voice HAT microphone board
- 2 x Plastic standoffs
- 1 x 3” speaker (wires attached)
- 1 x Arcade-style push button
- 1 x 4-wire button cable
- 1 x 5-wire daughter board cable
- 1 x External cardboard box
- 1 x Internal cardboard frame
How to Assemble:
1) Hardware-
- Find your Raspberry Pi 3 and the two plastic standoffs that came with your kit. Insert the standoffs into the two yellow holes opposite the 40-pin box header on your Raspberry Pi 3. They should snap into place.

- Take your Voice HAT accessory board and attach it to the Raspberry Pi 3 box header. Gently press down to make sure the pins are secure. On the other side, press down to snap the spacers into place.

- Find the speaker with the red and black wires attached. Insert the speaker’s red wire end into the “+” terminal on the Voice HAT blue screw connector. Do the same for the black wire end into the “-” terminal. At this point, they should be sitting there unsecured.

- Now screw the wires in place with a Phillips “00” screwdriver. Gently tug on the wires to make sure they’re secure.

- Find the 4-wire button cable: it has a white plug on one end and four separate wires with metal contacts on the other.Insert the plug into the white connector labeled “Button” on the Voice HAT board.

- Find the Voice HAT Microphone board and the 5-wire daughter board cable from your kit (pictured)Insert the 5-wire plug into the Microphone board.

- Plug the Microphone board into the Voice Hat board using the white connector labelled “Mic.”

2) Build the box-
- Now let’s build the box. Find the larger cardboard piece with a bunch of holes on one side (pictured). Fold along the creases, then find the side with four flaps and fold the one marked FOLD

- Do the same for the other folds, tucking FOLD 4 underneath to secure it in place. Easy! Now set it aside.

3)Build the frame-
- Find the other cardboard piece that came with your kit (pictured). This will build the inner frame to hold the hardware. Fold the flaps labelled 1 and 2 along the creases.

- The flap above the 1 and 2 folds has a U-shaped cutout. Push it out.

- Then fold the rest of the flap outward.Fold the section labeled FOLD UP so that it’s flush with the surface you’re working on. There’s a little notch that folds behind the U-shaped flap to keep it in place.

- The U-shaped flap should lay flush with the box side.At this point, the cardboard might not hold its shape. Don’t worry: it’ll come together once it’s in the box.

- Find your speaker (which is now attached to your Raspberry Pi 3).Slide the speaker into the U-shaped pocket on the cardboard frame.

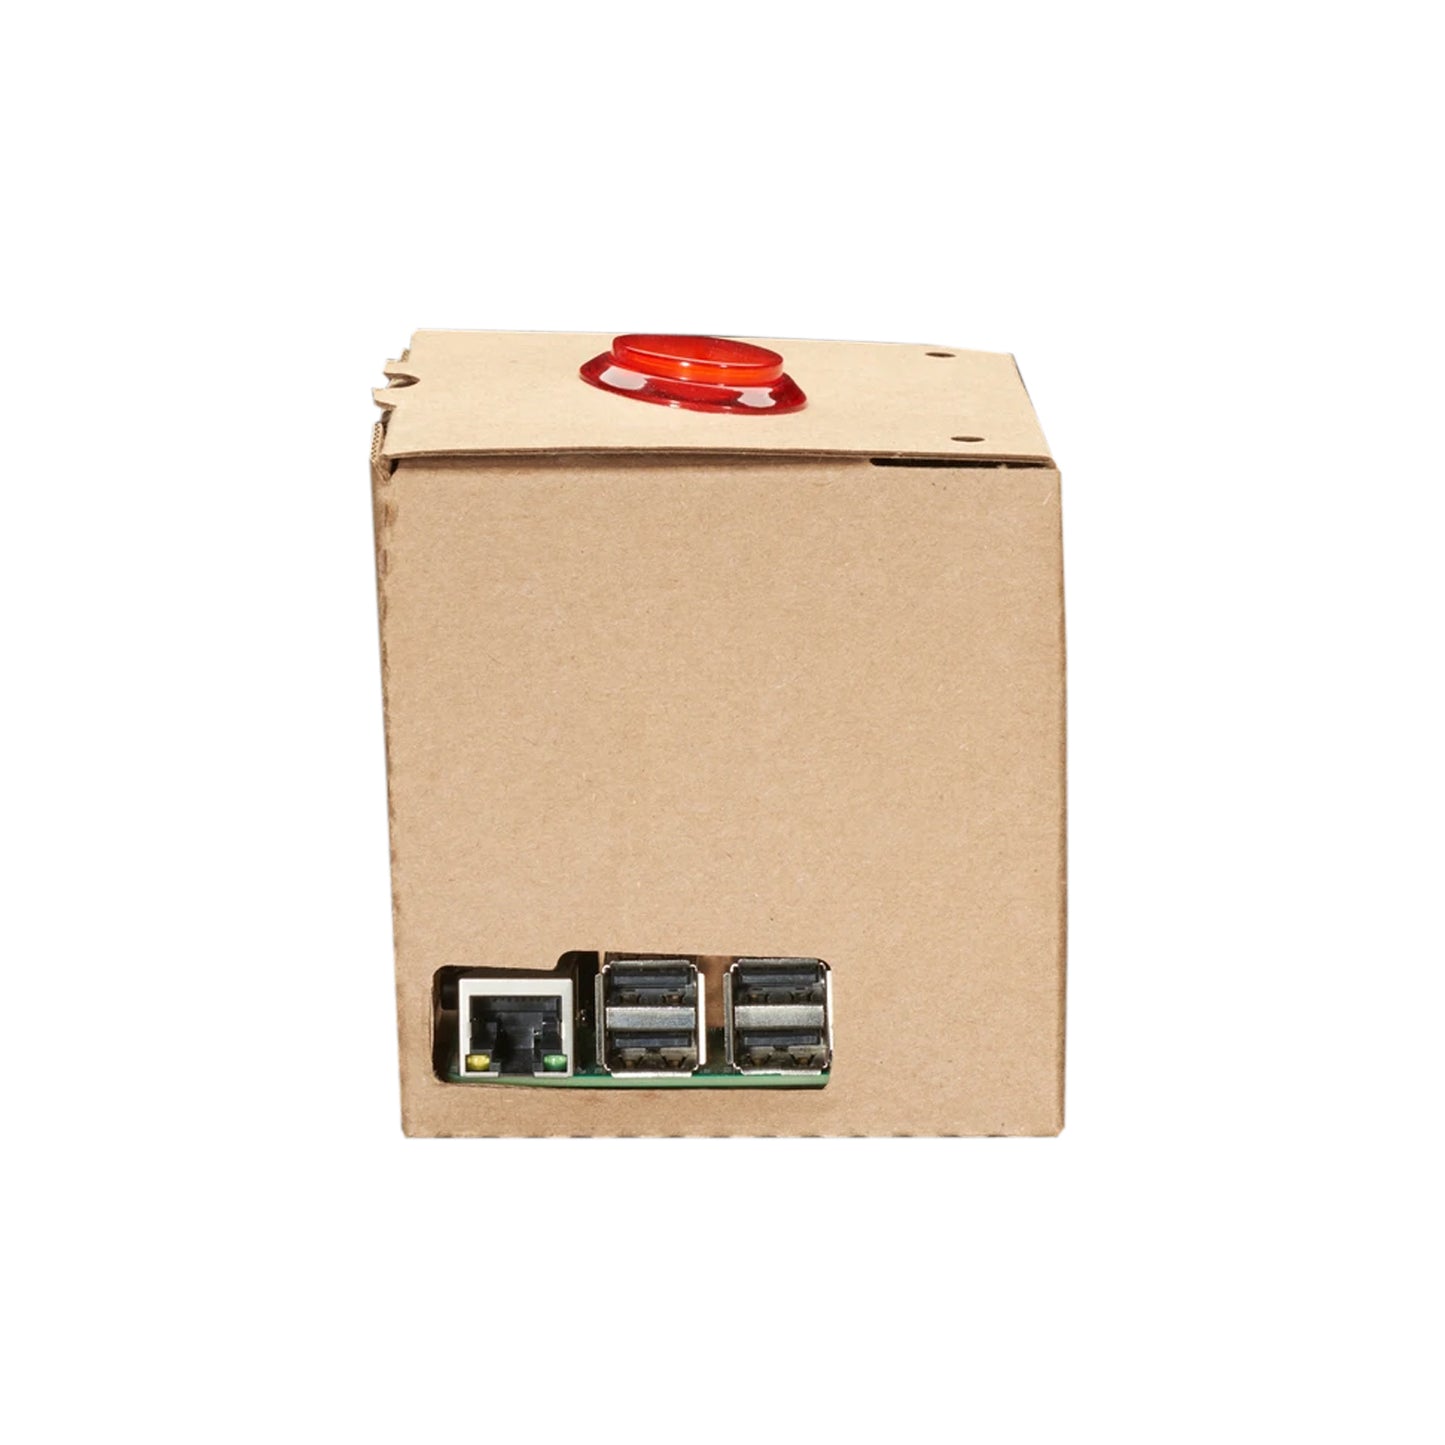
- Turn the cardboard frame around.Take the Pi + Voice HAT hardware and slide the it into the bottom of the frame below flaps 1 + 2 (pictured).The USB ports on the Pi should be exposed from the cardboard frame.

3) Put it all together-
Caution: If your SD card is already inserted into the Pi, remove the SD card before sliding the hardware into the cardboard or it may break.
- Let’s put it all together! Take the cardboard box you assembled earlier and find the side with the seven-speaker holes. Slide the cardboard frame + hardware into the cardboard box, making sure that the speaker is aligned with the box side with the speaker holes.

- Once it’s in, the Pi should be sitting on the bottom of the box. Make sure your wires are still connected.

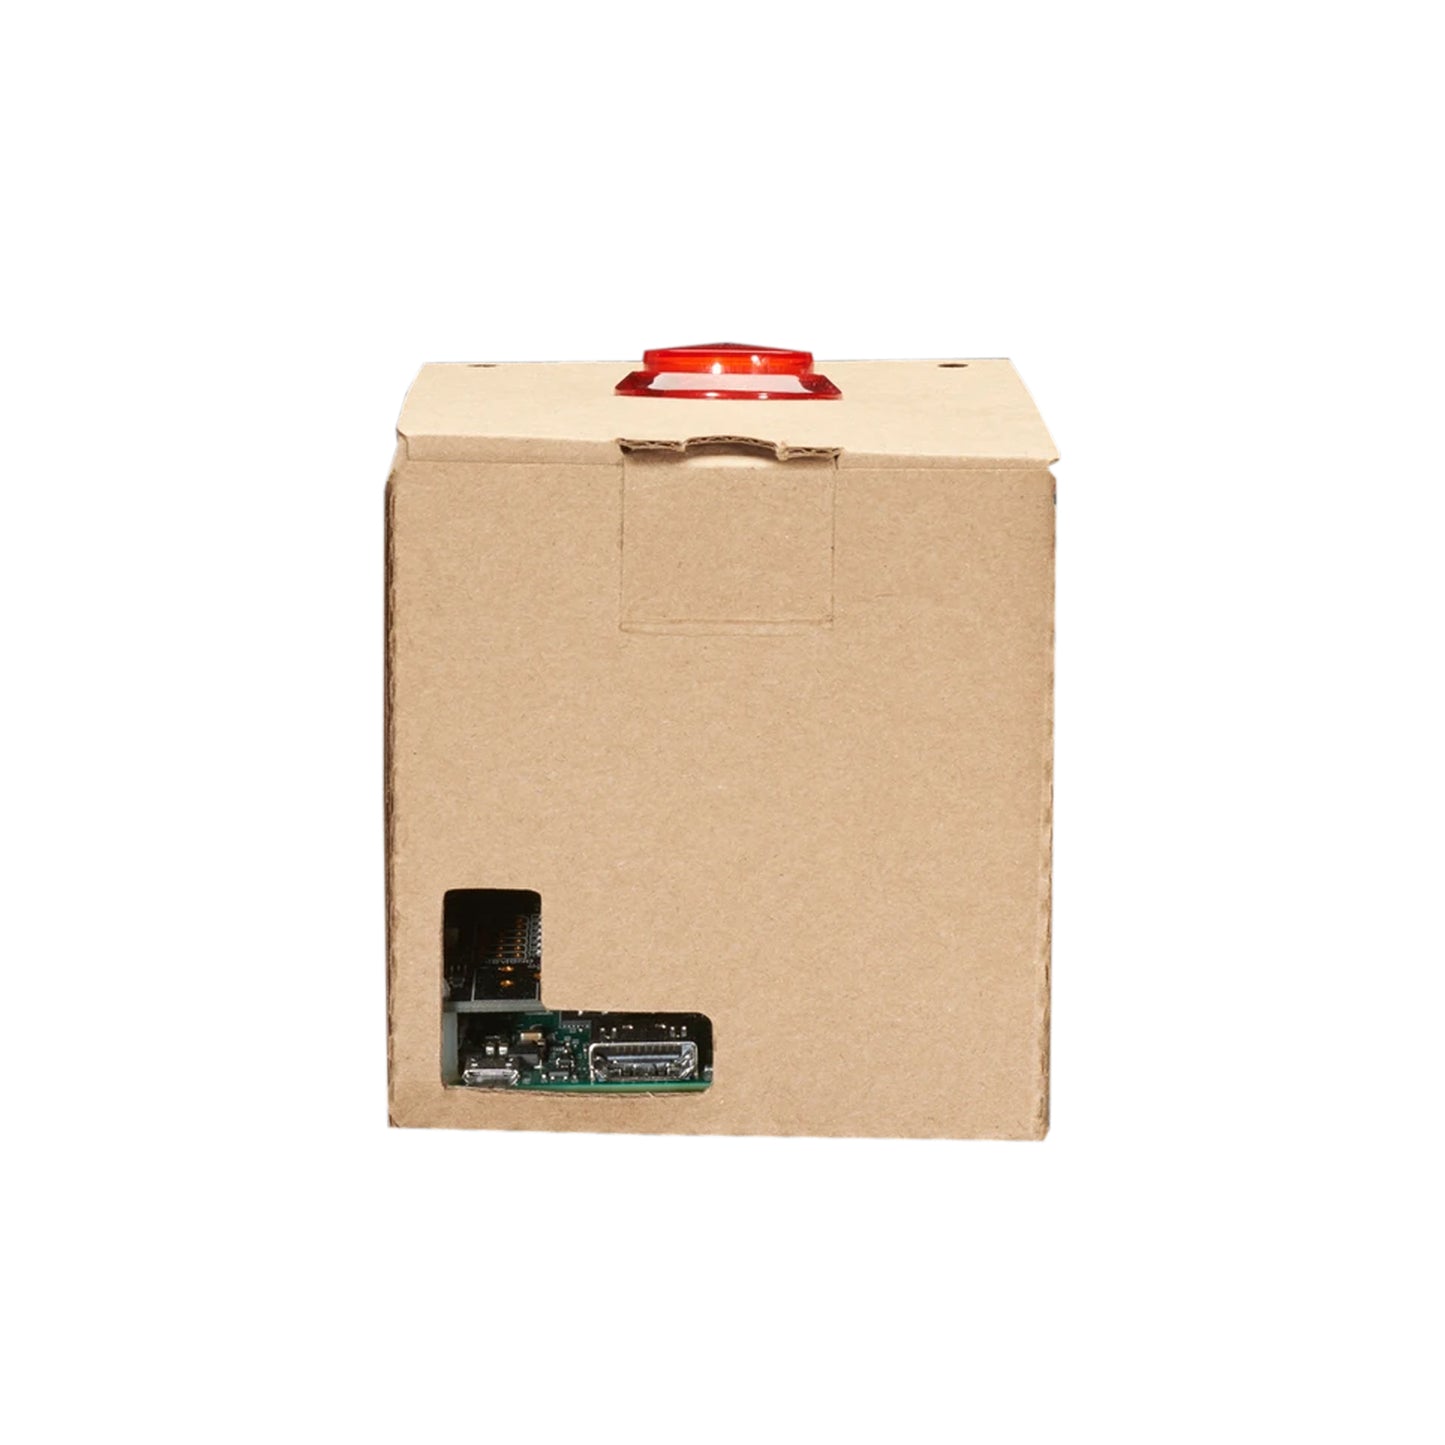
- Check that your ports are aligned with the cardboard box holes.

- Find your arcade button and set it into the top of your cardboard box.

- On the other side, screw on the washer to secure the button in place.

- Now let’s hook the button up. Find the four coloured wires with metal contacts connected to the Voice HAT board. Connect the wires in the positions indicated by the image. Check the next step for another view. Important: Wire colour position matters! Check the next step to make sure your wires are correctly placed.

- Here’s another view to make sure your wires are correctly connected.Looking at the small crown logo (the base of the crown facing toward you), the wires should be connected at these locations:
- Blue: bottom left
- Red: bottom right
- Black: top right
- White: top left

- The next step is attaching the microphone board to the cardboard. We’re using double-sided tape here, but your standard-issue scotch tape works fine too.

- Line up the microphone board so the mics (the white boxes on the ends) are sitting aligned with the cardboard holes for maximum listening capability.

- Give it a turn and check that your mics are aligned correctly.

- Well done! Time to close it up.

Useful Link:
Package Included:
1 x AIY Voice Kit Google Voice Kit For Raspberry Pi Build Your Own Voice Assistant With DIY Voice Controlled Device: Google Assistant On Raspberry Pi Kit


