 />
/>
Getting Started with Raspberry Pi 5: A Complete Beginner’s Guide
By Shail PathakIntroduction:
Technology is no longer limited to tech experts. Today, anyone with curiosity and a willingness to learn can explore the world of programming, electronics, and robotics. One of the most powerful tools that helps make this possible is the Raspberry Pi — and now, with the Raspberry Pi 5, things just got even better.
This guide will walk you through what Raspberry Pi 5 is, why it’s great for robotics and DIY projects, and how to set it up step-by-step.
What is Raspberry Pi 5?
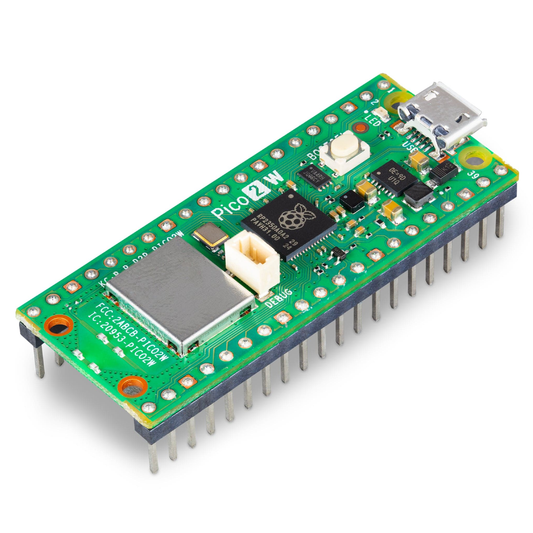
The Raspberry Pi 5 is a small but powerful single-board computer created by the Raspberry Pi Foundation. It's designed to make computing and electronics more accessible to everyone, from students to hobbyists to professionals.

The Raspberry Pi 5 brings significant upgrades compared to previous models:
- Quad-core ARM Cortex-A76 processor
- Faster RAM options (4GB and 8GB)
- Improved GPU and dual 4K display support
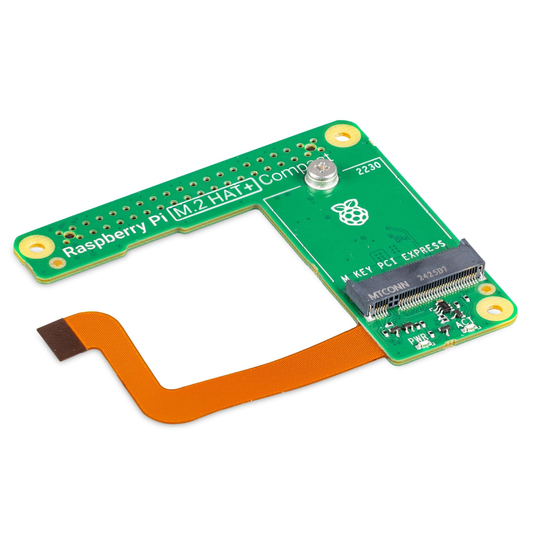
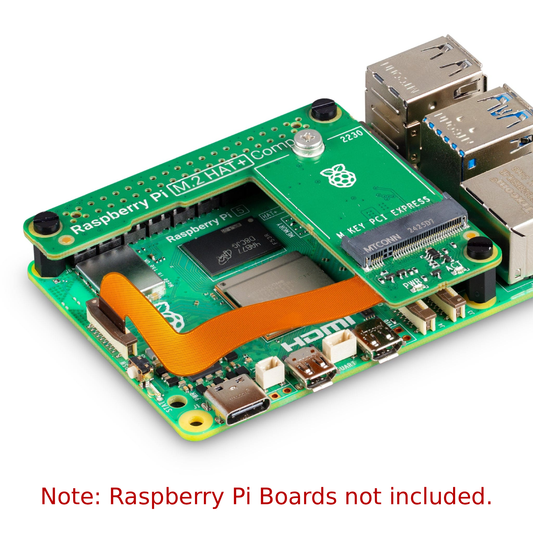
- PCIe 2.0 support
- USB 3.0 and Gigabit Ethernet
- 40 GPIO pins for hardware connections
This makes it an excellent choice for robotics, IoT systems, smart devices, automation, and real-time monitoring projects.
Raspberry Pi 5 GPIO Pinout:
The Raspberry Pi 5 comes with a 40-pin GPIO (General Purpose Input/Output) header. These pins allow you to connect sensors, LEDs, motors, displays, and other electronic components to your Pi. They are essential for robotics and IoT projects.
Key points about the GPIO Pinout:
- Power Pins: The Raspberry Pi 5 has 3.3V and 5V power output pins to supply power to your circuits. Ground (GND) pins are also included.
- GPIO Pins: These pins are used for digital input or output, such as detecting button presses, turning LEDs on/off, etc.
- Communication Pins: There are dedicated pins for communication protocols like I2C, SPI, and UART, which help connect with external devices (such as sensors or microcontrollers).
To understand the pinout and their functions, you can refer to the GPIO pinout diagram below:
GPIO Pin Diagram:

👉 Want to explore each GPIO pin in detail? Visit this interactive GPIO pinout guide to learn more about their functions and connections.
If you’re working with electronics on the Raspberry Pi, understanding the GPIO pinout is crucial — it helps you wire and program your projects correctly.
Why Use Raspberry Pi for Robotics?
- GPIO Pins: Connect sensors, motors, and other hardware directly
- Linux-based OS: Full control for programming and automation
- Compact and affordable: Small size, low power, and budget-friendly
- Strong community: Tons of tutorials, forums, and project ideas
- Supports Python and C++: Perfect for coding robots and systems
- Wireless features: Built-in Wi-Fi and Bluetooth for smart projects
Whether you're creating a robotic arm, an automated car, or a smart sensor system, Raspberry Pi 5 gives you the power and flexibility to build and experiment.
Beginner Projects You Can Try:
Here are some interesting robotics and automation ideas you can start with:
- 🚦 Traffic light simulation
- 🌡️ Temperature and humidity monitoring
- 🕹️ Remote-controlled robot car
- 🧠 Voice-controlled assistant
- 🔐 Smart door lock system
- 📷 Home surveillance system using a camera module
What You Need to Start:
To build your first Raspberry Pi 5 setup, gather the following components:
Basic Setup:
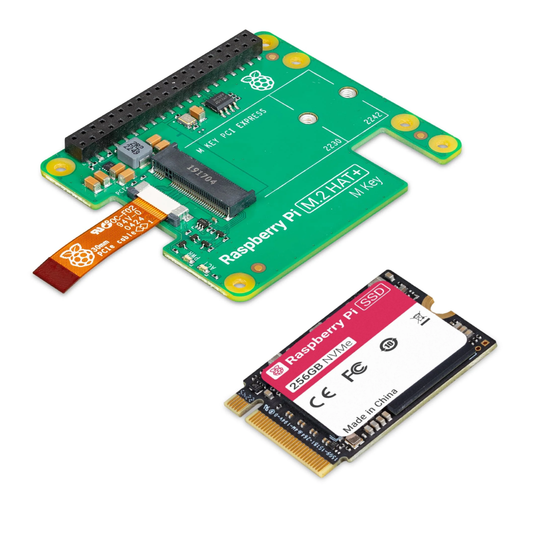
- Raspberry Pi 5 (4GB or 8GB version)
- MicroSD card (Class 10, 16GB or higher)
- Power adapter (5V, 3A USB-C)
- HDMI cable and monitor
- USB keyboard and mouse
- MicroSD card reader
Optional for Robotics Projects:
- Breadboard and jumper wires
- LEDs, resistors, and buttons
- Sensors (Ultrasonic, Humidity, PIR/IR, etc.)
- Motors and motor driver modules
- Camera module (optional)
Installing Raspberry Pi OS (Step-by-Step):
To use Raspberry Pi 5, you need to install an operating system on your microSD card. The official Raspberry Pi OS is the best choice for beginners.
Step 1: Download Raspberry Pi Imager
👉 Go to the official Raspberry Pi site:
https://www.raspberrypi.com/software
Download the Raspberry Pi Imager for your system (Windows, macOS, or Linux).
Step 2: Write OS to MicroSD Card
- Insert the microSD card into your card reader
- Open Raspberry Pi Imager
- Click “Choose OS” → Select “Raspberry Pi OS (32-bit)”
- Click “Choose Storage” → Select your microSD card
- Click “Write” → Wait until it finishes
- Safely eject the card
Booting Up Your Raspberry Pi 5:
- Insert the prepared microSD card into the Raspberry Pi
- Connect the HDMI to your monitor
- Plug in the USB keyboard and mouse
- Power it up using the adapter
- Follow the on-screen instructions to set the language, Wi-Fi, and update the system
Once setup is complete, you're ready to begin programming and building.
Headless Setup (Optional):
Don’t want to use a monitor or keyboard? You can do a headless setup using just your laptop. Enable SSH and add your Wi-Fi info on the SD card before inserting it into the Raspberry Pi. This lets you access the Pi remotely over your network.
Conclusion:
The Raspberry Pi 5 is more than just a computer—it’s a tool for innovation, creativity, and learning. Whether you're into robotics, automation, or just curious about how electronics work, this tiny board can open up endless possibilities.
Start simple. Learn consistently. Build something amazing.