Build a Smart Car Parking System Using Arduino
Nitin ThakkarIntroduction:
With increasing vehicle usage, parking management is a growing challenge. An automated Smart Car Parking System can solve this issue by efficiently monitoring and controlling the availability of parking spaces. In this project, we’ll build a smart parking prototype using an Arduino Uno, IR sensors, a servo motor, and an LCD. The goal is to detect vehicles entering and exiting, count available slots, and display real-time feedback to users.
Required Components:
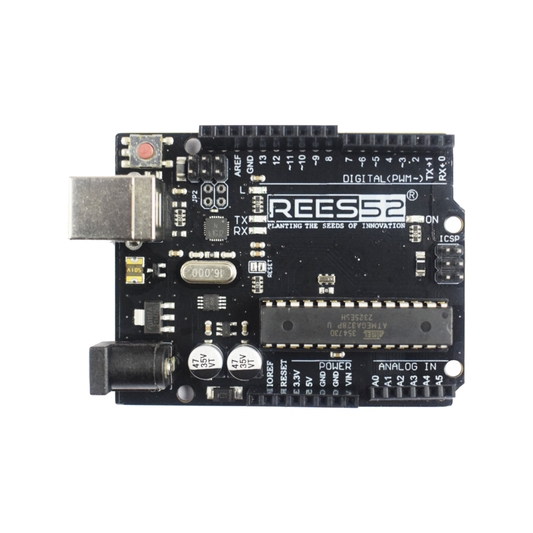
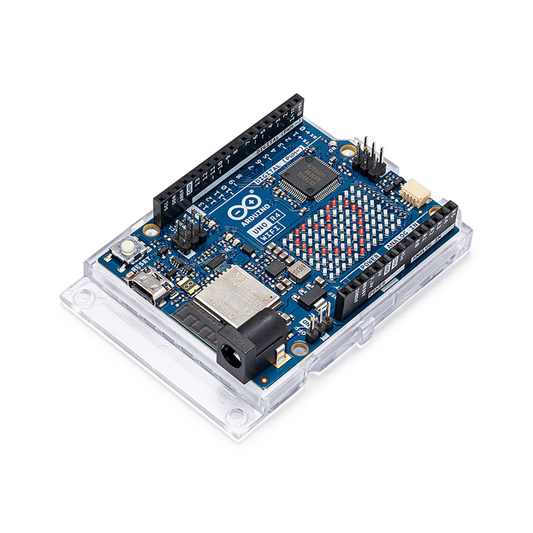
- Arduino Uno
- IR Sensors
- Servo Motor (SG90)
- I2C 16x2 LCD Display
- Breadboard and jumper wires
- USB Cable / External 5v power source
Circuit Connections:
| Component | Arduino Pin | Description |
|---|---|---|
| IR Sensor (Entry) | D2 | Detects a vehicle at the entry point |
| IR Sensor (Exit) | D3 | Detects a vehicle at an exit point |
| Servo Signal | D9 | Controls the gate barrier |
| LCD SDA | A4 | I2C Data Line |
| LCD SCL | A5 | I2C Clock Line |
| LCD VCC | 5V | Power |
| LCD GND | GND | Ground |

How It Works:
- IR Sensors detect when a car enters or exits.
- The Servo Motor (SG90) acts as a gate and opens/closes based on slot availability.
- The slot count is updated and displayed on the LCD.
- The system prevents additional cars when no slots are available.
Arduino Code:
#include <Wire.h>
#include <LiquidCrystal_I2C.h>
#include <Servo.h>
LiquidCrystal_I2C lcd(0x27, 16, 2);
Servo gate;
const int irEntry = 2;
const int irExit = 3;
const int servoPin = 9;
int slotCount = 3;
const int maxSlots = 3;
bool entryFlag = false;
bool exitFlag = false;
void setup() {
pinMode(irEntry, INPUT);
pinMode(irExit, INPUT);
gate.attach(servoPin);
gate.write(0);
lcd.begin();
lcd.backlight();
lcd.setCursor(0, 0);
lcd.print("Smart Parking");
delay(2000);
lcd.clear();
}
void loop() {
lcd.setCursor(0, 0);
lcd.print("Slots Avail: ");
lcd.print(slotCount);
lcd.print(" ");
if (digitalRead(irEntry) == LOW && !entryFlag) {
entryFlag = true;
if (slotCount > 0) {
openGate();
delay(1000);
closeGate();
slotCount--;
lcd.setCursor(0, 1);
lcd.print("Car Entered ");
} else {
lcd.setCursor(0, 1);
lcd.print(" No Slot Left ");
}
}
if (digitalRead(irEntry) == HIGH) entryFlag = false;
if (digitalRead(irExit) == LOW && !exitFlag) {
exitFlag = true;
if (slotCount < maxSlots) {
openGate();
delay(1000);
closeGate();
slotCount++;
lcd.setCursor(0, 1);
lcd.print("Car Exited ");
}
}
if (digitalRead(irExit) == HIGH) exitFlag = false;
}
void openGate() {
for (int pos = 0; pos <= 90; pos++) {
gate.write(pos);
delay(15);
}
}
void closeGate() {
for (int pos = 90; pos >= 0; pos--) {
gate.write(pos);
delay(15);
}
}
LCD Display Output:
Slots Avail: 2
Car Entered
Slots Avail: 3
Car Exited
Slots Avail: 0
Slot Not Avail
Benefits of the System:
- Automated: No human supervision needed.
- Real-time Updates: Accurate slot tracking via LCD.
- Cost-Efficient: Uses budget-friendly components.
- User-Friendly: Clear gate control and display interface.
Future Improvements:
- Integrate with IoT for mobile app control and live updates.
- Add RFID or license plate recognition for logging vehicles.
- Solar power support for outdoor deployments.
- Introduce payment options for monetized parking.
Conclusion:
This Smart Parking System is a great hands-on project for beginners and hobbyists. It introduces automation using sensors, servo motors, and microcontrollers. You’ll gain experience with real-world embedded system applications and problem-solving through hardware-software integration.