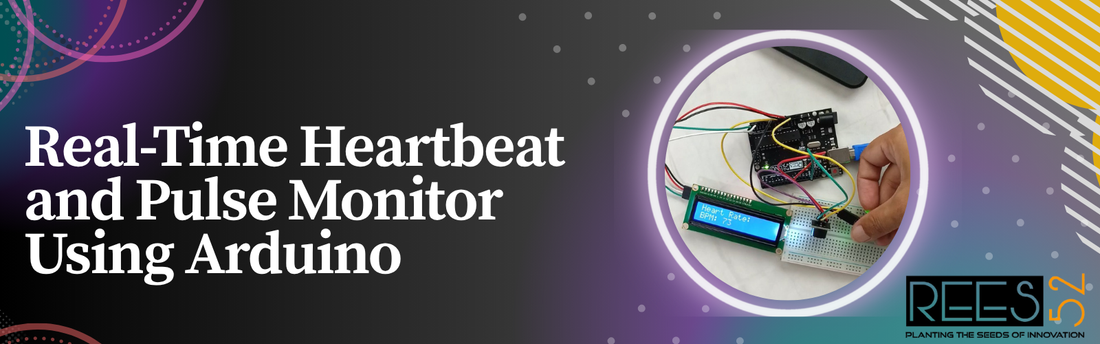
Real-Time Heartbeat and Pulse Monitor Using Arduino
Nitin ThakkarMonitoring vital signs like heart rate has become increasingly important in both personal and medical technology. In this project, we will build a real-time heartbeat and pulse monitor using an Arduino Uno, a pulse sensor, an I2C LCD, and an optional Buzzer. This system will display the heart rate in beats per minute (BPM) on the LCD and provide auditory feedback for each detected heartbeat.
This project is ideal for students, makers, or anyone interested in health monitoring, embedded systems, or IoT prototyping.
Project Overview:
This system uses a pulse sensor to detect changes in blood volume with each heartbeat. The Arduino reads the analogue signals from the sensor, processes them to calculate the heart rate (BPM), and then displays the result on a 16x2 I2C LCD screen. A buzzer gives optional sound feedback when a heartbeat is detected.
Components Required:
Circuit Connections:
Pulse Sensor:
| Pulse Sensor Pin | Arduino Pin |
|---|---|
| VCC | 5V |
| GND | GND |
| Signal | A0 |
I2C LCD:
| LCD Pin | Arduino Uno Pin |
|---|---|
| VCC | 5V |
| GND | GND |
| SDA | A4 |
| SCL | A5 |
Buzzer (Optional):
| Buzzer Pin | Arduino Uno Pin |
|---|---|
| VCC (Power +) | 5V |
| GND (Ground -) | GND |
| Signal (Control) | D9 |

Required Libraries:
To run the code, install the following libraries using the Arduino Library Manager:
1. PulseSensor Playground:
- Purpose: Used for reading and processing pulse sensor data.
- Installation Steps:
- Open Arduino IDE.
- Go to Sketch → Include Library → Manage Libraries.
- In the Library Manager, search: PulseSensor Playground
- Click Install.
- Or download manually from GitHub – PulseSensor Playground
2. LiquidCrystal I2C:
- Purpose: Used to control the 16x2 I2C LCD.
- Installation Steps:
- Open Arduino IDE.
- Go to Sketch → Include Library → Manage Libraries.
- In the Library Manager, search: LiquidCrystal I2C
- Choose a version by Frank de Brabander or Marco Schwartz and click Install.
- Or download manually from GitHub – LiquidCrystal I2C
Arduino Code:
-
#include <Wire.h>
#include <LiquidCrystal_I2C.h>
#include <PulseSensorPlayground.h>
#define PULSE_INPUT A0
#define BUZZER_PIN 9
#define THRESHOLD 550
LiquidCrystal_I2C lcd(0x27, 16, 2);
PulseSensorPlayground pulseSensor;
const int numReadings = 10;
int readings[numReadings];
int readIndex = 0;
int total = 0;
int averageBPM = 0;
void setup() {
Serial.begin(9600);
lcd.begin();
lcd.backlight();
pinMode(BUZZER_PIN, OUTPUT);
for (int i = 0; i < numReadings; i++) readings[i] = 0;
pulseSensor.analogInput(PULSE_INPUT);
pulseSensor.setThreshold(THRESHOLD);
if (pulseSensor.begin()) {
lcd.setCursor(0, 0);
lcd.print("Sensor Ready :)");
delay(1500);
lcd.clear();
} else {
lcd.setCursor(0, 0);
lcd.print("Sensor Error :(");
while (1);
}
}
void loop() {
int bpm = pulseSensor.getBeatsPerMinute();
if (pulseSensor.sawStartOfBeat()) {
total = total - readings[readIndex];
readings[readIndex] = bpm;
total = total + readings[readIndex];
readIndex = (readIndex + 1) % numReadings;
averageBPM = total / numReadings;
lcd.setCursor(0, 0);
lcd.print("Heart Rate:");
lcd.setCursor(0, 1);
lcd.print("BPM: ");
lcd.print(averageBPM);
lcd.print(" ");
digitalWrite(BUZZER_PIN, HIGH);
delay(50);
digitalWrite(BUZZER_PIN, LOW);
Serial.print("BPM: ");
Serial.println(averageBPM);
}
delay(20);
}
How It Works:
- The pulse sensor detects heartbeat pulses using changes in light transmission through the fingertip.
- The Arduino reads these analog signals via pin A0.
- The The
PulseSensorPlaygroundlibrary processes the signal to detect beats and calculate BPM. - The system averages the last 10 readings to provide stable output.
- The LCD displays the BPM in real-time.
- A buzzer beeps each time a beat is detected (optional).
Applications:
- Health monitoring systems
- Smart fitness devices
- Biomedical and wearable tech projects
- Educational and prototyping tools
Troubleshooting Tips:
- If your LCD doesn’t display anything, check the I2C address (commonly
0x27or0x3F). Use an I2C scanner sketch to verify. - Ensure that the sensor is securely placed on your fingertip and avoid hand movement for best results.
- If the BPM is unstable, try adjusting the threshold value or applying a small filter window in the code.
Conclusion:
This project shows how you can create a real-time pulse monitoring system using just a few components and Arduino. With this foundation, you can extend the system to include features like Bluetooth transmission, data logging, mobile display, or OLED screen support. It’s a great starting point for anyone interested in wearable health technology or IoT-based medical devices.