Getting Started with Arduino – A Beginner’s Guide
Nitin ThakkarIntroduction:
Arduino is a powerful yet beginner-friendly microcontroller platform used to build electronic projects and smart devices. Whether you're a student, hobbyist, or an aspiring engineer, Arduino helps you turn ideas into reality with simple coding and hardware.
What is Arduino?
Arduino is an open-source electronics platform based on easy-to-use hardware and software. It consists of a microcontroller board (like Arduino Uno) and an Integrated Development Environment (IDE) where you write and upload code.

Why Choose Arduino for Robotics and DIY Projects?
Arduino is one of the most popular platforms for learning electronics and programming because:
- It’s affordable and widely available.
- No deep programming knowledge required.
- Tons of tutorials and community support.
- Works with hundreds of sensors and modules.
- Great for automation, IoT, robotics, and more!
Popular Arduino Boards Overview:
Here are some of the most commonly used Arduino boards:
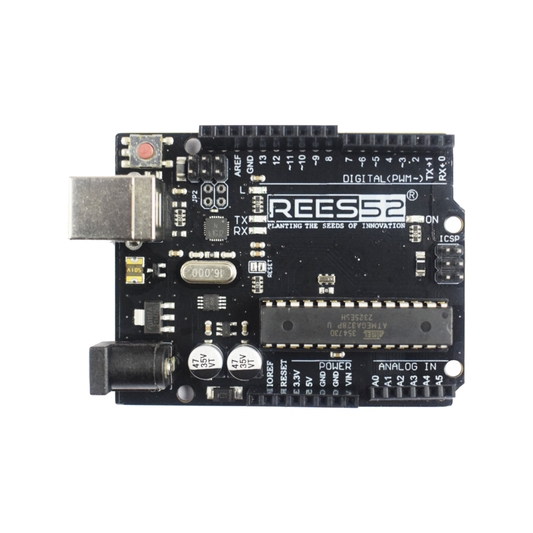
- Arduino Uno – Most popular and beginner-friendly.
- Arduino Mega 2560 – More pins and memory for complex projects.
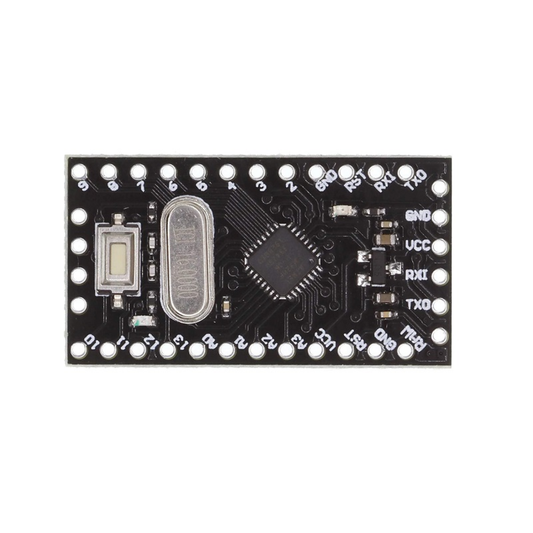
- Arduino Nano – Small-sized, good for compact projects.
- Arduino Leonardo – Can act as a keyboard or mouse.
Arduino Pinout Explained:
Each Arduino board has:
- Digital Pins – For input/output (buttons, LEDs, etc.).
- Analog Pins – For reading analog sensors.
- Power Pins – 5V, 3.3V, GND.
- Communication Pins – I2C, SPI, UART for connecting other devices.
Arduino Uno Pinout Diagram:
Here’s a quick view of the Arduino Uno pinout (you can add an image here):
- Digital Pins (0–13)
- Analog Pins (A0–A5)
- PWM Pins (~3, ~5, ~6, ~9, ~10, ~11)
- Power Pins (Vin, 5V, 3.3V, GND)

Why Use Arduino for Robotics?
Robotics needs control, sensing, and decision-making. Arduino offers all that in a compact form. You can:
- Control motors using motor drivers.
- Read sensors like ultrasonic or IR.
- Communicate via Bluetooth/Wi-Fi.
- Automate decision-making using code.
Beginner Projects You Can Try:
Here are some easy and fun projects to begin with:
- 🚦 Traffic Light System using LEDs
- 🌡️ Temperature Monitor using DHT11 Sensor
- 🕹️ Bluetooth Controlled Car using HC-05
- 🔔 Motion Detector Alarm using PIR Sensor
- 🔐 Keypad-based Door Lock System using 4x4 Keypad
- 📷 Obstacle Avoidance Robot using Ultrasonic Sensor
What You Need to Start with Arduino:
To get started, you’ll need:
- Arduino Uno
- USB cable
- Breadboard
- Jumper wires
- LEDs
- Resistors
- Sensors (like DHT11, IR, Ultrasonic)
- Motor Driver (like L298N) if making a robot
- Power supply Battery
Installing the Arduino IDE (Step-by-Step):
- Go to: https://www.arduino.cc/en/software
- Download and install Arduino IDE for your OS.
- Open the IDE, and connect your board via USB.
- Select your board: Tools → Board → Arduino Uno
- Select port: Tools → Port → COMX
- You’re ready to code!
Uploading Your First Program (Blink Example):
- Open Arduino IDE.
- Go to File → Examples → 01.Basics → Blink
- Click the Upload button (Right Arrow icon).
- The onboard LED (pin 13) will start blinking!
🎉 Congratulations! You've just uploaded your first Arduino program.
Using Arduino Without a Computer (Optional):
You can power your Arduino using:
- 9V battery via barrel jack
- External 5V via Vin/GND pins
- USB power bank
Once your code is uploaded, Arduino can run independently.
Conclusion:
Arduino is the perfect start for anyone looking to learn electronics, coding, and robotics. With just a few components and practice, you can build amazing projects. Start small, stay consistent, and soon you’ll be creating real-world solutions!