 />
/>
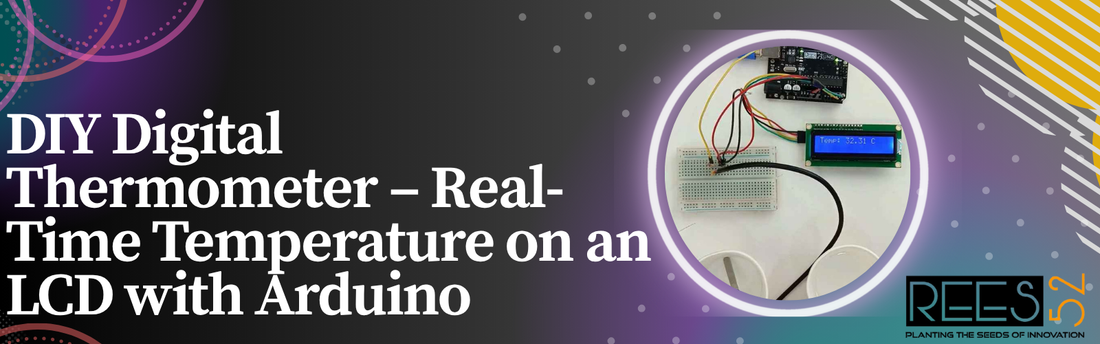
DIY Digital Thermometer – Real-Time Temperature on an LCD with Arduino
By Shail PathakProject Overview:
This project walks you through creating a real-time digital thermometer using:
You'll learn how to read temperature data, display it live on an LCD, and use popular Arduino libraries to simplify coding and interfacing. It's simple, efficient, and full of learning.
What You'll Learn:
- How to interface the DS18B20 digital sensor with Arduino
- How to use an I2C LCD to display real-time data
- How to use libraries like OneWire, DallasTemperature, and LiquidCrystal_I2C
- Basics of I2C communication, data reading, and live display updates
Components Required:
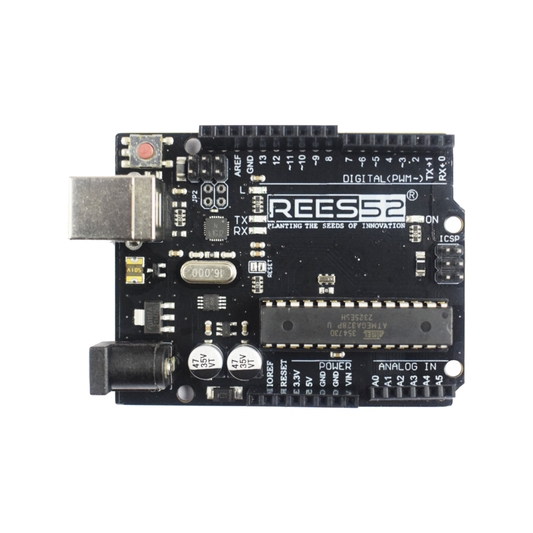
- Arduino Uno
- LM35 Temperature Sensor
- 16x2 LCD Display with I2C Module
- Breadboard
- Jumper Wires
- USB Cable for Arduino
Circuit Connections:
| Component | Pin | Arduino Pin |
|---|---|---|
| LM35 | VCC | 5V |
| LM35 | GND | GND |
| LM35 | OUT | A0 |
| LCD I2C | VCC | 5V |
| LCD I2C | GND | GND |
| LCD I2C | SDA | A4 |
| LCD I2C | SCL | A5 |

Required Libraries:
Install the following libraries from the Arduino Library Manager or via GitHub:
- OneWire
Link: OneWire Library - DallasTemperature
Link: DallasTemperature Library - LiquidCrystal_I2C
Link: LiquidC
Arduino Code:
#include <DallasTemperature.h>
#include <Wire.h>
#include <LiquidCrystal_I2C.h>
#define ONE_WIRE_BUS 8
OneWire oneWire(ONE_WIRE_BUS);
DallasTemperature sensors(&oneWire);
LiquidCrystal_I2C lcd(0x27, 16, 2);
void setup()() {
Serial.begin(9600);
sensors.begin();
lcd.begin();
lcd.backlight();
lcd.setCursor(0, 0);
lcd.print("Reading Temp...");
}
void loop()() {
sensors.requestTemperatures();
float tempC = sensors.getTempCByIndex(0);
Serial.print("Temp: ");
Serial.print(tempC);
Serial.println(" C");
lcd.clear();
lcd.setCursor(0, 0);
lcd.print("Temp:");
lcd.setCursor(6, 0);
lcd.print(tempC);
lcd.print(" C");
delay(2000);
}
Future Scope & Upgrades:
This simple thermometer can be expanded in many ways:
- Add Fahrenheit Display: Include a push button to switch between Celsius and Fahrenheit.
- Multi-Zone Monitoring: Connect multiple DS18B20 sensors to monitor different rooms or locations.
- IoT Integration: Use ESP8266 / ESP32 to upload temperature data to platforms like Blynk, ThingSpeak, or Firebase for remote monitoring.
- Data Logging: Add an SD card module to record temperature data over time.
- Advanced Display: Upgrade to a TFT or OLED display to show graphs, icons, or time-based plots.
- Smart Automation: Trigger fans, alarms, or relays based on temperature thresholds for smart control.
Real-World Benefits:
Great Learning Tool:
- Understand how sensors, data buses, and displays work
- Practice code structure, libraries, and debugging
Practical Applications:
- Monitor room, fridge, or incubator temperatures
- Build a mini weather station
- Add it to home automation systems
Expandable for Real Projects:
- Foundation for IoT and smart systems
- The step towards environmental data logging
- Perfect project for school exhibitions or maker fairs
Final Thought:
This project may seem small, but it's packed with learning. It's not just about measuring temperature — it's about understanding how sensors and systems communicate in real-time.
You've built a real-time digital thermometer, and now you're ready to take it to the next level. Whether you're a student, hobbyist, or future engineer, this project opens doors to endless possibilities.