 />
/>
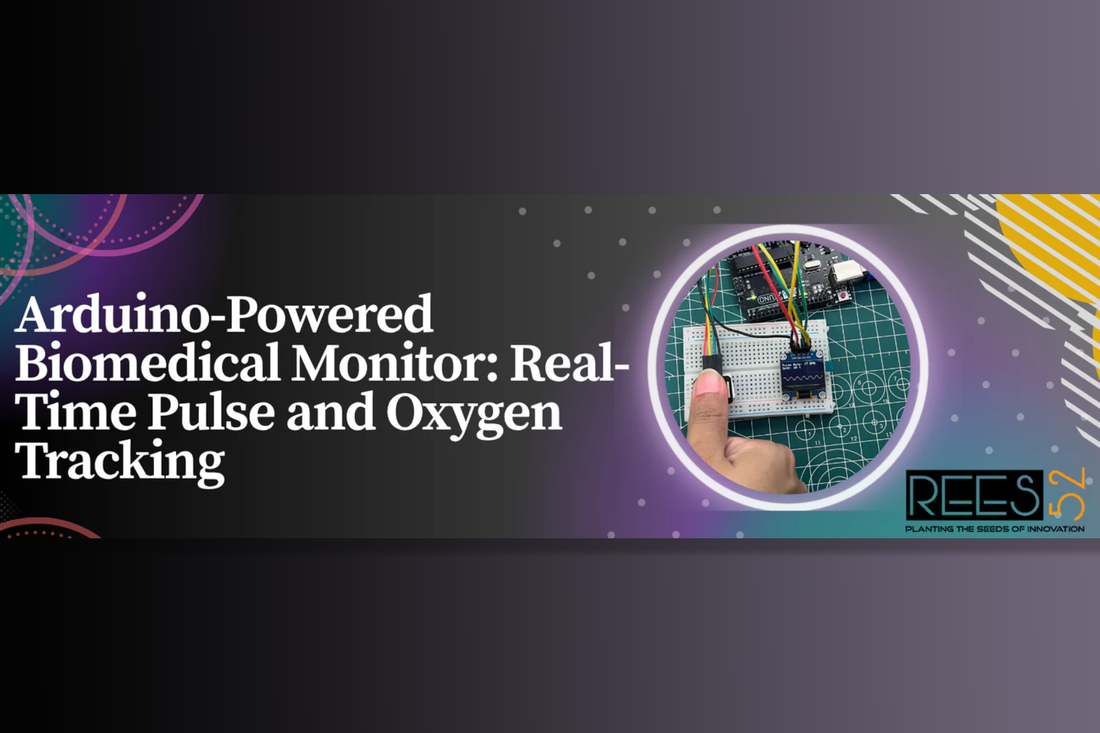
Arduino-Powered Biomedical Monitor: Real-Time Pulse and Oxygen Tracking
By Shail PathakProject Overview:
The Arduino-Powered Biomedical Monitor is a compact and cost-effective health monitoring device that measures a user's heart rate (BPM) and oxygen saturation (SpO₂) using the MAX30102 pulse oximeter sensor. The results are shown live on a 16x2 I2C LCD screen, making it suitable for both educational and medical prototype applications.
Components Required:
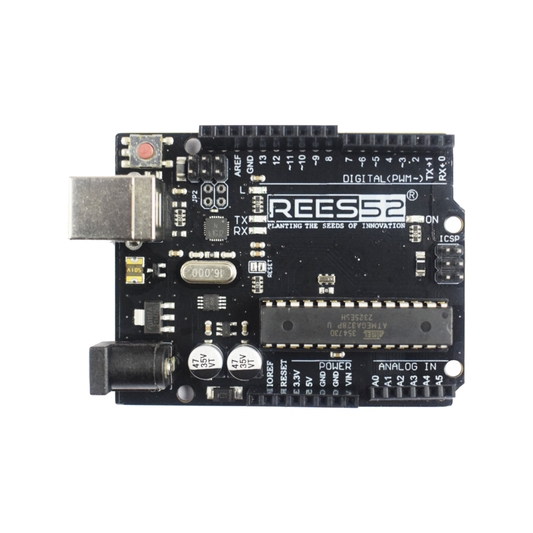
- Arduino Uno
- MQ-3 Alcohol Sensor
- 16x2 LCD Display (I2C Interface)
- Buzzer
- Breadboard
- Jumper Wires
- USB Cable
Circuit Connections:
| Component | Pin | Arduino Uno |
|---|---|---|
| MAX30102 | VIN | 3.3V |
| MAX30102 | GND | GND |
| MAX30102 | SDA | A4 |
| MAX30102 | SCL | A5 |
| OLED | VCC | 5V |
| OLED | GND | GND |
| OLED | SDA | A4 |
| OLED | SCL | A5 |

Arduino Code:
// Include required libraries

#include <Wire.h>

#include <Adafruit_GFX.h>

#include <Adafruit_SSD1306.h>

#include "MAX30105.h"

#include <math.h>


// OLED Display Setup

#define SCREEN_WIDTH 128

#define SCREEN_HEIGHT 64

#define OLED_RESET -1

#define OLED_ADDRESS 0x3C


Adafruit_SSD1306 display(SCREEN_WIDTH, SCREEN_HEIGHT, &Wire, OLED_RESET);

MAX30105 particleSensor;


int heartRate = 60;

int oxygenLevel = 95;

bool fingerDetected = false;

bool stableReached = false;

int wavePosition = 0;


void initializeDisplay() {

  if (!display.begin(SSD1306_SWITCHCAPVCC, OLED_ADDRESS)) {

    Serial.println("OLED initialization failed!");

    while (true);

  }

  display.clearDisplay();

  display.setTextSize(1);

  display.setTextColor(SSD1306_WHITE);

  display.setCursor(20, 25);

  display.println("Initializing...");

  display.display();

  delay(2000);

}


void initializeSensor() {

  if (!particleSensor.begin(Wire, I2C_SPEED_STANDARD)) {

    Serial.println("MAX30102 not found");

    display.clearDisplay();

    display.setCursor(10, 30);

    display.setTextSize(1);

    display.println("Sensor Error!");

    display.display();

    while (1);

  }


  particleSensor.setup();

  particleSensor.setPulseAmplitudeRed(0xFF);

  particleSensor.setPulseAmplitudeIR(0xFF);

}


void displayMessage(const char* msg) {

  display.clearDisplay();

  display.setTextSize(1);

  display.setCursor(25, 25);

  display.println(msg);

  display.display();

}


void simulateVitals() {

  if (!stableReached) {

    if (heartRate < 77) heartRate++;

    if (oxygenLevel < 98) oxygenLevel++;

    if (heartRate >= 77 && oxygenLevel >= 98) {

      stableReached = true;

    }

  }

}


void displayVitalsWithWave() {

  display.clearDisplay();

  display.setTextSize(1);

  display.setCursor(0, 0);

  display.print("Pulse Rate: ");

  display.print(heartRate);

  display.print(" BPM");


  display.setCursor(0, 10);

  display.print("SpO2: ");

  display.print(oxygenLevel);

  display.print(" %");


  // Simulated waveform

  for (int x = 0; x < SCREEN_WIDTH; x++) {

    int y = (sin((x + wavePosition) * 0.3) * 5) + 48;

    display.drawPixel(x, y, SSD1306_WHITE);

  }

  wavePosition++;

  if (wavePosition > SCREEN_WIDTH) wavePosition = 0;


  display.display();

}


void setup() {

  Wire.begin();

  Serial.begin(115200);

  initializeDisplay();

  initializeSensor();

}


void loop() {

  long irValue = particleSensor.getIR();


  Serial.print("IR: ");

  Serial.println(irValue);


  if (irValue < 50000) {

    displayMessage("Place your finger");

    fingerDetected = false;

    stableReached = false;

    heartRate = 65;

    oxygenLevel = 88;

    delay(1000);

    return;

  } else {

    fingerDetected = true;

  }


  if (fingerDetected) {

    simulateVitals();

    displayVitalsWithWave();

  }

}
Notes:
- Make sure the MAX30102 is powered with 3.3V (not 5V).
- SpO₂ is marked N/A unless full algorithm implementation is used.
- You can use libraries like oxullo/Arduino-MAX30100 for better accuracy.
Working:
The MAX30102 sensor works on the principle of photoplethysmography (PPG), where it emits infrared light and measures the amount of light absorbed by the blood flowing in the finger. Based on the light intensity variations caused by heartbeat pulses, the Arduino calculates the heart rate.
The sensor also attempts to estimate oxygen saturation (SpO₂) using red and IR light absorption. These values are captured in real-time and sent to the Arduino, which processes the data and updates the LCD display every second.
If no finger is detected, the LCD prompts the user to "Place finger...". Once a finger is placed, the device immediately starts displaying BPM (and optionally SpO₂).
Future Scope:
This project can be further enhanced by integrating:
- Wireless data transmission (using Bluetooth or Wi-Fi modules)
- Real-time data logging to cloud platforms (like ThingSpeak or Firebase)
- Battery power and an enclosure to make it portable
- Full SpO₂ algorithm implementation for more accurate oxygen readings
- Integration into wearable health monitoring systems
Conclusion:
This Arduino-based biomedical monitor provides a solid foundation for DIY health monitoring systems. It demonstrates the power of embedded systems in healthcare by measuring vital signs affordably and effectively. While basic in its current form, it has massive potential for scaling into advanced medical devices.
Output:
Once powered on, the LCD prompts the user to place a finger on the sensor. Upon finger detection, the LCD displays the real-time heart rate (BPM). You can showcase this functionality in a live demonstration or recorded video to visualize its performance.