


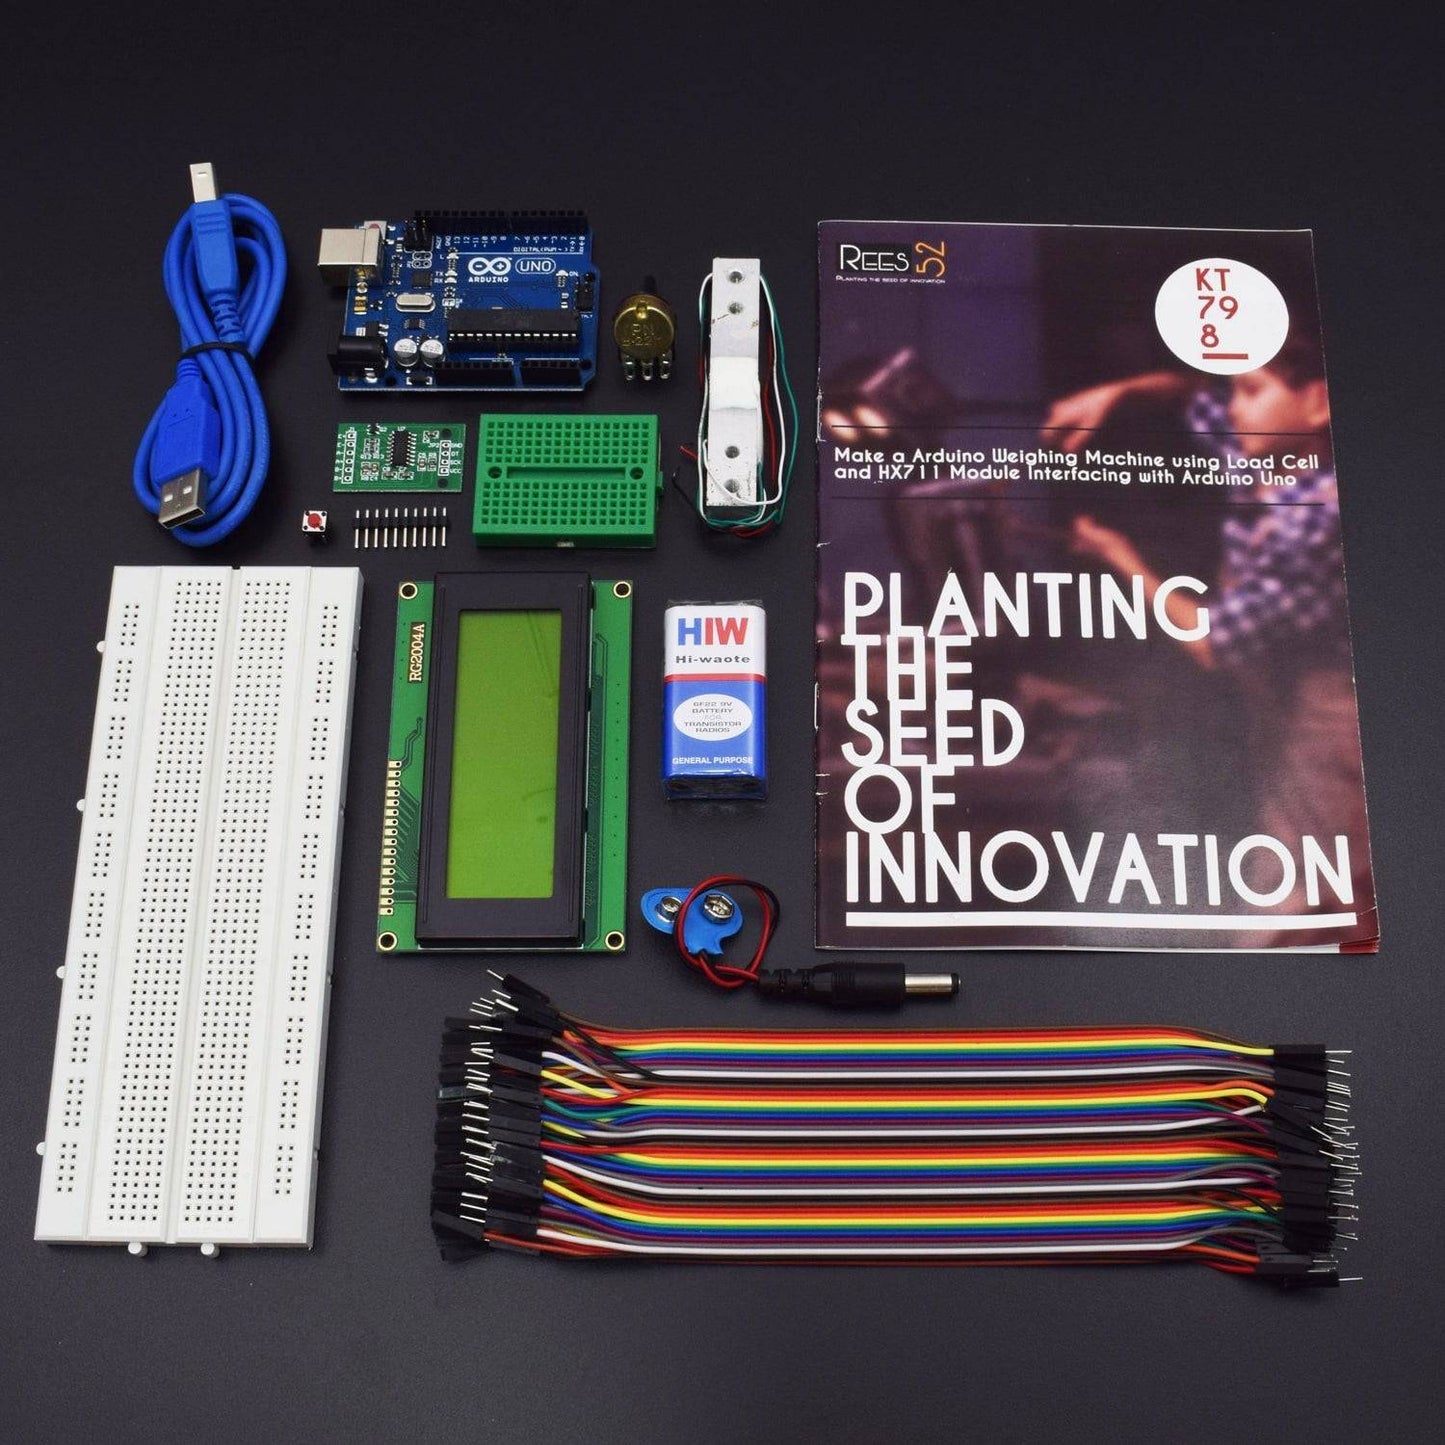

KIT INCLUDES:
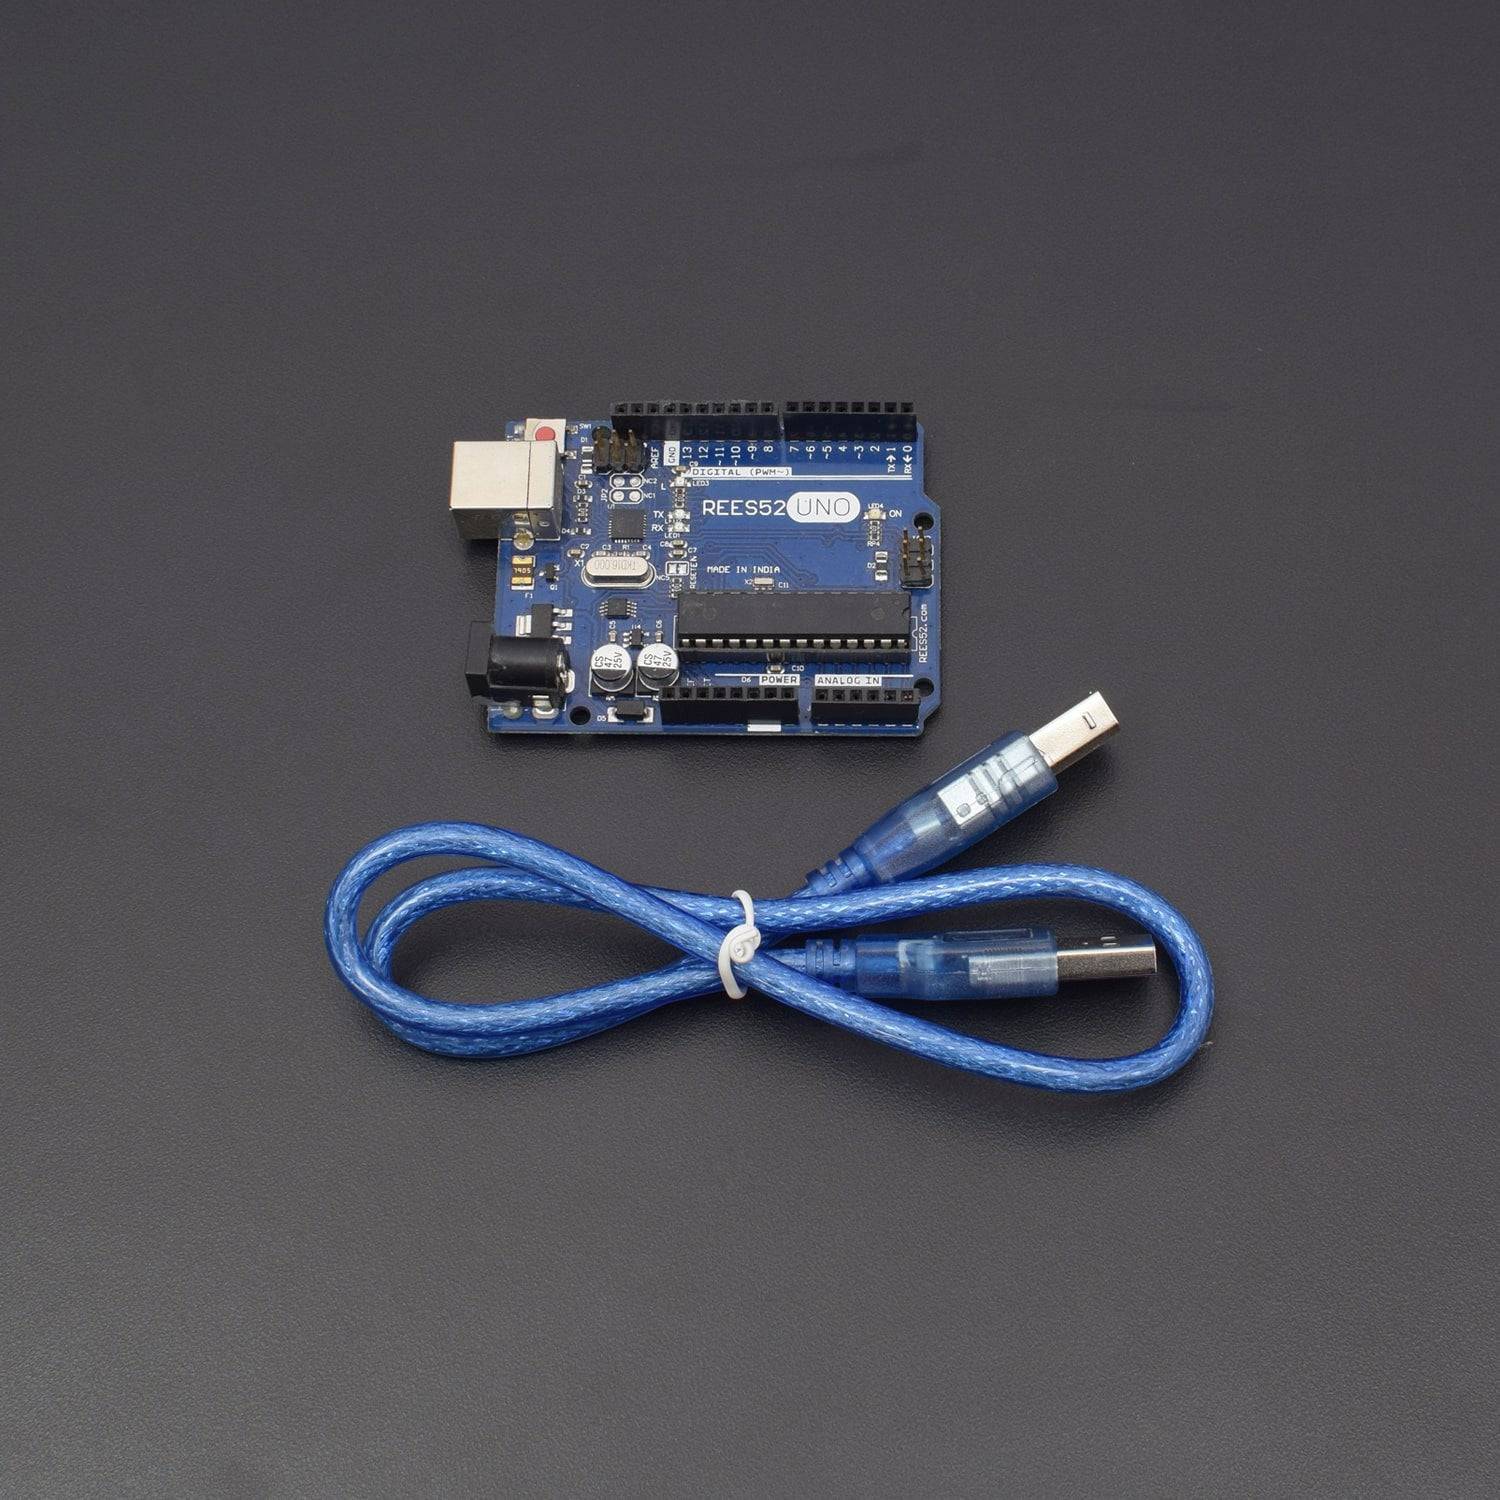
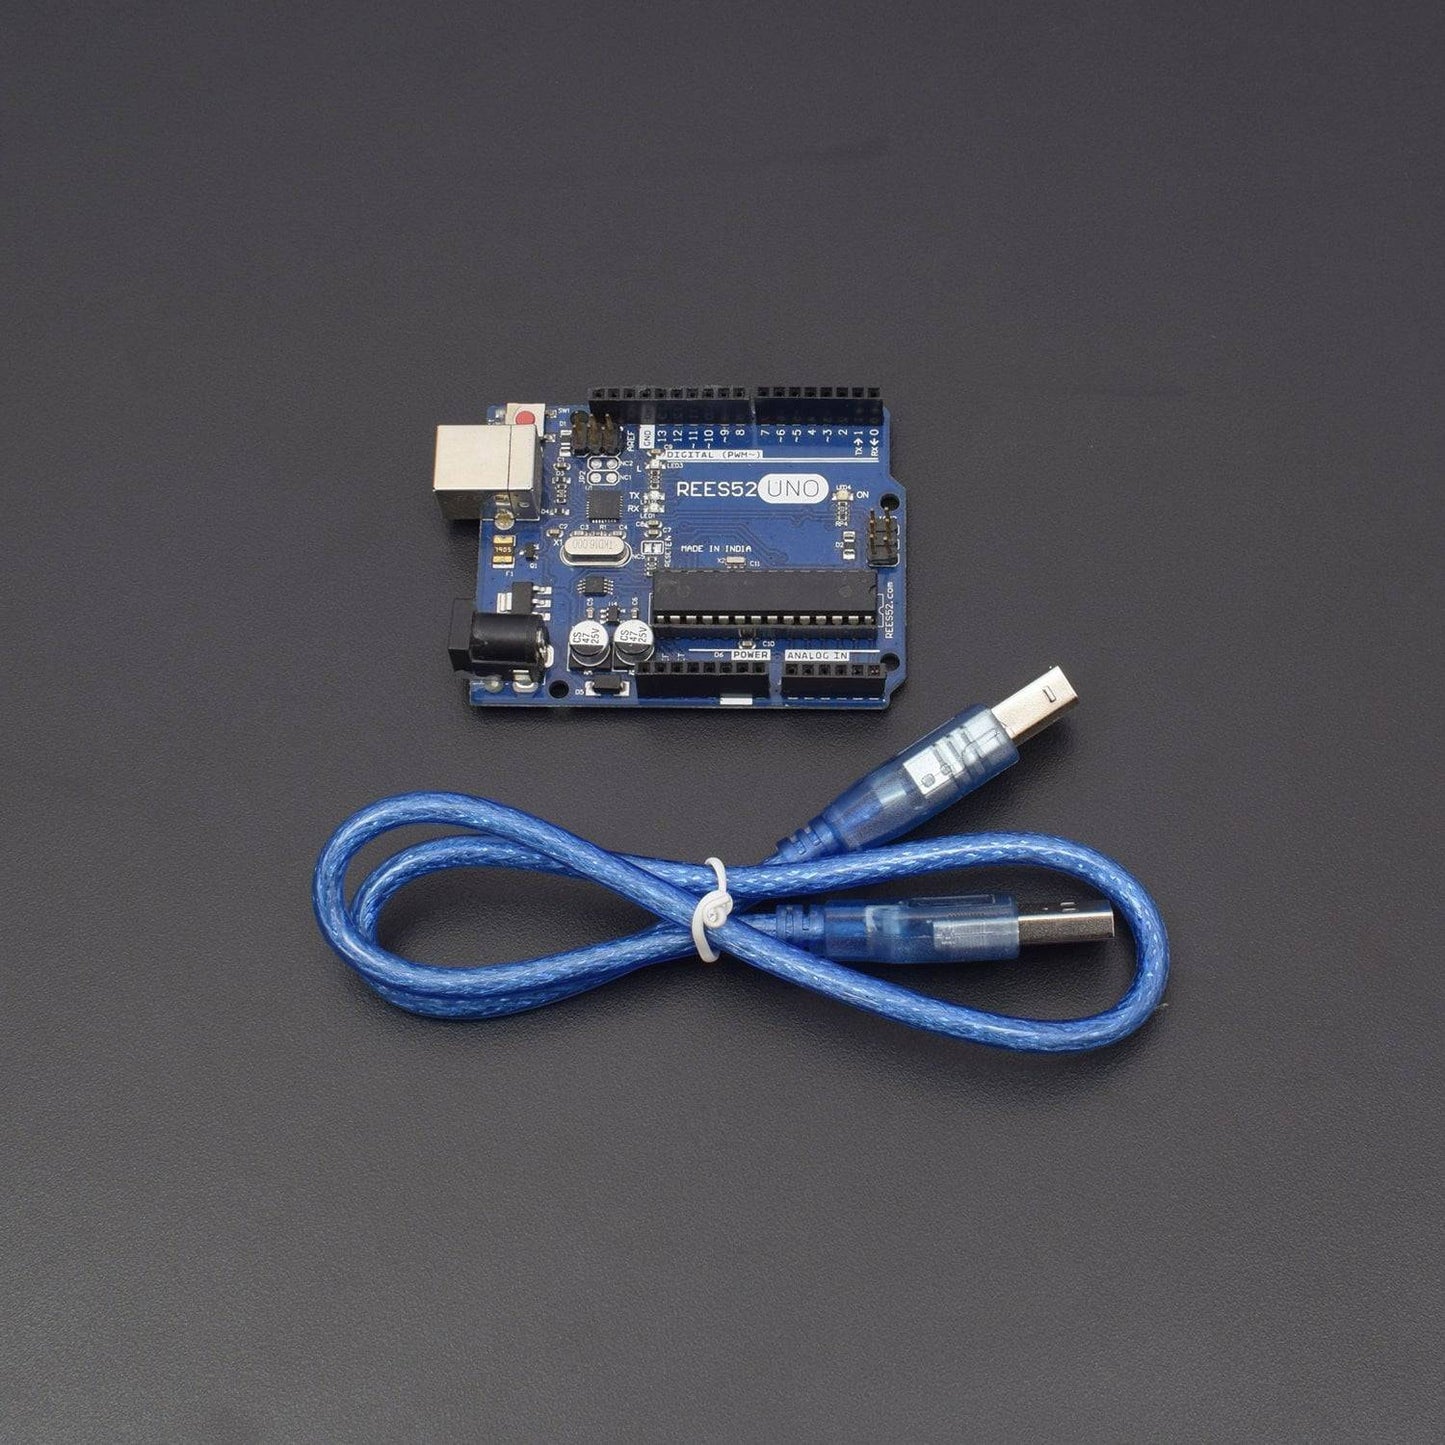
- Arduino Uno with USB Cable - 1
- Weight Load cell Sensor 5kg -1
- HX711 Load cell Amplifier Module - 1
- 20*4 LCD Display - 1
- Jumper wires male to male – 40 pieces
- Jumper wires male to female – 40 pieces
- Breadboard 840 point - 1
- Potentiometer 10K – 1
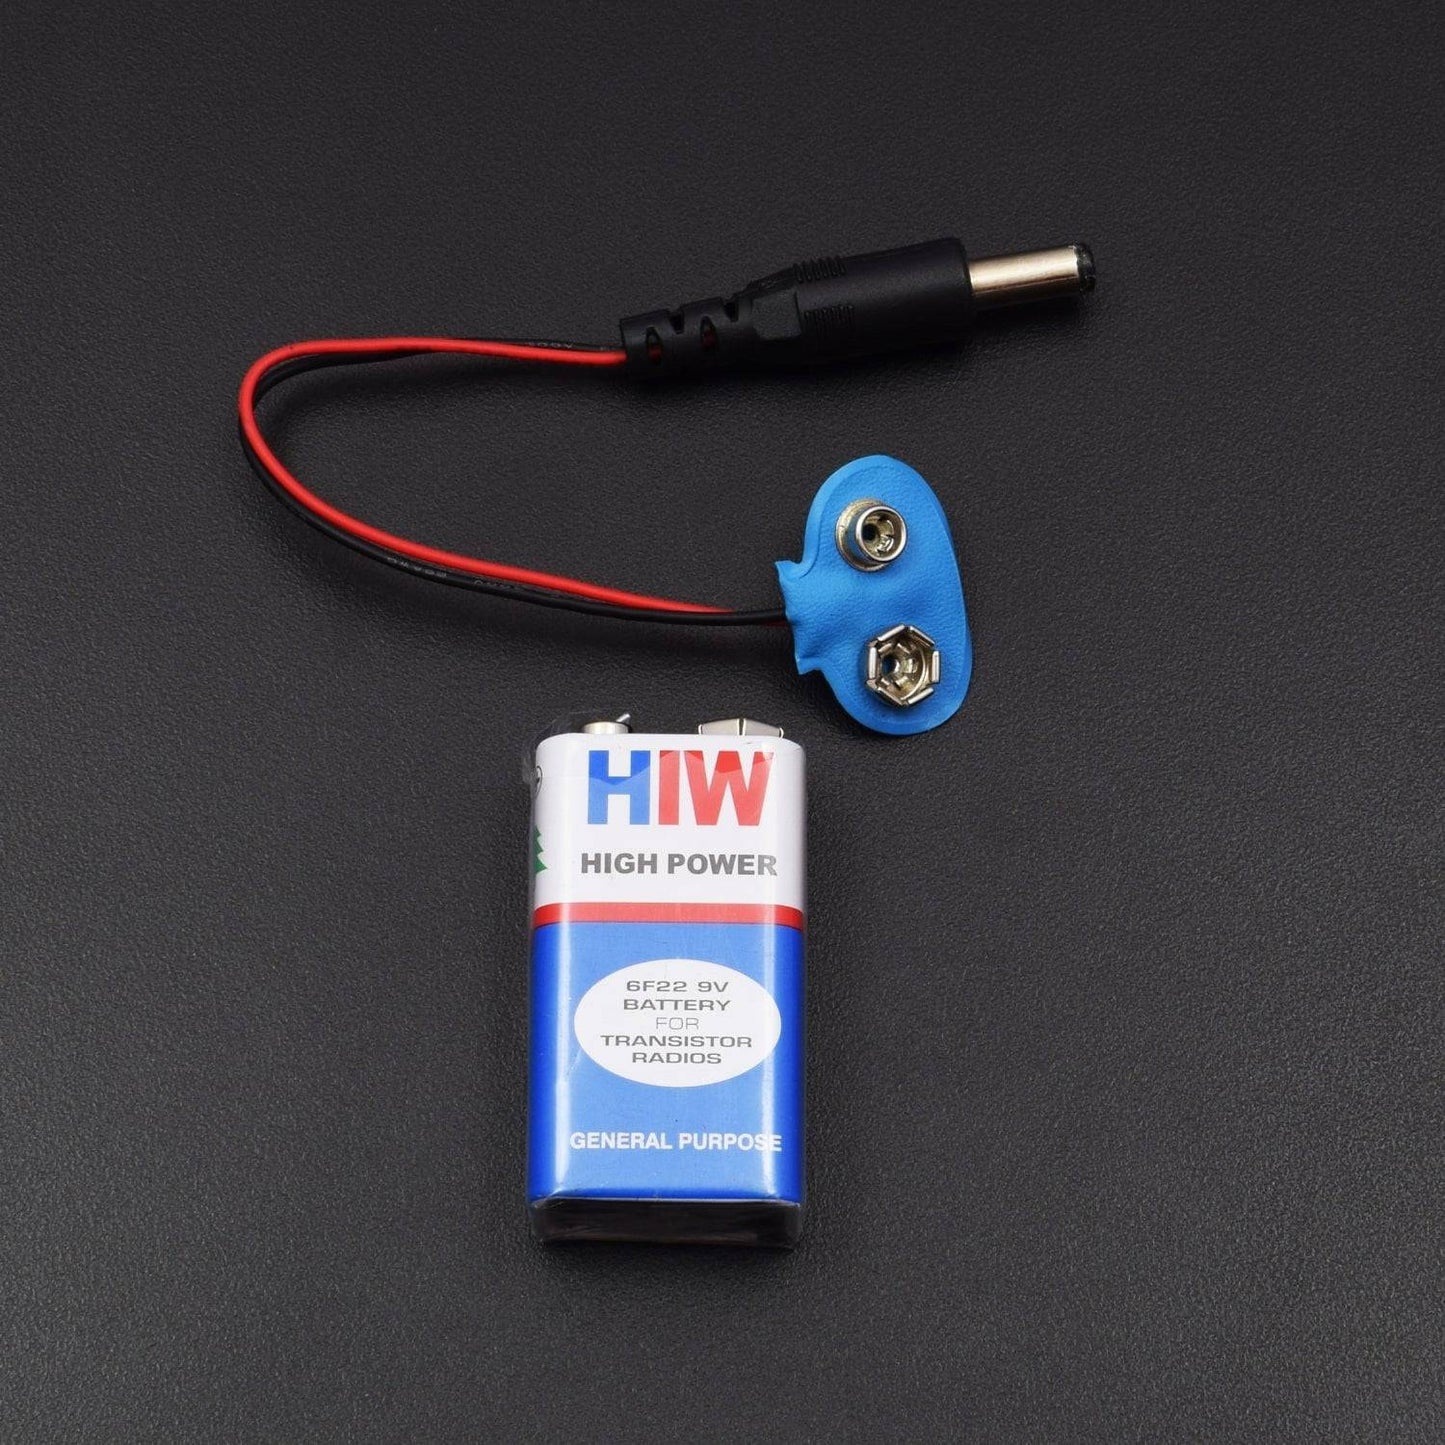
- 9v battery with DC jack – 1
- Breadboard 170 points – 1
HARDWARE REQUIRED
- Arduino Uno with USB Cable - 1
- Weight Load cell Sensor 5kg -1
- HX711 Load cell Amplifier Module - 1
- 20*4 LCD Display - 1
- Jumper wires male to male – 40 pieces
- Jumper wires male to female – 40 pieces
- Breadboard 840 point - 1
- Potentiometer 10K – 1
- 9v battery with DC jack – 1
- Breadboard 170 points – 1
SOFTWARE REQUIRED
Arduino IDE 1.8.5 (programmable platform for Arduino)
Click To Download :https://www.arduino.cc/en/Main/Software

SPECIFICATIONS
Load cell
Load cell comes in various weights depending on your application select the load cell weight specification. Load cells are ranked, according to their overall performance capabilities, into differing accuracy classes or grades. A specific accuracy grade specifies an error envelope for certain parameters, such as linearity, hysteresis, temperature effects, creep, etc. In practice, certain system accuracy parameters dependconsiderably on the application of use, physical load introduction to the transducer and disturbing factors such as Zener barriers and surge protection devices.

Classifications of Load cell
Load cells with different accuracy classes are required depending on the application. The chart provides an overview of typical applications, ranging from the lowest to the highest accuracy class.
Load cells with relatively low accuracy classified D1 to C2 are sufficient for simple building materials scales used to weigh sand, cement or water.
Adding the right proportion of additives to building materials is essential. For this purpose, special building materials scales using accuracy class C3 load cells are available for mixing additives such as ash or sand.
Accuracy class C3 load cells are widely used in machine construction as well. Here, scales contribute to quality assurance, for example, when ball bearings are checked.
However, increased accuracy is needed with shop-counter scales or scales used in filling machines. Grams or micrograms are required here. Load cells used in these applications comply with accuracy classes C3 to C6
Pin Description of Load Cell
Most load cellhave four wires: red, black, green and white.
On the HX711 board you will find E+, E-, A+, A- and B+, B- connections. Connect load cell:
- Red wire to E+
- Black wire to E-
- Green wire to A-
- White wire


HX711 Load cell Module


Fixing Load Cell with Platform and Base:
This step is optional and you can directly put the weights on the Load cell without Platform and can simply clamp it without fixing it with any base, but it’s better to attach a platform for putting the large things on it and fix it on a Base so that it stand still. So here we need to make a frame or platform for putting the things for weight measurement. A base is also required to fix the load cell over it by using nuts and bolts. Here we have used a hard cardboard for the frame for placing things over it and a wooden board as Base.
CIRCUIT DESCRIPTION

HX711 module operates at 5V and communication is done using serial SDA and SCK pins.
Where to apply weight on load cell?
You can see an arrow is shown on Load cell. This arrow shows the direction of force on the load cell. You can make arrangement shown in figure using metal strips. Attach metal strip on the Load cell using bolts.
Load cell Mounting
CODE
The programming part of this project is little complex for beginners. In this project, we did not use any library for interfacing HX711 load sensor with Arduino. We have just followed the datasheet of HX711 and application notes. Although there are some libraries present for this purpose, where you only need to include that library and you can get the weight using one line of code.
First of all, we have included the header file for LCD and defined the pins for the same. And for push button also. Then declared some variables for calculation purpose.
WORKING
First, we have to calibrate this system for measuring correct weight. When user will power it up then the system will automatically start calibrating. And if the user wants to calibrate it manually then press the push button. We have created a function void calibrate () for calibration purpose, check the code below.
For calibration, wait for LCD indication for putting 100 gram over the load cell as shown in below picture. When LCD will show “put 100g” then put the 100g weight on the load cell and wait. After some seconds calibration process will be finished. After calibration user may put any weight (max 40kg) over the load cell and can get the value over LCD in grams.
In this project, we have used Arduino to control whole the process. Load cell senses the weight and supplies an electrical analog voltage to HX711 Load Amplifier Module. HX711 is a 24bit ADC, which amplifies and digitally converts the Load cell output. Then this amplified value is fed to the Arduino. Now Arduino calculates the output of HX711 and converts that into the weight values in grams and show it on LCD. A push button is used for calibrating the system.