


INTRODUCTION
This project is all about a simple & smart electronic voting machine using Arduino. The basic idea of this project is to create an electronic voting machine that will help to eradicate defrauding of the manual voting system and prior versions of electronic voting.
The system is provided with the n number of switches where n is the number of political parties. Here the voter will be allowed to proceed to choosing their preferred candidate from the panel of buttons. The final vote is displayed on an LCD for the satisfaction of voters. At the end the results can be automatically calculated by pressing the result button.
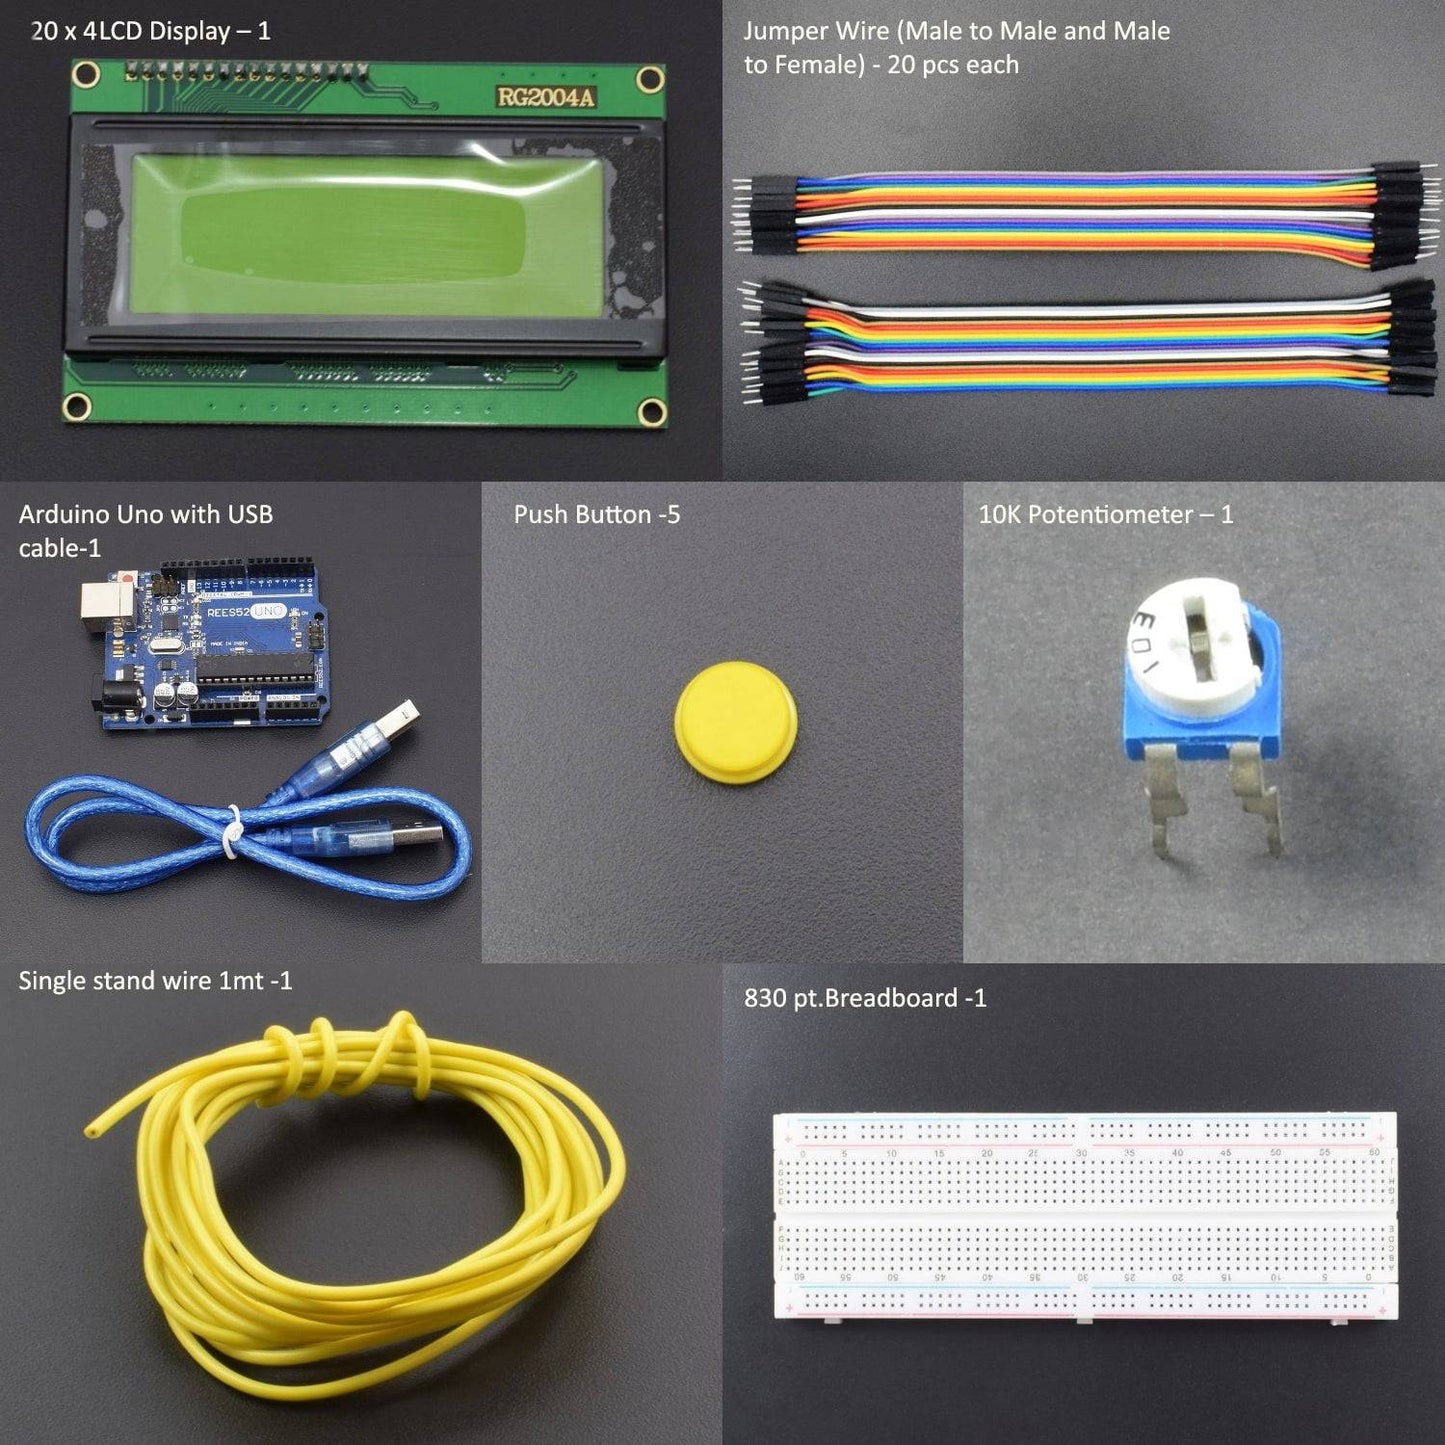
HARDWARE REQUIRED
- Arduino UNO with USB cable - 1
- 20*4 LCD Display – 1
- Push buttons -5
- Jumper wires (male to male – 20 pcs)
- Jumper wires (male to female – 20pcs)
- 10K Potentiometer – 1
- 830 pt. Breadboard – 1
- Single stand wire 1mt -1
SOFTWARE REQUIRED
Arduino IDE 1.8.5 (programmable platform for Arduino)
Click To Download: https://www.arduino.cc/en/Main/Software
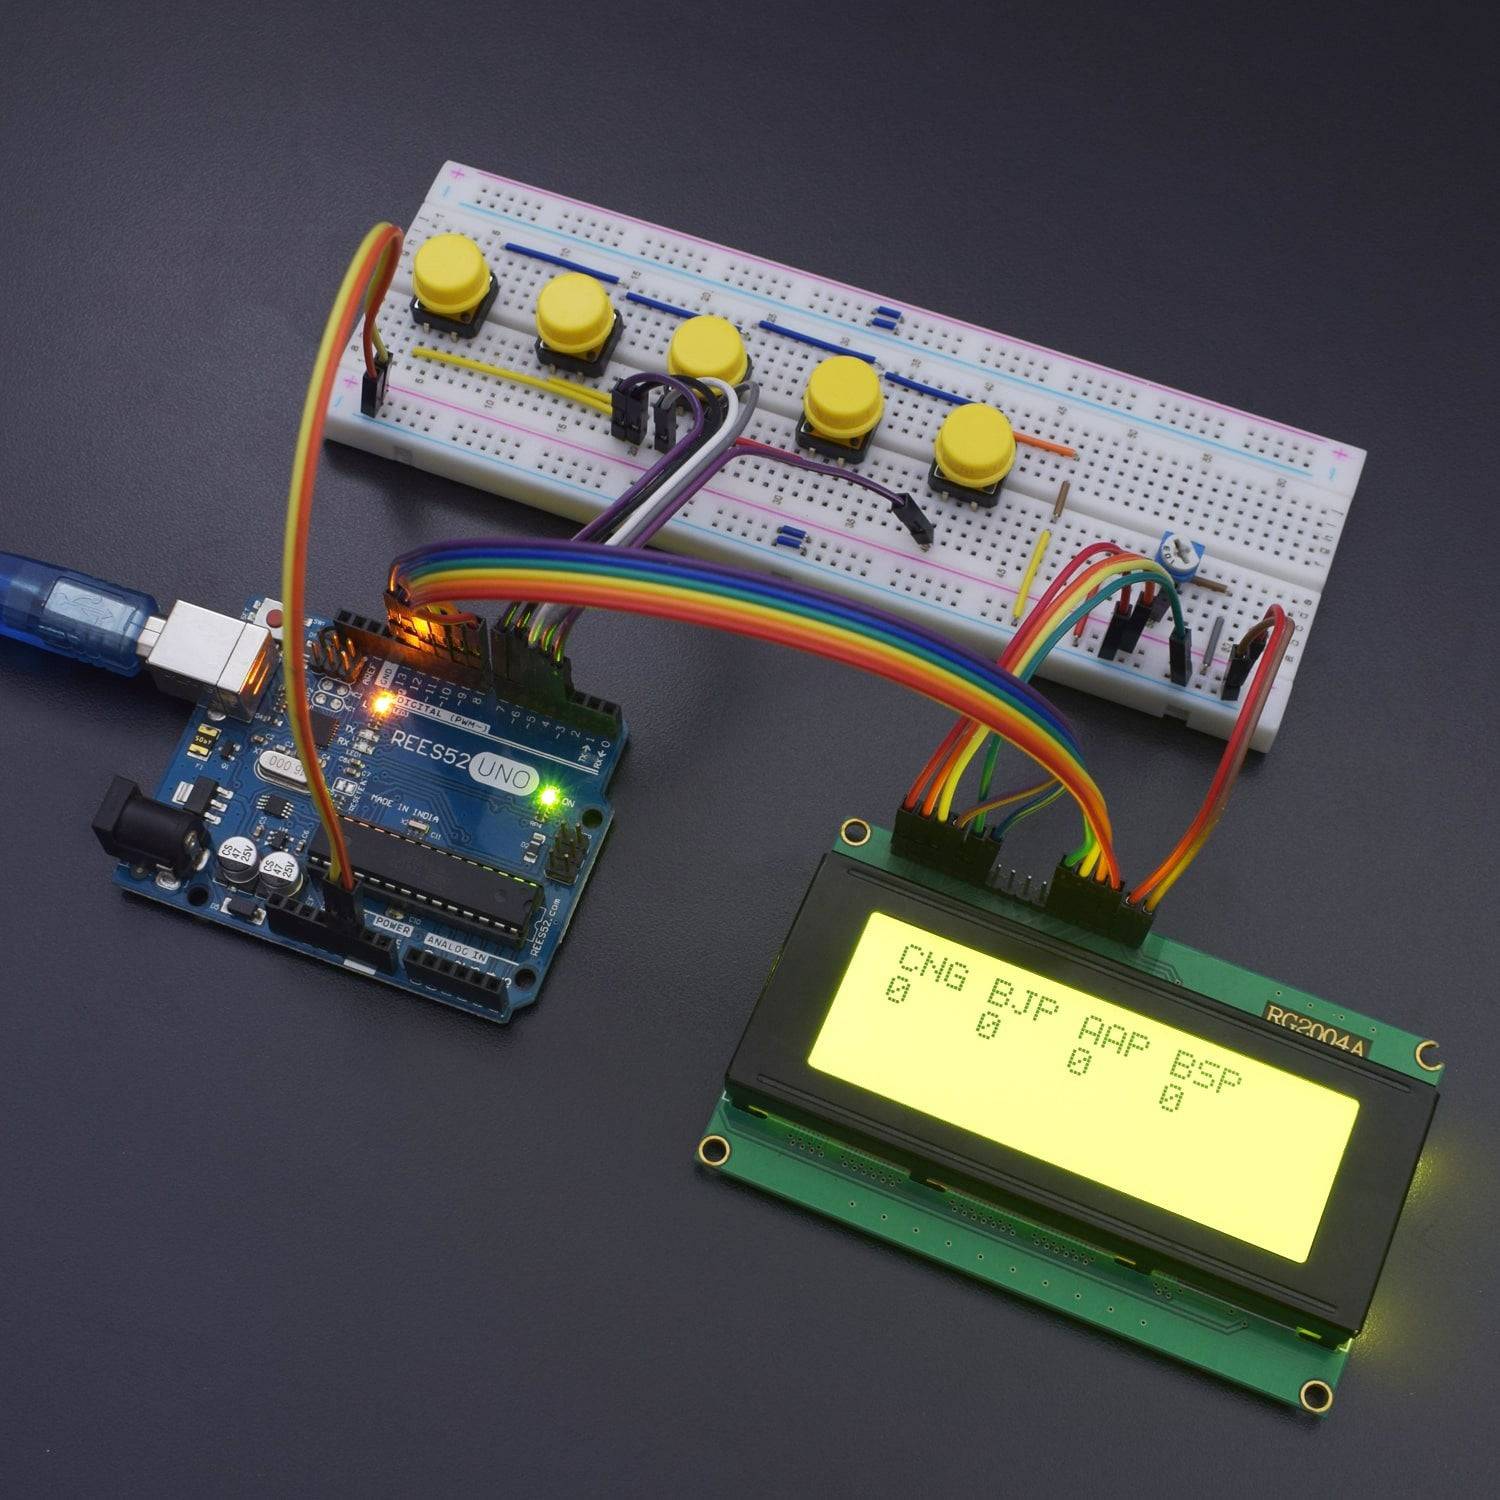
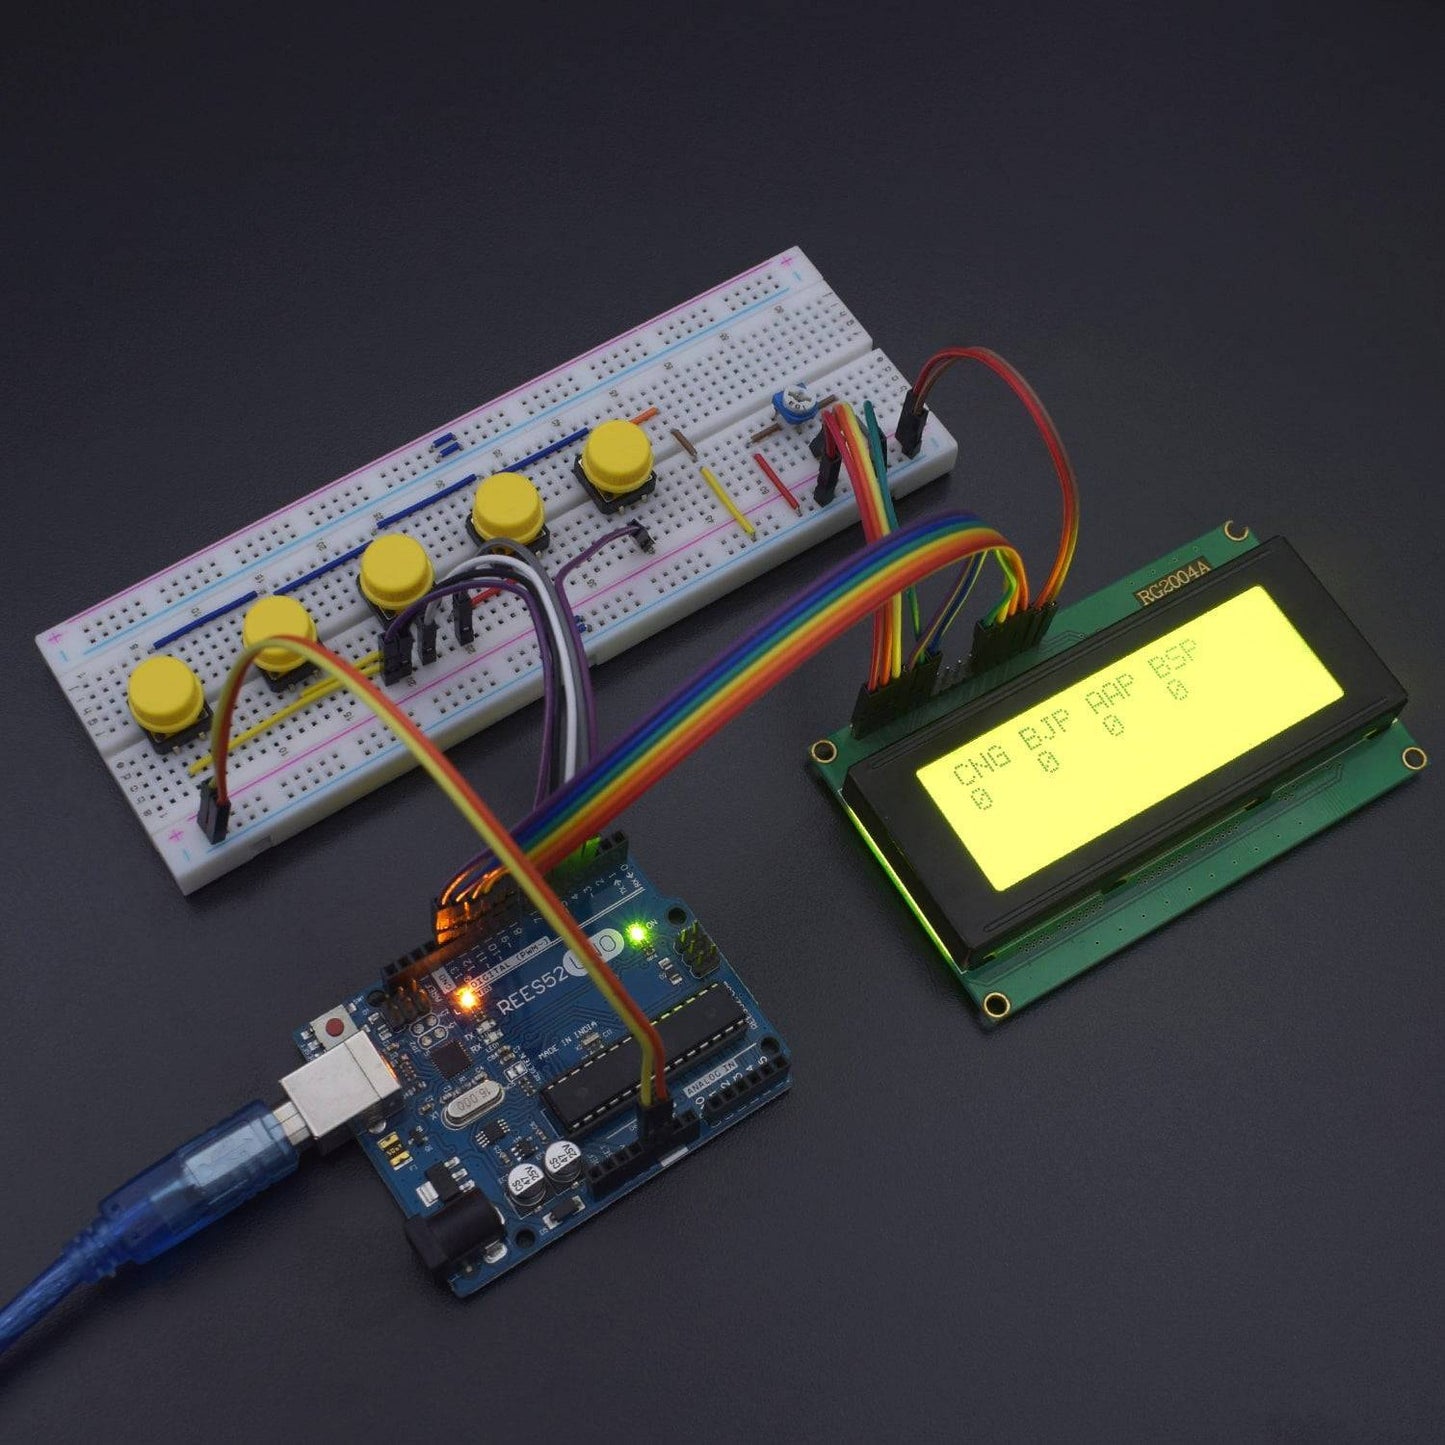
CIRCUIT CONNECTION
- Connect GND & 5v pin of Arduino Uno on the breadboard for making further GND & VCC connection.
- Connect Arduino GND pin to LCD pin 1 VSS.
- Connect Arduino 5v pin to LCD pin 2 VDD.
- Connect the V0 pin of the LCD Display with the middle pin (DATA) pin of the potentiometer.
- Connect the GND pin of the Potentiometer with the GND rail on the breadboard and the VCC pin of the potentiometer with the positive rail on the breadboard.
- Connect Arduino pin13 to the LCD Digital pin 4 - RS
- Connect Arduino pin12 to the LCD Digital pin 6 - E
- Connect Arduino pin11 to the LCD Digital pin11 - D4
- Connect Arduino pin10 to the LCD Digital pin12 - D5
- Connect Arduino pin9 to the LCD Digital pin13 - D6
- Connect Arduino pin8 to the LCD Digital pin14 - D7
- Connect the Digital pin 15 & Digital 16 of LCD Display to the GND and 5v to the breadboard.
- Connect all push buttons to the Breadboard.
- Connect one side of all the push buttons to the GND.
- Connect Arduino pin7 to push button1.
- Connect Arduino pin6 to push button2.
- Connect Arduino pin5 to push button3.
- Connect Arduino pin4 to push button4.
- Connect Arduino pin3 to push button5.
PROCESS -
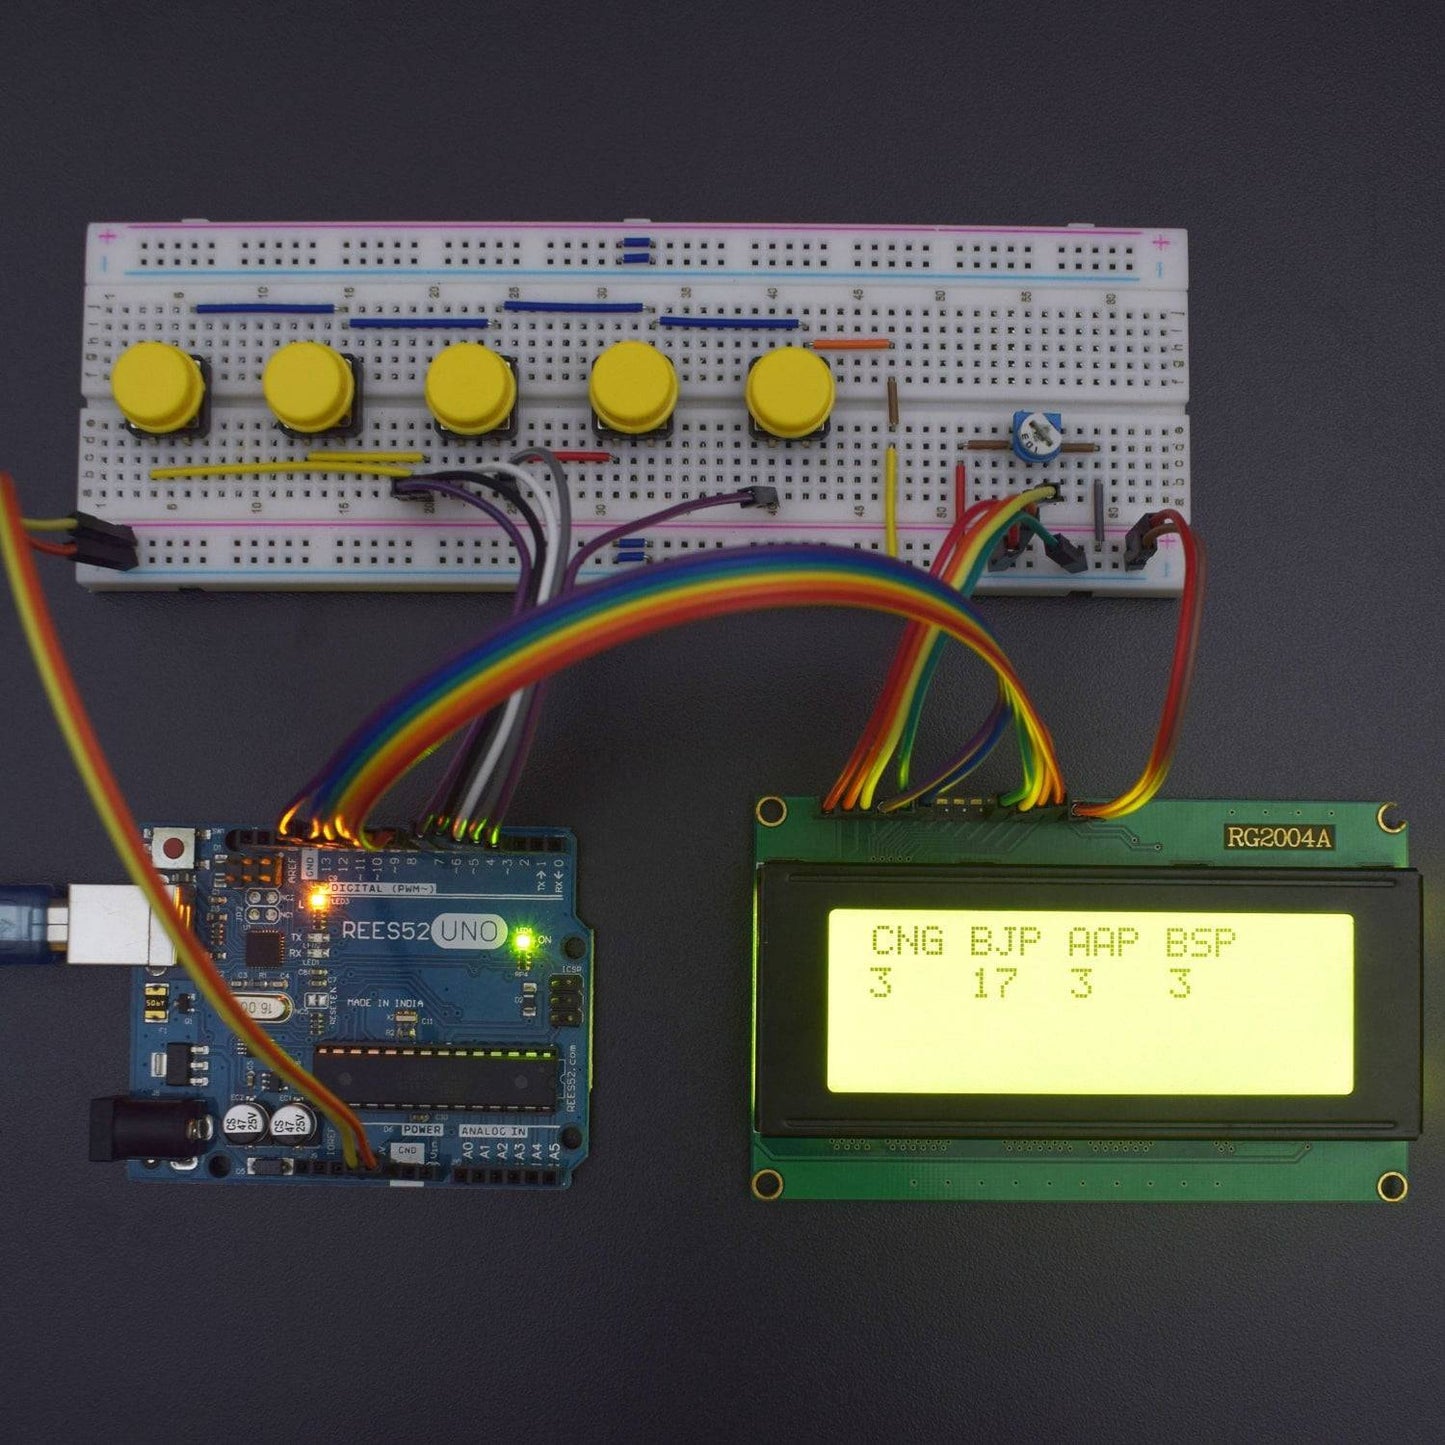
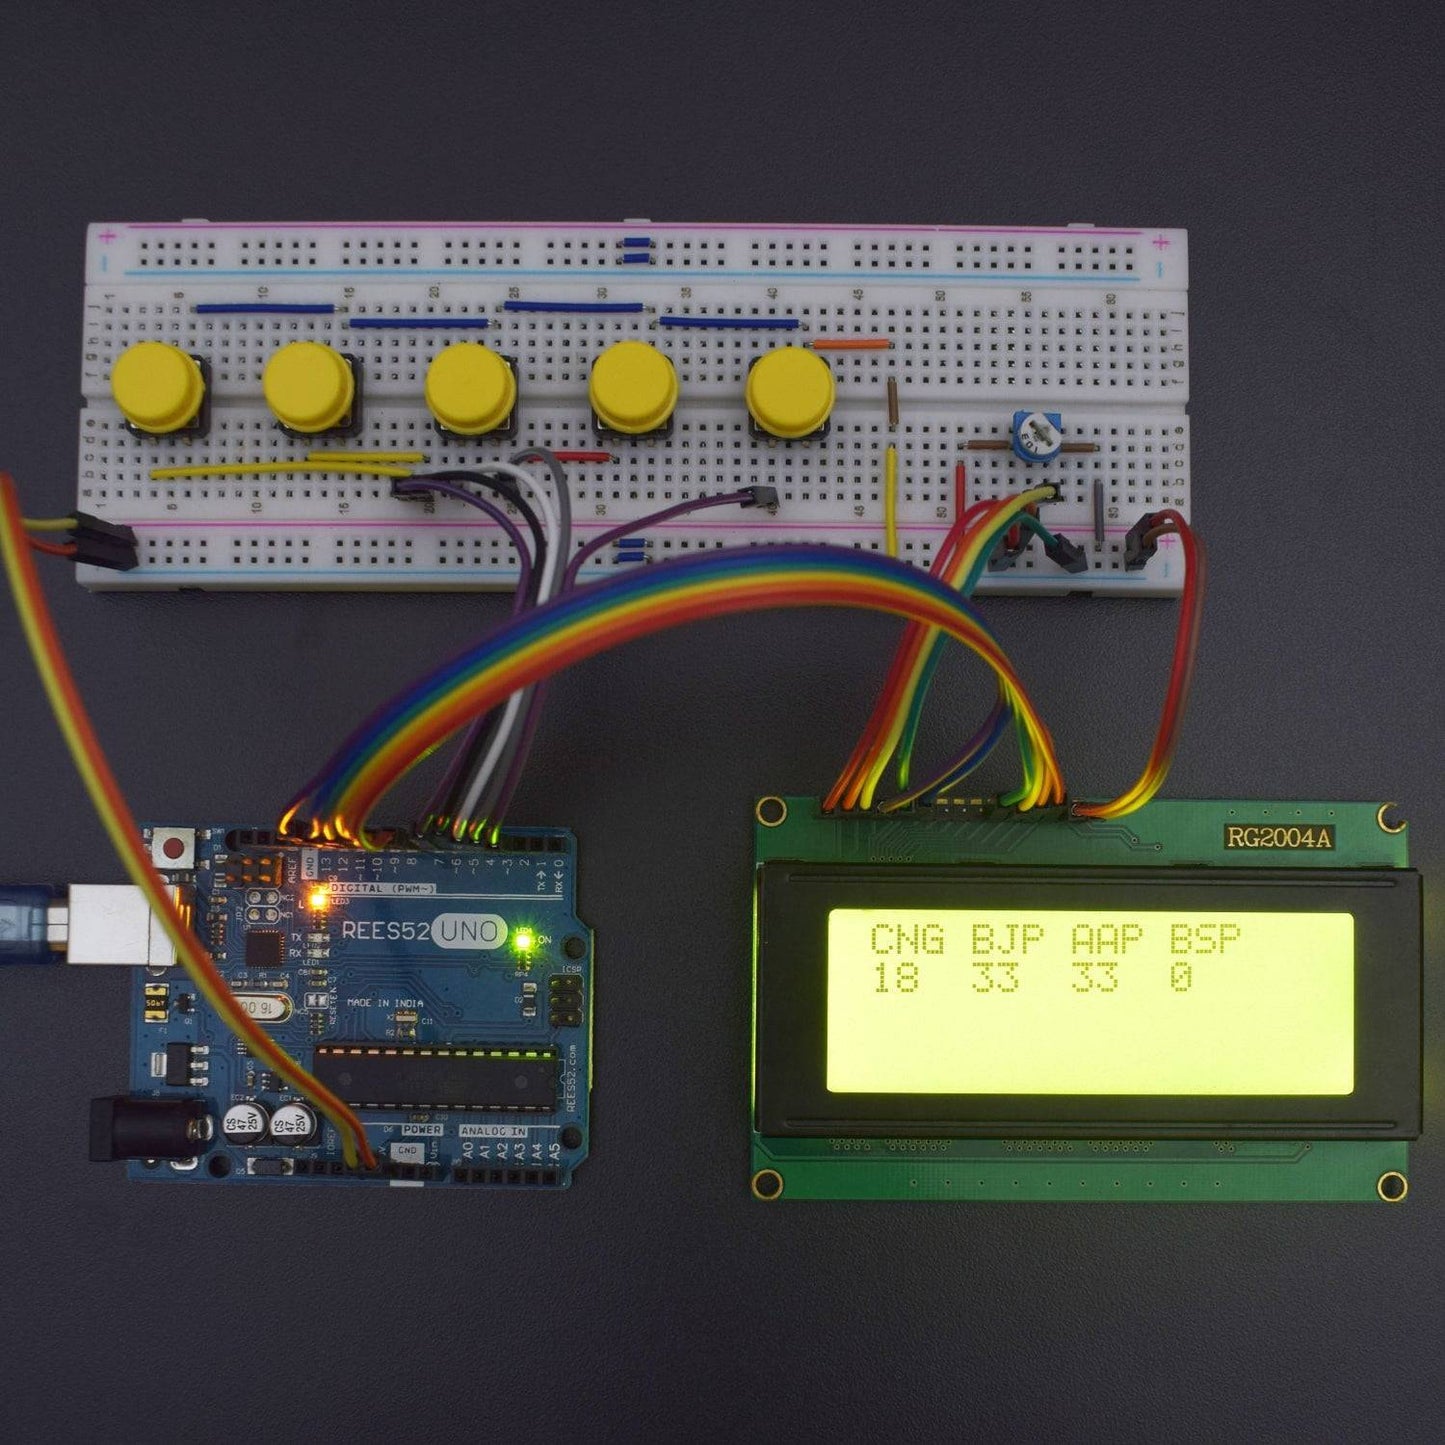
In this project, i.e. Smart Electronic Voting Machine Using Arduino, we have used four pushbuttons for four different candidates who are taking part in the election. We can increase the number of candidates as per requirement. When any voter presses any of the four buttons then respecting voting value will increment by one each time. After the whole voting process, the result button can be pressed to display the result.
CODE
https://drive.google.com/open?id=1lLjtYyHo7ZWRP_GO3pKHk48Jf0qzl9x7
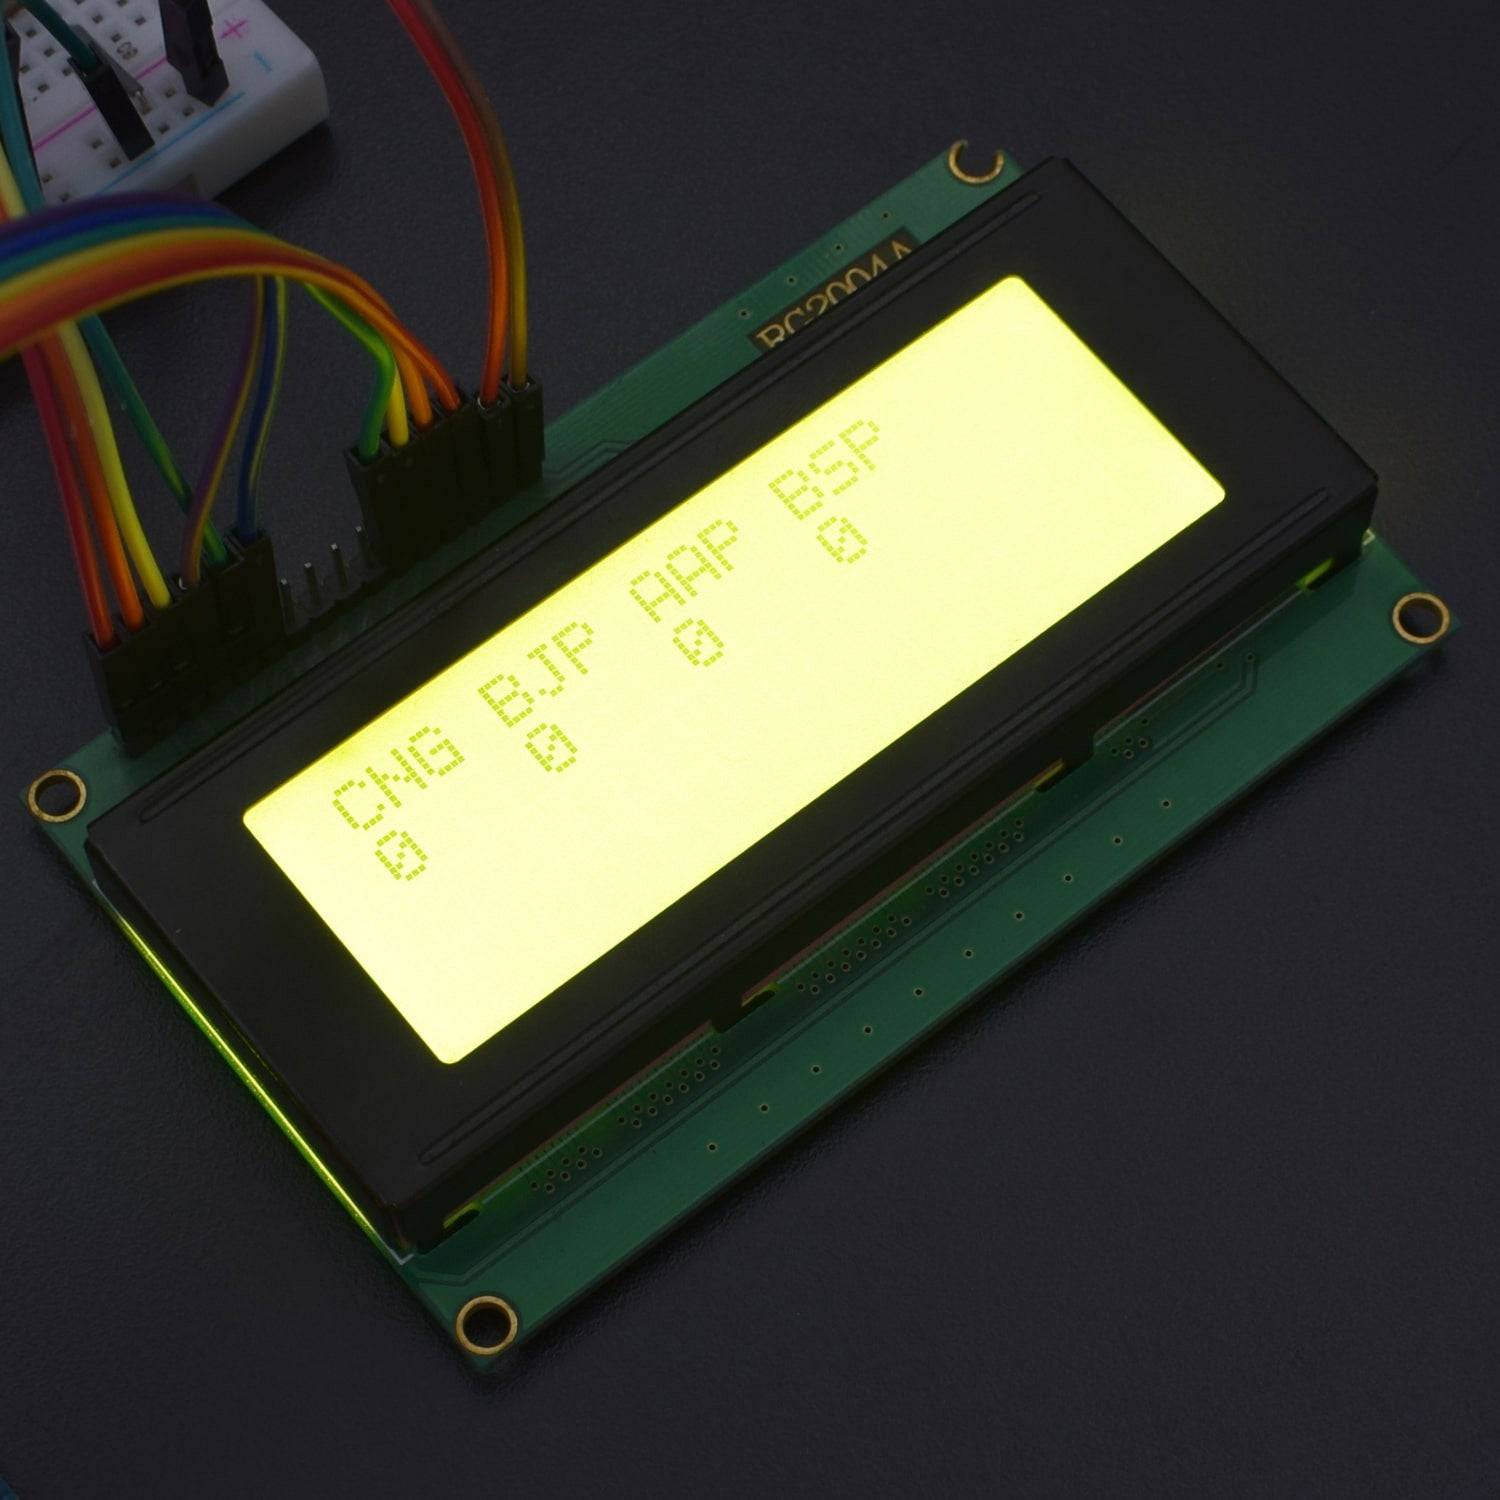
WORKING AND OUTPUT
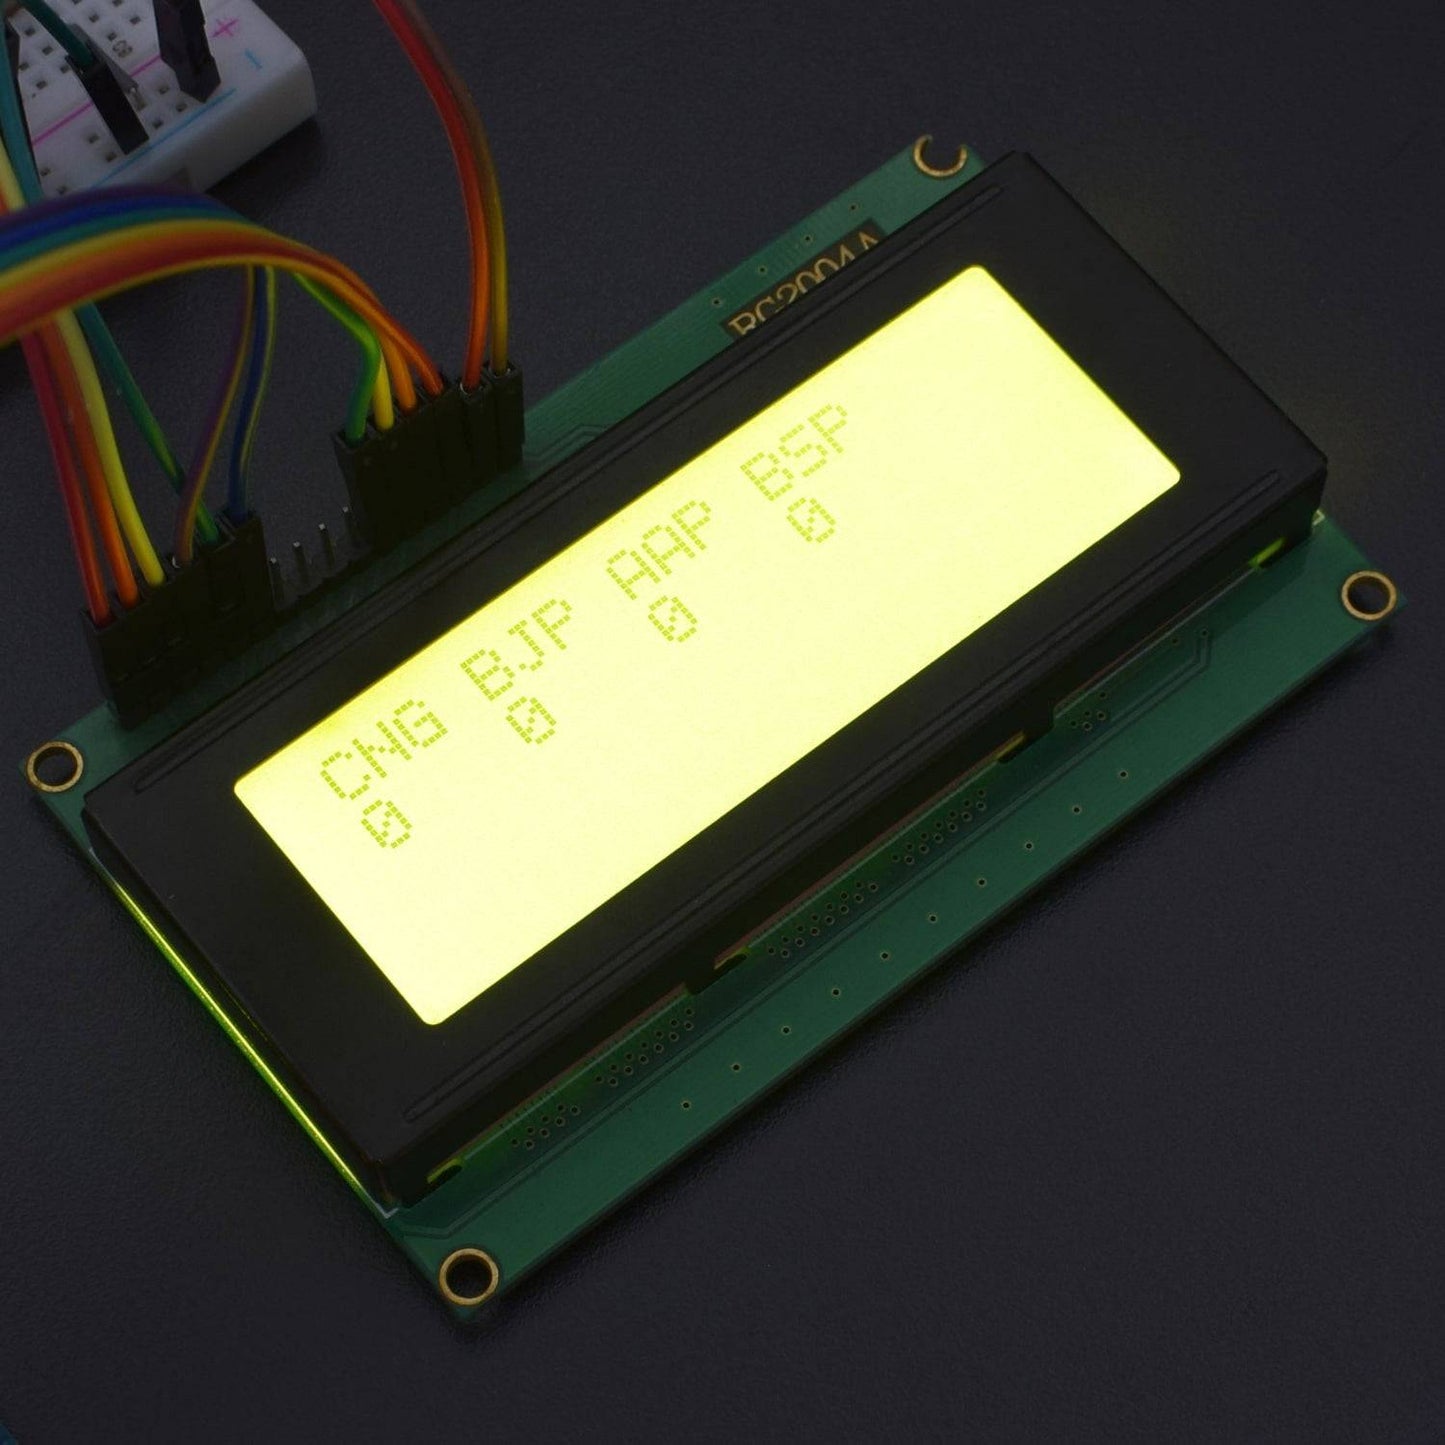
In this project, we have used four push buttons for four different candidates. We can increase the number of the candidate but for better understanding, we have limited it to four. When any voter presses any of four buttons then respecting voting value will increment by one each time. After the voting, we will press the result button to see the results. As the "result" button is pressed, Arduino calculates the total votes of each candidate and shows it on LCD. The circuit of this project is quite easy which contains Arduino, push buttons and LCD. Arduino controls the complete processes like reading buttons, incrementing vote value, generating results and sending votes and results to LCD. Here we have added five buttons which first button is for BJP, the second for CNG, the third is for AAP, the fourth is for OTH means others and the last button is used for calculating or displaying results.