


KIT INCLUDES:
- Arduino Leonardo -1
- USB cable -1
- Joystick module – 1
- GY-521 MPU6050 3-Axis Acceleration Gyroscope 6DOF Module -1
- Breadboard 830 Points - 1
- Push-button - 2
- Jumper wire male to female- 20 pieces
- Jumper wire Male to male - 20 pieces
Introduction
In this project, we will make an air mouse and gesture control mouse using an Arduino Leonardo and MPU6050 accelerometer and gyroscope module. The project depends on 2 key components: the MPU6050 module and Arduino Leonardo. The MPU6050 helps us to collect the data for the 3D pose of " AIR MOUSE" along the X and Y-axis. Then board on the values of the sensor can control the mouse cursor.
HARDWARE REQUIRED
- Arduino Leonardo -1
- USB cable -1
- Joystick module – 1
- GY-521 MPU6050 3-Axis Acceleration Gyroscope 6DOF Module -1
- Breadboard 830 Points - 1
- Push-button - 2
- Jumper wire male to female- 20 pieces
- Jumper wire Male to male - 20 pieces
SOFTWARE REQUIRED
Arduino IDE 1.8.5 (programmable platform for Arduino)
Click To Download:https://www.arduino.cc/en/Main/Software


SPECIFICATIONS
GY-521 MPU6050 3-Axis Acceleration Gyroscope 6DOF Module
The MPU6050 contains both a 3-Axis Gyroscope and a 3-Axis accelerometer allowing measurements of both independently, but all based around the same axes, thus eliminating the problems of cross-axis errors when using separate devices.
- Accelerometer ranges: ±2, ±4, ±8, ±16g
- Gyroscope ranges: ± 250, 500, 1000, 2000 °/s
- Voltage range: 3.3V - 5V (the module include a low drop-out voltage regulator
Use: The MPU6050 is a 6 DOF (Degrees of Freedom) or a six-axis IMU sensor, which means that it gives six values as output. Three values from the accelerometer and three from the gyroscope. It is basically used as a mouse.

Arduino Leonardo
Arduino Leonardo is an old board but the only compatible board for this project. It has the required SCL and SDA pin for connection of MPU6050.
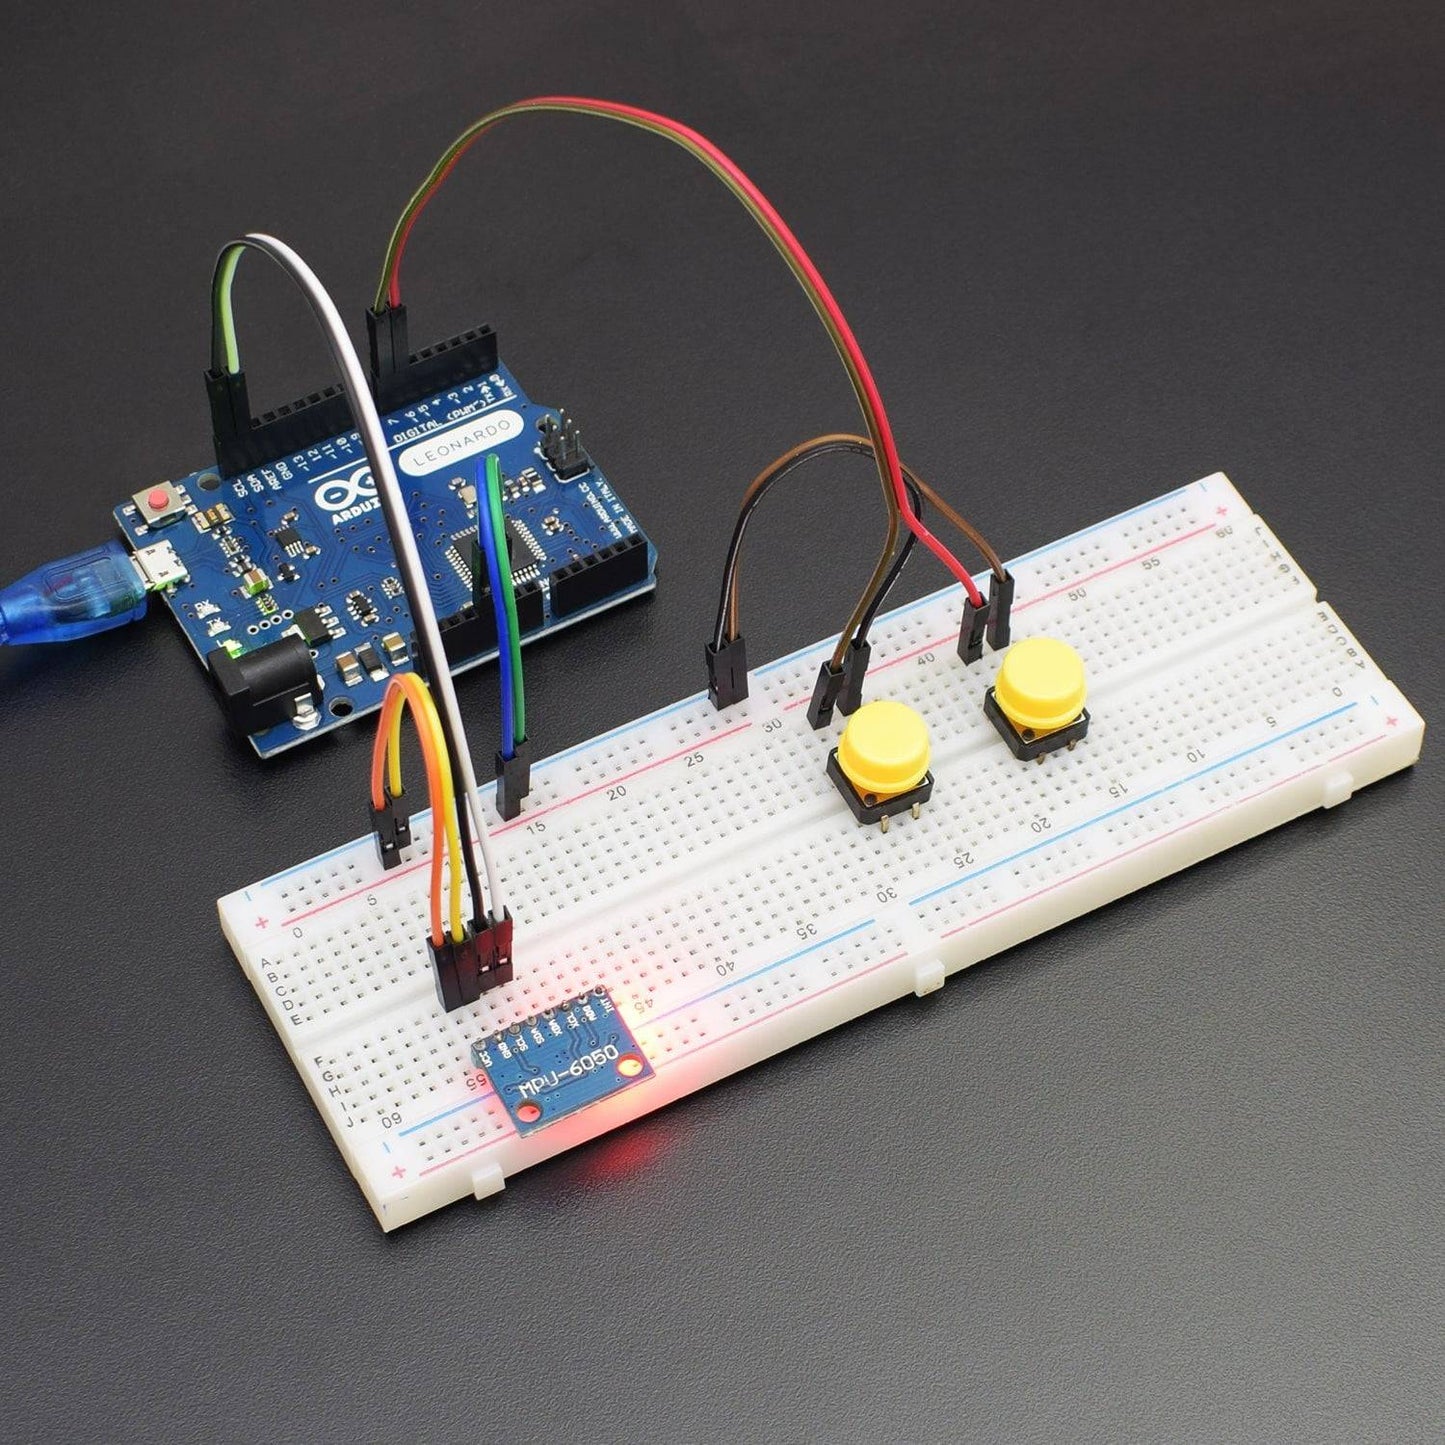
CIRCUIT CONNECTION
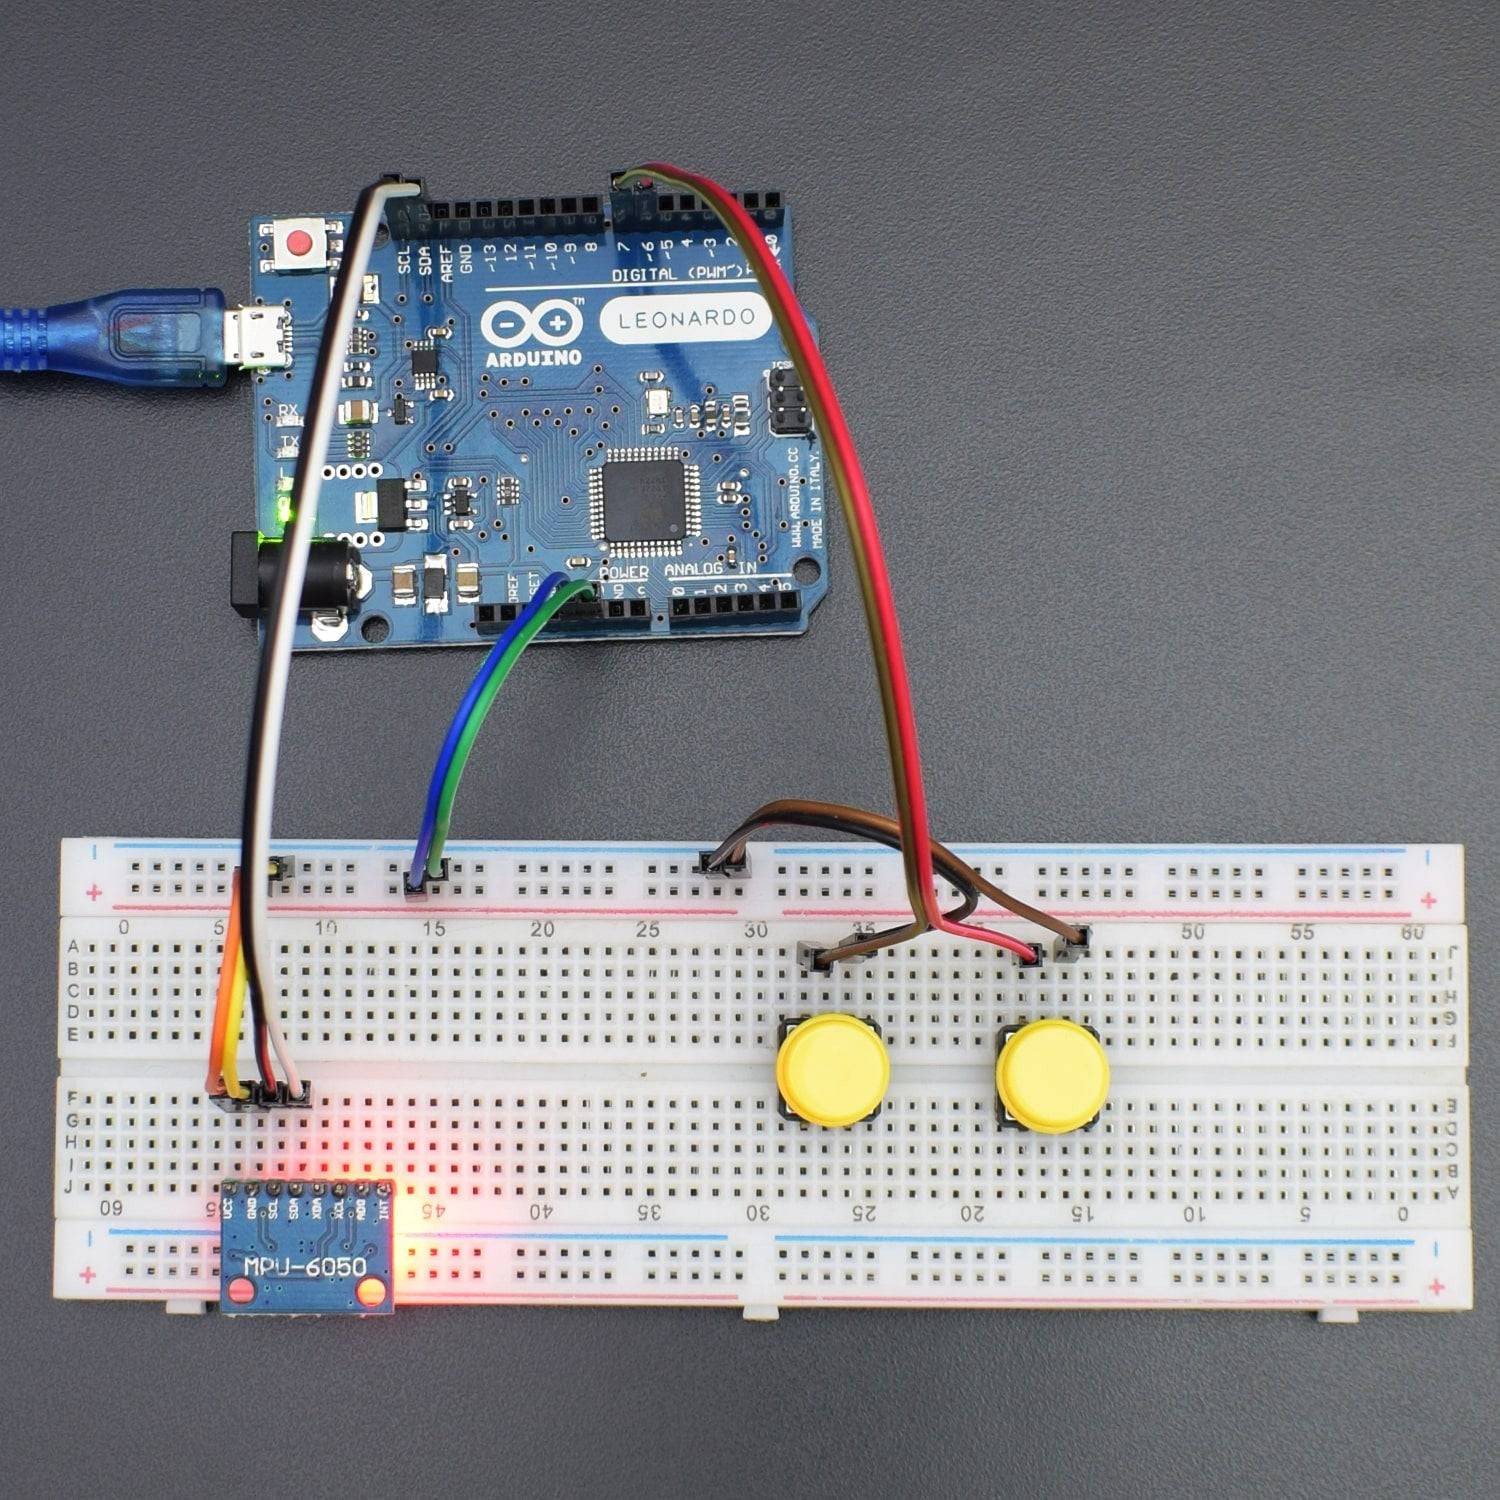
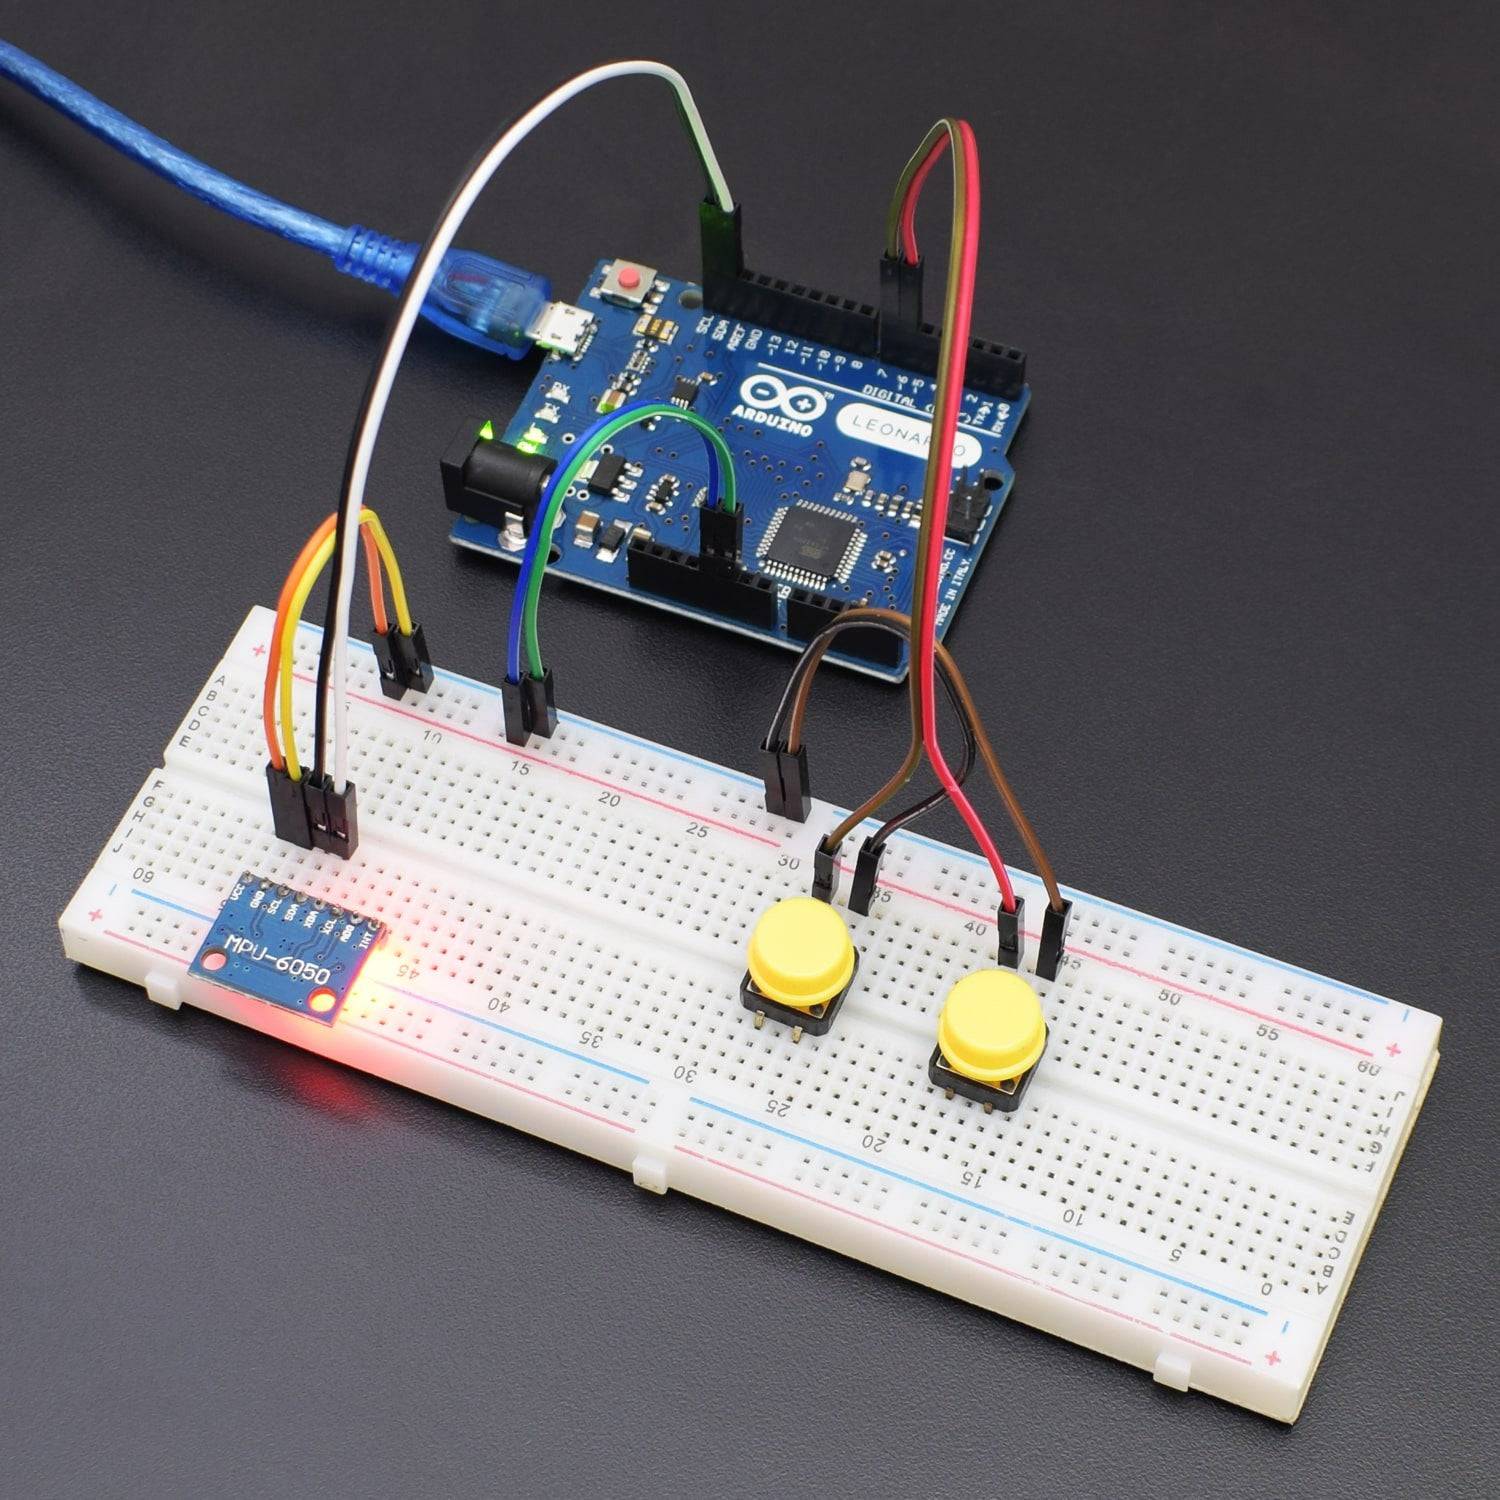
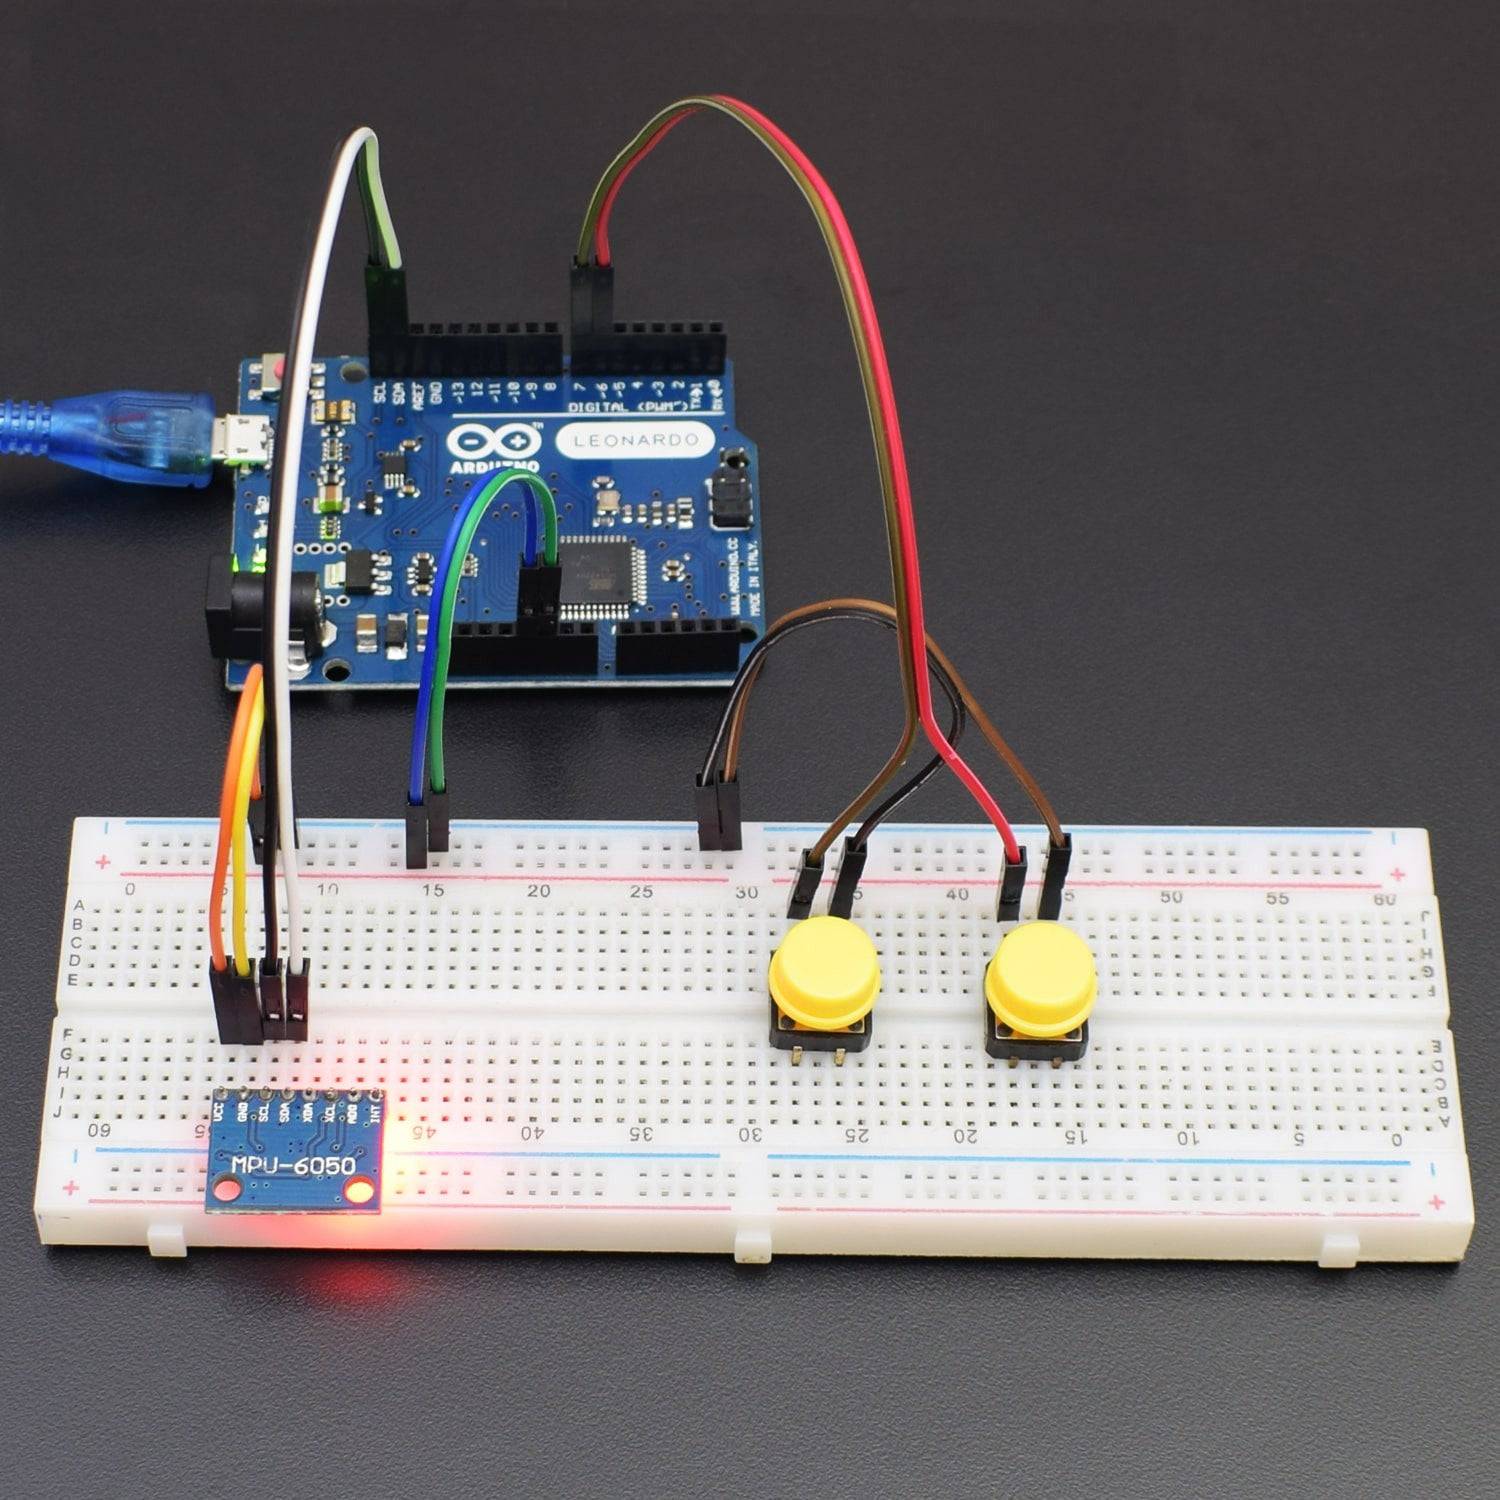
_bb.png)

- Connect VCC and GND pin of Arduino Leonardo to the breadboard for making further VCC and GND connections.
- Connect VCC and GND pin of Arduino Leonardo to the breadboard for making further VCC and GND connections.
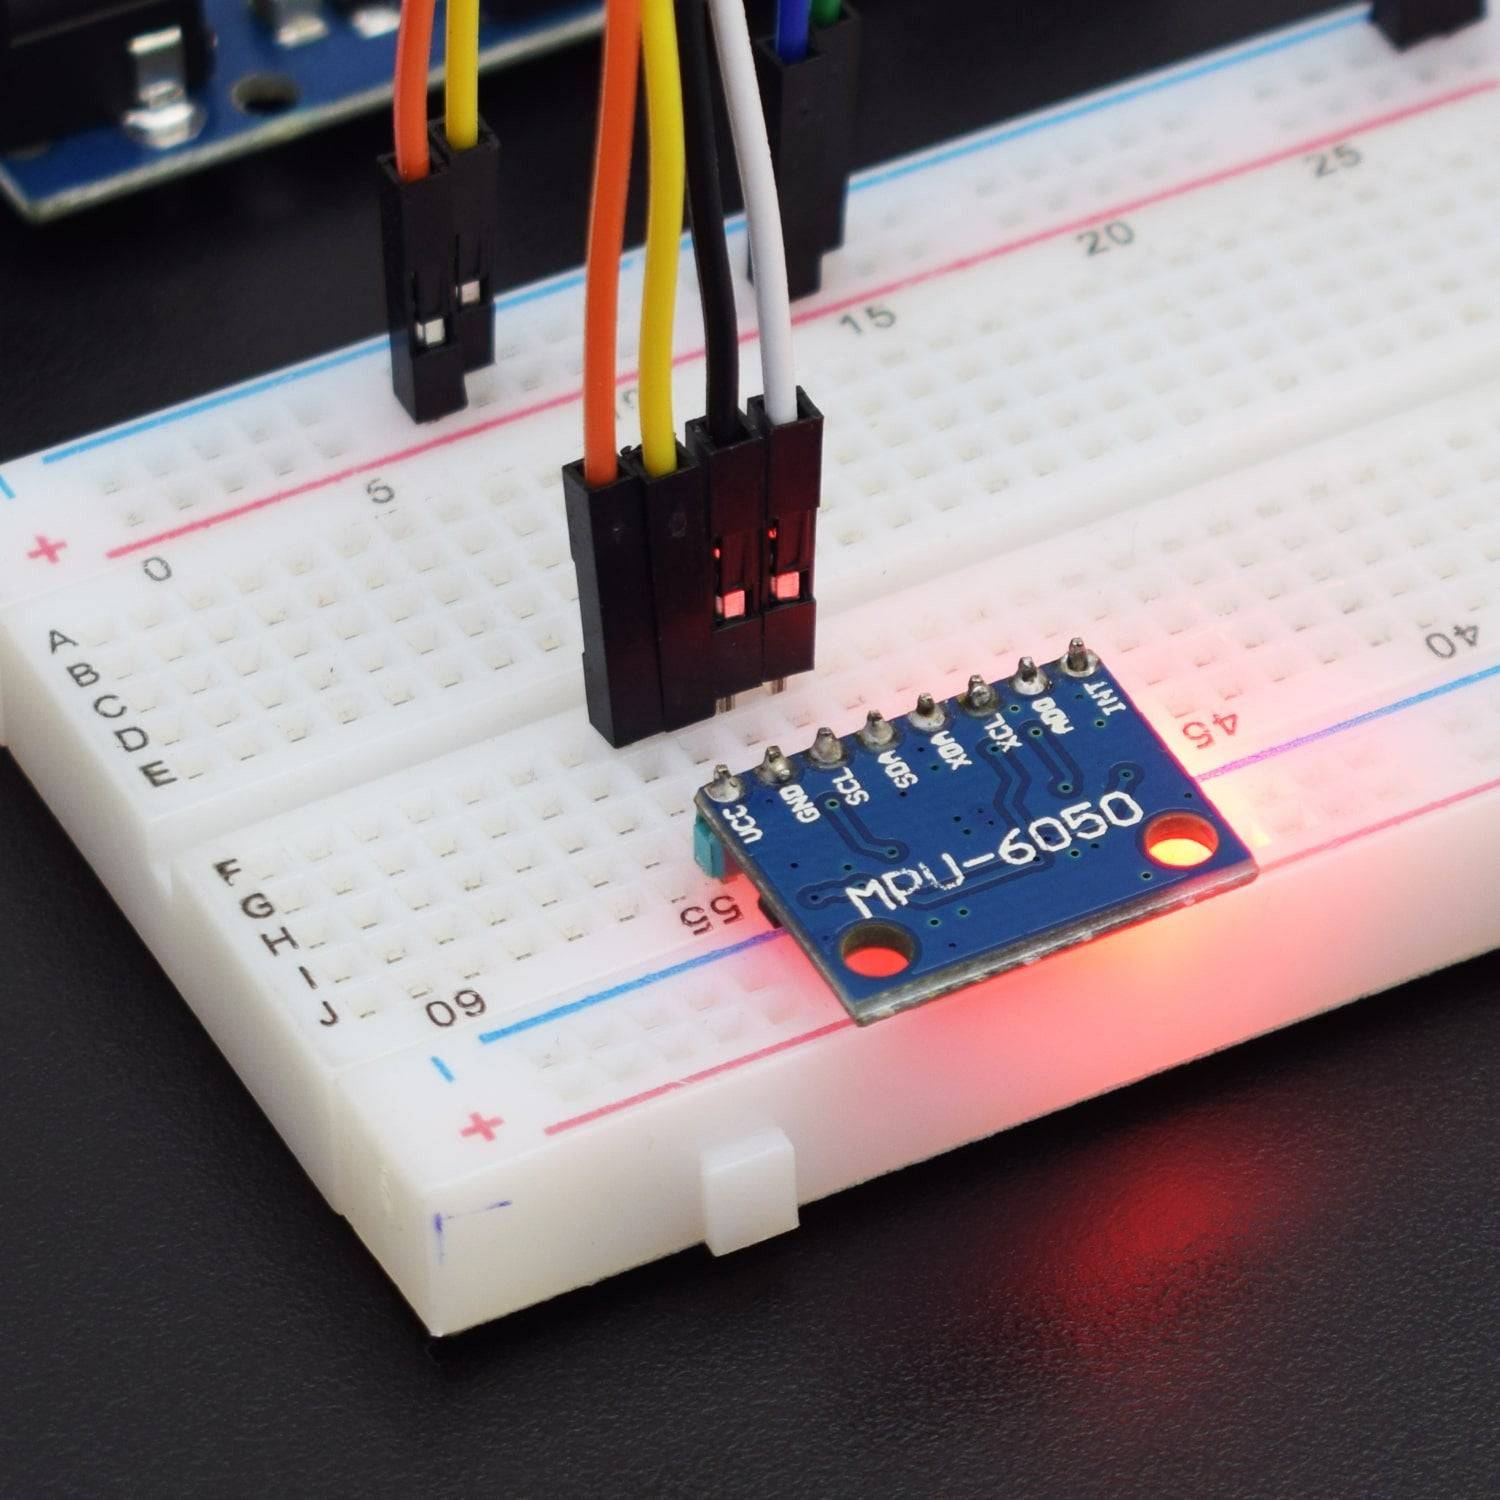
- Connect the VCC pin of the MPU6050 Accelerometer module with the positive rail on the breadboard.
- Connect the GND pin of the MPU6050 Accelerometer module with the negative rail on the breadboard.
- Connect the SCL pin of the MPU6050 Accelerometer module with the SCL pin of Arduino Leonardo
- Connect the SDA pin of the MPU6050 Accelerometer module with the SDA pin of Arduino Leonardo
- Attach both the push buttons with breadboard
- Now connect each pin of push-button with the negative rail on the breadboard as shown in the diagram.
- Connect push button 1 (for Left click) with the digital pin 7 of Arduino Leonardo
- Connect push button 2 (for right-click)with the digital pin 6 of Arduino Leonardo
NOTE- To click the mouse you need to stop moving the mouse and lock it to a point for 2 sec so you could integrate a button for this purpose. you can add a button for this function we have not added in the circuit but it is mentioned in the code as it connected to the digital pin 1 of the Arduino Leonardo.
CODE
Click to see the code
https://drive.google.com/open?id=1r_aSiOSmptiCrnNXzPA8sbkcRmpxowr2
OUTPUT
Welcome to the Arduino based project in which you can control the gesture by MPU6050 module. The first push-button is for left click and the second push button is for right-click.