


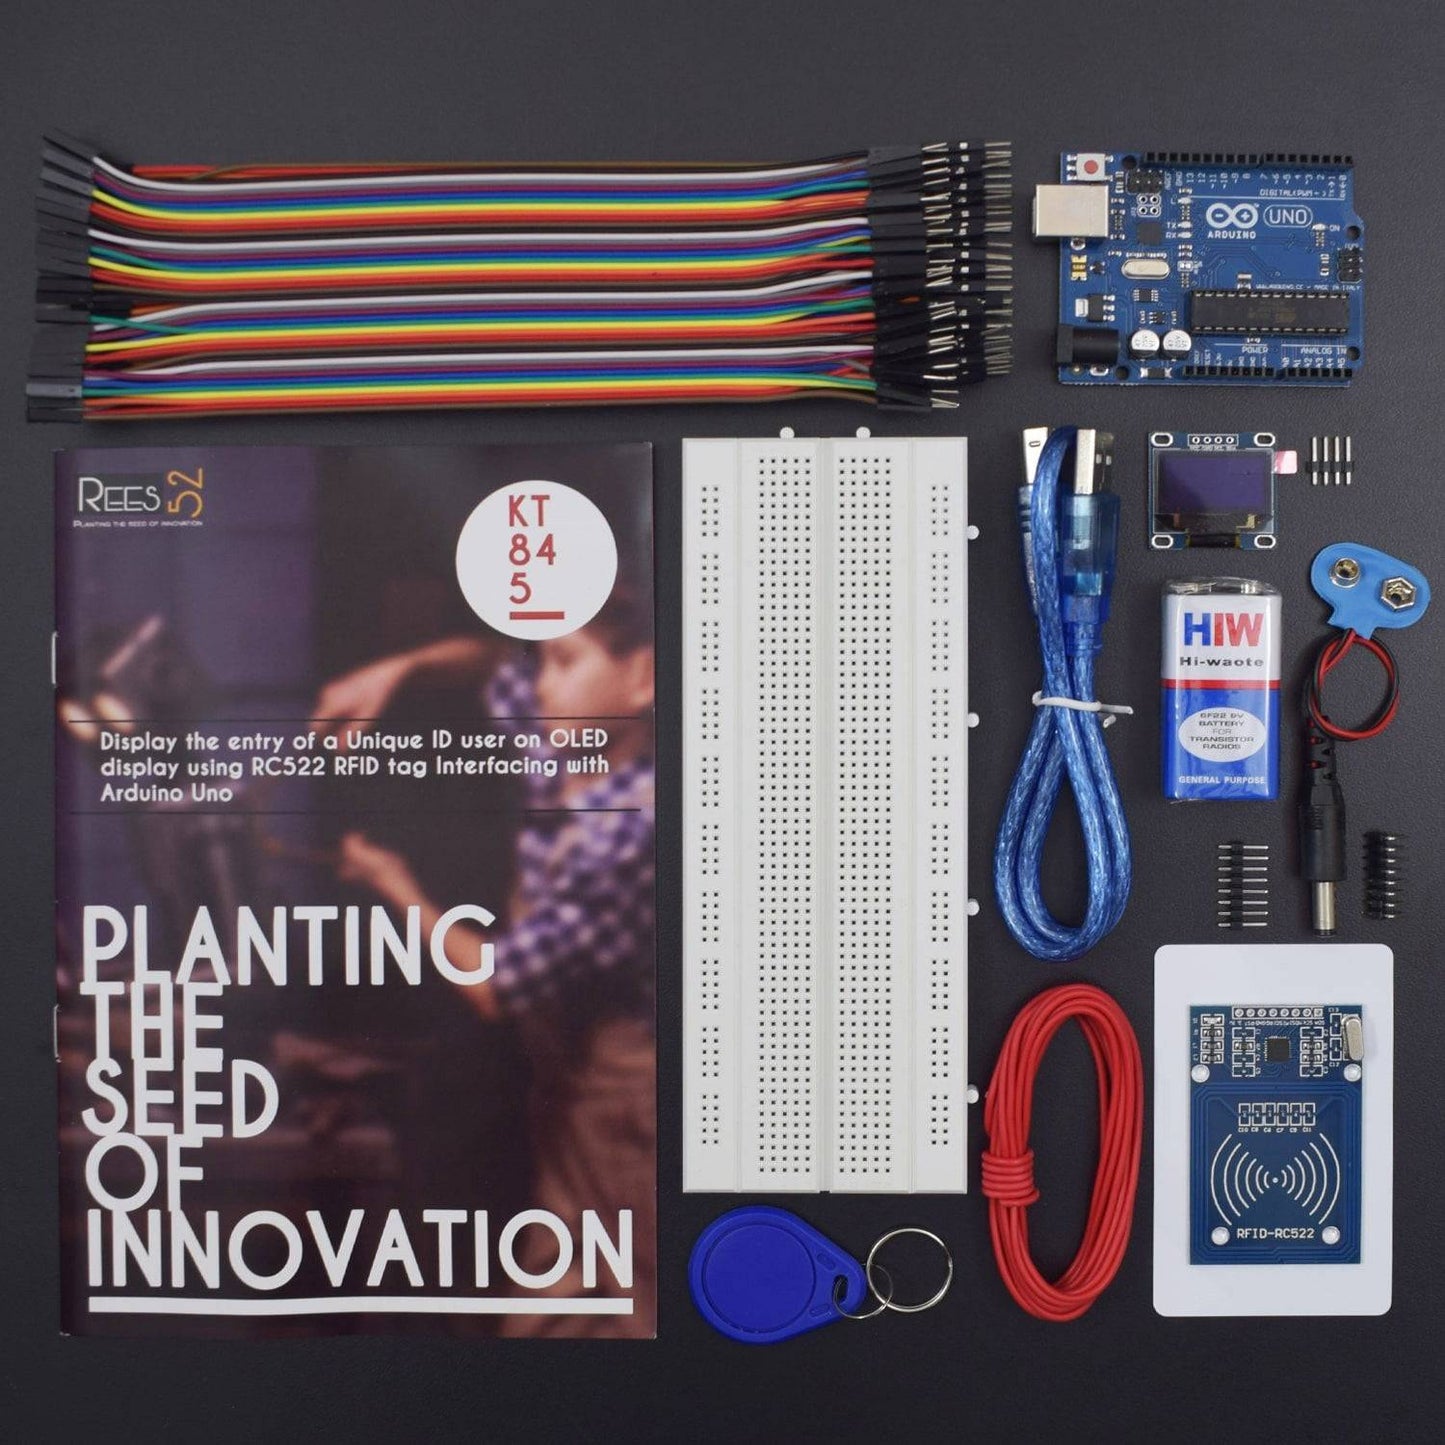
KIT INCLUDES:
- Arduino UNO with USB cable - 1
- OLED - 1
- RFID Module (MFRC522) - 1
- Jumpers male to male – 40 pieces
- Jumpers male to female – 40 pieces
- Breadboard 840 points - 1
- Single Stand wire - 2 mt
- 9v battery - 1
- Snapper with DC jack - 1
HARDWARE REQUIRED
- Arduino UNO with USB cable - 1
- OLED - 1
- RFID Module (MFRC522) - 1
- Jumpers male to male – 40 pieces
- Jumpers male to female – 40 pieces
- Breadboard 840 points - 1
- Single Stand wire - 2 mt
- 9v battery - 1
- Snapper with DC jack - 1
SOFTWARE REQUIRED
Arduino IDE 1.8.5 (programmable platform for Arduino)
Click To Download :https://www.arduino.cc/en/Main/Software
SPECIFICATIONS
RFID CARD MFRC522 MODULE
MF RC522 is a highly integrated read and write card chip applied to the 13.56MHz contactless communication. Launched by the NXP Company, it is a low-voltage, low-cost, and small-sized non-contact card chip, a best choice for intelligent instrument and portable handheld devices.
- Power supply 3.3 V/5V
- Operating current: 13—26mA/DC 3.3V
- Idle current: 10-13mA/ DC 3.3V
- Sleep current: <80Ua
- Peak current: <30mA
- Operating frequency: 13.56MHz
- Supported Cards: mifare1 S50, mifare1 S70, mifare Ultralight, mifare Pro, mifare Desfire
- Physical features: size: 40mm×60mm
- Ambient operating temperature: - 20-80 degrees centigrade
- Ambient storage temperature: - 40-85 degrees centigrade
- Ambient relative humidity: 5%—95%


OLED
- Voltage: 3V ~ 5V DC. Working Temperature: -30 ℃ ~ 70 ℃
- Ultra-low power consumption: full screen lit 0.08W
- Supports many control chip: Fully compatible with Arduino, 51 Series, MSP430 Series, STM32 / 2, CSR IC, etc.
- High resolution: 128 * 64. Viewing angle:> 160 °

LIBRARY REQUIRED
- First of all, we need the MFRC522 Rfid library.
- In order to install it, go to Sketch --> Include Libraries --> add .zip libraries
- Click to download MFRC522 and install it.
- Link : https://drive.google.com/open?id=1G5ID5g6qU1utqBcLQ8qtbWaH8yNiXdQ-
Also, include the Adafruit GFX library for the display. Install with the same procedure.
https://drive.google.com/open?id=1JVLiYOmAxEHQsNaW0E7DOW-2dqxf35PL
We also need the Adafruit SSD1306 library. Install with the same process.
https://drive.google.com/open?id=1oQfXQB_OXX8gyQmSYTc2W6W7n7T_7EYg
CIRCUIT DESCRIPTION

- The connection with the Arduino Uno board is very simple. At first let’s connect the power of both the reader and the display. Be careful, the RFID reader must be connected to the 3.3V output of the Arduino Uno or it will be destroyed.
- Since the display can also work at 3.3V we connect the Vcc from both modules to the breadboards positive rail. This rail is connected to 3.3V output of the Arduino Uno.
- Next we connect both GNDs to the breadboard GND rail. Then we connect the GND rail of the breadboard to Arduino GND.
- The RFID reader module uses the SPI interface in order to communicate with Arduino. So we are going to use the hardware SPI Pins of the Arduino UNO.
- The RST Pin of RFID Card goes to Digital Pin 9. The MISO Pin of RFID Card goes to Digital Pin 12.
- The MOSI Pin of RFID Card goes to Digital Pin 11.
- The SCK Pin of RFID Card goes to Digital Pin 13 and lastly SDA pin goes to Digital Pin 10. That’s it. The RFID reader is connected.
- IRQ Pin of RFID Card stays unconnected and is not used in the given circuit.
- We now have to connect the OLED display with Arduino using the I2C interface. So, the SCL pin of the display goes to Analog Pin 5 and SDA pin of the display to Analog Pin 4.
- Now, we can power up the project and place an RFID card close to the reader.
CODE
Before Uploading this code, You need to upload the code to set the UID of your card. If someone places the wrong card which have different UID than of yours then that person will not get access to enter.
Click FILE -> EXAMPLES -> MFRC522 ->ReadNUID
You will see the code, Upload it. Place the Card and Tag over the RFID Sensor Module and open the serial monitor You will see the HEX and DEC Codes for the card. which you can place in the code.

Click to see code here:
https://drive.google.com/open?id=1CUoHBYauhLZIJ1mDzf5rLSffLj8Ap1eG
WORKING
We have built a simple project which reads the Unique ID (UID) of each RFID tag we place close to the reader and displays it on this OLED display. First, the circuit connections of RFID Card and OLED must be done in an appropriate manner or it may not give desired output.
.jpg)
The basic working principle of a RFID Card is being described. The reader sends signal to the tag using an antenna. The tag receives this information and resends this information along with the information in its memory. The reader receives this signal and transmits to the processor for further processing.
%20(2).jpg)
If the UID of the tag is equal to a predefined value that is stored in Arduino’s memory, then in the display we are going to see the “Unlocked” message. If the Unique ID of the card is not equal to the predefined value, the Unlock message won’t appear.
%20(3).jpg)